Clearing the cache can help keep your site running efficiently. Today, I’ll go over a couple of methods to clear the Litespeed Cache.
Method 1: Using WordPress to Clear Litespeed Cache
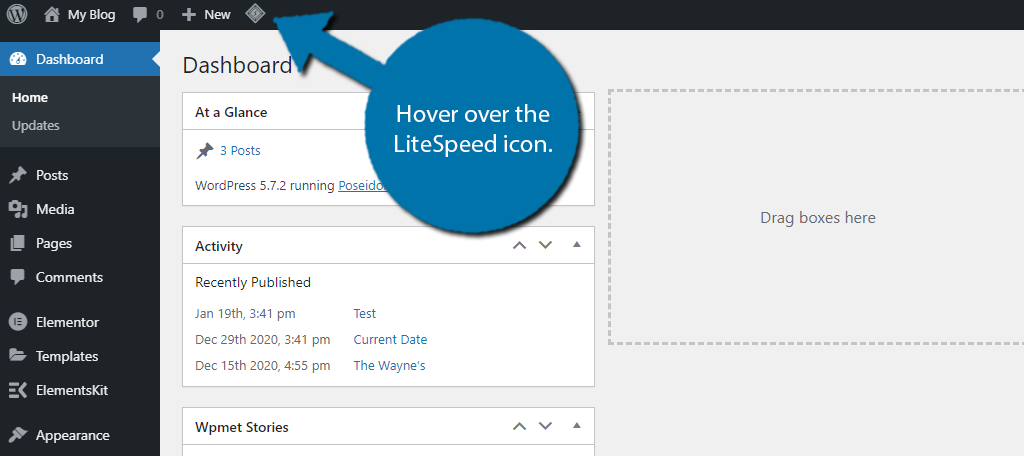
Log into your website. At the top, hover over the LiteSpeed icon.
Select the Purge All option.
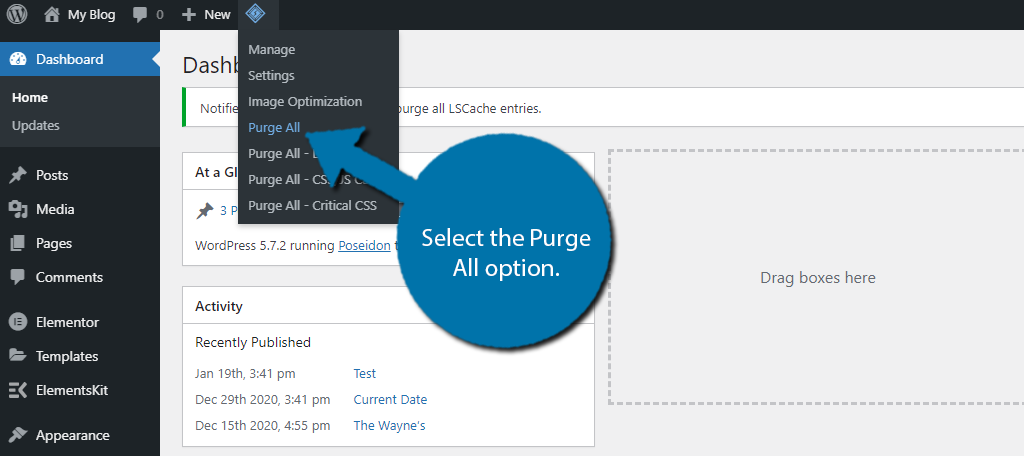
The plugin will clear all of the LiteSpeed Cache.
Method 2: Using cPanel
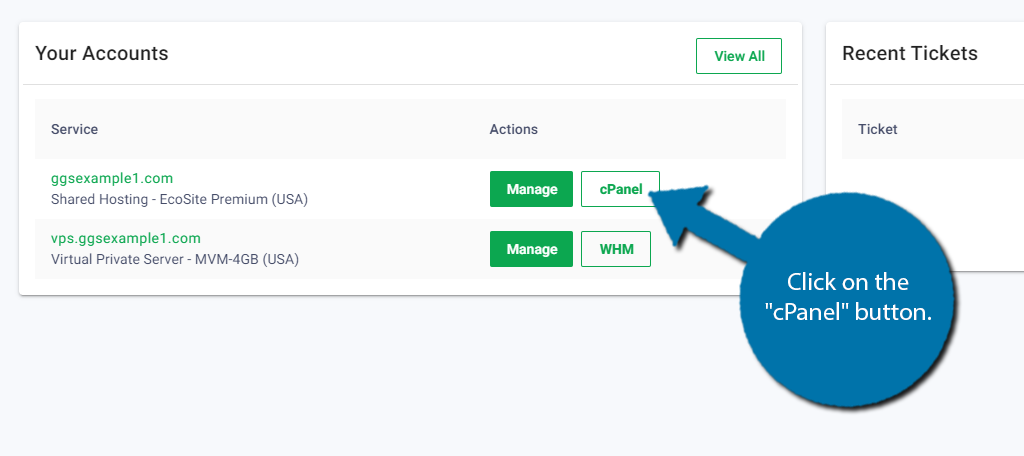
Log into your GreenGeeks account.
Click on the “cPanel” button.
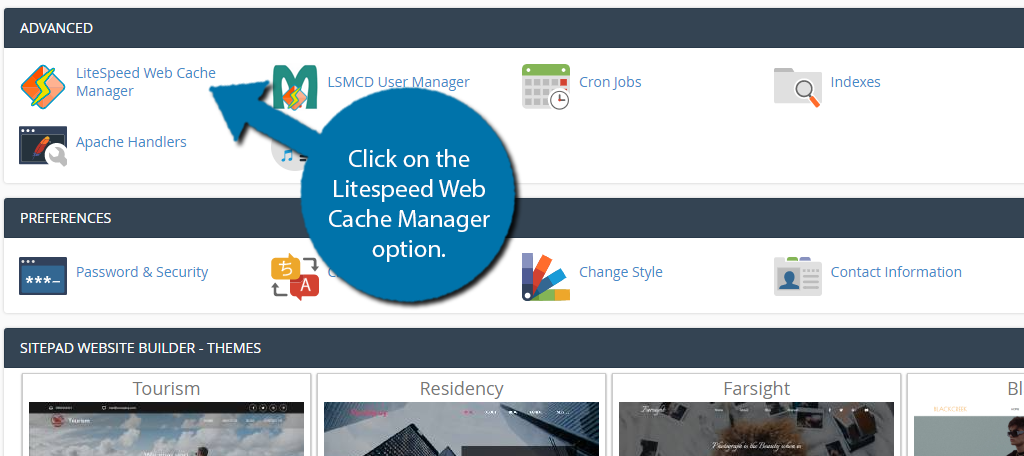
Scroll down to the Advanced section and click on the LiteSpeed Web Cache Manager option.
Click on the “Flush All” button.
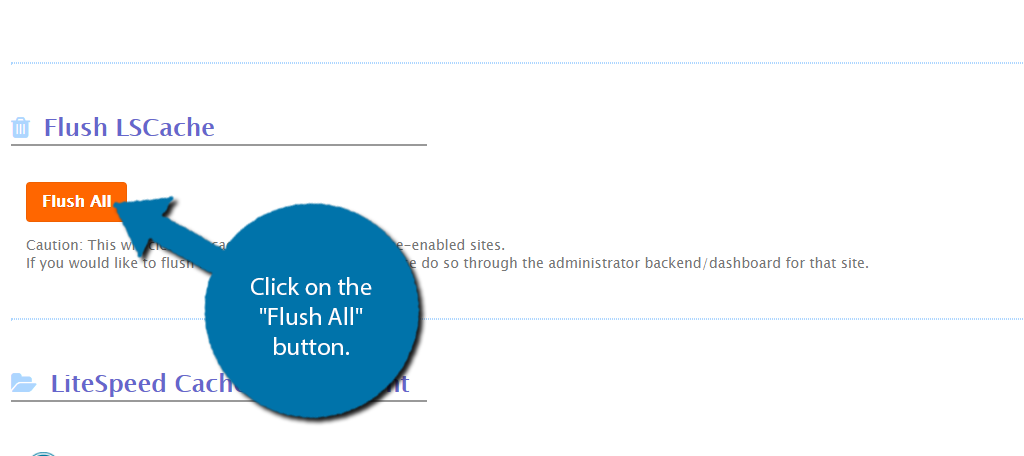
A small pop-up will appear asking to confirm your choice. Click on the “Ok” button.

The files will now be cleared.
Method 3: Using WP CLI
The WP CLI tool, which is available to all GreenGeeks customers using cPanel Terminal, or a direct SSH connection, can be used to manage your WordPress site, including Litespeed Cache.
To flush all types of Litespeed cache, navigate to the WordPress directory and use the WP CLI command:
wp litespeed-purge all
For more information on managing Litespeed Cache using WP CLI, refer to the Litespeed documentation, and our WP CLI Getting Started Guide.