A temporary URL is available on GreenGeeks Managed VPS Hosting. The method described here is not applicable to other GreenGeeks hosting accounts.
You can configure Drupal to use your GreenGeeks temporary URL which is useful for testing purposes and when moving a Drupal installation to GreenGeeks from another host. We’re going to edit two files to make the Drupal installation available on the temporary URL.
If you are comfortable using an FTP program and a text editor you can make these changes that way, but for this article, we’re going to make all the changes using cPanel.
Log in to cPanel
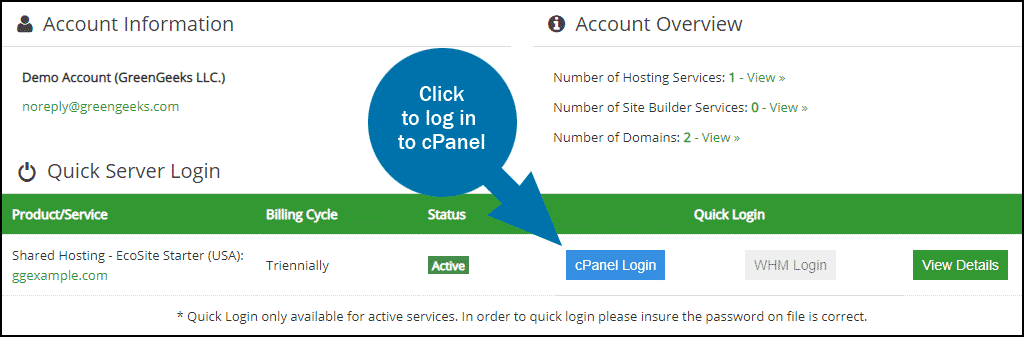
Log in to GreenGeeks and go to cPanel by clicking the “cPanel Login” button in the “Quick Server Login” section.
Open the File Manager
In the “FILES” section, click the “File Manager” link or icon.

Locate the Drupal Settings File
Navigate to the Drupal settings.php file. In this case, Drupal is installed in a directory named drupal, and the settings.php file can be found in /sites/default.
Select the “settings.php” file and click “Edit.”

A file encoding popup will open. If your website uses English and standard characters, click the “Edit” button (if your site uses another language that does not use UTF-8 encoding, select the appropriate encoding and click the “Edit” button).

Make Your Temporary URL the Base URL in the Config File
Find the portion of the file that references the “Public file base URL.” Change this:

To this:

Click the “Save Changes” to complete the edit.
What we’ve done is removed the hash from the beginning of the line and replaced the example URL in the file with our GreenGeeks temporary URL. (Your temporary URL is the server IP address that can be found in your signup email followed by /~ and your account username. It looks like this: http://192.186.0.0/~ggexample/)
Edit the .htaccess file
By default the cPanel File Editor hides “dot” files, so to edit .htaccess, you must first configure the cPanel File Editor to display dot files.
In the File Manager, click the “Settings” button.

In the “Preferences popup window, check “Show Hidden Files” and click the “Save” button.

Open up the .htaccess file for editing in the same way you opened settings.php. Enter this line (replacing “cpanelusername” with your GreenGeeks cPanel username):
RewriteBase /~cpanelusername
Click the “Save Changes” button.

That’s All There Is to It
Your Drupal installation should now be accessible using your temporary URL.
Make sure that you undo these changes when you have finished testing or point your domain to GreenGeeks (to reverse the changes, just put a hash in front of the base URL line in settings.php and delete the line you added to .htaccess).
GreenGeeks is a proud supporter of the Drupal community, and we support all the latest versions of Drupal, including Drupal 8.