If you have provided login access to your cPanel to multiple people, you might want to consider password-protecting some directories. If you password protect a folder, it will prevent others from accessing the files contained within. As a result, the security of your website is improved.
After all, it will cause issues for any hackers that end up there as well.
Password protection allows you to control access to content that you do not want to be publicly available, and it prevents Google and other search engines from discovering and indexing the content.
Today, I will demonstrate how to password protect a directory on your website using cPanel.
Why Password Protect a Directory?
Commonly used to protect downloads, files, or pages that you only want specific people to access, learning how to password protect directories will pay dividends for as long as your websites last. This will help restrict content when you don’t want it made publicly available.
Let’s go over the process of password-protecting directories in cPanel together.
How to Password Protect A Directory
Step 1: Click on Directory Privacy
Before beginning, you will need access to the cPanel of your website. This information is provided to you by your web host. The process is very quick, so let’s begin.
Log in to cPanel, and locate the Files section. Click the Directory Privacy option.

Step 2: Click on Edit
This section of the cPanel is dedicated to password protection. Thus, it’s the first stop on how to put a password lock on a folder.
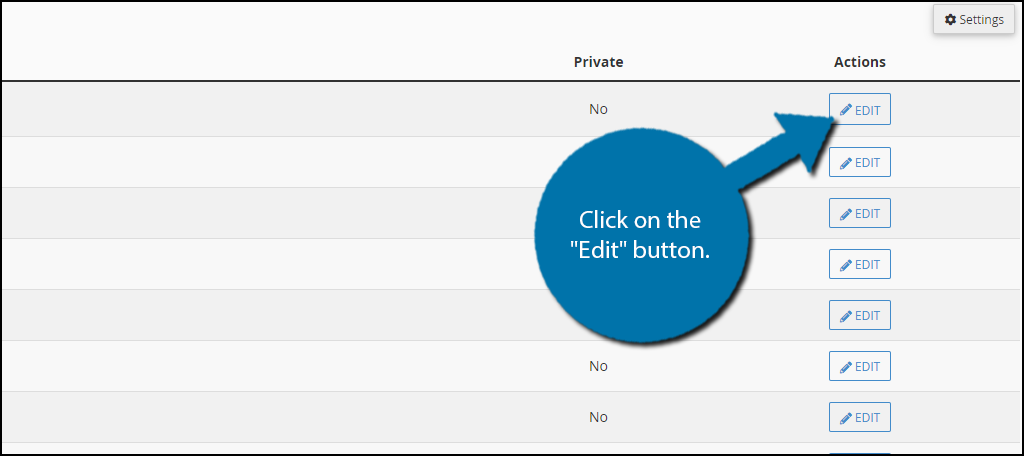
You will now see a full list of all of your website’s directories. You can click on a directory to access its subdirectories, which can also be password protected. On the right-hand side of a directory, you will notice an “Edit” button.
This will allow you to make the directory password protected. Click on the “Edit” button for the directory you wish to add password protection to.
Note: There is a “Private” column that will tell you if the directory already has a password or not.
Step 3: Enter A Name for the Directory
There are two steps to password-protecting a directory. The first involves picking a name for your directory, and the second is to actually add a password to a folder.
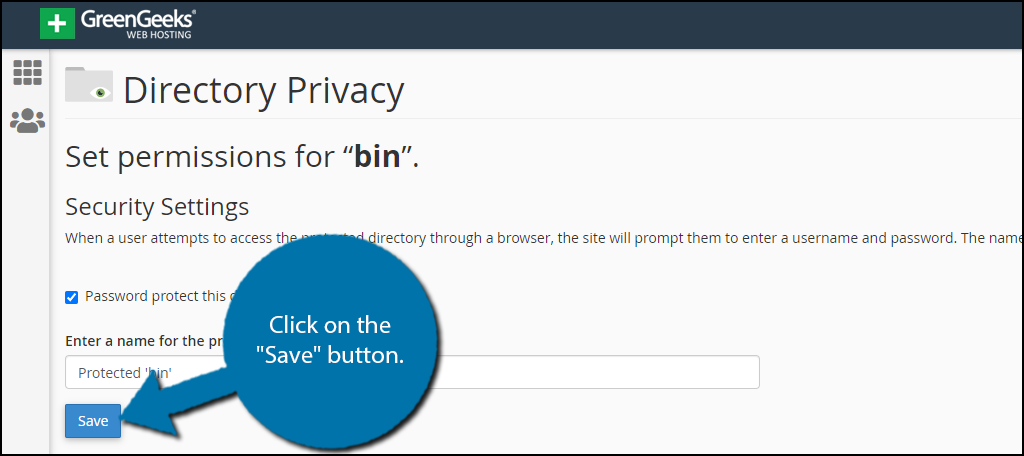
Check the small checkbox to “Password protect this directory” and it will unlock the textbox below it. In this textbox, you must enter a name for the directory. Click on the “Save” button when you are done.
Note: This does not have to be the actual name of the directory. It will automatically add Protected ‘your directory name’ in this text spot, which will suffice for most websites.
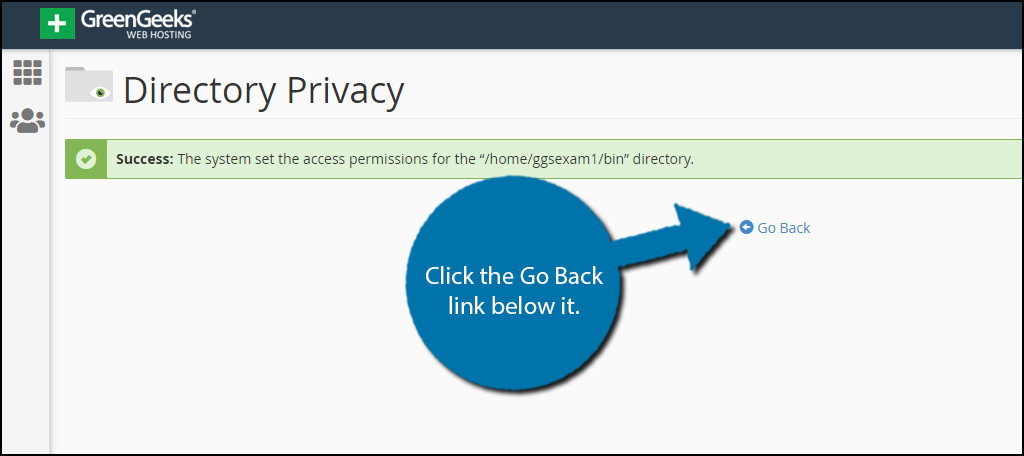
You will now see a success notification signaling that everything happened correctly. Click the Go Back link below it.
Step 4: Password Protect the Directory
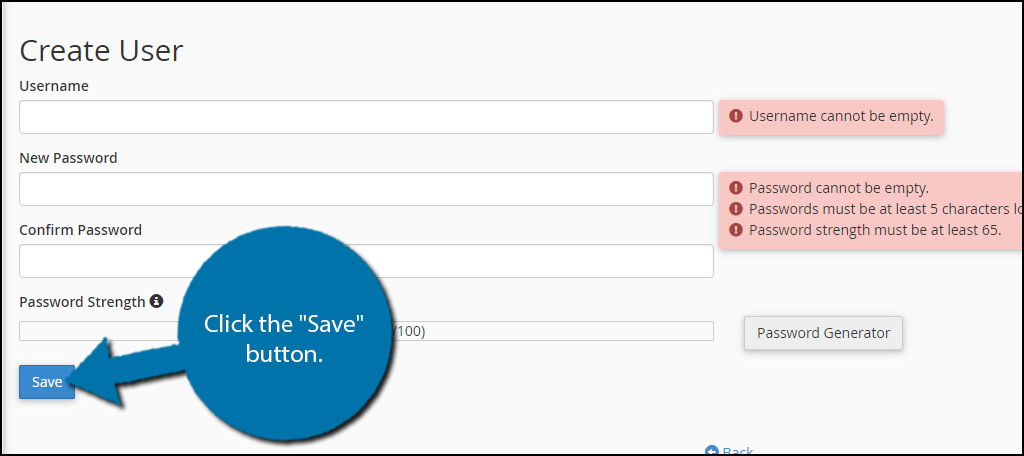
The second part of the process is to create a new user that can access the directory. Be aware that if your web browser has autofill turned on, it will enter your information into the fields. This cannot be the same as your information. You must enter a new user name and password.
Make sure that you write down this unique user’s login information. It can cause a lot of problems if lost.
Note: The system will analyze your password or passphrase and reject it with a “password strength” error if it is too short or not sufficiently complex. If you need help making a strong password, check out this tool.
Once you have filled in the necessary information, click the “Save” button.
You will once again see the success message, indicating that your directory is now password protected.
Congratulations on password protecting your directory.
What’s Happening Behind the Scenes
cPanel creates two files when it password protects a directory. You get a “.htaccess” file in the directory being protected. You also get a “passwd” file outside of the publicly viewable structure of your website. This is in the .htpasswds directory above your home directory.
It’s important that the .htaccess file in the directory being protected is not deleted while you’re working on your site. This also applies to the passwd file. However, it’s unlikely that you’ll accidentally delete this file.
If either of the files is deleted, the directory will no longer be password protected. You will need to repeat this process to reinstate protection.
Protecting Your Directories, Protects Your Website
When you password protect a directory or subdirectory, you are improving the overall security of your website. This makes it harder for anyone who gets access to the backend of your website to actually make changes.
This will certainly slow down hackers and limit the damage they can cause, but keep in mind, that experienced hackers can definitely get past the password protection.
That said, most developers who password protect directories do not do it for hackers, but to keep staff members out of certain files. This will accomplish that goal in spades.
Is any section of your website password protected? Now that you know how easy it is to protect a directory, do you think you’ll use this tool?