If you just signed up for a VPS plan, you are probably looking for a way to install WordPress on it. In general, VPSs do not have access to Softaculous, which means you are going to have to manually install everything.
While this may sound inconvenient, it is really not hard to do. WordPress is always easy to install, and being on a VPS makes no difference. Today, I will demonstrate how you can install WordPress on a VPS server.
Why Install WordPress?
WordPress is the most popular CMS in the world with a staggering 35% market share. That means that more than one-third of all websites on the Internet are built using WordPress. And that number is continuing to increase year by year.
It’s all thanks to how customizable the platform is while also being easy to you. Unlike other CMS, you can make an amazing WordPress website without writing a single line of code. This makes it the most approachable platform for beginners, while the more advanced developers love the customization the platform brings to the table.
Step 1:Download the Latest Version of WordPress
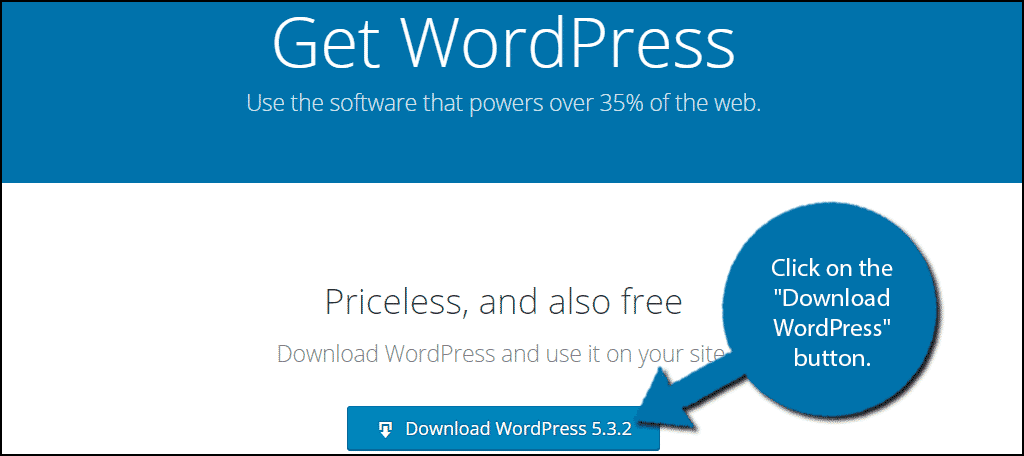
The first step on this short journey is to actually download the latest version of WordPress. You can find the latest version from WordPress.org’s download page..
Click on the “Download WordPress” button.
Step 2: Upload WordPress to the VPS
Now that you have the zip file, you are going to need to upload it. This is done by accessing your cPanel account. If you have just purchased your plan, you will need to set up your cPanel account first.
You can also upload the file using FTP programs like FileZilla or CyberDuck. Whichever is convenient for you.
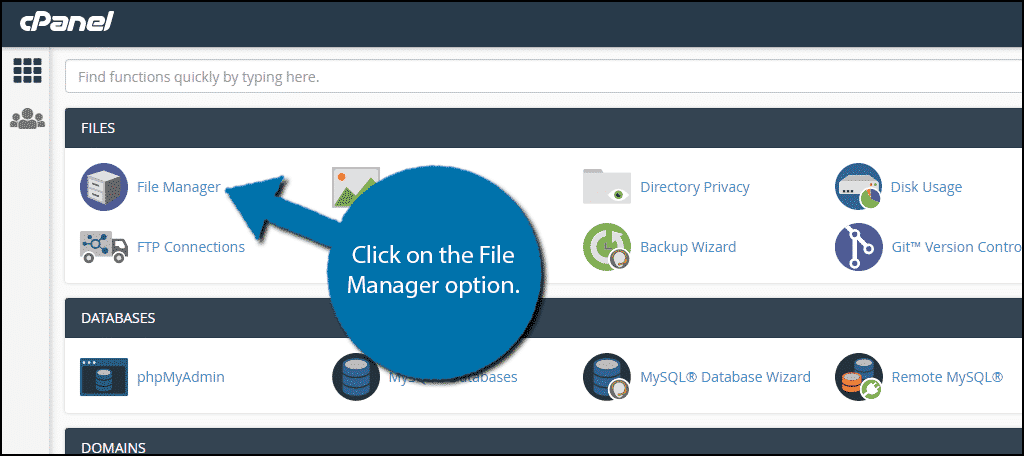
But for this tutorial, I’m going to use the cPanel File Manager tool. This is helpful for those who don’t know how to use or have access to FTP applications.
Log in to your cPanel account and click on the File Manager option.
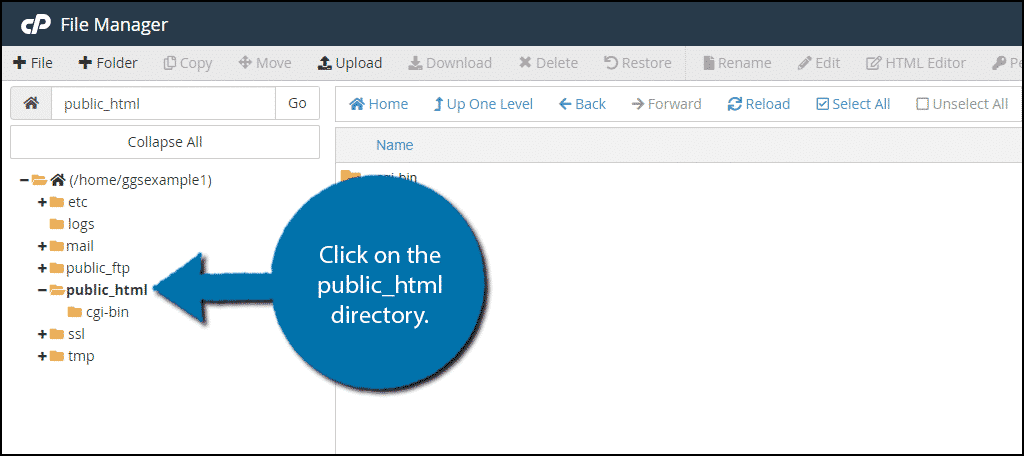
Click on the public_html directory.
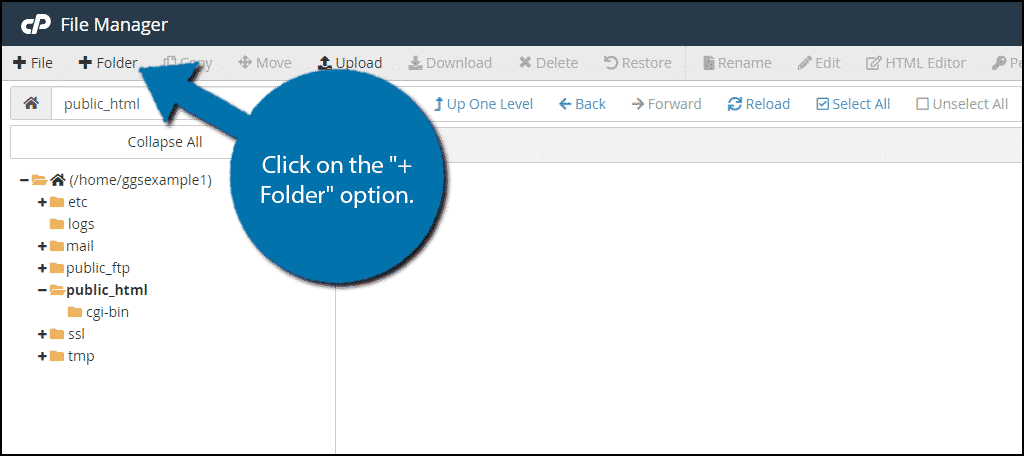
If this is your first time here, you will need to create a folder for your website. If you already have a folder, skip this step.
Click on the + Folder option.
Name the folder your domain name or whatever you wish.
Open the newly created folder and click on the Upload option.

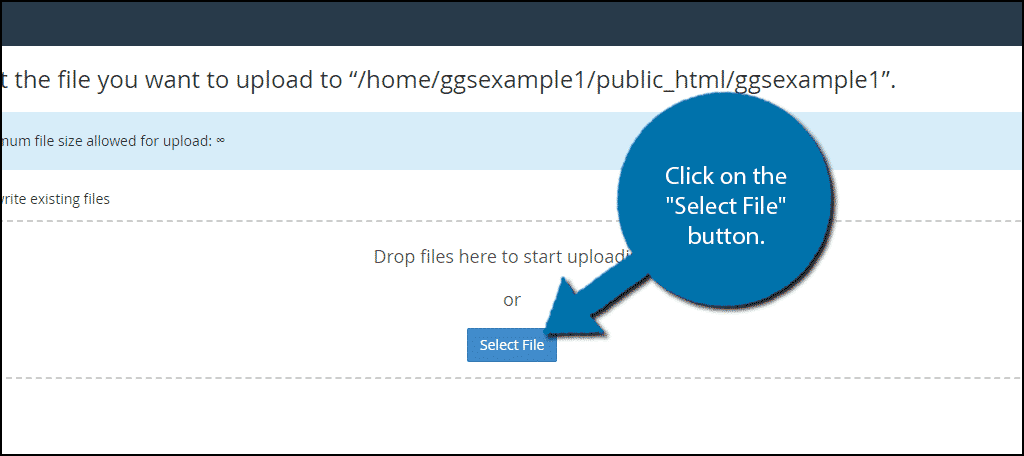
Click on the “Select File” button and select the WordPress zip file you previously downloaded.
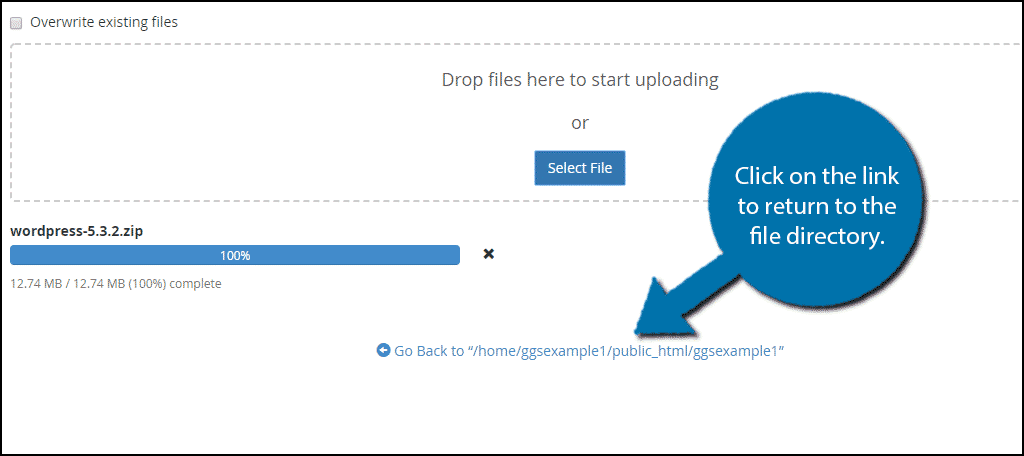
Once the file has been uploaded, click on the link below to return to the file directory.
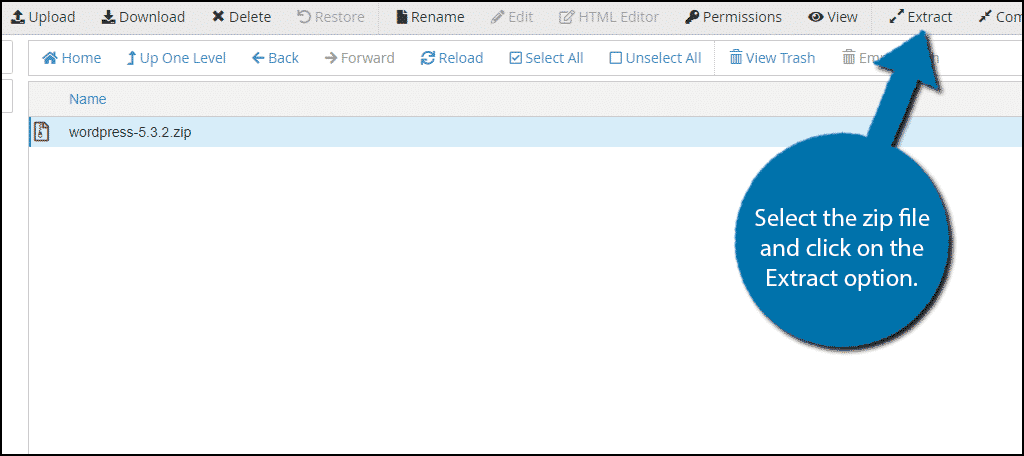
Once you are back, reload the page and you should see the zip file you just uploaded. Select the zip file and click on the Extract option.
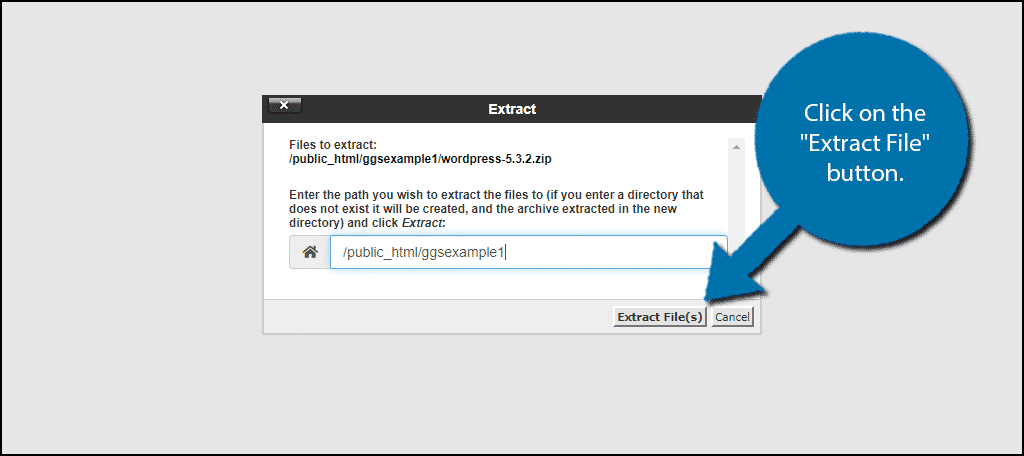
A popup will appear to confirm the extract location. Make sure the location is correct and click on the “Extract File” button.
WordPress should now be in your file directory.
Note: You can now safely delete the zip file from the directory.
Step 3: Move WordPress Files to the Root
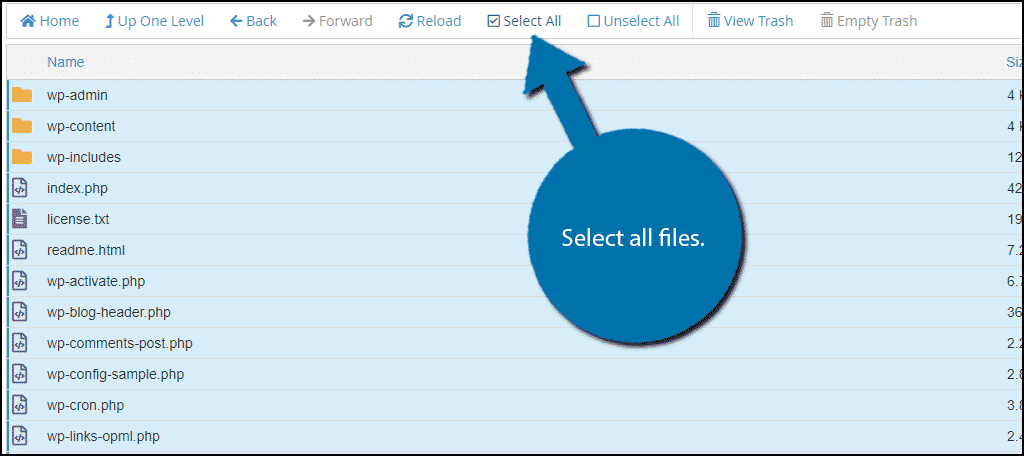
Now that we have all of the WordPress files, we just need to move them to the right location. Enter the WordPress folder and select all of the files within.
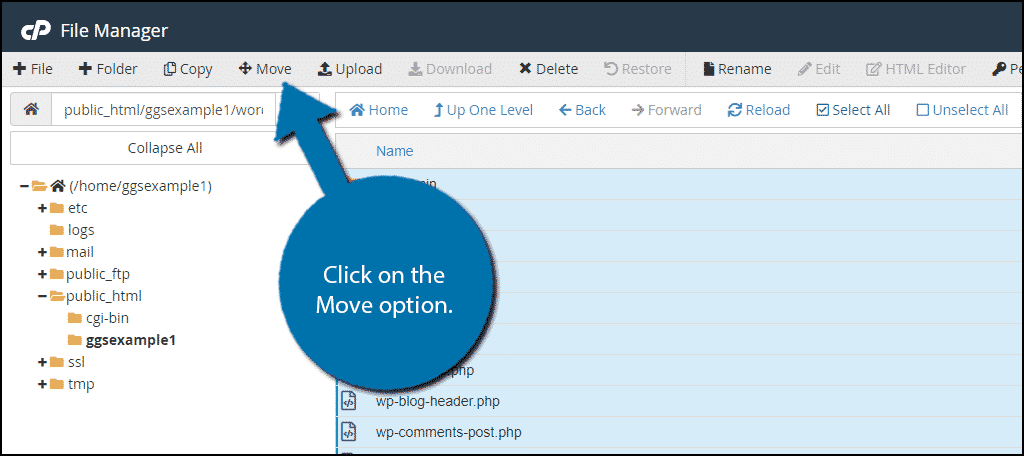
Click on the Move option.
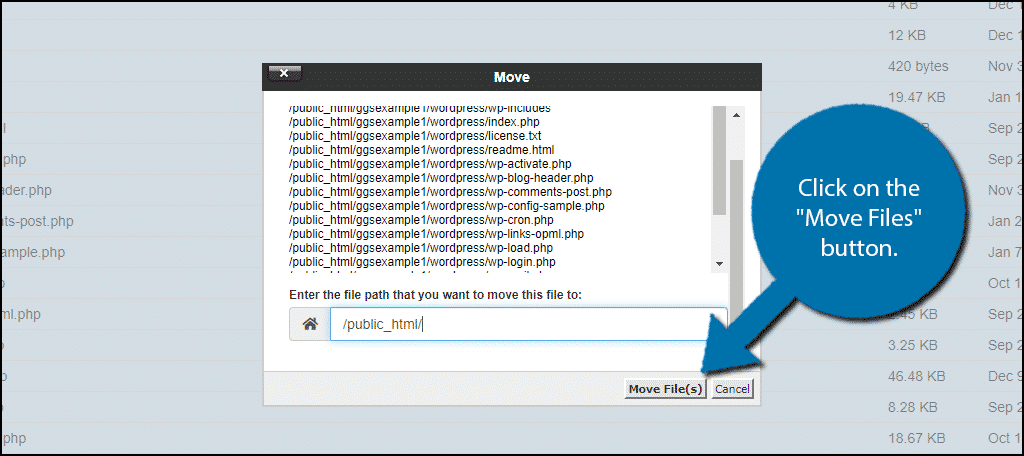
Move all of the files into the public_html directory. Click on the “Move Files” button when the location is selected.
Step 4: Create a New Database
We’re almost done! Now we need to create a database.
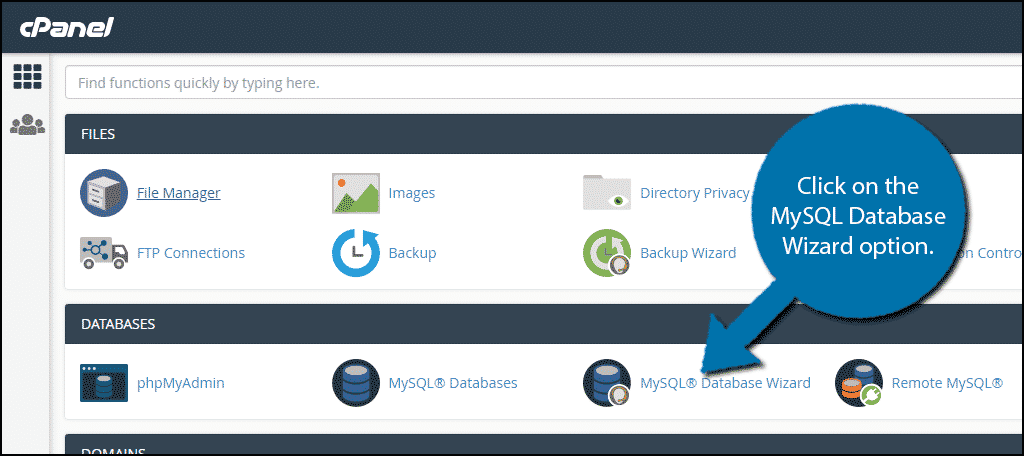
Go back to cPanel and click on the MySQL Database Wizard option.
You must add a name to the database. I recommend wp1 or something similar. It’ll help you remember the name in the later steps.
Click on the “Next Step” button when you are done.

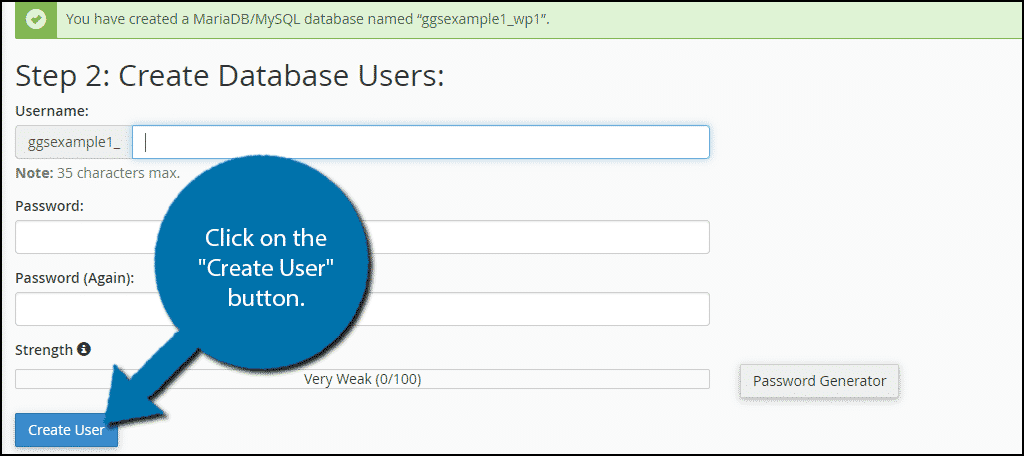
Create a username and password for the database. Click on the “Create User” button when done.
You will now need to select the privileges of the account. Click on the All Privileges option and click on the “Next Step” button.
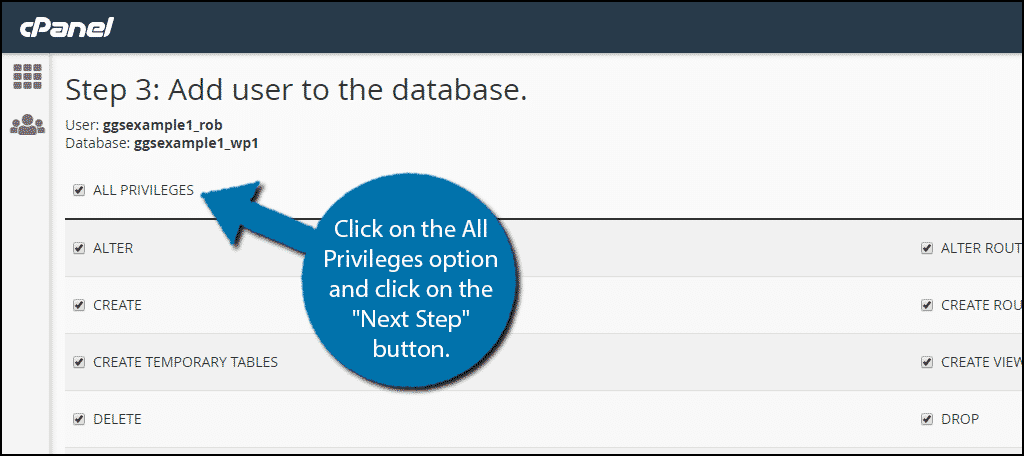
Your database has now been created.
NOTE: Make sure you write the database name, username and password down. You will need them to connect WordPress to the database.
Step 5: Edit the wp-config-sample.php File
Now that the database is created you just need to make sure WordPress will use it. All you have to do is edit the wp-config-sample.php file.
Go into your public_html directory and select the wp-config-sample.php file. Right-click it and select the Edit option.
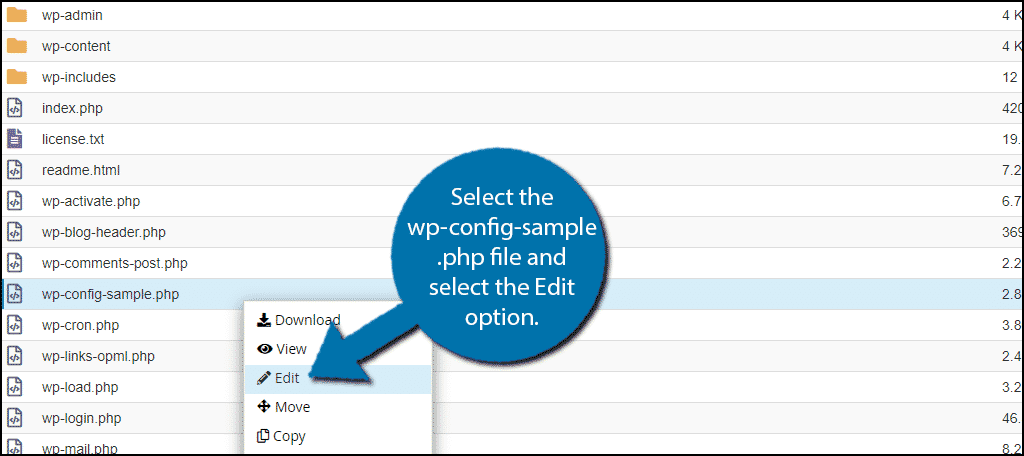
A pop-up will appear. Click on the “Edit” button to continue. Within this sample file, you need to locate and replace 3 specific lines to make sure it connects to the database you just made.
First locate:[ht_message mstyle=”info” title=”” show_icon=”” id=”” class=”” style=”” ]define( ‘DB_NAME’, ‘database_name_here’ );[/ht_message]
and replace database_name_here with your database name.
Locate:[ht_message mstyle=”info” title=”” show_icon=”” id=”” class=”” style=”” ]define( ‘DB_USER’, ‘username_here’ );[/ht_message]
and replace username_here with the username you created.
Lastly, locate:[ht_message mstyle=”info” title=”” show_icon=”” id=”” class=”” style=”” ]define( ‘DB_PASSWORD’, ‘password_here’ );[/ht_message]
and replace password_here with the password you created.
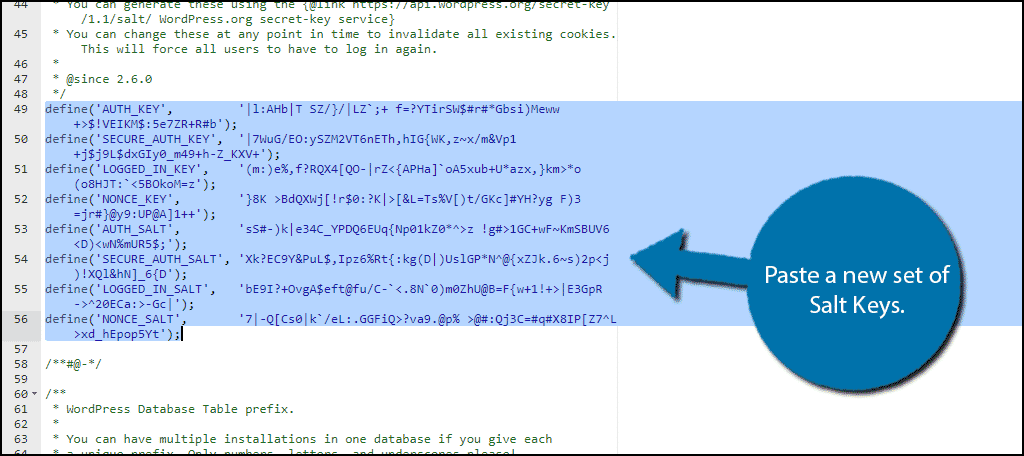
The last thing you need to do is copy and paste a fresh set of Salt keys from the WordPress API. Go to the Salt Key generator and copy everything.
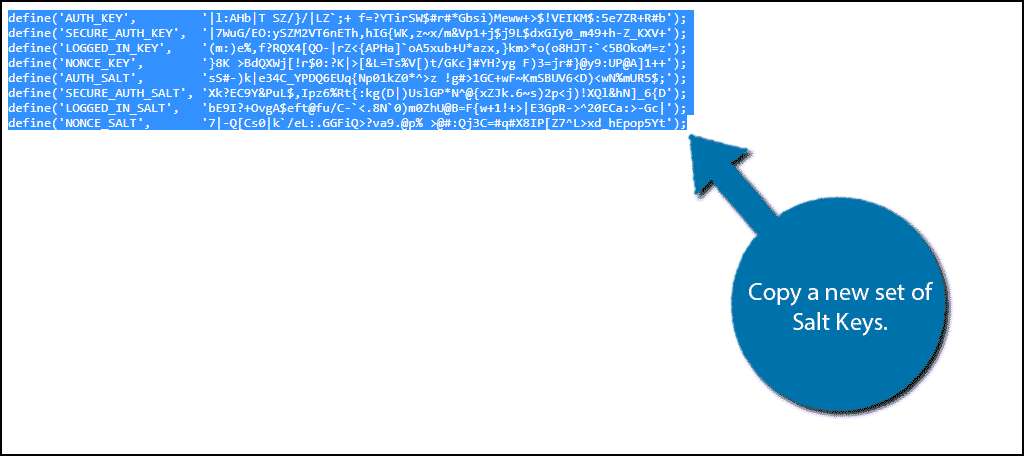
Replace the salt key lines in the wp-config-sample.php file with what you just copied.
Click on the “Save Changes” button.
Close the file. Now that it has been configured, it is no longer a sample. Thus, you should rename it to wp-config.php.
Step 6: Install WordPress
You are done with all of the backend stuff. All that’s left is to actually visit your website and begin the install process.
You can do this by visiting yourwebsite.com/wp-admin/install.php.
Note: If you placed the WordPress files within another, like WordPress for example, you would go to yourwebsite.com/WordPress/wp-admin/install.php.
Congratulations on installing WordPress on your new VPS server.
Just The Beginning
Manually installing WordPress may seem difficult, but it really isn’t. If you just moved from a shared hosting plan, you probably already miss Softaculous, but a VPS has a lot of benefits for you to reap.
Getting WordPress set up on your VPS is only the beginning. You now need to pick a theme, select plugins, and add content. You have a lot of work ahead of you, but none of it should be hard.
Did you run into any problems while installing WordPress on your VPS? How easy did you find manually installing WordPress?
Pls. I followed all your process. You’re appreciated but ran into problems at the end. My site isn’t loading
Hello Azeez,
If you’re hosted with GreenGeeks, get in touch with our support team so we can assist you.
Worked like clockwork! I must admit though and I know you will understand why, but I do prefer the speed of install from softaculous! Funny though – I don’t remember doing this on the sites I previously put on my VPS – has there been a rule change??
A lot has changed over the years. I’m not exactly sure if it’s particular to VPS or just how things have evolved over the years. In any case, I’m glad it worked for you. 🙂