Many different types of websites rely on sponsors for a number of different reasons. Whether it be for event advertising, non-profit situations, or sponsor logos that are part of a membership, getting sponsor logo, link, and other content to display properly is important.
Oftentimes, a WordPress website owner may have a difficult time designing and laying out sponsor logos, links, and other information on a page. This is because several steps are needed for it to be cohesive across the board.
Luckily, there is a smooth WordPress Sponsor plugin that can help you do this quickly and easily.
What are Sponsorships?
A sponsorship is a way to advertise that looks for ways to establish a deeper association and integration between an advertiser and a publisher. Oftentimes, they go beyond simple banner placements and get into more content-driven material and other types of co-branding opportunities.
Sponsors can be placed on websites for a number of reasons. Anything from ad placement to a shared logo pointing to a company can be considered a sponsor.
Today, I am going to show you how to use a WordPress Sponsor’s plugin to easily add sponsors to your website. Let’s dig right in.
Sponsors

The Sponsors plugin will help you quickly and easily add images, logos, links, and other relevant information to your WordPress website. There is no need to worry about the text editor anymore. Trying to space logos and info appropriately, trying to layout images and types, this plugin takes care of the entire process for you.
The plugin comes with a widget, that allows you to place your WP partner logos in any widget area of the site, whether it be a sidebar, footer, or anywhere else.
Sponsors also comes with a ready to use Gutenberg block that gets automatically added to your block library once the plugin is activated.
If you need to add sponsor logos to WordPress quickly, easily, and intuitively, then this plugin is definitely for you. Let’s get everything up and running and go over how to add a sponsor to your site.
How to Add a Sponsor to WordPress
Step 1: Install and Activate the Plugin
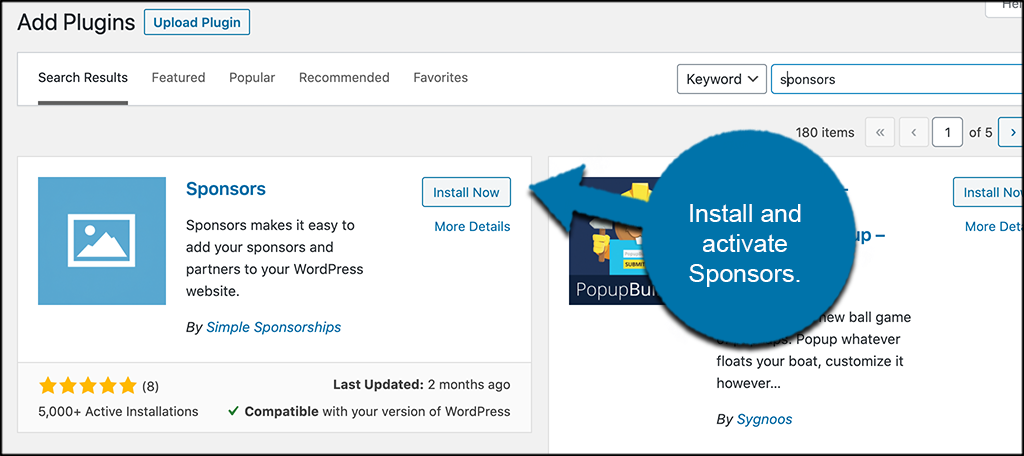
In order to start adding sponsors to your WordPress site, you first need to install and activate the plugin. To do this, head over to the Plugins page in the WordPress admin dashboard.
Use the search field to search the plugin by name. When you see the right one pop up, install, and activate it directly from there.
Step 2: Add Categories
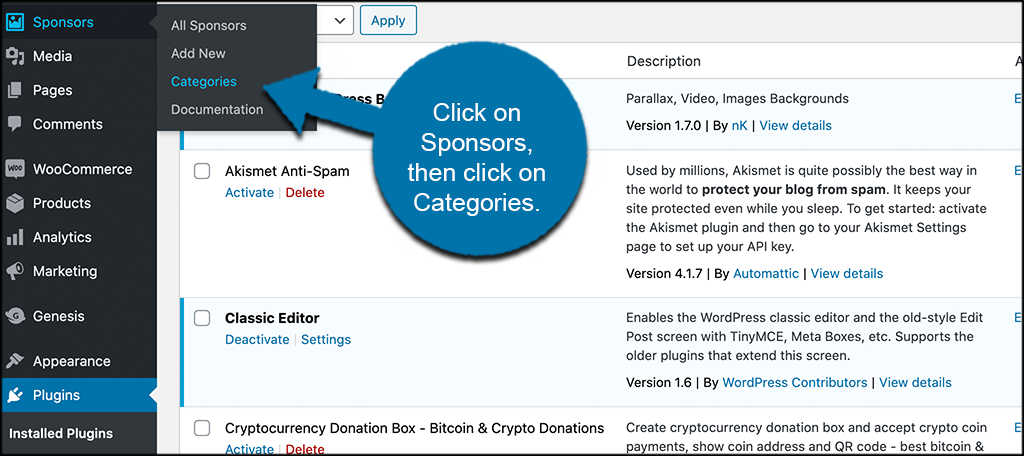
Once the plugin has been installed and activated, you need to first add categories before you add any sponsors. Adding categories will help you display certain sponsor logos and information in specific places.
If you don’t add categories, then all your sponsor logos and info will show in the same place no matter what.
To add categories, click on Sponsors > Categories, located on the left side menu area of the dashboard. You can see that there is now a Sponsors link tab available after you installed the plugin and activated it.
This will take you to the sponsor category page. Here you will add your categories so that you can attach one to each sponsor you add over time.
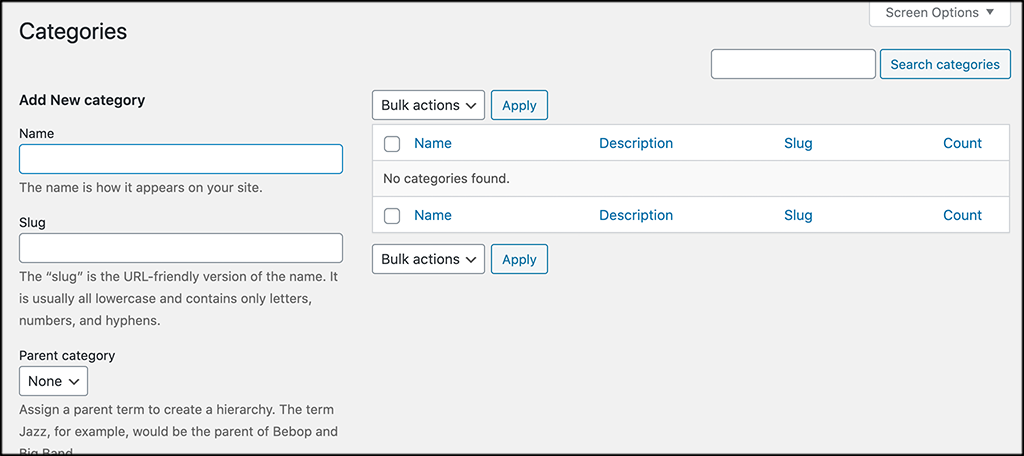
Go ahead and add as many categories as you need and let’s move on.
Step 3: Add a Sponsor
Now it is time to add a sponsor. To do so, click on Sponsors > Add New. Again, this is located on the left side menu area of the dashboard.
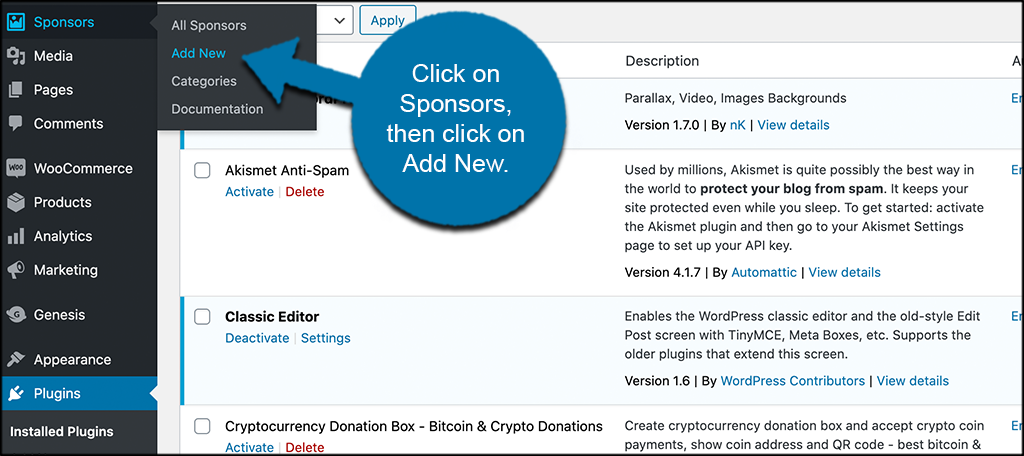
This will automatically open a sponsor editor where you can add all the relevant info you want.
First, go ahead and add a sponsor name and any relevant information you want to show.

Now, scroll down just a little and add the link (if relevant) and the sponsor email.
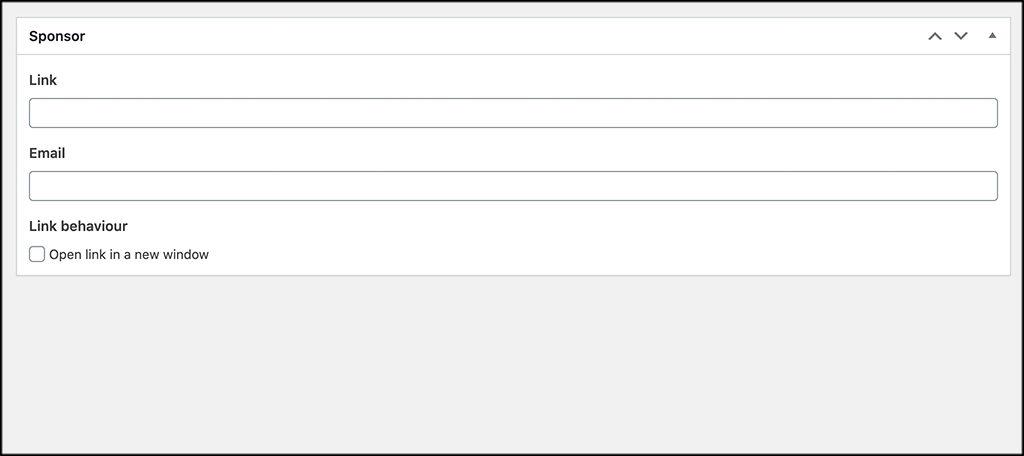
Finally, scroll back up to the top and add the sponsor logo to the editor.
![]()
When you are ready and feel you have all the information you need, go ahead and publish the sponsor.
If you click back to “All Sponsors,” you will see a list of all the sponsors you have created over time.
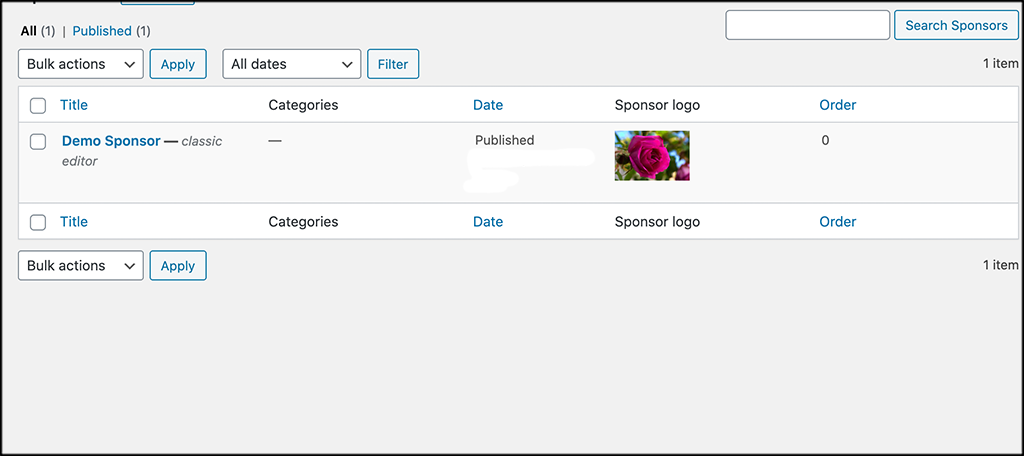
Repeat the above process to add as many sponsors as you want and categorize them when needed.
Step 4: Add Sponsor List Using Widget
At this point, you should have some sponsors added. You can easily add them to any widget area of your WordPress website.
Click on the Appearance > Widgets in the left menu.

Once on the Widgets page, scroll down until you see the “Sponsors” widget.

You can drag and drop this into any website widget area you wish.
Step 5: Add Sponsors to Page
Finally, if you want to add a sponsor to a page, the process is very easy. The plugin comes complete with a Gutenberg block.
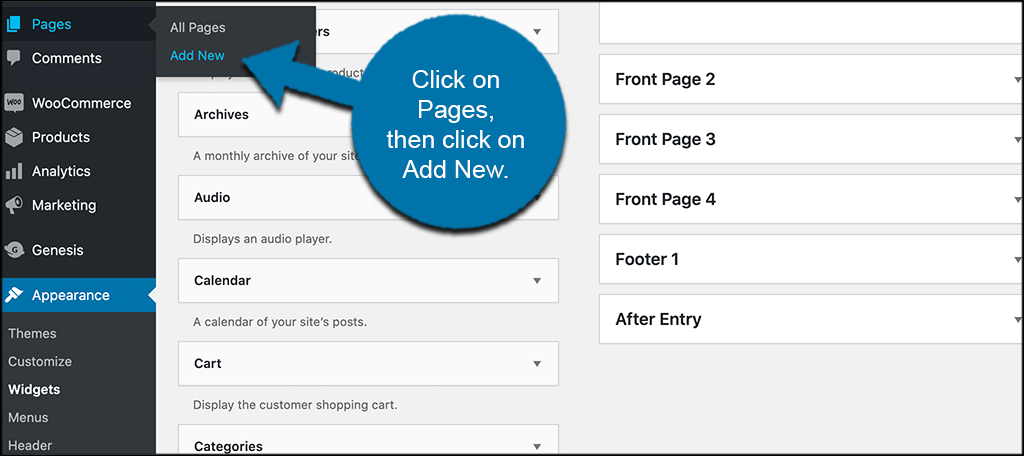
Click on Pages > Add New, on the left menu area.
Once you have your new page open, you can go ahead and add the correct block. Click on the blue + symbol to open your Gutenberg block library.

Scroll down in your library until you come across the Sponsors block that has been added. Click on it to add it to your page.

You will see a list of your sponsors displayed. In this case, I only added one so you could see it.

However, if you have more than one, then they will all display. Also, you can use the category filter in the block to display only sponsors from certain categories. You can also choose image size display, title, description, and layout with the block.

That’s it! Once you are finished, go ahead and publish the page. You can do this again to add more sponsors anywhere you want.
Add the Simple Sponsorships Plugin Add-On for More Options

Simple Sponsorships is a tool that works in conjunction with the Sponsors plugin. It basically provides a few more options that you might need when dealing with sponsors. The four main features provided with this plugin include:
- Ability to Accept Sponsor Requests
- Receive Payments From Approved Sponsorships
- Manage and Display Sponsors
- Create Sponsorship Packages
Think of it as more of a pro version of the plugin above, even though it actually acts as an add-on.
If you think this is something you need, then feel free to take a look.
Final Thoughts
Adding a sponsor and all the relevant info to a WordPress site does not have to be difficult. Instead of fumbling around with the editor trying to line up and layout content, simply use the Sponsors plugin above.
This plugin gives you everything you need to quickly and easily add all your sponsors to a site. Use the widget that is activated, or use the block that comes with the plugin.
Have you ever tried adding sponsor logos and information manually before? Have you found layout difficult sometimes?