The way we view things has changed drastically, even over just the last few years. For instance, we can now take tours of destinations online or view rentals and properties for sale because companies are using a 360 panorama viewer. So, what if you wanted to create something like this on your website? Now you can with the WP VR plugin.
Using a free virtual tour creator, you can give customers in all sorts of different niches the ability to view things in a 360 panoramic view. This is important because it allows someone to see a property and make a decision right from the comfort of their own home.
Why Use a Virtual Tour Creator?
Virtual tour creators are very popular right now. Furthermore, they can be used in all sorts of industries, and for a number of different things. Are you a real estate agent that needs to show a property? Do you have a hotel and want to give people the ability to tour rooms and the facilities from the comfort of their home? Maybe you run a museum and you are looking to give online tours.
Whatever the case may be, using a 360 panorama WordPress plugin will give you the ability to accomplish this right from your website. In order to accomplish this, you need to have a solid 360 panorama tour plugin enabled on your site. Let’s take a look at the plugin we are going to use today and see all that it has to offer.
WP VR
WP VR allows you to create amazing virtual tours without the use of any high-end equipment. You can do this all on your own from the dashboard of your WordPress website. This allows customers to take a remote tour of your properties from the comfort of their own homes.
Once activated, visitors will be able to navigate a 360 view of your location, switch between the scenes you have built, get information on location, zoom in and out to get a better view, and get an overall idea about how your place may appear if they were there looking at it in real-life.
All you have to do is provide a panoramic image and the WP VR plugin will transfer that into a very realistic virtual tour.
The plugin comes with a ton of built-in features. However, all of these features do not slow your site down, as the plugin remains lightweight. It is also compatible with Gutenberg, Elementor Page Builder, Oxygen, and many other high-end plugins. There is built-in shortcode support as well.
Features
With so much functionality included, it is really hard to know where to start. That being said, here are some of the main features you will enjoy when using WP VR:
- Mobile-First Approach
- Live Previews
- Tour Autoload Feature
- Scene Fade Animation
- 360 Video Support (Through YouTube and Vimeo)
- Auto Rotation and Speed Control
- Rotation, Direction, Pause, and Stop Control
- Zoom In
- Zoom Out
- Fullscreen
- Hotspots
- Multi-Site Support
- Full-Width Tour Tag
- WP User Role Support
- Embed Texts, Videos, Images, GIFs, and Website Links on Hotspots
- Mobile Media Resize Option
- Plugin Rollback Support
And that is just the tip of the iceberg. The WP VR plugin is loaded with goodies and gives you everything you need to build a fantastic 360 panoramic tour on your WordPress website.
Let’s get the plugin installed and running together.
Note: WP VR does have a pro version that offers even more. If you feel this is something you need for your tours, go ahead and give it a look. The rest of the tutorial below is based on the free version of the plugin.
Use WP VR to Add Virtual Tours
Step 1: Install and Activate the Plugin
In order to start using the WP VR plugin, you first need to install and activate it. You can do this by jumping over to the Plugins page in the WordPress admin dashboard of your site.

Simply use the search field and enter the plugin by name. When it pops up, go ahead and install and activate it right from there.
Step 2: Access the Get Started Page
Now that the plugin has been installed and activated, you want to head on over to the Get Started page and configure the plugin settings. To get there, click on WP VR > Get Started, located on the left side menu area of the dashboard.
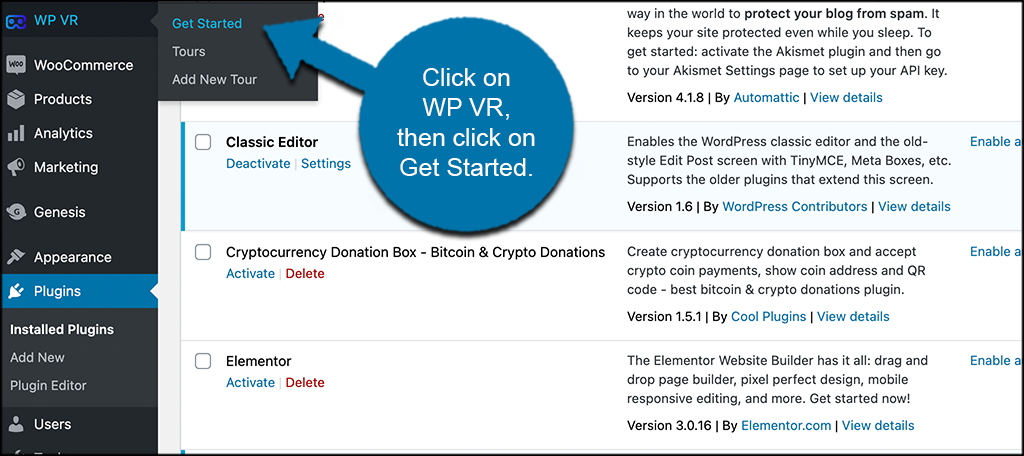
You can see that this is now an available option because you activated the plugin.
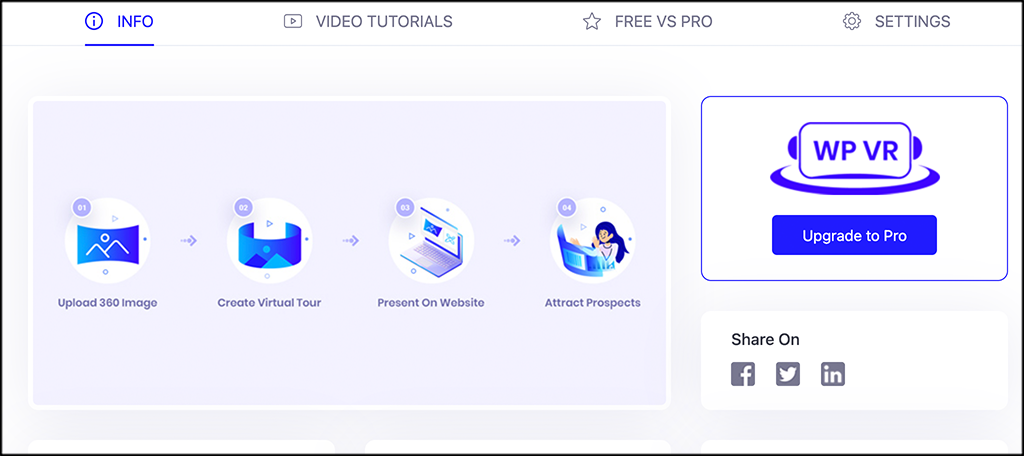
Step 3: Configure the Plugin Settings
At this point, you should be on the main settings page for the WP VR plugin. You will see there are four main tabs. These include:
- Info
- Video Tutorials
- Free vs Pro
- Settings
Let’s go over these together real quick.
Info
This tab simply provides a lot of info about the plugin. It also provides links to support and other documentation.
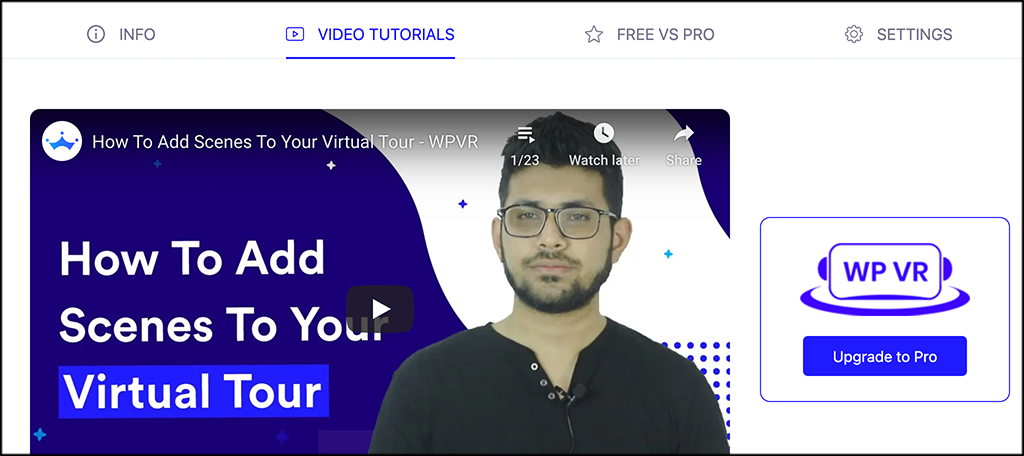
Video Tutorials
Use this tab to access a number of video tutorials if you need them for troubleshooting.
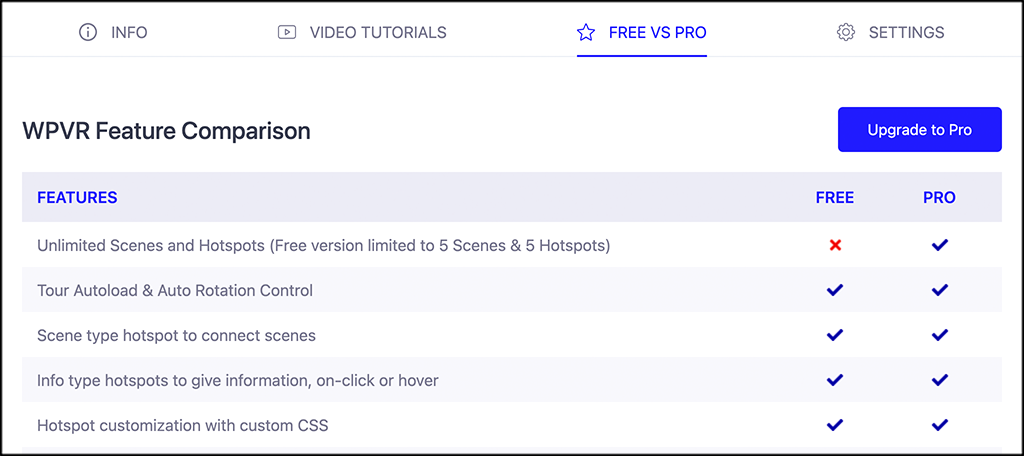
Free vs Pro
As you can imagine, this tab gives information on the differences between the free and pro versions of WP VR.
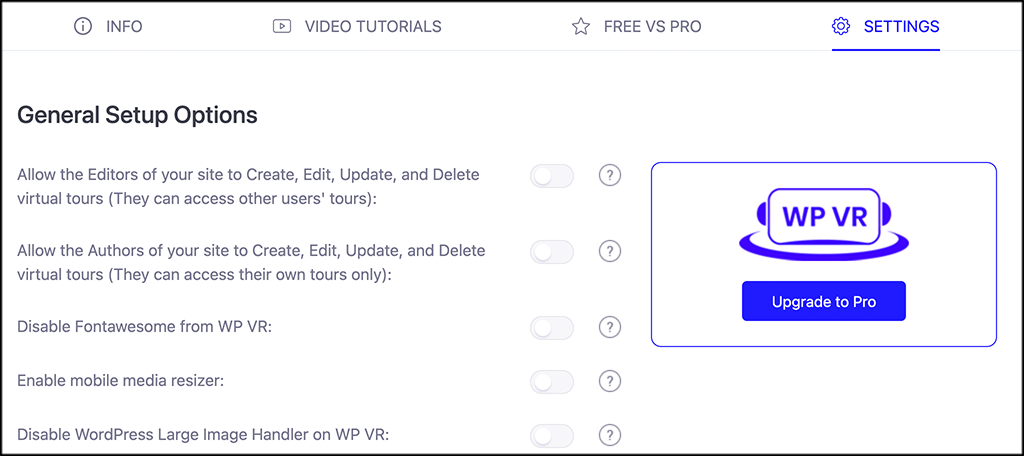
Settings
This is where you will actually configure some important settings for the plugin. Go ahead and enable or disable what you want and make the rest of your selections according to what you would like.
Step 4: Click on the “Add New Tour” Tab
Now that all your settings are in place, it is time to add a virtual tour. Click on the “Add New Tour” tab, located under the main WP VR tab on the left side menu in the dashboard.

Step 5: Add a Tour Name
At the top of the WP VR editor, you will see a place to enter a tour name. Go ahead and add a tour name.
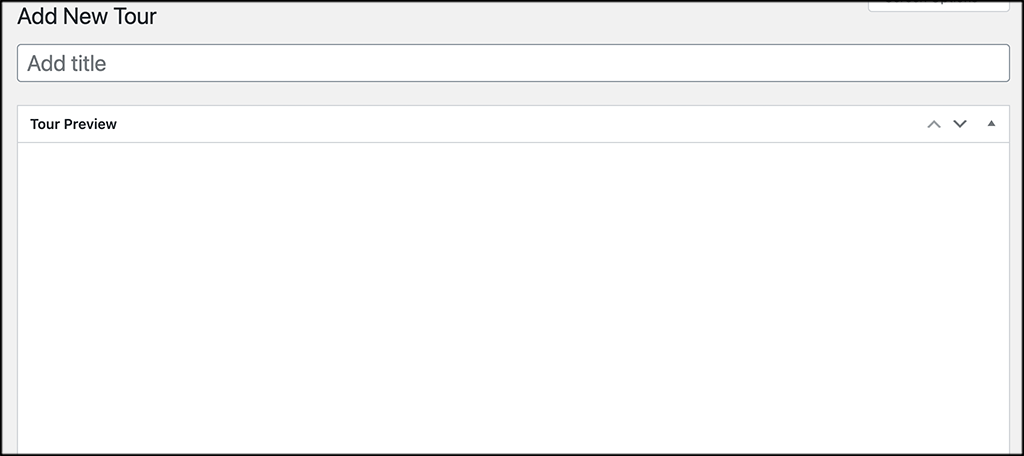
Under that, you will see an area titled “Tour Preview.” This area gives you a preview of the tour you are building so you know what it looks like before you publish it while adding the shortcode to a page.
Step 6: Add General Options and Settings
Scroll down some to the “Setup” area of the editor. Go ahead and upload an image and set all the other basic settings how you would like.
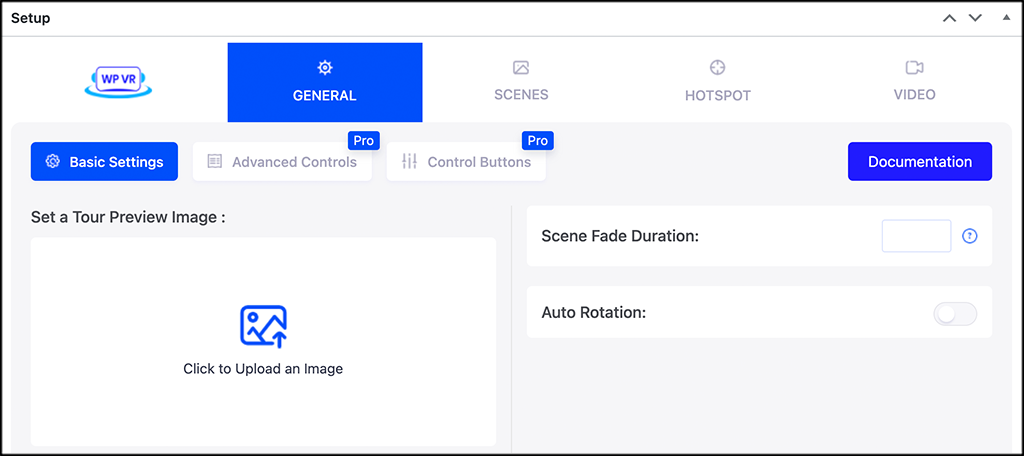
Note: You can see that the advanced controls and control buttons options are grayed out unless you have the pro version of the plugin.
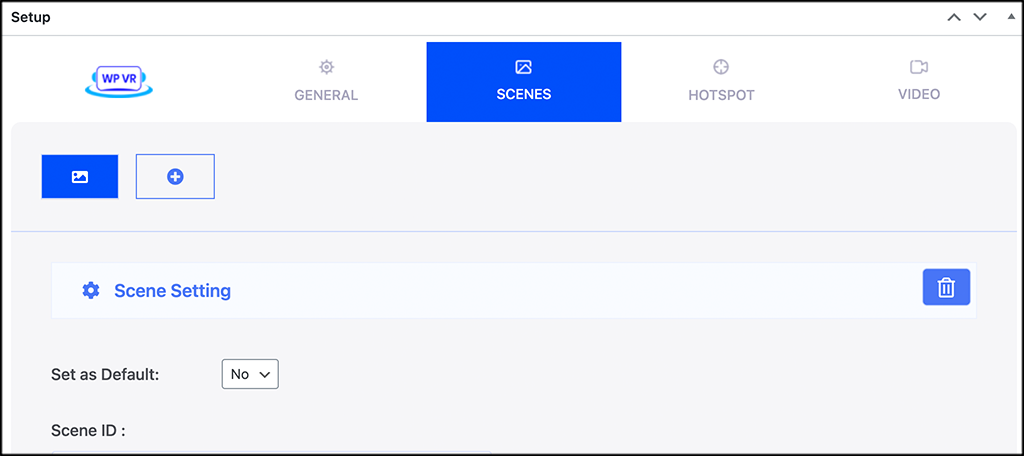
Step 7: Add Scenes
Click on the “Scenes” box and add scenes if needed.
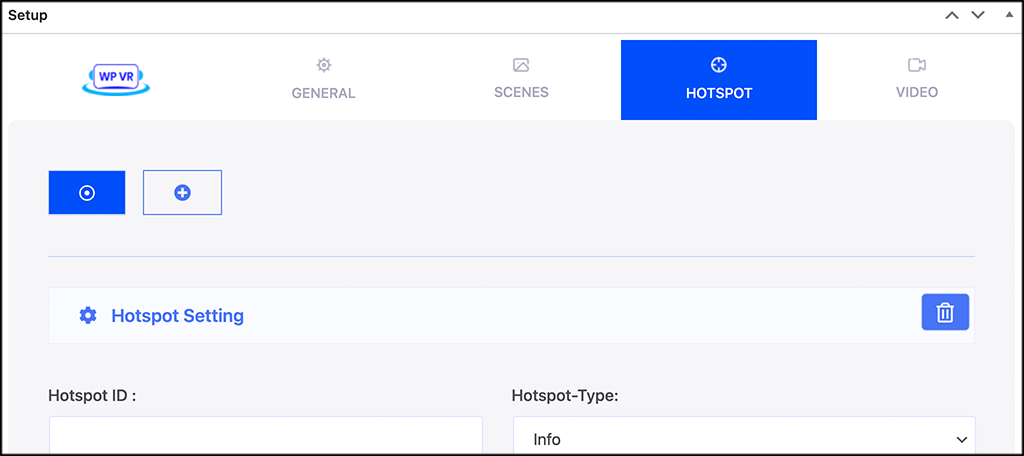
Step 8: Add Hotspots
If you need to add a hotspot or multiple hotspots, you can do that under this box.
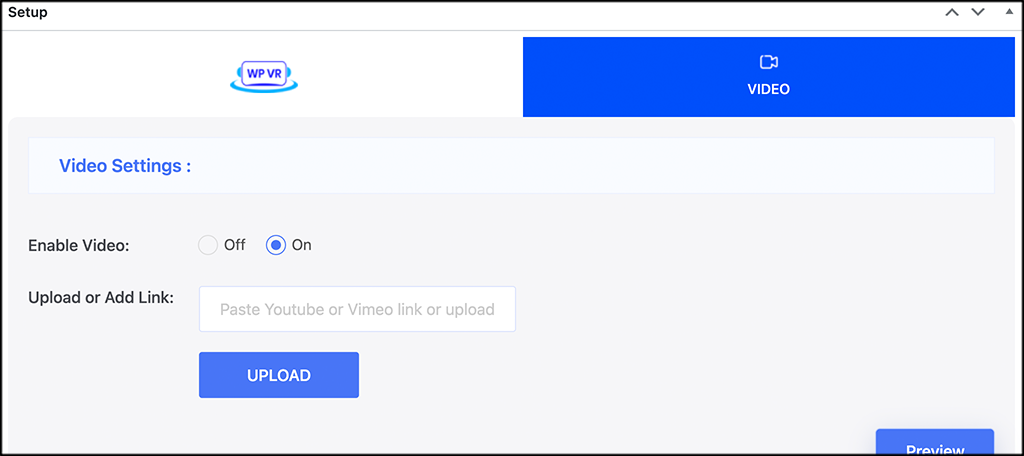
Step 9: Enable or Disable Video
Last but not least in the setup, you can enable or disable video functionality. Go ahead and make your choice. When you are finished, click on the “Publish” button to make the tour live.
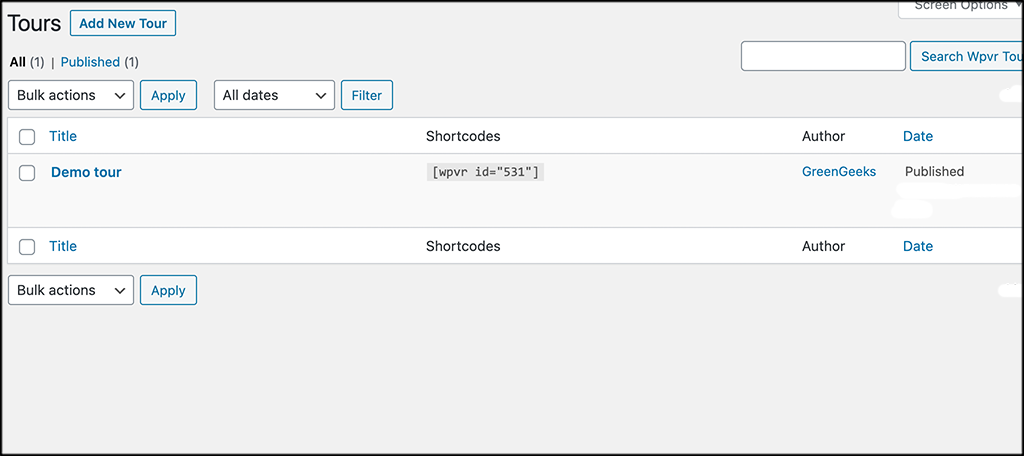
Step 10: Add the Shortcode to a Post or Page
Once the tour is published, WP VR provides you with a shortcode for that tour. Simply copy and paste that shortcode into the post or page you want it to display on.
That’s it, you can create as many tours as you want and publish them all-around your website.
Who Should Use WP VR?
Remember, this isn’t just for real estate agents. As mentioned above, it can be used in many different industries. Some of these include:
- Real Estate
- Educational Institutes
- Hotels and Resorts
- Restaurants
- Travel and Tourism
- Museums
- Art Galleries
- Showrooms and Stores
- Bars and Pubs
Give it a try and see how you like it. Your potential and existing customers and clients will thank you.
Final Thoughts
Adding virtual tours on your WordPress website is a great way to allow customers to see properties and get questions answered, all from the comfort of their own home.
Adding the type of functionality to your site does not have to be difficult. If you have a plugin like WP VR, then the process is pretty simple and straightforward.
I hope this tutorial was able to show you how easy it actually is to create and publish beautiful 360-degree panoramic tours on your website.
Have you ever accomplished this with high-end equipment? Have you found it too difficult and time-consuming?