
Push notifications are a powerful marketing tool to increase engagement from mobile users, but adding them can be tricky. Luckily, with the Push Notifications for WP & AMP plugin, the process has been streamlined so anyone can do it.
In fact, it’ll be up and running in just a few minutes. Every website should aim for push notifications to improve the mobile experience and get visitors to come back whenever new content is added.
Today, I will demonstrate how to achieve this with AMP push notifications.
What Are Push Notifications?
Push notifications are the messages you receive on your phone or desktop computer that will tell you about a recent change from a website or app. The goal is to alert visitors that a change has occurred and that they should check back.
The notification can be about anything.
For instance, if you have the PayPal app, you will receive notifications anytime a payment is made or received via PayPal. For websites, you may receive a push notification when they release a new blog post.
In fact, YouTube runs push notifications to show content it thinks you’ll be interested in.
Another possibility is that you can alert visitors when a new product has been added to your store. Or when a new sale has gone live. You can even send custom messages en mass to everyone following your website.
In reality, the uses for push notifications are near endless. But getting them to work right on mobile devices, especially with AMP running, can be a bit of a chore.
How to Add Push Notifications to A WordPress Website
Step 1: Install Push Notifications for WP & AMP
Push Notifications for WP & AMP is a great plugin that makes it easy to add push notifications to a WordPress website. The plugin will send out a push notification to mobile users every time a post is published.
It will not send out a notification when a post is updated, by default, but the option does exist to disable that feature. After all, you don’t want to inundate your followers with messages every time you make a change.
More features are being developed for the plugin, so the uses will only grow in the future. Just remember to make sure you are not spamming visitors.
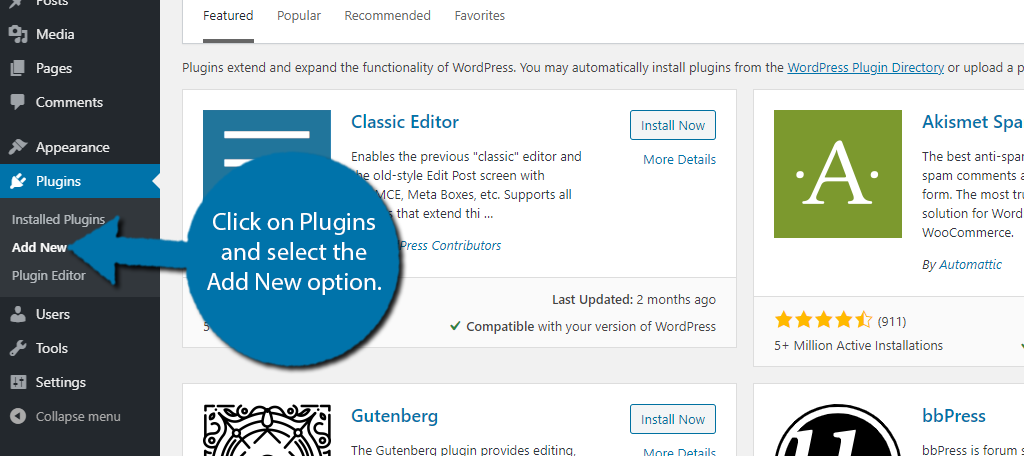
Let’s start by clicking on Plugins and selecting the Add New option on the left-hand admin panel.
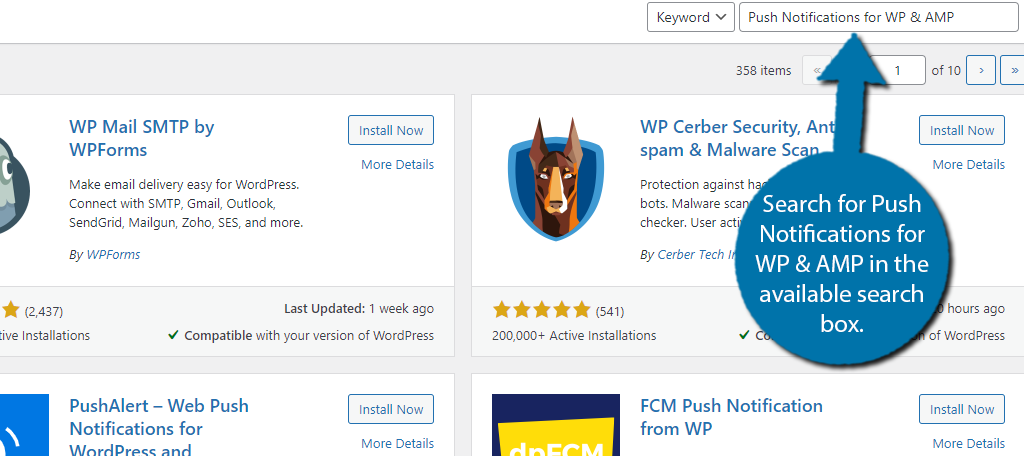
Search for Push Notifications for WP & AMP in the available search box. This will pull up additional plugins that you may find helpful.
Scroll down until you find the Push Notifications for WP & AMP plugin and click on the “Install Now” button and activate the plugin for use.

Upon activation, the plugin will ask if you want to receive emails on the latest plugin updates and other information. Feel free to agree or decline, as it will not impact how you use this plugin.
Step 2: Get the API Key
The first thing you need to do is obtain the API key. This will require creating an account, but the process is very quick.
On the left-hand admin panel click on Push Notifications.

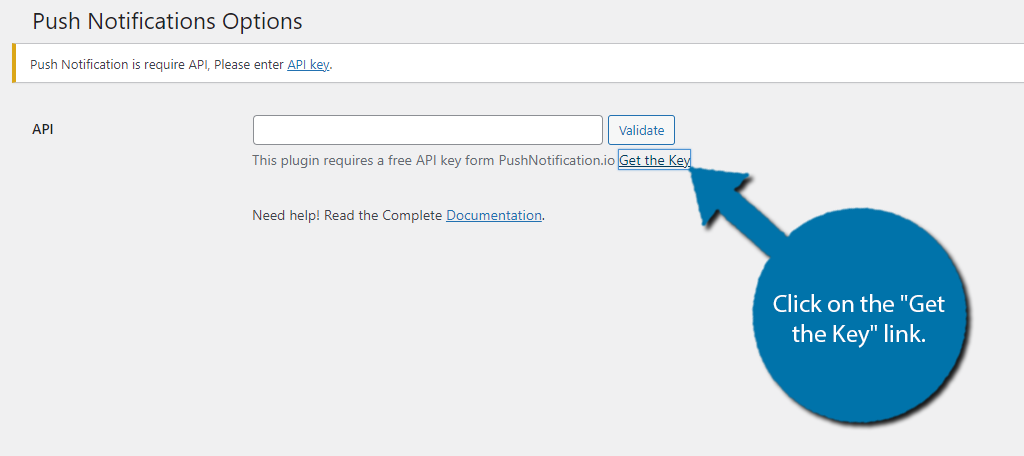
You will see a textbox for the API key. Below it, you will find a link to the registration. Click on the “Get the Key” link.
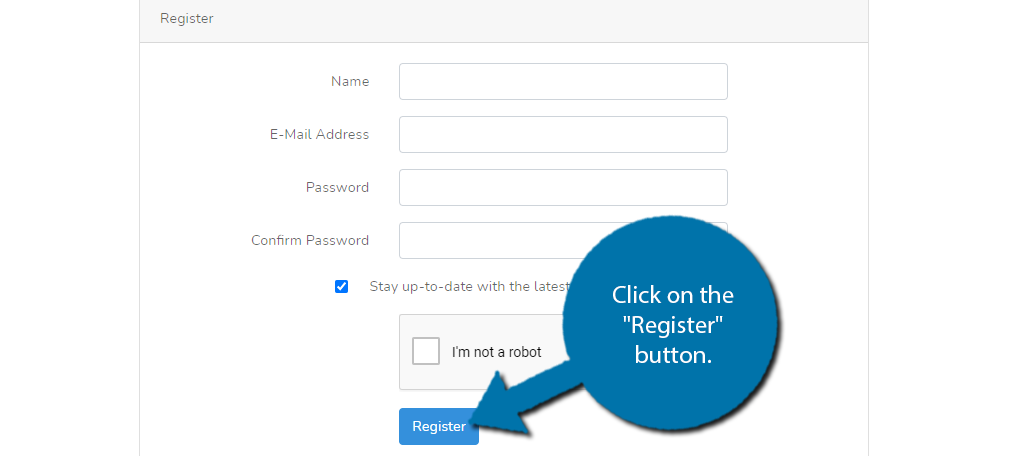
This will open up a new tab in your browser. Here, you must enter a name, email address, and an account password. Click on the “Register” button when you are finished.
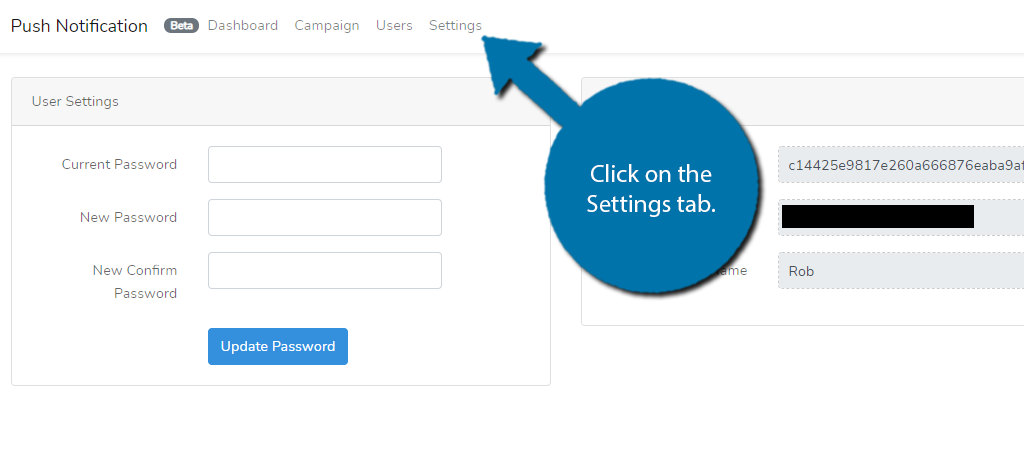
You can view the number of subscribers here, as well as send out notifications. However, all of this can be done from your website as well. Click on the Settings tab.
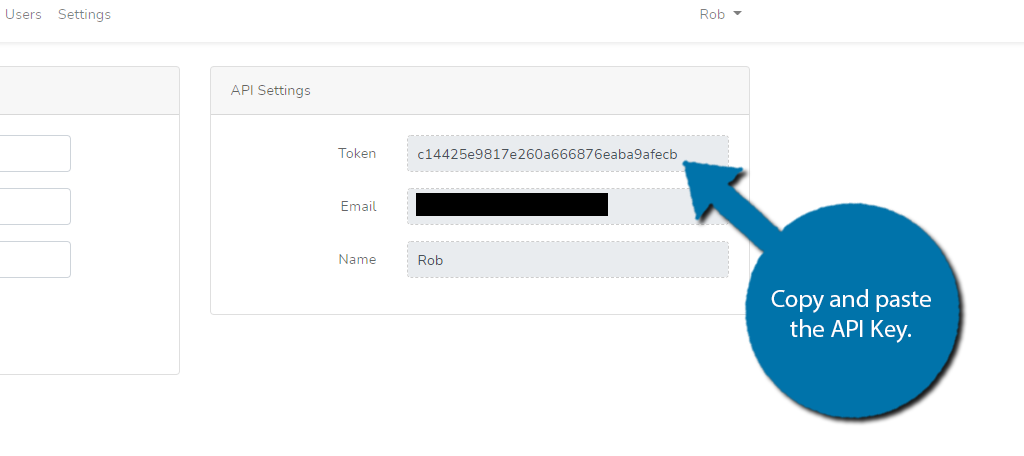
Copy the API key and paste it into the appropriate box in WordPress.
Click on the “Validate” button. The verification process will begin.
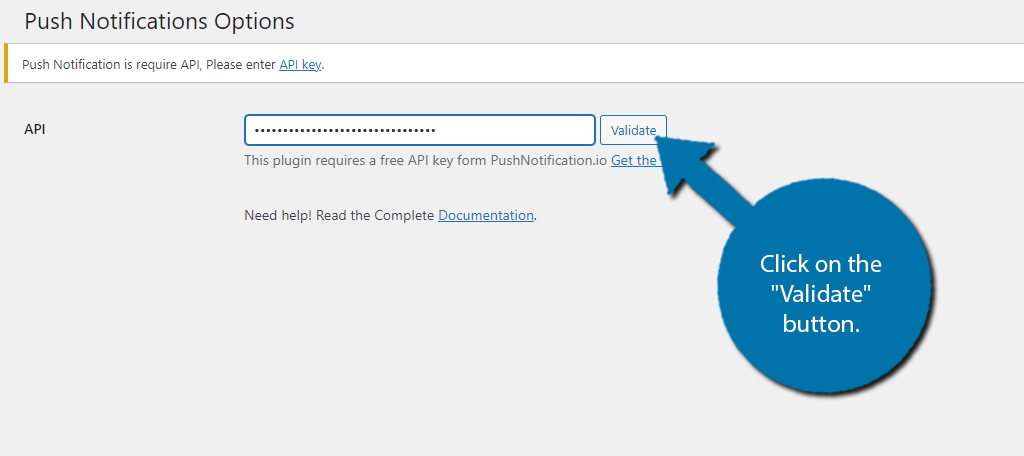
Upon completion, the plugin settings will become accessible.
Step 3: Settings
The settings are fairly simple to go through and should only take a minute or so.
The first option is for the notification icon. By default, the plugin will use a bell icon, which is perfectly fine. However, I do recommend using your website’s logo. This helps build brand recognition as they will see it on every notification.
It also helps make your website not look generic.
Below this, you can select if a notification is sent after editing a post or publishing a post. You can check the boxes as you see fit. You can also select the content that will trigger a notification.
By default, it is just posts and pages.
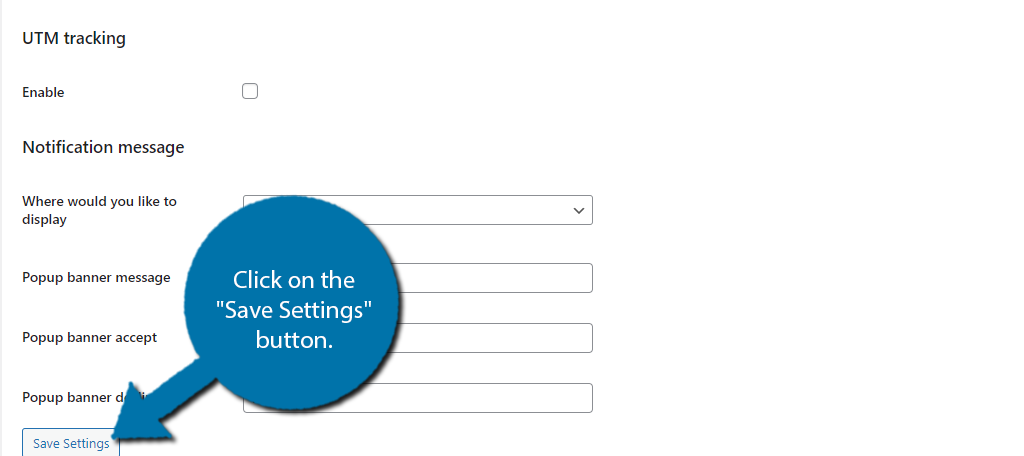
Underneath this, you can enable UTM Tracking. If you are not familiar with what this means, I recommend leaving it off.
Finally, you will see the Notifications section. Here, you can set up a message that will ask visitors if they want to receive notifications. Enter all of the information and click on the “Save Settings” button.
Note: At the bottom, you can send out a custom notification. This is great for special occasions like when a sale pops up in a merch store. You can add the icon, title, link, and custom message. The message is sent out instantly, so there is a lot of flexibility on how it can be utilized.
You can now view the notification request on your website.
Congratulations, on setting up the plugin. At this point, the plugin will run itself. The only thing you need to worry about is visitors enabling notifications.
How Can I Get Visitors to Accept Notifications?
That’s a great question and corporations have spent millions, maybe even billions, trying to figure out the answer. The reality of the situation is that you can’t really do anything to ensure follows, but you can sweeten the deal.
For instance, you could promise visitors exclusive rewards, like discount codes, that are only available via push notification. And occasionally, send them out using the custom notification feature.
This not only helps get more visitors to enable the feature, but can help encourage them to buy something from your site, or an advertised store.
Do Push Notifications Affect SEO?
While it is unknown if push notifications themselves affect SEO, they can influence the factors that do. So indirectly, they can have a huge impact.
By having notifications, visitors are more likely to return to your website. When they do return, that makes Google, or other search engines, think your website is a surfing habit, which builds up your website’s authority.
If you are popular enough, Google will consider your website an excellent source for the information related to it.
It is an indirect relationship, but a relationship nonetheless.
Don’t Spam Your Visitors
The biggest mistake you can make is to spam notifications. If visitors think you are annoying, they will not only unsubscribe to notifications, they will most likely start avoiding your website.
And this doesn’t just affect your website…it affects everyone.
Think about it, if you were willing to subscribe for push notification, and your experience was a constant barrage of spam, how likely are you going to be to do subscribe again? If you are being honest, probably never.
This is a big part of why it is hard to get people to accept notification in the first place, Just about everyone has had a bad experience with them at one point or another.
Have you noticed more engagement from your visitors since adding AMP push notifications? What steps do you take to avoid spamming visitors?
I’ve been following your blog for quite some time now, and I love your content and the lessons you share with your readers. Every time I read a post, I feel like I’m able to take a single, clear lesson away from it, which is why I think it’s so great.
I am seriously looking for a blog like this So wonderfully you have explained easily to set up the push notification to the website.