If your looking for a way to boost sales, adding a product feed to your storefront is a surefire way to achieve this. And with the CTX Feed plugin, adding one in WordPress has never been easier.
This plugin allows you to add a product feed for Woocommerce to platforms like Facebook, eBay, and most other major platforms. It also ensures that the experience is easy enough so that anyone can create a feed. Thus, it’s perfect for beginners.
Of course, you should make sure your regular website is running smoothly by picking a great web host. By doing so you can improve the performance substantially.
Today, I will demonstrate how to build a WooCommerce product feed using the CTX Feed plugin.
What Is A Product Feed?
A product feed is a file that consists of a list of products and attributes of those products that can be organized in a variety of ways. The most common attributes (or elements) consist of images, names, descriptions, and ratings.
On a website, this will look like a stream of products that you can view and they can normally be found under a specific category.
The reason most websites add one is to show off specific products to their customers. With some tools, it is even possible to create targetted product feeds that show specific products to certain customer groups.
And as I’m sure you already know, they are a great way to boost sales because they show products that customers are more likely to be interested in. That said, even an untargeted feed will have a positive effect on sales.
How to Use CTX Feed to Create Product Feeds in WordPress
Step 1: Install CTX Feed
CTX Feed (previously WooFeed) is a WooCommerce product feed generator at its core that supports over one hundred marketing channels. The number of feeds and products you can add to them is unlimited, which allows you to create feeds for individual categories.
It’s worth highlighting that the premium version of the plugin gives you access to many of the above features and many more. The free version of the plugin offers a lot, but the premium takes it all a step further.
Note: This plugin is an add-on for WooCommerce, thus, you must have WooCommerce installed. If you do not, you will encounter an error message. You will also need products in place. Otherwise, your feed will be empty.
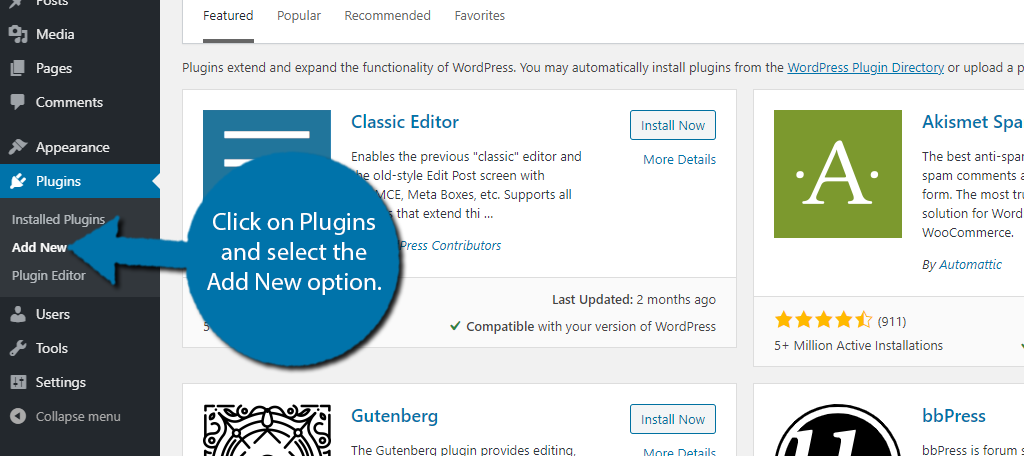
Let’s start by clicking on Plugins and selecting the Add New option on the left-hand admin panel.
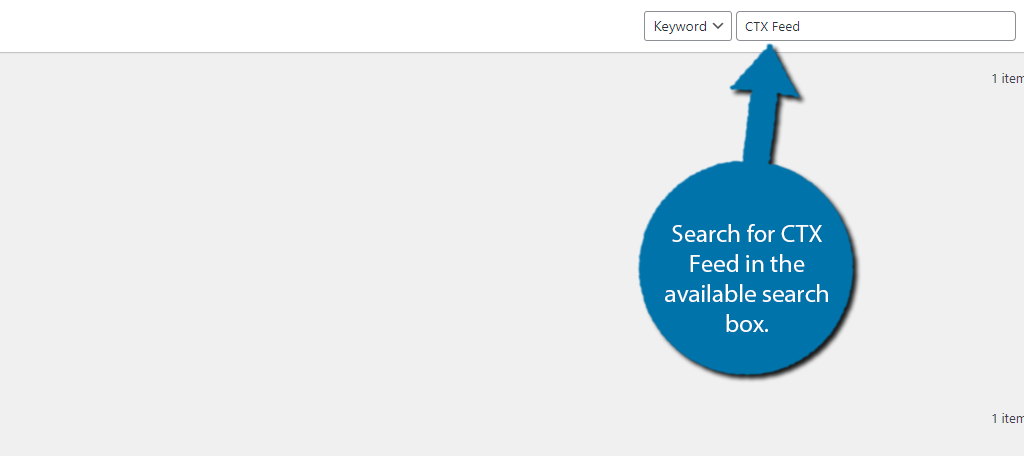
Search for CTX Feed in the available search box. This will pull up additional plugins that you may find helpful.
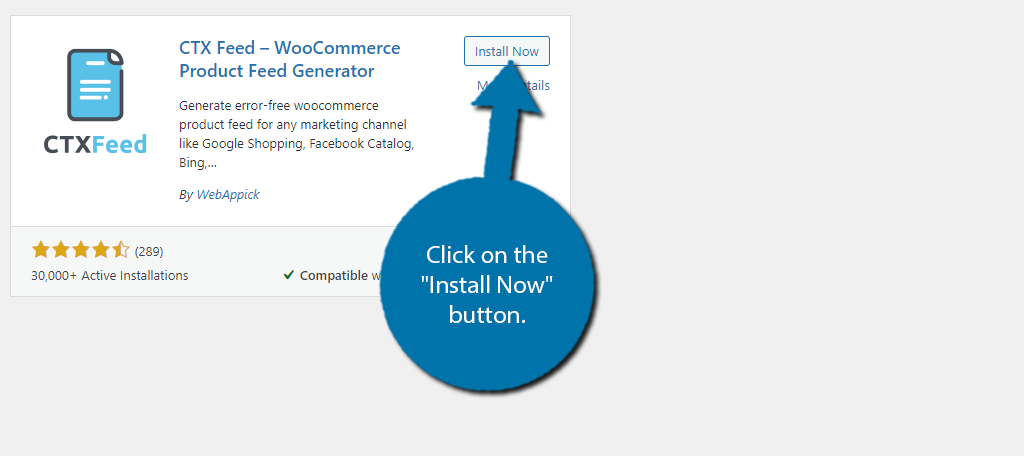
Scroll down until you find the CTX Feed plugin and click on the “Install Now” button and activate the plugin for use.
Step 2: Make A CTX Feed
With the plugin installed, you’re ready to make a feed. The process is very straightforward, but it is important to mention that each merchant has its own templates to configure.
For instance, the Google Shopping feed and Bing Shopping feed have unique templates you must set up individually.
I will cover one of these, but the rest are quite similar. Usually, only merchant-specific information is unique.
On the left-hand admin panel, click on CTX Feed and select the Make Feed option.

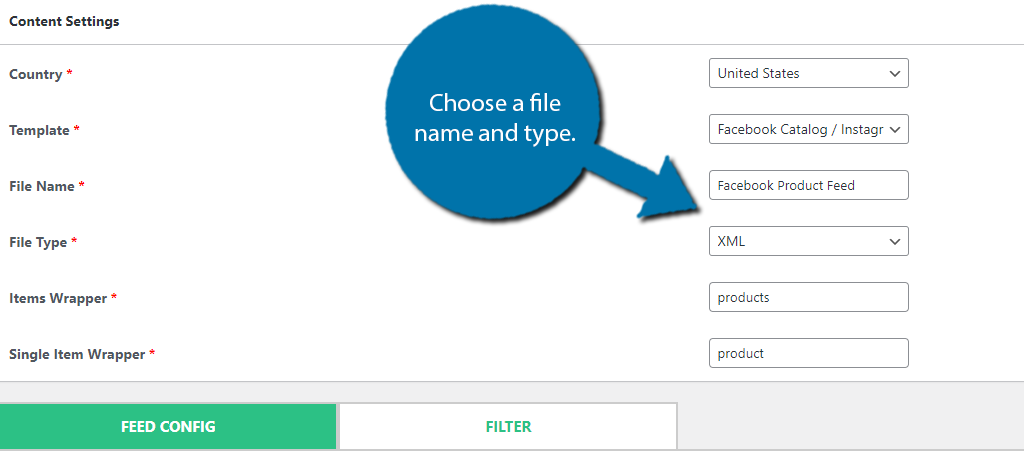
At first, you will only see the Content Settings section. More options will appear once you select a template.
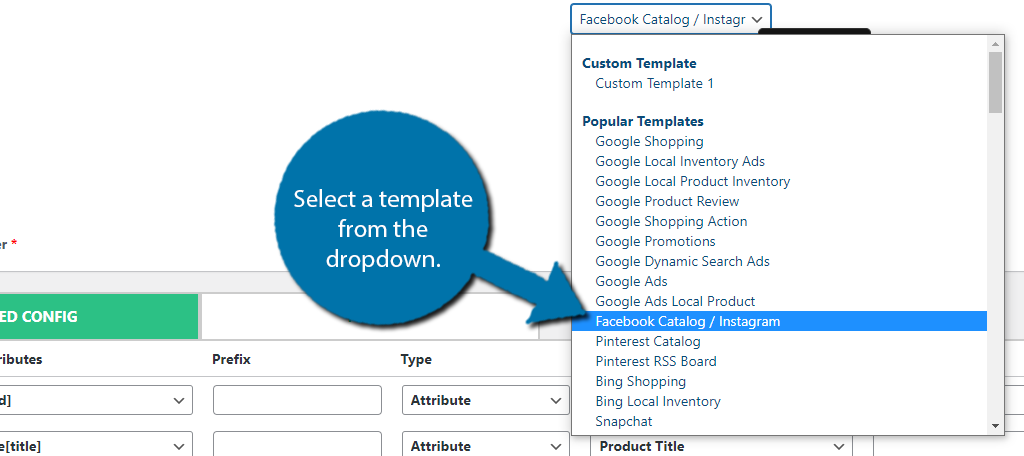
First, you need to select your country. Since this is dealing with merchants, it’s very important to list the correct one. Next, select the template you want to use. There is a template for each individual merchant, or you can create your own.
Personally, I recommend using their templates, so select the one you want to use. For reference, I am selecting Facebook Catalog/Instagram.
Now, enter a file name and select the file type. In most cases, XML and CSV are the most popular file types to select. But, pick whichever one fits your needs.
Step 3: Feed Config
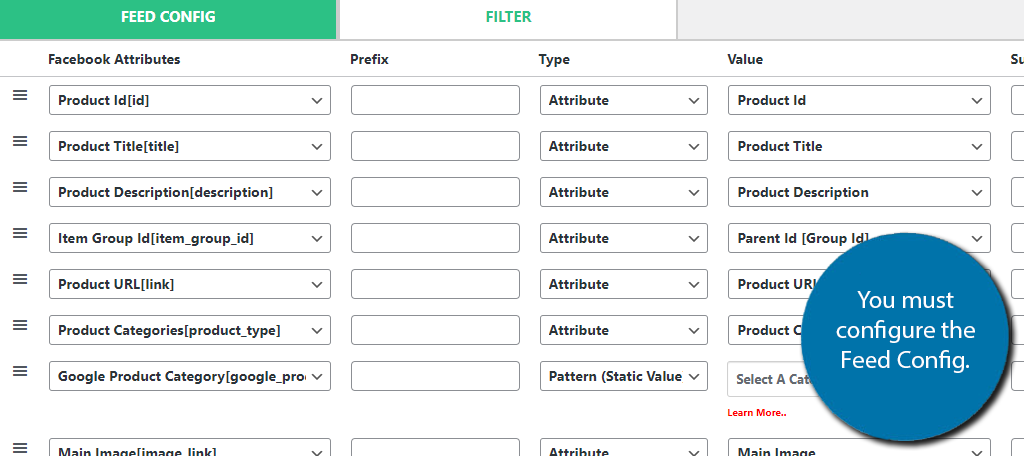
You should have noticed that more options appeared when you selected the template. This is the Feed Config where you select what attributes products will need.
You can remove or add as many as you want, but the default options are a great starting point.
You can always change this later on if you want to remove or add something.
While most of these settings are straightforward or particular to the platform, let’s cover a few basics that are universal.
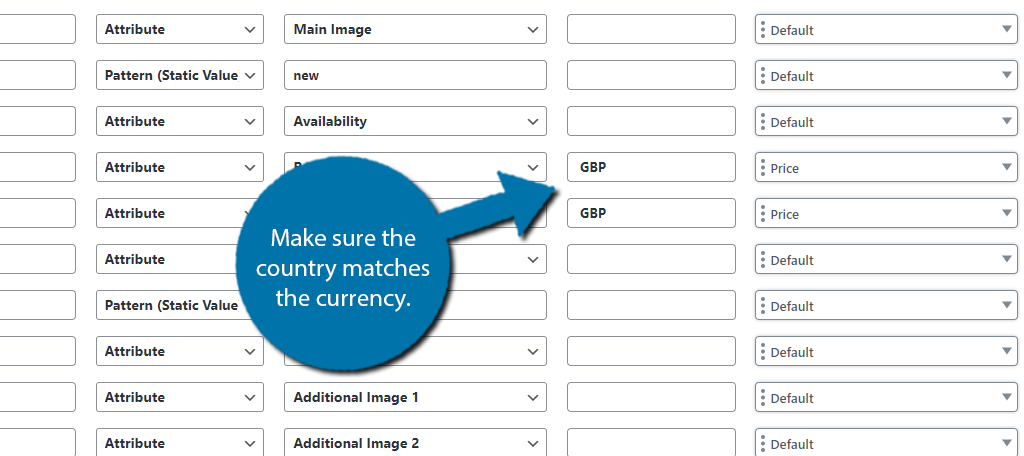
Remember how you selected a country in the previous step? Well, you absolutely need the currency to match the country. By default, The UK is the default country, which in turn means that GBP is the default currency.
Thus, if you selected the United States as your country, you need to change all instances of GBP to USD.
You must also select a category. This is actually the only attribute that is not auto-selected or filled in for you. Simply go through the list and select what you want to use.
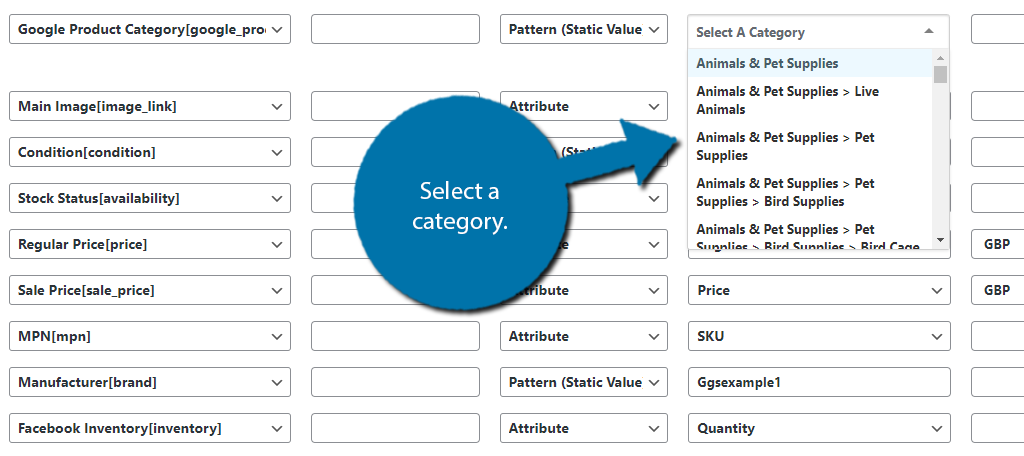
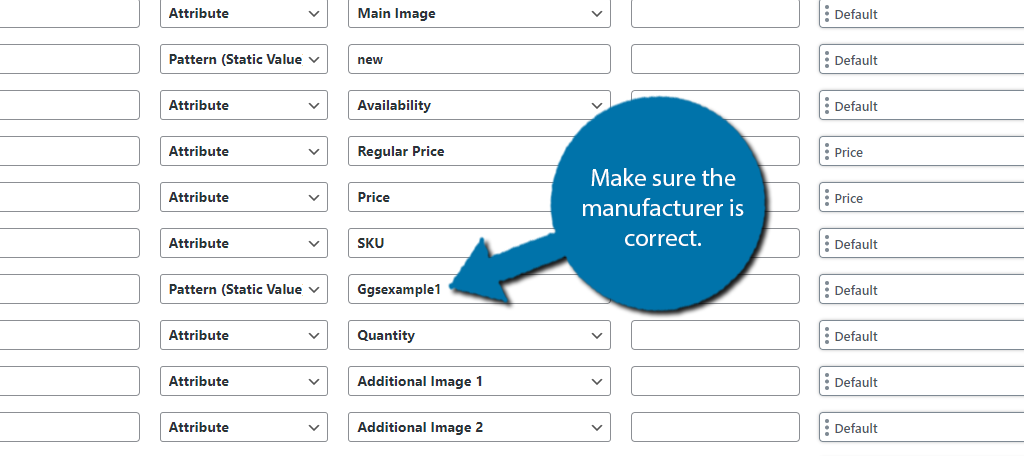
The Manufacturer is set to your domain name by default. While this may be applicable to some, it is not for most. Therefore, make sure this value is correct.
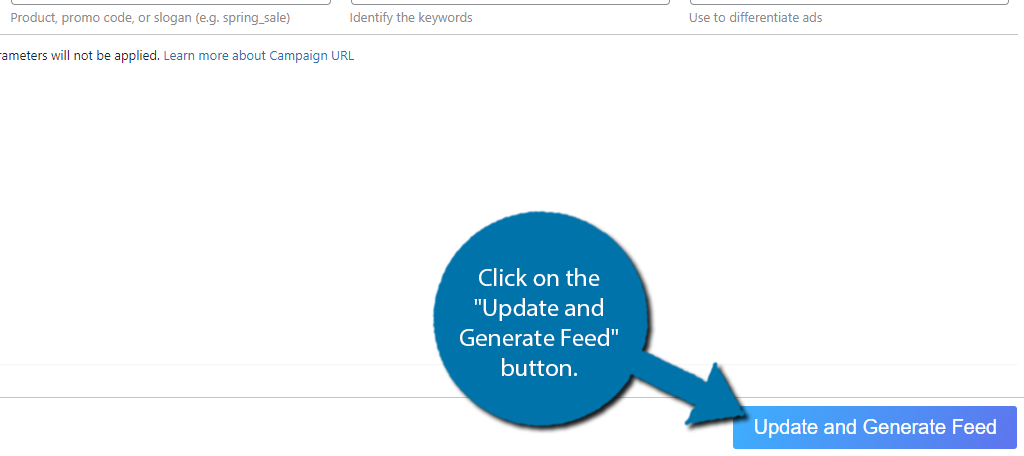
The filter tab allows you to enter a few pieces of information, but most of the features are locked behind the Pro version. When you are done, click on the “Update and Generate Feed” button.
Step 4: Add the Feed
Really, all that’s left is to add the feed, but this requires going to that specific platform to finish up. This step is completely reliant on the platform you are using. In this case, you would go to the Facebook Business Suite.
You will need the file you just created in the previous step. Simply follow the Facebook steps and upload the file. You may encounter an error if a field is not entered correctly, but Facebook is very good about explaining the errors.
That said, you would need to go back to WordPress, edit the feed, and then re-upload that file to correct it. It may sound like a lot of work, but it only takes a few minutes.
The process is similar on other platforms, but there are differences. If you do encounter an issue on the platform side, just contact that platform’s support, and they should be able to assist you or provide the necessary information.
After this, your WooCommerce feed will be in place on that platform. Congratulations!
How Many Platforms Should I Add My Feed To?
As many as possible.
There’s no major downside to have multiple feeds on different platforms. The only negative that comes to mind is the initial setup and maintenance required. After all, you are going to have to update these on a regular basis to reflect price changes.
However, as long as you can manage it, the more the merrier.
Increasing sales of platforms like eBay or Facebook can really help your website stay afloat. Just remember to make sure that products belong in that category and that they are in line with the platform’s regulations.
More Exposure, More Traffic And Sales
I’m sure you all know this by now, but the more people that see your products or brand, the better.
It’s one of the primary reasons why social media is such an effective marketing tool. And for online stores, displaying your products in other locations has the same impact. So make sure to take advantage of it!
Which platforms did you add your WooCommerce feed to? How easy did you find CTX Feed to use?