Do you need to transfer a WordPress site from a local server on your computer to a live web server? This tutorial will take you through the process step by step.
If you’re a professional website developer, you may do local server transfers every day. But most of us will only do it occasionally, so it’s easy to forget steps or get lost in the pesky details.
Hopefully, this will help make the process easier.
Wait, I Can Run WordPress on My Computer?
Yes, you can! And doing so will save you a lot of trouble when developing a new site or making changes to an existing one. Working on a live site is stressful, and it can leave your visitors with a bad impression of your website or business.
But WordPress needs a web server, a MySQL database, and PHP, so how can you run it on your computer?
The answer: WAMP.
WAMP is a package that installs an Apache web server, a MySQL server, and PHP on your computer. Depending on the WAMP package you use, it can all be configured with a few clicks.
I’m using WampServer for this demo. From here on out, we’re working on the assumption that you are ready to do a local server transfer. Meaning you are already running a local version of WordPress, and you want to move it to a live web server.
Preparing to Transfer a Local WordPress Site to a Live Server
If you don’t already have a web host for the live site, you should set that up first. You’ll want that crucial element to be completely up and running before you start the move.
Create a New Database and User on Your Host
A new MySQL database and user has to be set up in your hosting account. If you have access to cPanel at your host, the process is pretty straightforward. If you aren’t using cPanel, check with your host to find out how to create a new database and user.
You do not need to have WordPress installed on the live site. Just an empty directory where you want the site to live. If your host has pre-installed WordPress, delete the files before starting this transfer.
You’ll also need an FTP program for moving files around. You could always use the popular and free platform, FileZilla.
Using a WordPress Plugin to Make the Move Easier
We’ll be using the Duplicator WordPress plugin to help us make the transfer.
If you’re moving your local site an existing hosting account that already hosts a live site, make sure you back up the live site and database files before you do anything else.
Okay, let’s get the Duplicator transfer started.
Installing the Duplicator Plugin to Transfer a WordPress Website From a Local Server
We’re going to install the plugin on our local site. It does not need to be installed on the live site to complete the Duplicator transfer.
Log in to the WordPress admin panel for your local site.
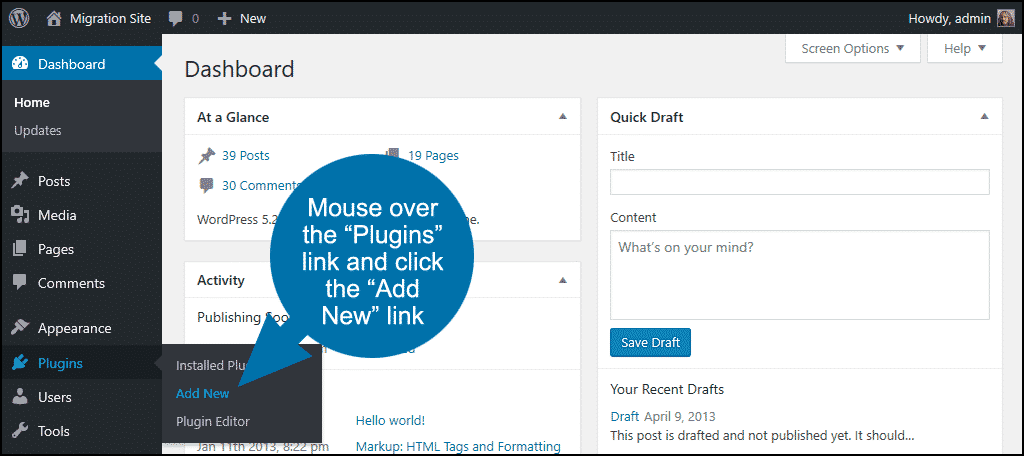
In the left column navigation, mouse over the “Plugins” link and click the “Add New” link.
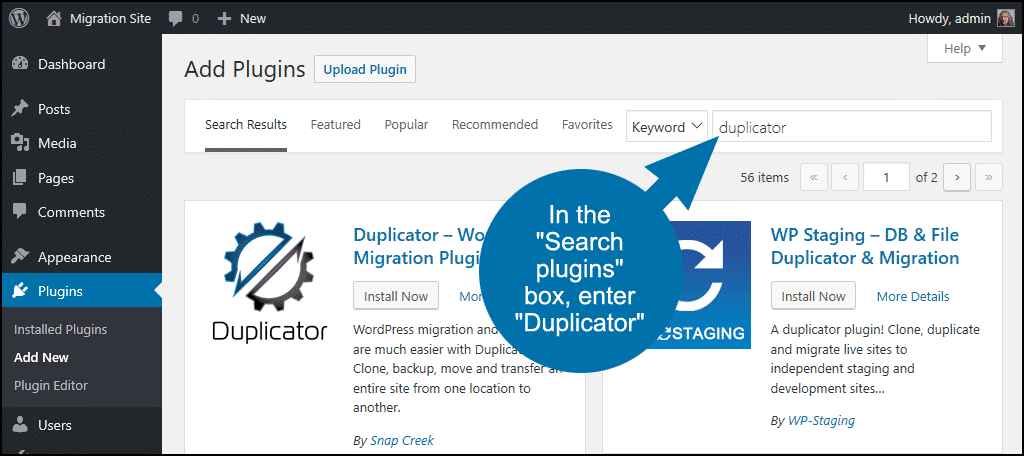
In the “Search plugins…” box, enter “Duplicator.”
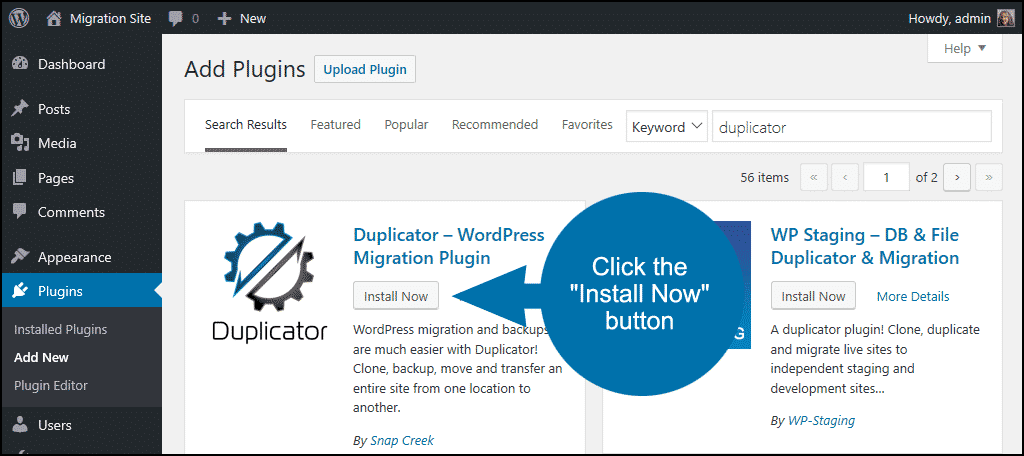
Once you have located the plugin, click the “Install Now” button.
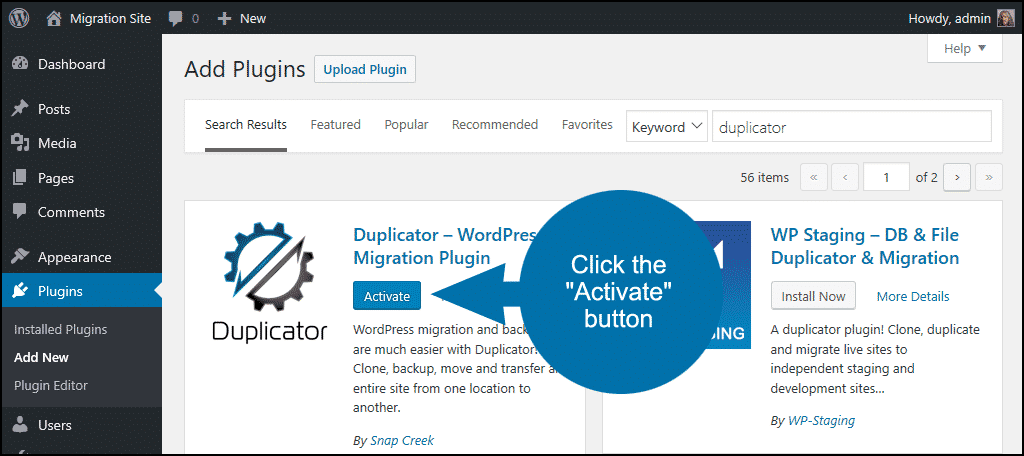
When the plugin has been installed, click the “Activate” button.
Creating a Copy of the Local Website
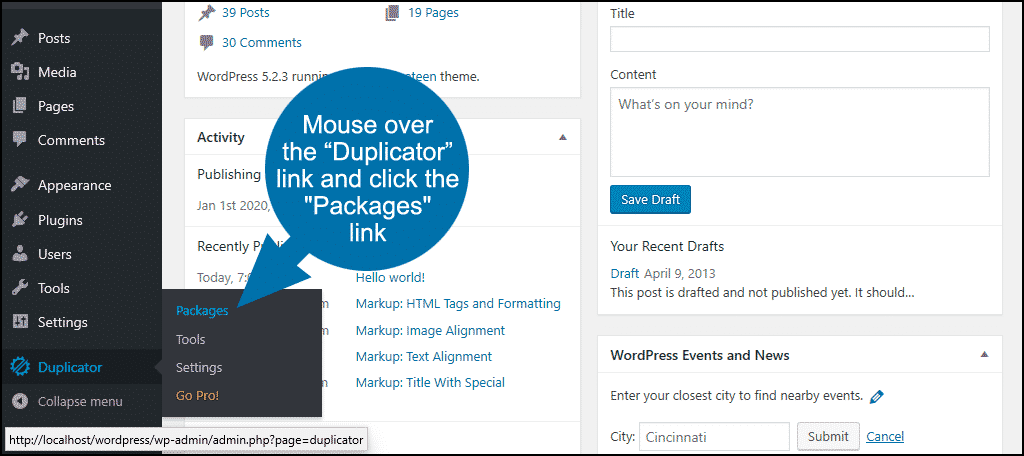
In the left column navigation, mouse over the “Duplicator” link and click the “Packages” link.
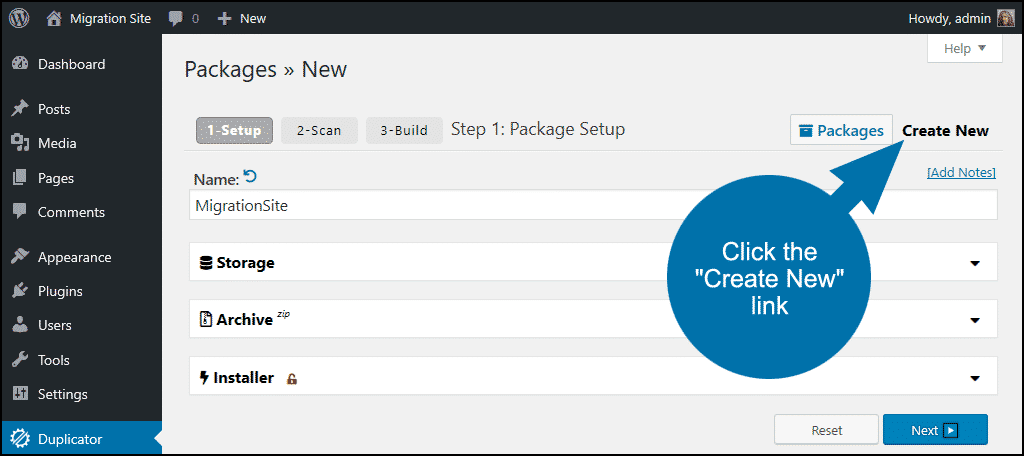
Click the “Create New” link in the upper right corner.
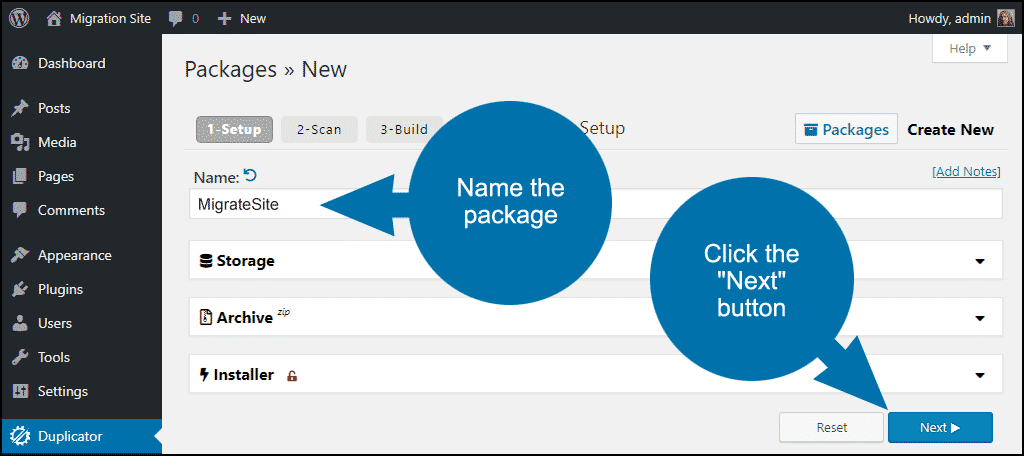
Name the package.
Leave all of the values in “Storage,” “Archive,” and “Installer” as they are.
Click the “Next’ button at the bottom of the page.
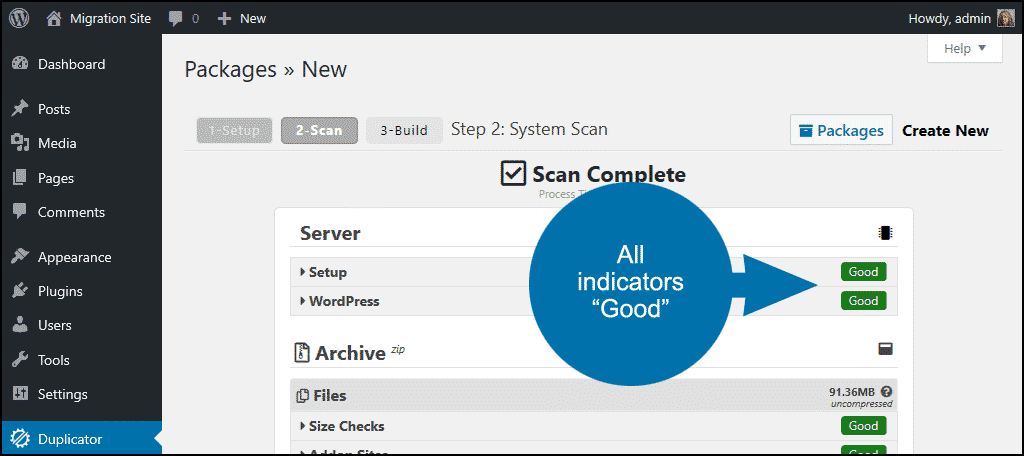
The site will be scanned, and you’ll come to a “Scan Complete” page. If all of the checks are “Good” (green), click the “Build” button.

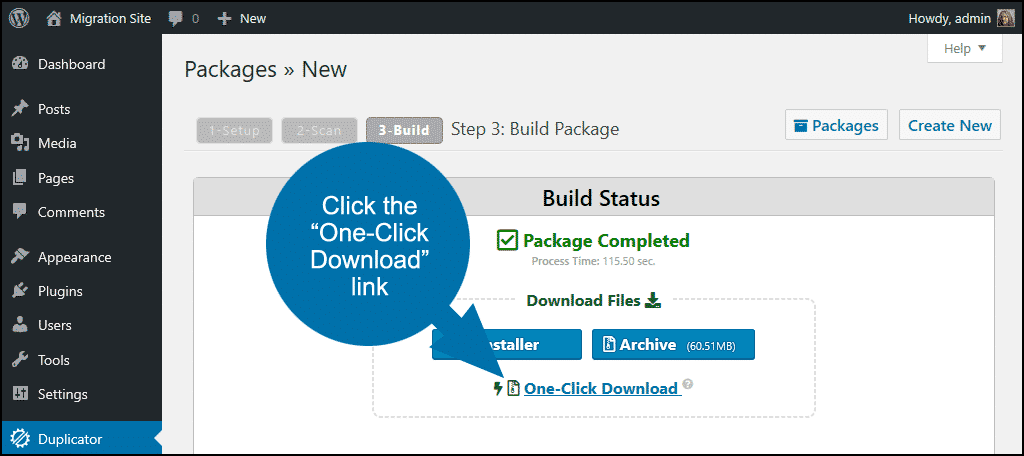
On the “Package Completed” page, click the “One-Click Download” link.
Transfer WordPress Files to the Live Website
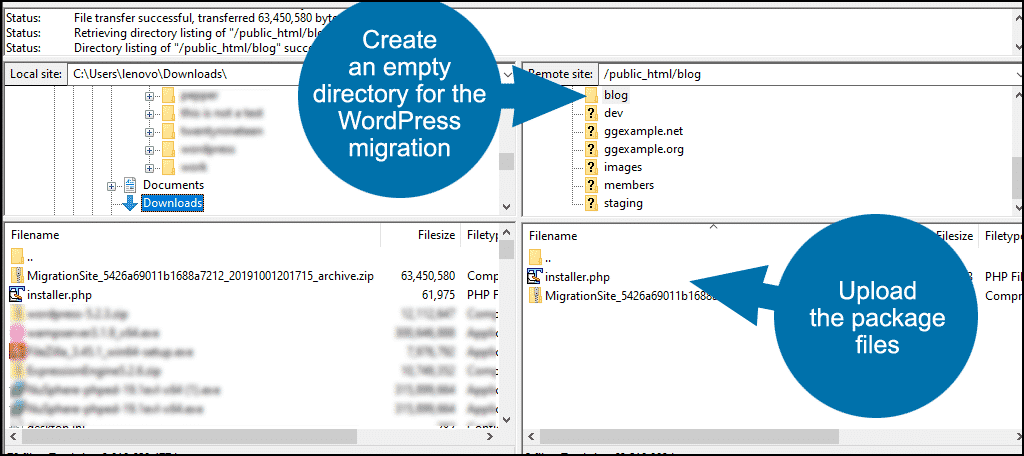
Create an empty directory on your site. You can use the root directory for the site, but for this tutorial, I’m using a directory named blog. I’ll upload the two Duplicator package files to the /blog directory.
Go to the installer file’s URL from a web browser.
In this example, I am copying the local site to ggexample.com/blog/, so the installer file URL is https://ggexample.com/blog/installer.php.
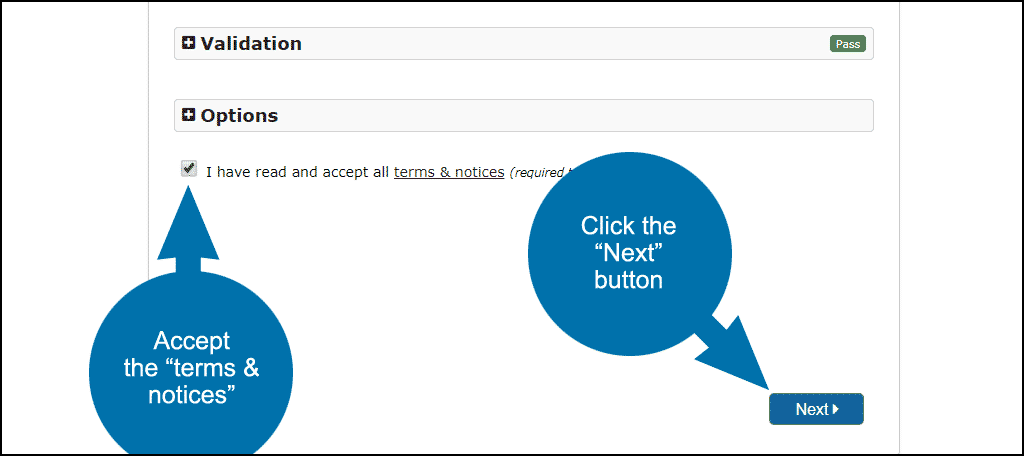
You’ll see a “Step 1 of 4: Deployment” page. The “Archive” and “Validation” sections should say “Pass” (green). Click the “I have read and accept all terms & notices” box and click the “Next” button.
The archive files will be extracted, which will take a moment.
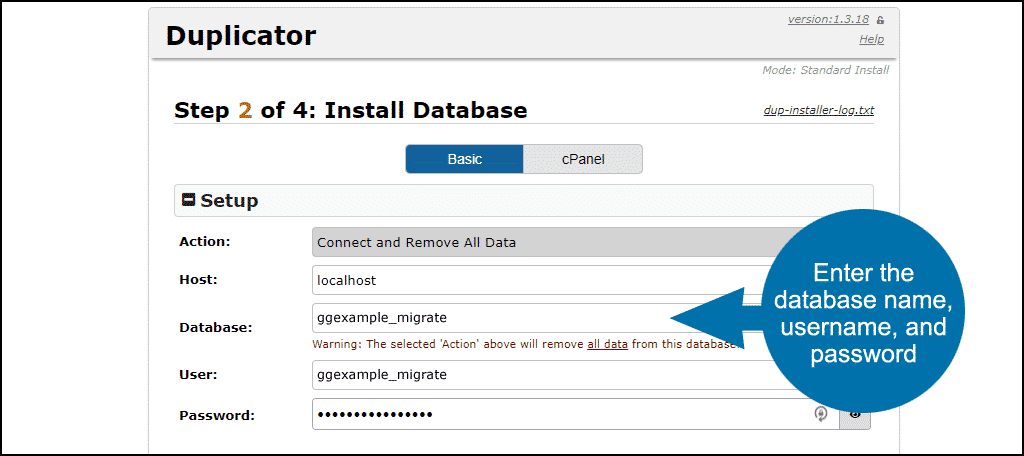
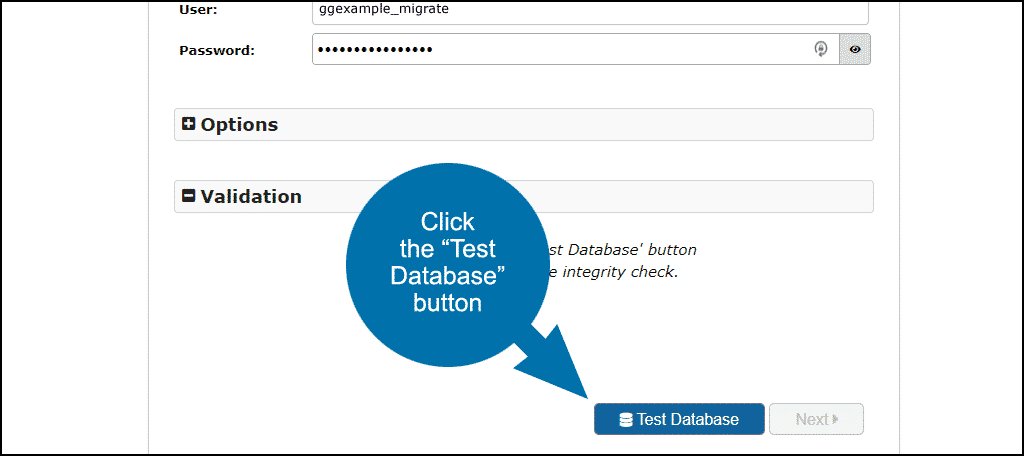
Enter the database name, database username, and password for the blank database you created.
Click the “Test Database” button.
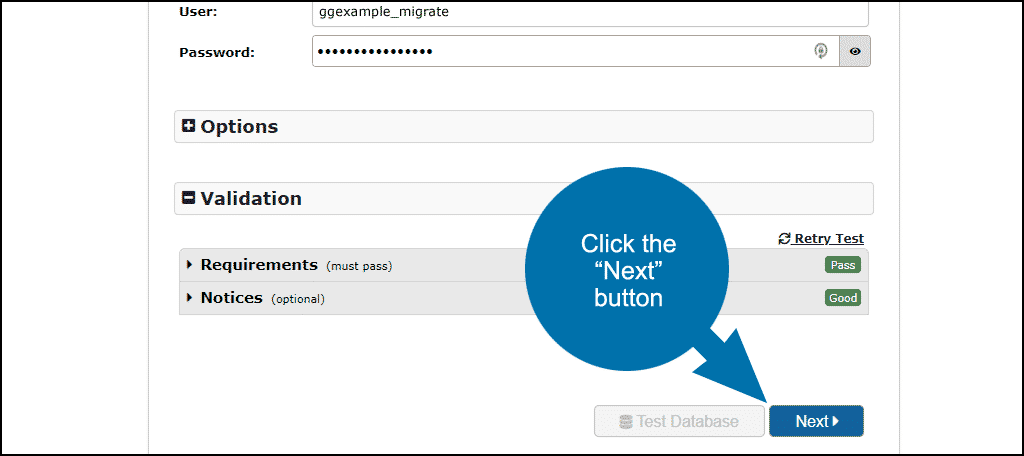
In the Validation” section, “Requirements” and “Notices” should say “Pass” and “Good” (both green).
Click the “Next” button.
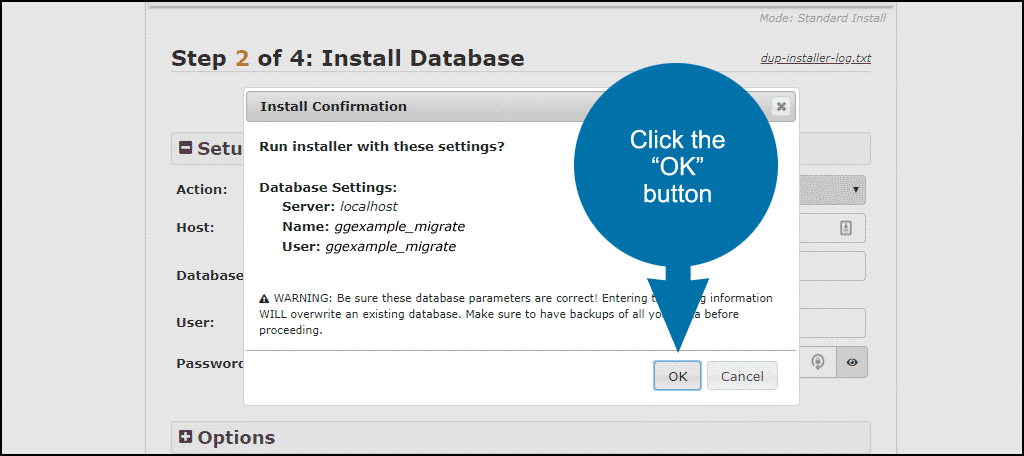
An “Install Confirmation” box will pop up. Verify that the information is correct and click the “OK” button.
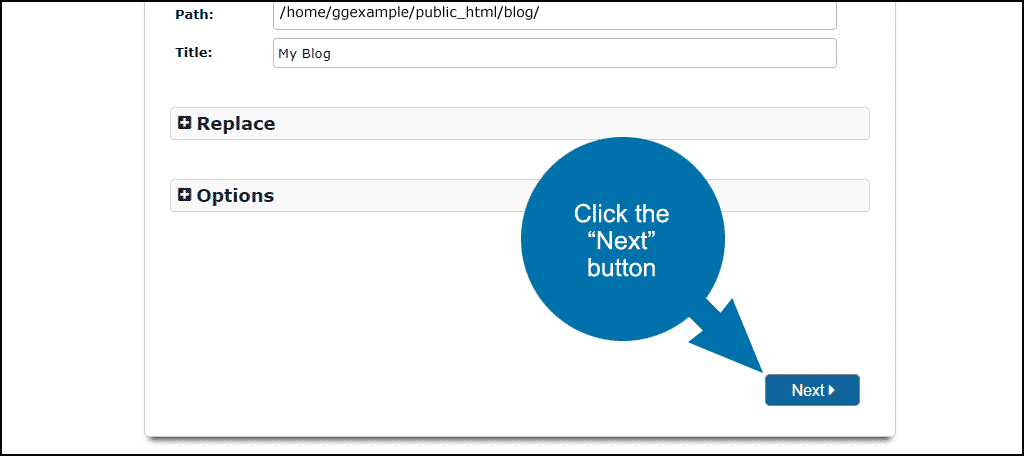
That will bring you to “Step 3 of 4: Update Data.” Verify that the “New Settings” information is correct.
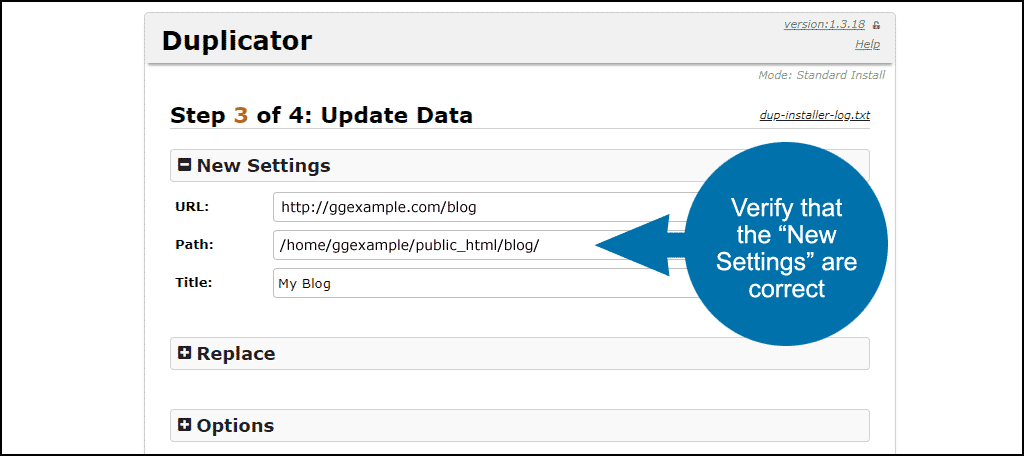
Click the “Next” button.
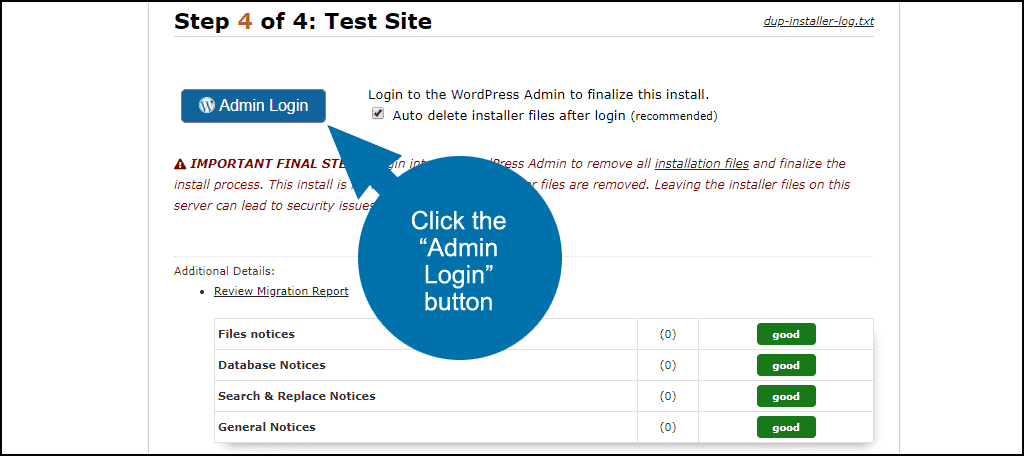
The “Step 4 of 4: Test Site” page will open. Click the “Admin Login” button to complete the installation.
Notes on Transferring a Local WordPress Website to a Live Site
Any time you move a WordPress installation, you’re going to run into some issues. In this case, moving from a local installation to a live server, the URL will likely change, you may go from HTTP to HTTPS, image paths can change – the list of potential issues is long, and it’s different for every site.
The first thing you should do after the migration is to check your site thoroughly for problems or things that don’t seem to be working correctly. Dig deep and see if you can uncover any trouble spots.
It’s better to find and fix them yourself than to let visitors discover them.
One way to prevent some possible issues is to use the same database name (and database user name) on the live site that you used on the local version of the website. That’s not always easy, as a lot of hosts have restrictions on database names.
If you have to use a different name at the host than you are using locally, you might invest a bit of time changing the database name locally before migrating the site. Duplicator will make the connection to your new database on the live site even if the names are different, but there could still be issues with some plugins or themes if the database credentials change during the migration.
Back It Up
I mentioned it earlier, but it bears repeating: back up your WordPress site files and database before you do anything with Duplicator. That applies when making any site changes, really, not just Duplicator.
Backing up our website and database files is not usually the first thing we think about when making changes, but it’s a habit worth picking up.
Did you know you could run WordPress on your local computer? Have you moved a WordPress site using another method or plugin? Let us know how it went.