We all know and understand how important social media can be to a website. You want to be able to not only share things from your site but also share and display them the way you see fit. This is where Facebook Open Graph comes in.
Facebook Open Graph History
Before we dive into what exactly Facebook Open Graph does, let’s take a look at a brief history of it. All the way back in 2008, Facebook launched “Facebook Connect.”
Those were the little blue buttons that you see on websites that allow you to post comments on a website blog post without having to first sign-up for an account with that particular website.
Simply put, it allowed people to sign-in to a website using their Facebook accounts. The method became wildly successful, and within the first year, there were 100 million users.
Then, in 2019, Facebook launched it’s “Open Graph” API. What this did was allow you to do even more than simply connect your site to the Facebook platform. If you remember, it included the ability for some of the following to be integrated:
- Like Button
- Activity Feed
- Recommendations
- Like Box
- Login Button
- Facepile
- Comments
- Live Stream
Again, this idea was very popular and so it moved on from there. The idea behind Facebook Open Graph was to allow your web pages to become social in every aspect and allow you to connect with people in several different ways.
What is Open Graph?
Now that you have an idea of the history of Open Graph, let’s take a look at what it actually is. Simply put, Open Graph is a social media language that connects website content with social networks, and then controls the way the content is represented on these social networks.
Taking it even further, it allows you to manage the data and optimize it how you want when a website user likes or shares a post from your website. This will help control things like display, pictures, content, and title.
Connecting Joomla to Facebook allows Facebook “og” tags to specify the data you want to share from your posts. These og tags include:
- Title: this is the object’s title
- Type: the object’s type;
- Image: the URL of the image
- URL: the URL of the object
- Description: The object’s description
So, you can see that having a Joomla Open Graph with Facebook can really help you specifically control how content is shared on social media.
Adding Facebook Open Graph to Joomla
Before we talk about adding Facebook Open Graph to Joomla you want to remember a few things. Using Open Graph properly is key so remember the following when setting up:
- An og title should be 95 characters or less.
- Open Graph descriptions can be up to 297 characters…and should be.
- The og image should be within a 50px X 50px & 200px X 200px size an no larger than 5 MB.
Now, to successfully add Joomla to Facebook Open Graph we are going to use a smooth little Joomla extension that makes the entire process very easy. This plugin is called Phoca Open Graph for Joomla.
Let’s take a look at the plugin, get it installed and activated, and set it up together.
Phoca Open Graph
The Phoca Open Graph extension for Joomla allows you to easily add Open Graph information to your Joomla website and control how your posts are shared and shown.
Information is stored and then properly added when a visitor likes or shares a post. This plugin gives you the comfort of knowing exactly what is displaying when content is shared, how it is displaying, and how it will look when shared on social networks.
Let’s get the Joomla Facebook Open Graph plugin installed and activated together. This is just one of several great Facebook-related extensions Joomla has available that will make integration easier.
Install and Activate Phoca Open Graph
In order to use the Phoca Open Graph extension to control Facebook og tags, it first needs to be installed and activated on your Joomla website. You can do this by downloading it off the extension homepage onto your machine.

When you click on the download button, you will be taken to the Phoca Open Graph main page on their website. Here you will see a selection of og downloads. In our case, we want to download the latest English version of the plugin to our machine. So we are grabbing that one.
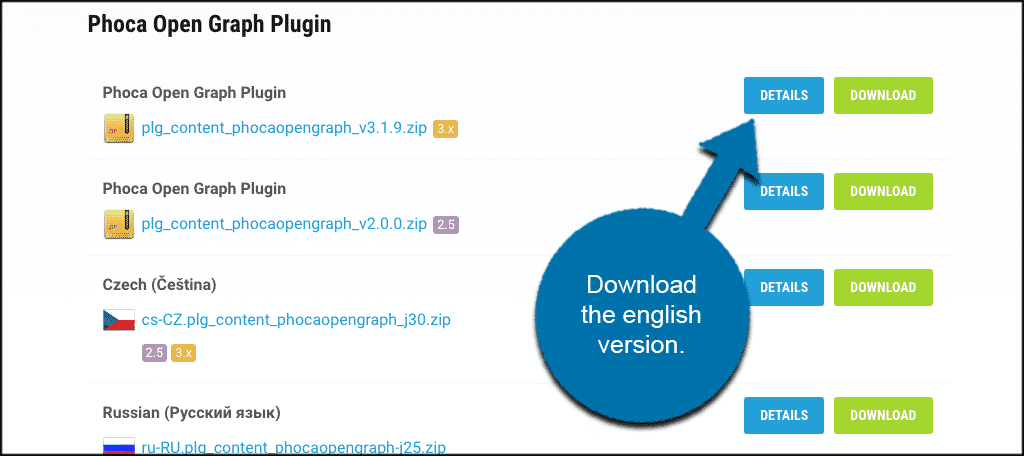
Note: Other Czech and Russian language versions of the extension are also available.
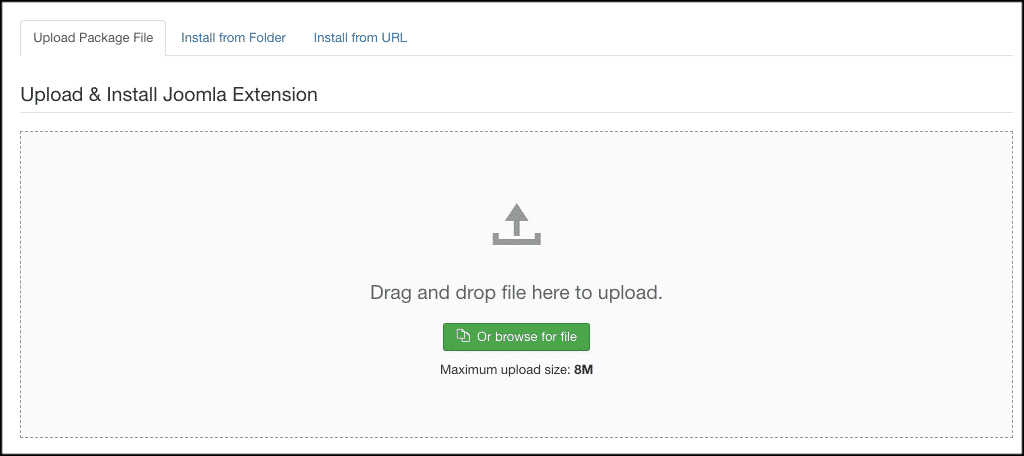
Once you have downloaded the extension to your machine, go ahead and drag and drop it into the file upload box located in your Joomla control panel area.
Note: You can also browse for the file and upload it that way if you prefer. Joomla also gives options to install from a folder or URL, but the process below is easiest.
Once the extension has been installed, you will get a green box message, telling you the extension was successfully installed.
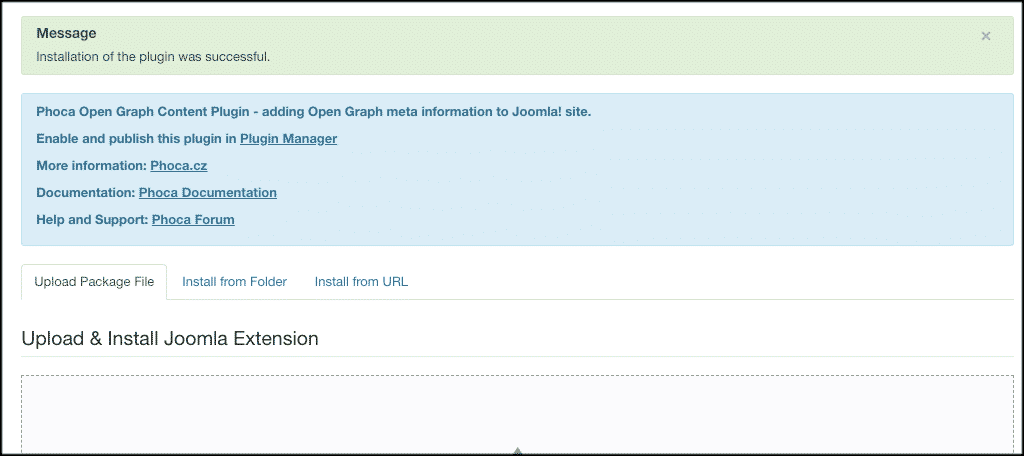
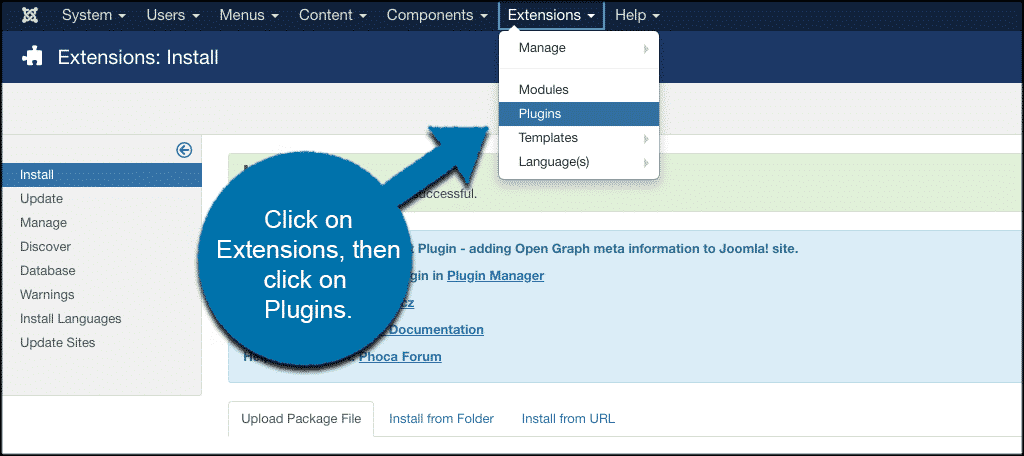
Now that the extension has been installed, you have to activate it. On the top menu bar, click on Extensions > Plugins. Search for the Phoca Open Graph plugin you just installed.
If it has a red circle with a white “x” in it, click the icon to enable the plugin. If the icon has a green checkmark, it means it’s already enabled and the extension is live on the site.
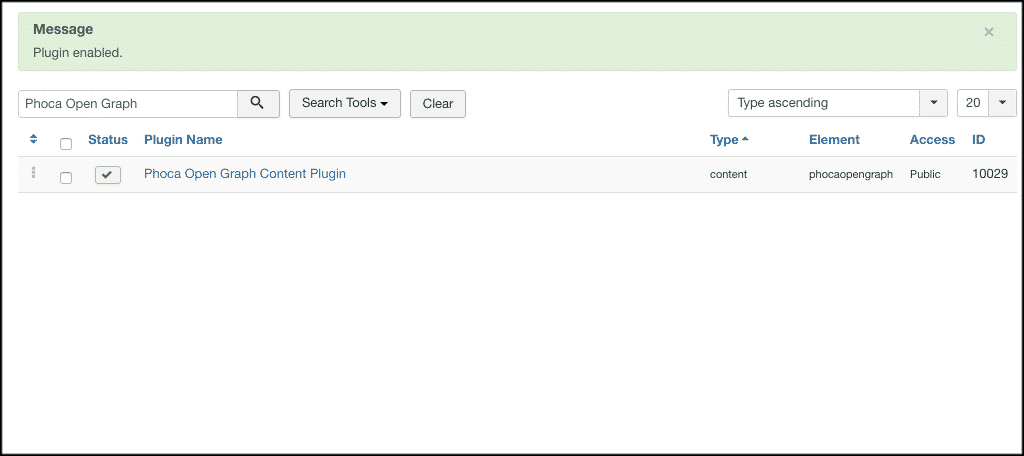
Now click on the live “Phoca Open Graph Content” link to access the configuration for the plugin.
Open Graph Plugin Configuration
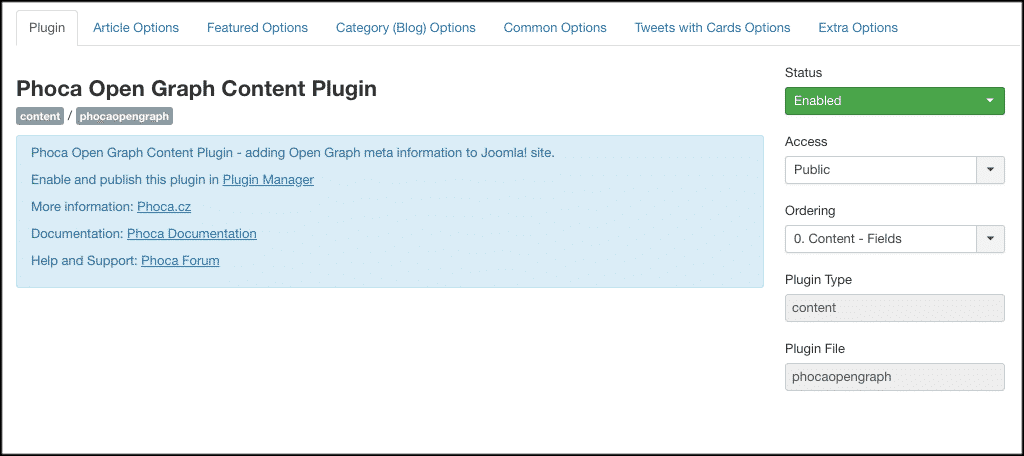
At this point, you have arrived at the main configuration page for this particular Joomla Facebook Open Graph plugin. You will see 7 main tabs. These include:
- Plugin
- Article Options
- Featured Options
- Category (Blog) Options
- Common Options
- Tweets with Card Options
- Extra Options
Let’s run through each tab together for the plugin setup.
Plugin
This tab will simply show you links to helpful documentation and other plugin information.
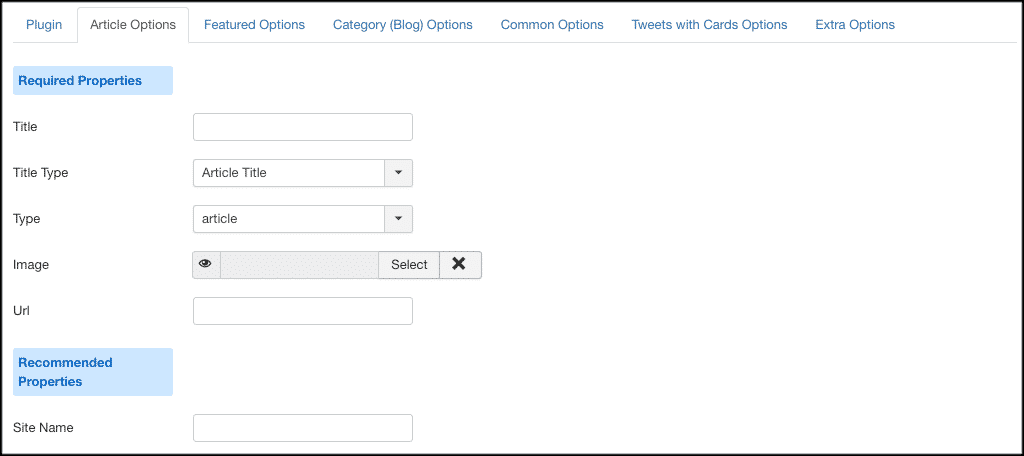
Article Options
Configure the Joomla Open Graph options that you want to have for your articles here.
Featured Options
You can set up all the featured options from this tab according to how you want them to display.

Category (Blog) Options
Setup all the category (blog) options you want to have for when content is shared over social media.

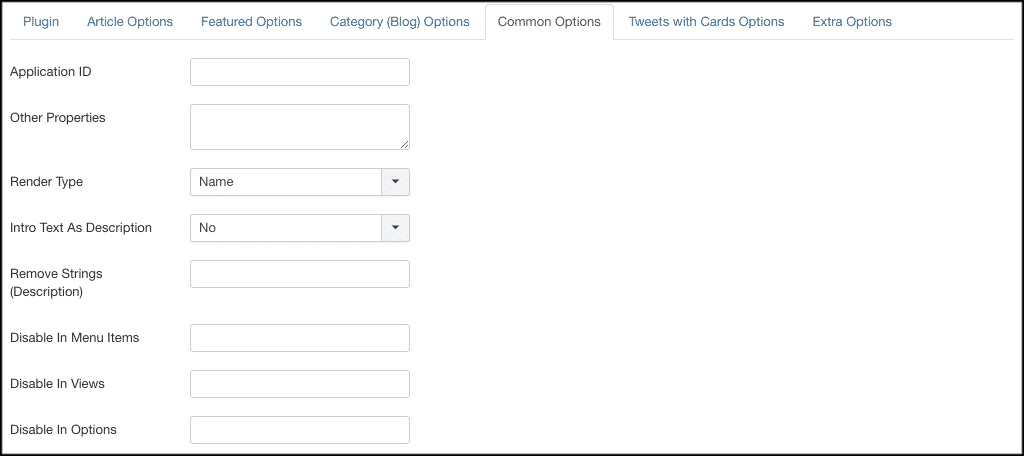
Common Options
You can access and configure other common extension options from this tab.
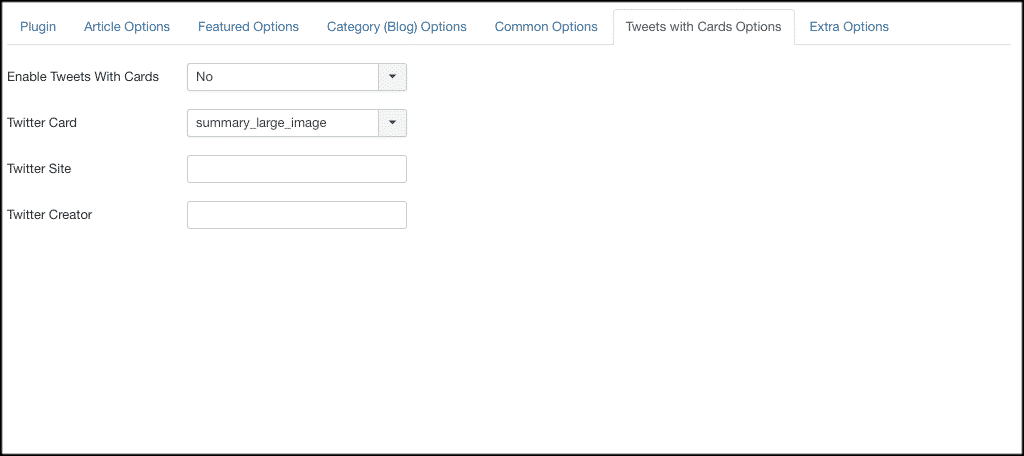
Tweets with Cards Options
This Facebook Open Graph extension comes complete with a Twitter Cards section that you can configure and use to your liking as well.
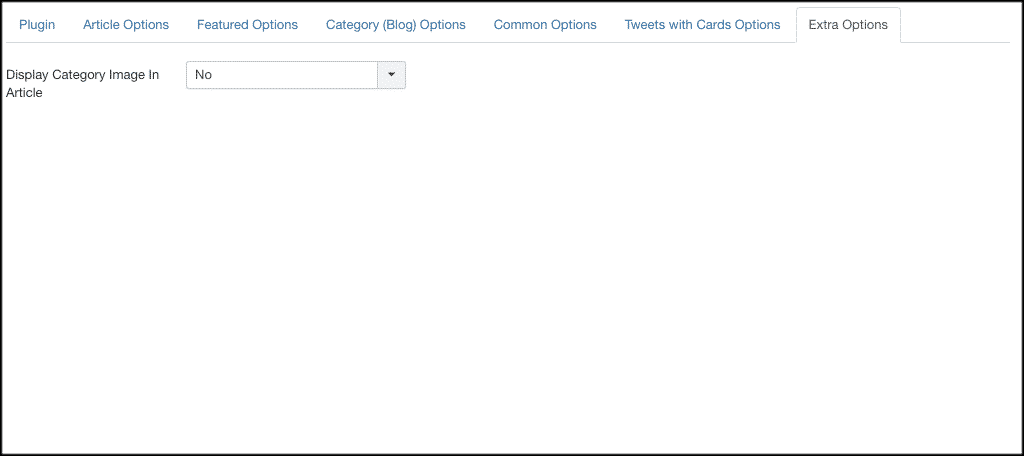
Extra Options
Just some extra options you can look into and configure how you would like. For instance, you can choose to display a category image in the article if you have one.
That’s it! You have successfully installed, activated, and configured the Phoca Open Graph plugin. You now control your social media likes and shares and the content you want to share.
Final Thoughts
If you have a content-heavy Joomla website, then you definitely want to take advantage of Facebook Open Graph. It is not difficult to set up and use, as demonstrated in the tutorial above.
This will give you much more control over how content is displayed and shared over social media. You will know what people see and what information they access because you set the display and control the layout and other settings.
Have you been using Joomla and Facebook Open Graph for a while? DO you find that content shared is much cleaner and displays in a better way?
Hello there!
Nice tutorial, I’d like to know if the Phoca Open Graph plugin works only for Joomla articles or fo Virtuemart products too.
Thanks
You would probably need to run that test to see.