If you have a Joomla website, then you know it can be important to be able to provide certain interactive tools for your audience. Something that often comes valuable and handy is the ability to add a poll to your website.
Sometimes this is difficult, but today we are going to dive into a great Joomla extension that allows you to easily add a customized Joomla website poll whenever you need to. Let’s dive into this a little more together. After that, we will dig into the extension and go over how to get it on your site and running.
Why Add a Poll to Your Website?
Running online polls on your website is a fantastic way to get information from people. Plus, it allows you to more easily record the information rather than sending out an email and waiting for a response.
For instance, you may want to add a voting poll in Joomla. While there are a few more complicated ways to do this, making use of a great extension is the easiest.
Polls are such interactive ways to engage your audience. For this reason alone, it is a good idea to have the ability to easily add a poll on your Joomla website.
There are actually a few different extensions that will give you the ability to create a poll in Joomla. However, most of these also make you create an account and report data back to them.
We are actually going to use an extension that you can freely download and use to add a poll on your website whenever you want. This will allow you to easily take votes on any number of issues.
Let’s take a look at the extension we will be setting up today.
Sexy Polling for Joomla
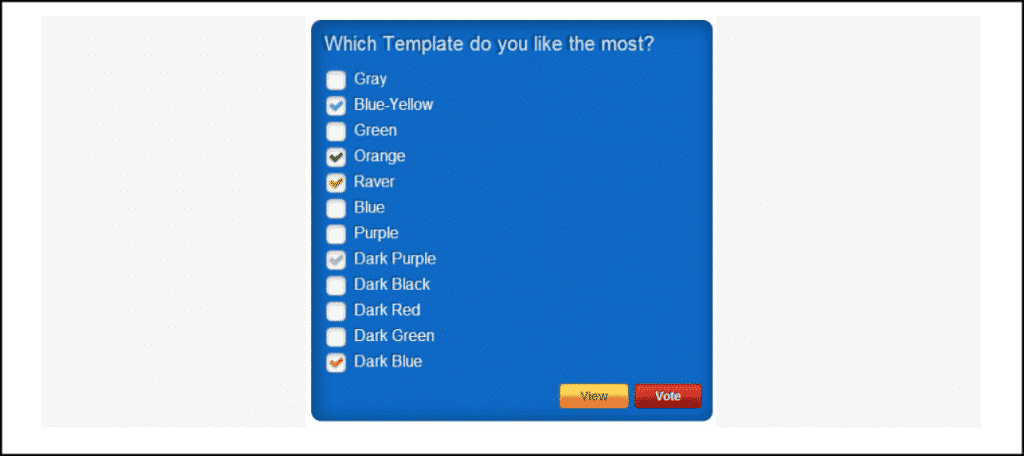
The Sexy Polling for Joomla extension gives you the ability to add and embed simple, yet highly customizable polls on your website. This is a lifesaver if you need to use polls for certain things.
Instead of going outside the website, building some sort of poll, then trying to figure out how to get it into your site, you simply use the extension.
Not only does this save time, but the extension is highly customizable and gives your polls the look and feel of your website. Sexy Polling for Joomla comes packed with functionality. Some of the main features include:
- A Vote Progress Feature
- 10 Available Skins
- Template Creator
- Place Polls Using Shortcodes
- Flexible HTML Answers
- User Friendly
- Single and Multiple Voting
- Countdown Timer
- Permissions Check
- Manage All Votes
- JavaScript Animation Effects
Not only that, but you can also pull off even more customizable options like hiding results during the polling period and list votes with the ability to delete them.
There is a premium version of Sexy Polling available. If you feel you need more options than what the free download gives, then you are more than welcome to explore all it has to offer. However, the tutorial below covers the free version and it should give you plenty to work with.
Let’s take a look at how to get the extension installed and enabled on your website.
Download and Install Sexy Polling
In order to use the Sexy Polling extension to build and add a poll to your website, it first needs to be installed and activated. You can do this by downloading it off the extension homepage onto your machine.
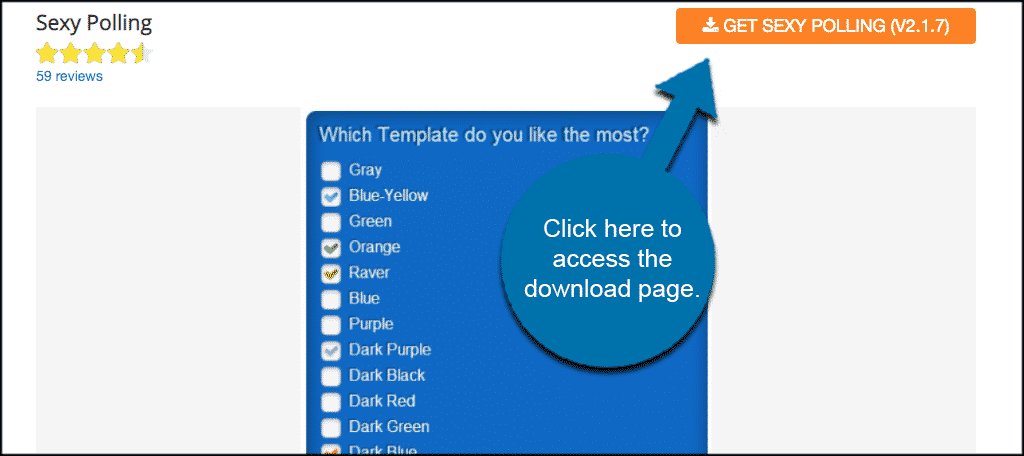
This takes you to the extension website where you can choose the version you want to download. In this case, we are downloading the free version to setup. So go ahead and download that now.
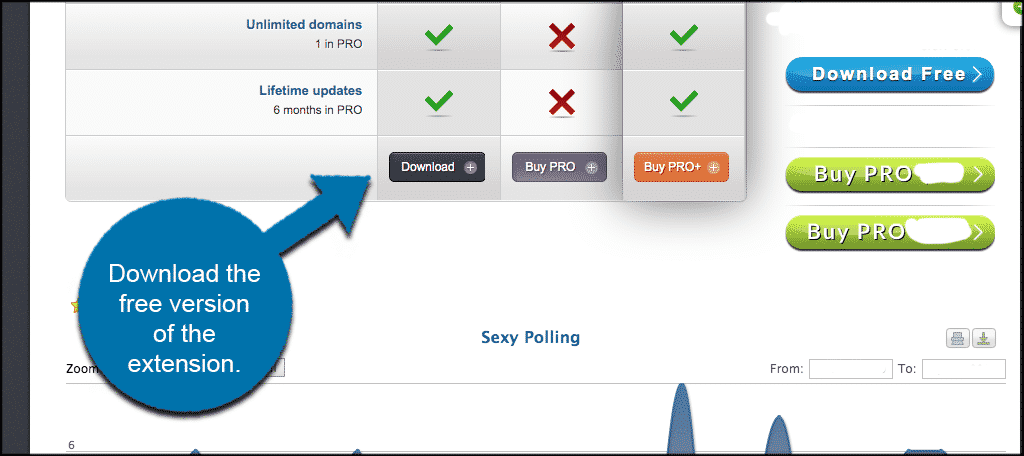
Note: Remember, you can always upgrade to the premium version later if you feel you need to do so.
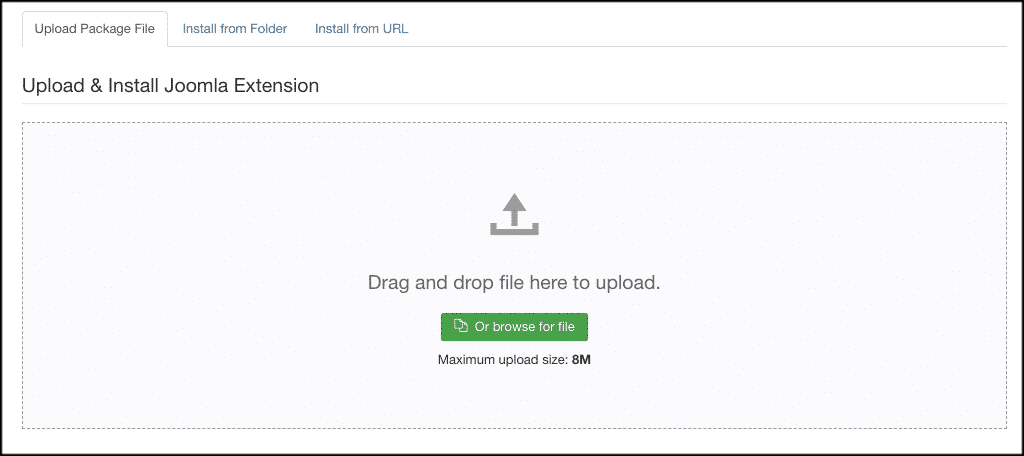
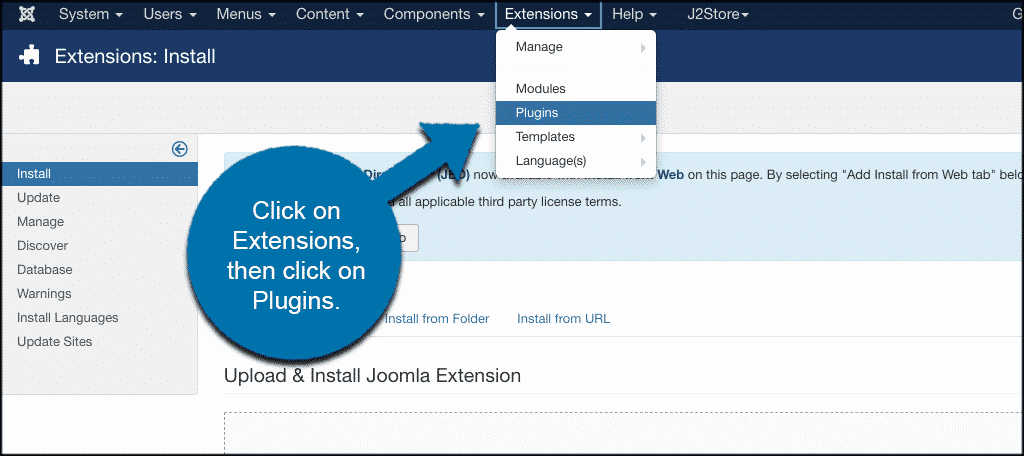
Once you have downloaded the extension to your machine, drag and drop it into the file upload box located in your Joomla control panel area.
Click on the “Install Extensions” tab to access to installation screen in the admin area for your Joomla website.
Note: You can also browse for the file and upload it that way if you prefer. Joomla also gives options to install from a folder or from a URL, but the process below is easiest.
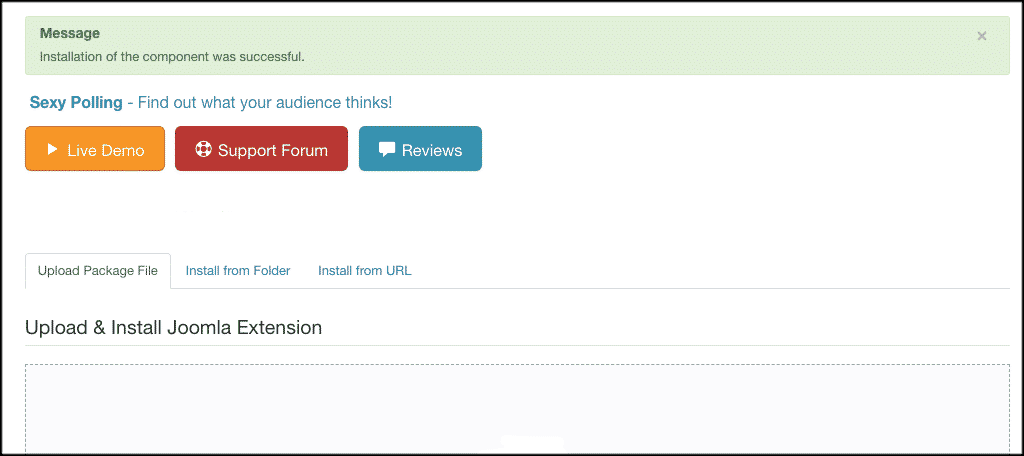
Once it has been installed, you will get green a message box telling you the extension was successfully installed. In this case, there will also be a few buttons to click on. However, don’t worry about those for now as we are going to go over how to set up the extension together next.
Now that the extension has been installed, you need to go look for it and make sure it is enabled. Click on “Extensions,” and in the dropdown menu, click on “Plugins.” This is located in the header menu of your admin area.
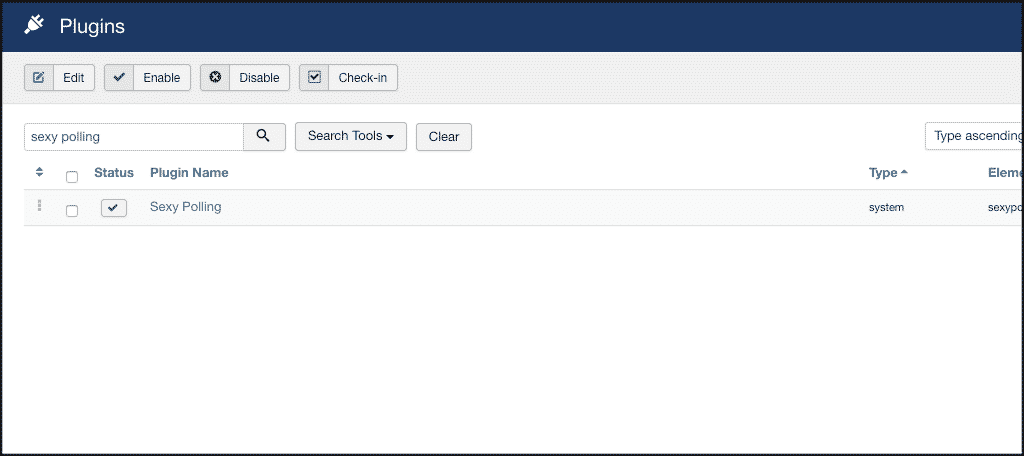
This takes you to a list of your plugins. Search the Sexy Polling plugin by name, and when it comes up, make sure it is “Enabled.” You will see a green checkmark if it is.
If you see a red “x,” then go ahead and click on that to enable the plugin.
Now that you have enabled the plugin, let’s go over the configuration together.
Add a Poll to Website
At this point, you should be ready to configure the plugin and give yourself the ability to add a poll to your website. See, the extension is now running, but you need to create your first poll.
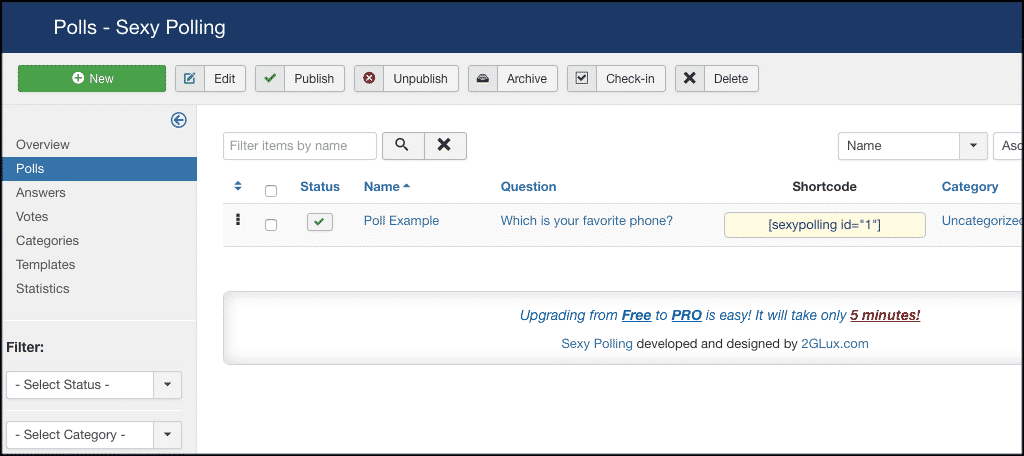
Back up top in your main admin menu, click on “Components,” and in the dropdown, click on “Sexy Polling > Polls.” This will take you to the entire polls section.
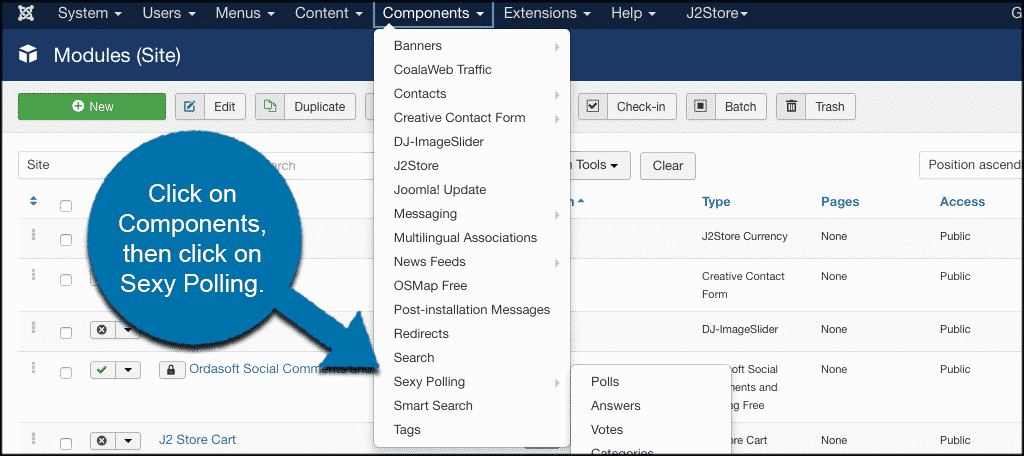
This is where you will create a poll and manage all of them you have created over time.
Note: There will be a demo poll or two already available. Please realize that you can only have two polls at once running with the free version.
When you get to the polls page, go ahead and click on an existing poll and edit it how you want. Or, delete it and start a new one.
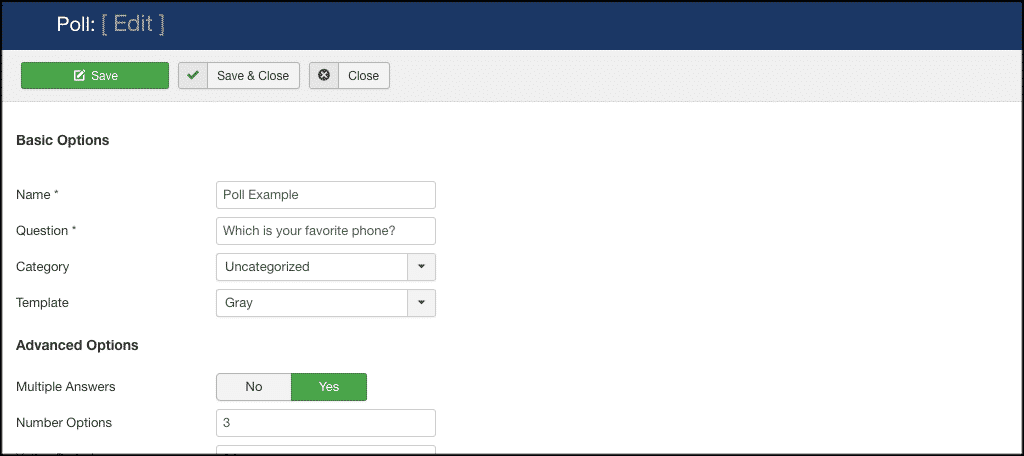
Once you click on the “Poll Example,” the entire setup of a poll will come up. It is a one-page layout with the following options:
- Basic Options
- Advanced Options
- Style Options
- Animation Options
- Security Options
- Status Options
Let’s run through these together real quick.
Basic Options
Fill out the basic poll options here
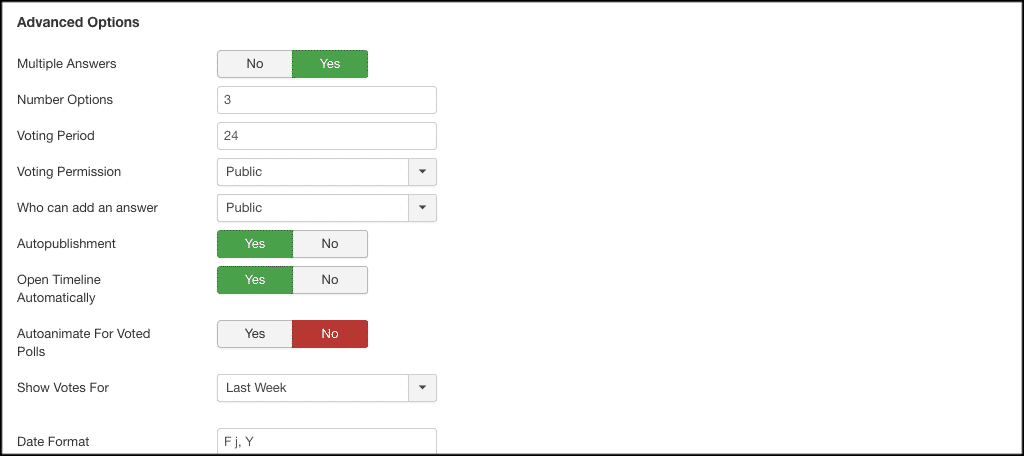
Advanced Options
Now, go ahead and fill out all the advanced options on how you would like them.
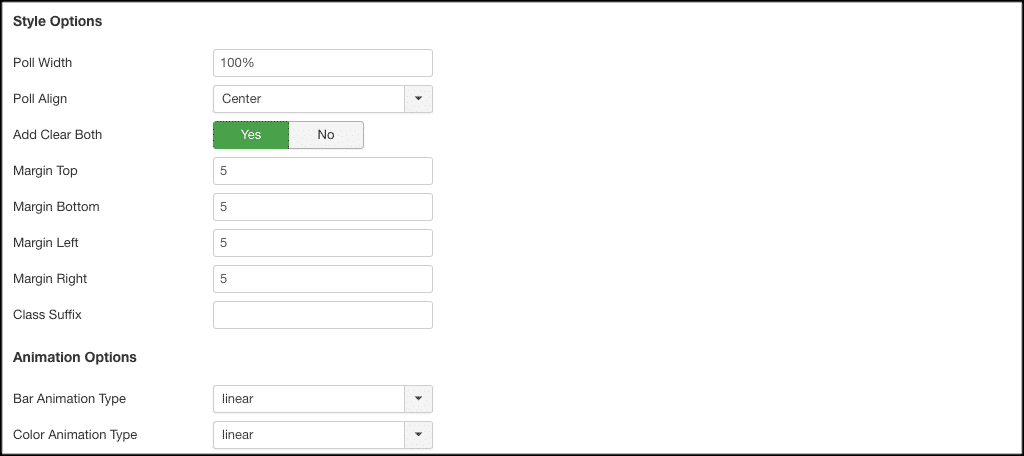
Style and Animations Options
Create styles and animations for your poll based on what you want.
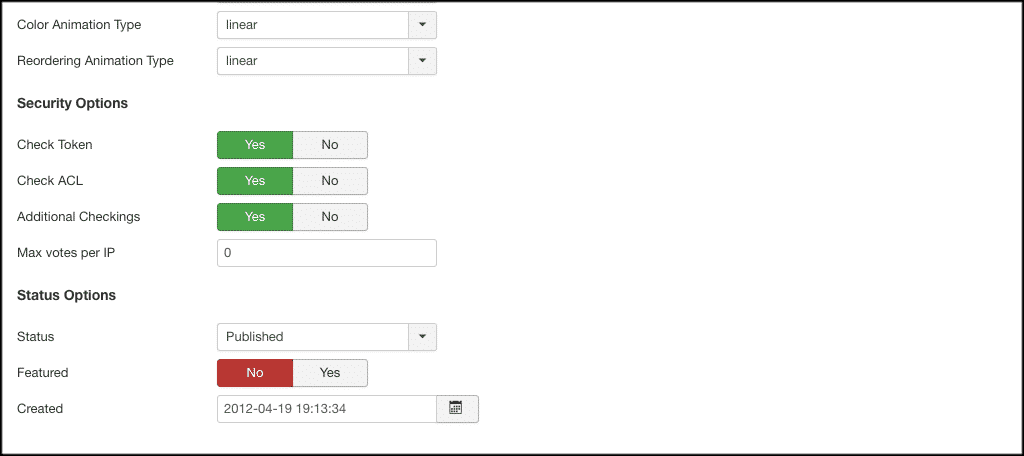
Security and Status Options
You can set certain status and security options as well.
When you are done, click on the “Save” button and you are good to go.
That’s it! You have successfully created your first poll to add to your website. Simply use the shortcode generated and put it wherever you see fit.
Final Thoughts
Having the ability to easily add a poll on a website quickly and easily will allow you to get votes and results for things you need. No longer do you have to try and build something offline and get it uploaded. Simply build your poll using Sexy Polling for Joomla and add it to your website using shortcodes.
Have you ever tried Sexy Polling before? Is there another polling extension for Joomla that you prefer?