More often than not, your Joomla website will tell some sort of story. Whether it is personal or business will depend on the type of website you have built. Timelines like this can be used to display relevant information on any number of topics. A fantastic way to do this or to tell a story is by using a timeline in Joomla.
What is a Joomla Timeline Extension?
A Joomla timeline extension is a tool that gives website owners the ability to post a timeline of important events. This can be done using a number of different settings that are provided with the extension chosen.
Using a combination of dates, layouts, images, text, and graphics, website owners can put together a slider like timeline that site users can scroll through and gather information from.
These can be useful for data, making simple memories to display to website users, or simply putting together a history project that you want others to see. There are numerous ways that a timeline on a website can be helpful.
Not to mention, it is a unique and interesting way to not only provide data, but also to view it.
There are certain choices you may have when it comes to choosing the right Joomla timeline module. However, today I have found a solid extension that will provide you everything you need to build a beautiful timeline in Joomla. You do not need any coding experience to make this work.
Let’s go over it together.
Timeline Slider
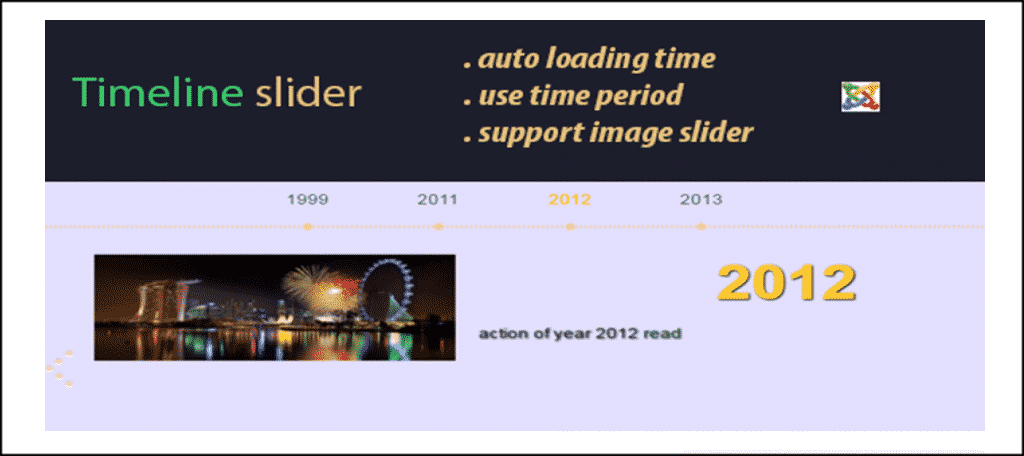
The Joomla Timeline Slider extension is a smooth and simple tool that will give you the ability to build and publish timeline sliders on your website. The extension is lightweight and it is very easy to install and setup.
All of the slider extension tools are located in one place. This makes adding and editing Joomla timeline sliders quick and easy.
The extension comes complete with a number of great tools. The ability to add images, create text, and display fonts and colors are a few of what makes it great.
Other fantastic features that the Timeline Slider extension provides you include:
- Auto Slider Loading
- View Use Time Period
- Responsive on Any Device
- Excellent Support
The extension is straightforward, easy to manage, and easy to install and use. Basically, this extension will give you everything you need to create a timeline in Joomla.
Let’s take a look at how to install and enable the extension.
Install and Enable the Extension
Before you can start building unique Joomla timeline sliders and adding them to your website, you first need to install and enable the extension. You can easily do this by downloading it off the extension homepage onto your machine.
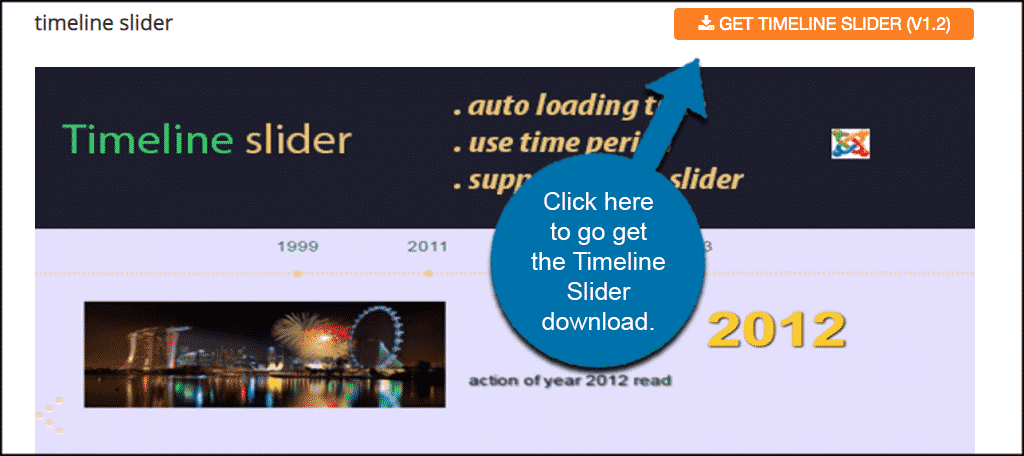
When you click on the “Get Timeline Slider” button, you will be bounced to another page. This is the homepage for the plugin developers. Scroll down a little and download the extension to your machine by clicking on the blue “Download” button.
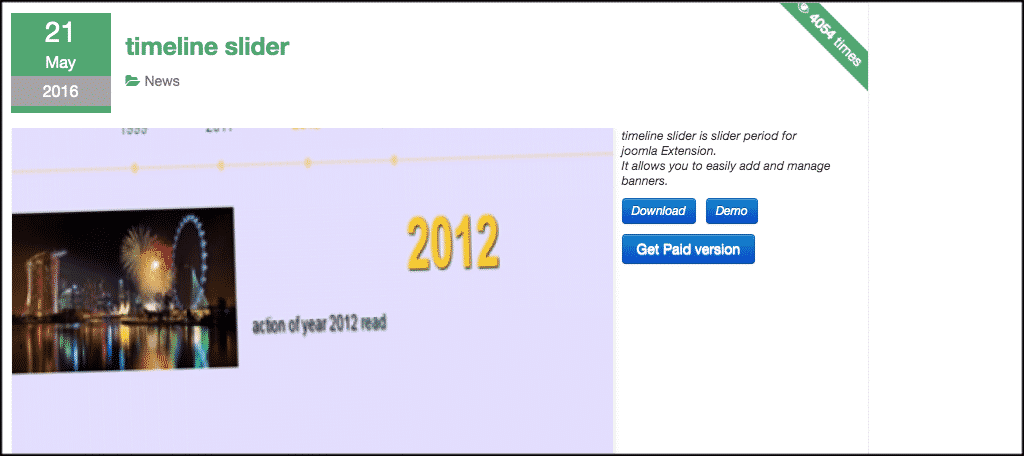
Note: You will see that there is actually a paid version of this timeline slider extension. If you want to explore that, feel free. However, we are using the free version in this tutorial.
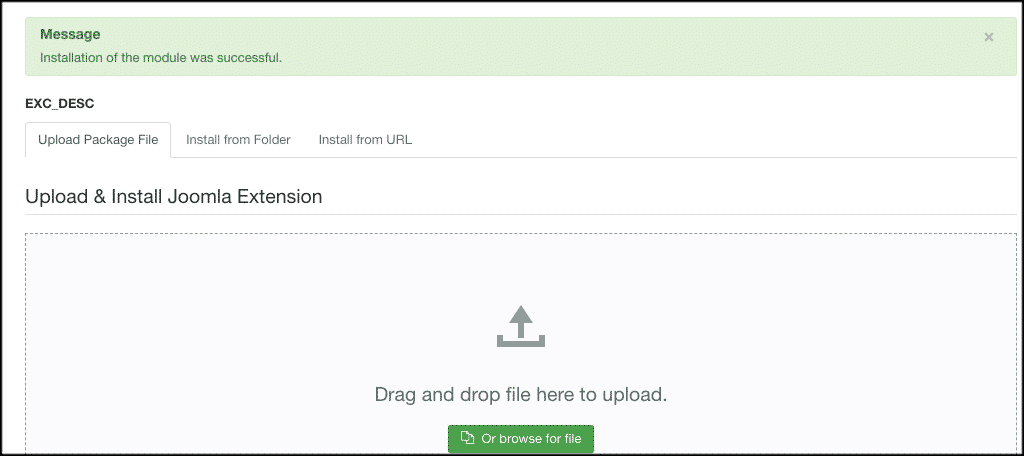
Now that you have download the extension to your machine, go ahead and drag-and-drop it into the file upload box located in your Joomla control panel area. Simply click on the “Install Extensions” tab located in the left sidebar area of the control panel.

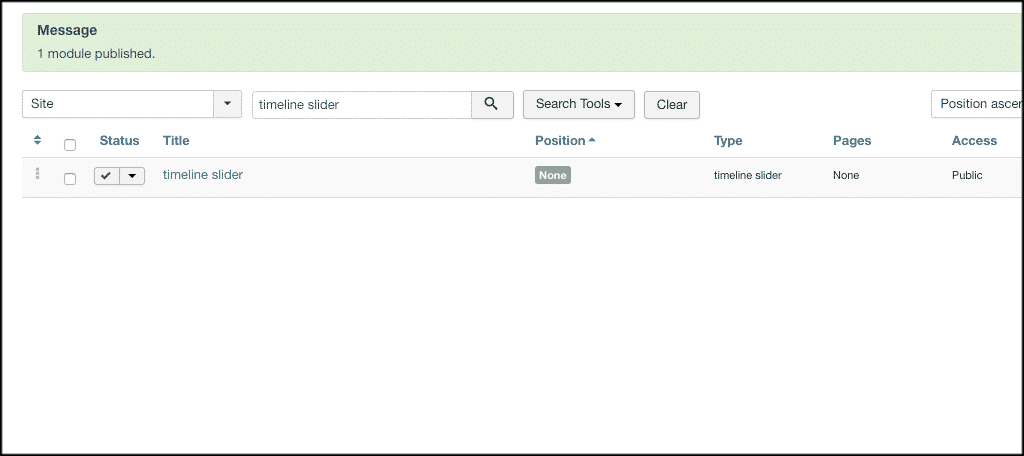
Once the extension has been installed, you will get a green box message. This lets you know that the extension was successfully installed. From here, you will be able to search, access, and enable it for use.
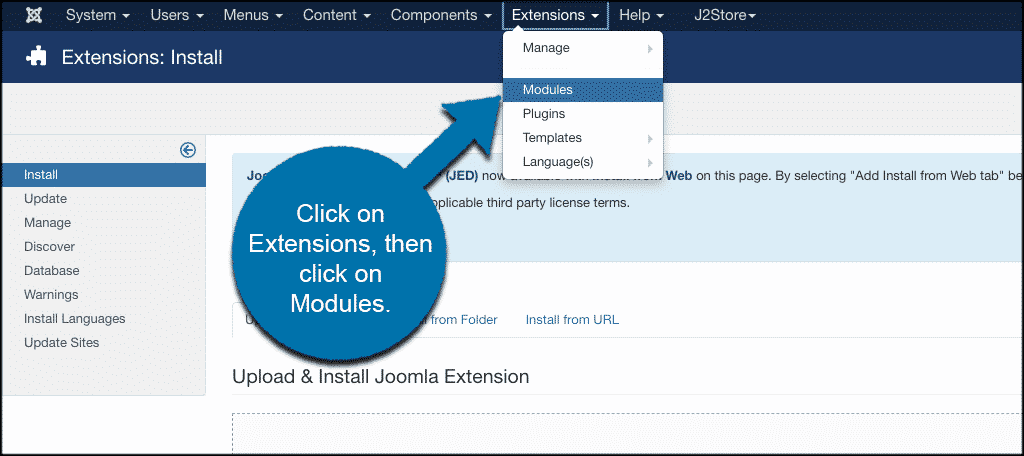
With the extension installed, you have to activate it. On the top menu bar within your website admin, click on Extensions > Modules. Search for the Timeline Slider extension you just installed.
If it has a red circle with a white “x” in it, click the icon to enable the plugin. If the icon has a green checkmark, it means it’s already enabled and the extension is live on the site.
At this point, the extension is fully installed and ready to configure. Click on the extension link and let’s set it up together and get it configured for use on your website.
Configure Timeline Slider
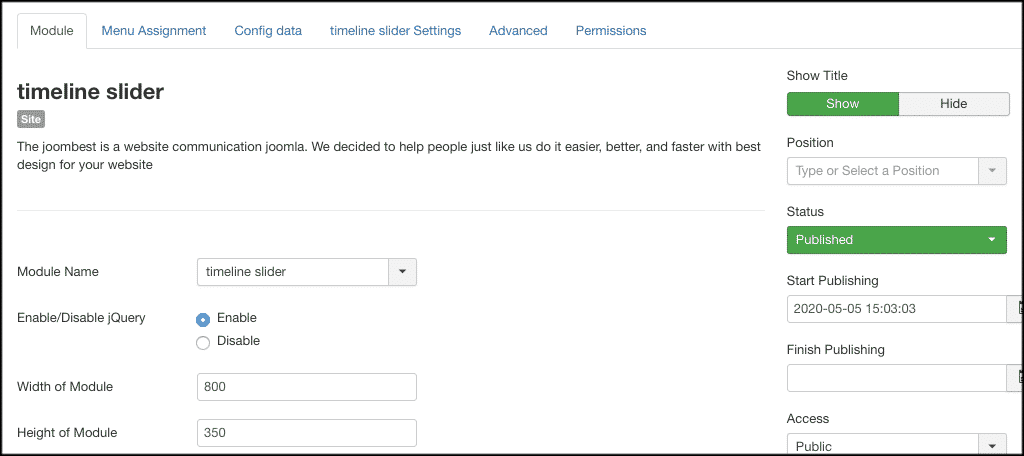
You should now have clicked through to the main settings page for this extension. You will see six main tabs under the setup page.
These include:
- Module
- Menu Assignment
- Config Data
- Timeline Slider Settings
- Advanced
- Permissions
Let’s take a look at all the tabs together as we go through the setup process.
Module
This is where you go through and actually set up all the module settings for the extension as you see fit. Height, width, fonts, and dates will all be things to manage.
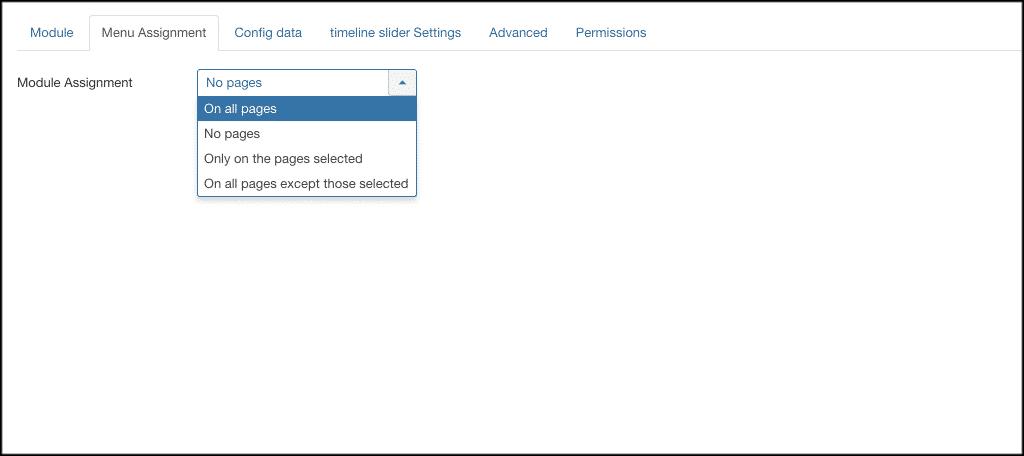
Menu Assignment
Under this tab, you can set the module to display on the pages you want throughout your website. Just choose the option desired from the drop-down menu.
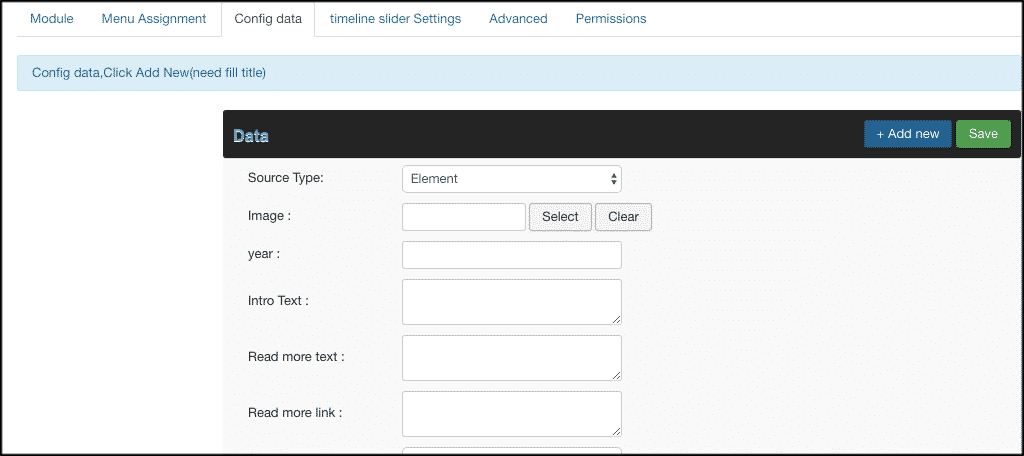
Config Data
This tab is where you access and add images and text sources for your timeline in Joomla. Under the tab, you will see a blue “Add New” button. Go ahead and click on that so a drop-down menu of settings is shown. Go ahead and add images, text, years, and dates.
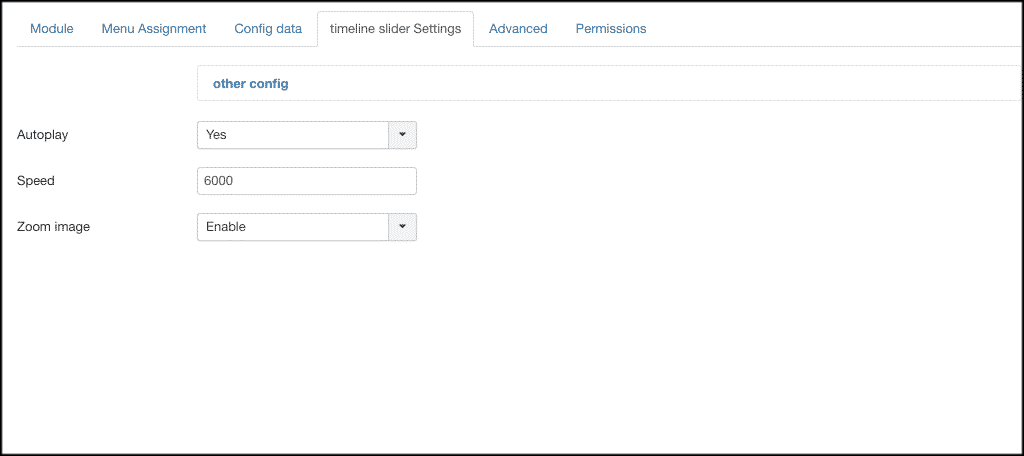
Timeline Slider Settings
The timeline slider settings area allows you to choose autoplay, zoom, and speed options for the timeline slider. Choose what you want and move on.
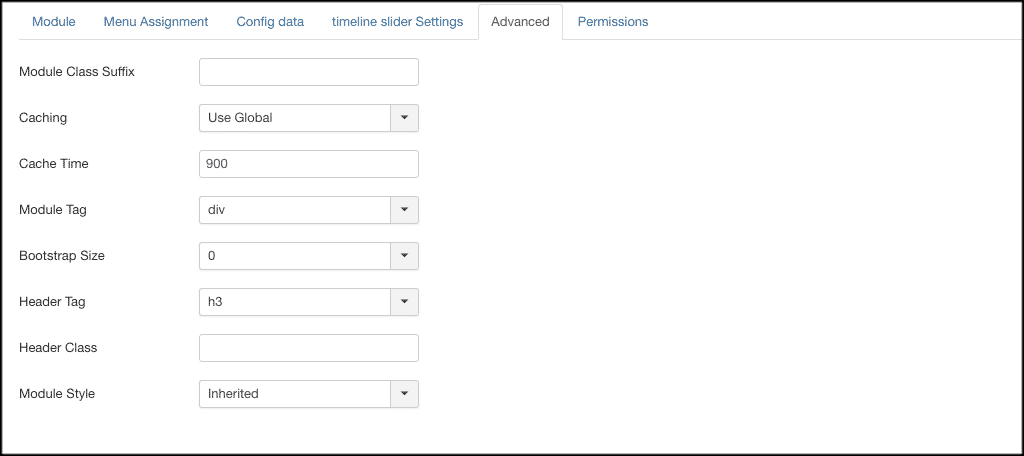
Advanced
Set all the advanced options you want under this tab. You get to choose items like caching and cache time, along with header classes and module tags.
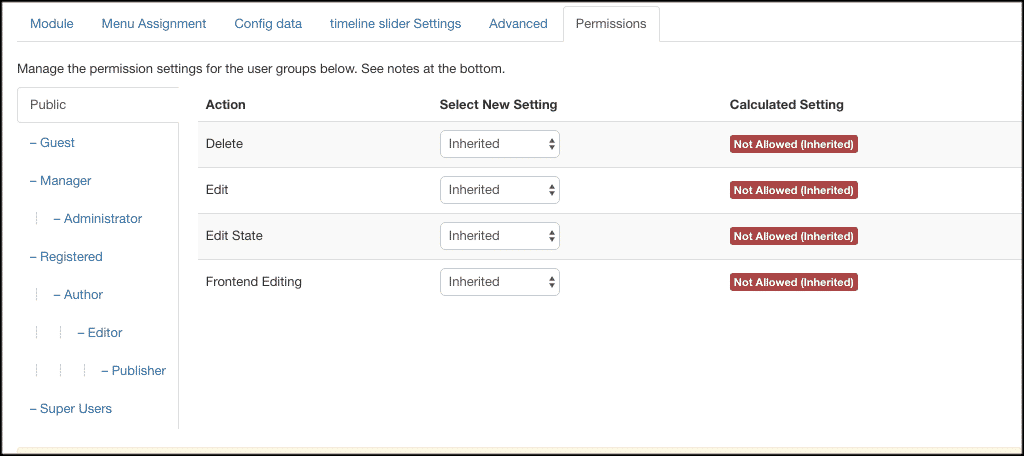
Permissions
Set up your user permissions and groups under this area. This allows certain access to certain levels.
That’s it! You have successfully configured the extension and built your first timeline in Joomla.
Now you can go back to the “Config Data” tab and add as much as you want. Don’t forget to click on the “Save” button to apply all the changes and options you have just made.
Final Thoughts
Setting up a timeline in Joomla for your website user to view does not have to be difficult. You don’t need to have any sort of coding knowledge to get this done. All you need is a solid timeline extension.
Having timeline sliders on your Joomla website is a great way to present all sorts of useful information in a chronological way. You can let your site users look at data and other information as it pertains to projects over time.
The Joomla Timeline Slider extension gives you all the functionality and tools you need to build a timeline for your website. The process is painless, and in no time at all you can have as many fully functioning timelines on your website as you need.
Have you ever tried this Joomla extension before? Have you been building timelines in Joomla another way?