Gutenberg is an amazing editor with a lot of potential due to the number of blocks at its disposal, and you can take it a step further with the PublishPress Blocks plugin. This tool will add brand new blocks to the editor and add new features to existing ones.
Let’s face it, even though Gutenberg has a ton to offer by default, many still find it lacking certain key features. The good news is that it’s easy to add additional blocks through plugins. In fact, that’s the main selling point of the editor; to constantly expand.
Today, we will learn how to expand Gutenberg with the PublishPress Blocks plugin.
What Are WordPress Content Blocks?
WordPress content blocks, or just Gutenberg blocks, add specific functionality to the WordPress editor.
These can range from basic blocks like the Paragraph or Header block, to more interesting stuff like Twitter embed blocks. It adds another layer of customization into WordPress, and learning about each one can open up new opportunities.
The Gutenberg editor was built to be customizable, which means it’s easy to add new features.
Both plugins and themes can add new blocks with unique functions in WordPress. And in some cases, some plugins just focus on adding new blocks into the editor, like PublishPress Blocks.
This opens the door for just about any feature to be added to Gutenberg.
How to Use PublishPress Blocks
Step 1: Install PublsihPress Blocks
PublishPress Blocks is a plugin that adds new blocks to Gutenberg. Some of the blocks are enhanced versions of existing blocks. This plugin adds a lot of versatility to your design choices and allows you to build the content you want.
On top of adding over 20 blocks, it also allows you to set permissions for each one. For instance, you could limit what blocks an author has access to at any given time. This can be handy if there are some sensitive blocks.
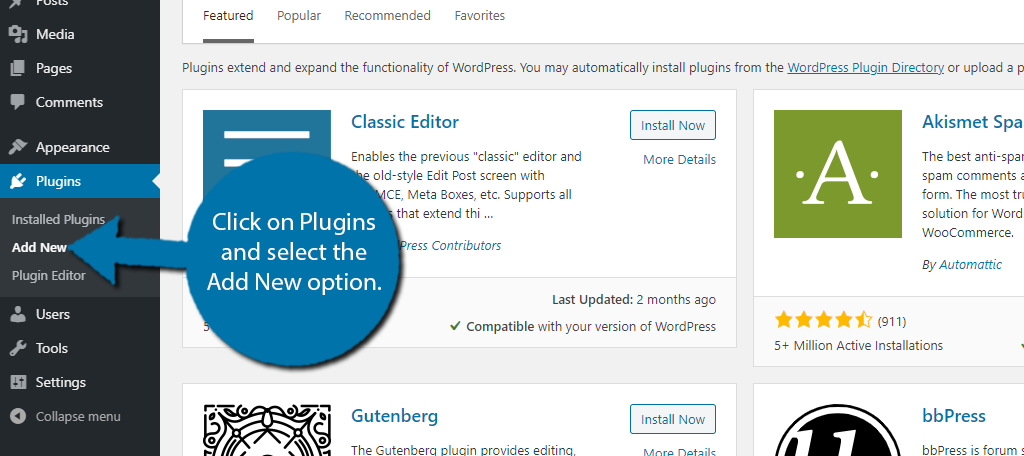
Let’s start by clicking on Plugins and selecting the Add New option on the left-hand admin panel.
Search for PublishPress Blocks in the available search box. This will pull up additional plugins that you may find helpful.
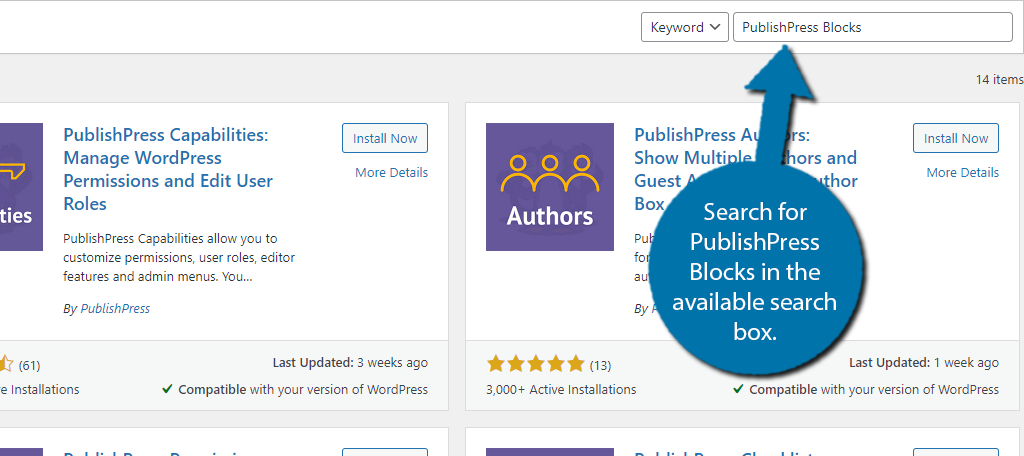
Scroll down until you find the PublishPress Blocks plugin and click on the “Install Now” button and activate the plugin for use.
Note: There are a ton of plugins from PublishPress. Make sure you are installing PublishPress Blocks. That said, you might want to check out the other plugins when you get a chance.

Upon activation, all of the blocks are usable in WordPress, and I encourage you to check out what each one does. However, be aware that you can customize each one along with other features.
Step 2: Block Access
You might not expect this, but this plugin actually has a good amount of settings to configure. So we are going to cover them in order, with the first one being to prevent access to specific blocks based on user roles.
Now, if you don’t have anyone else working on your website, this feature is not for you and you can skip the section. For everyone else, let’s continue.
On the left-hand admin panel click on Blocks.

The first section is called Block Access. Here you can choose which user roles have access to each block. This is very useful if you have a lot of authors or utilize contributors because you can limit what they have access to.
Now just to be clear, this section does not just work for PublishPress Blocks. It works for every block in WordPress, no matter where it comes from.
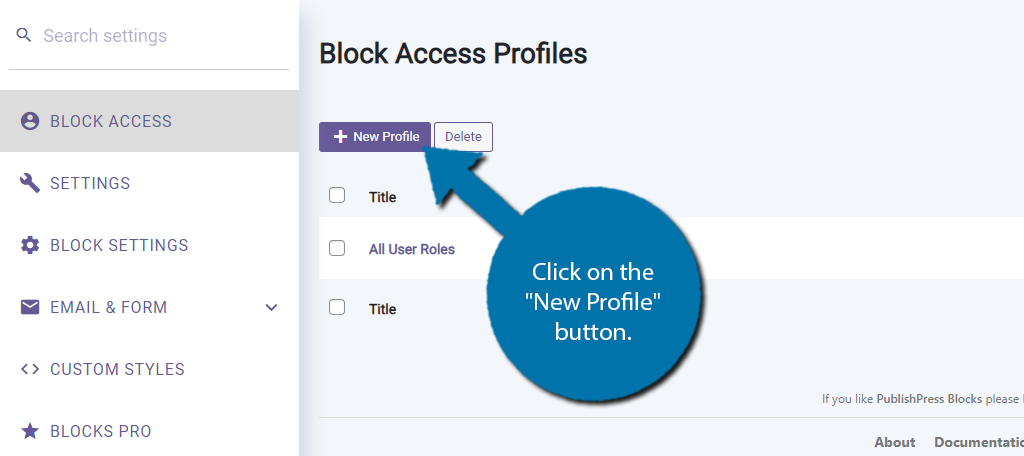
Click on the “New Profile” button.
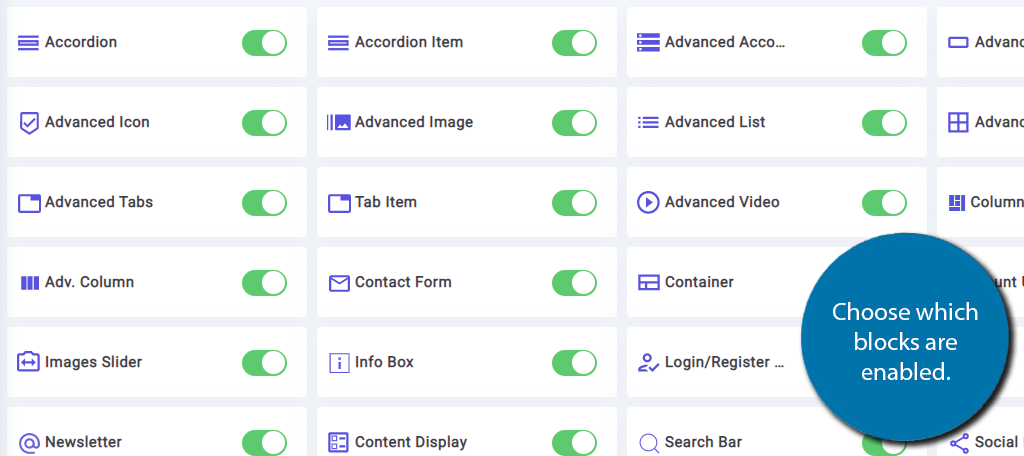
You can enter a profile name at the top. I recommend using the User Role as the profile name. Below this, you will see a full list of every Gutenberg block available on your website.
Each one has a switch next to it that you can turn on (green) or off (gray).
Go through the full list and toggle each plugin on or off.
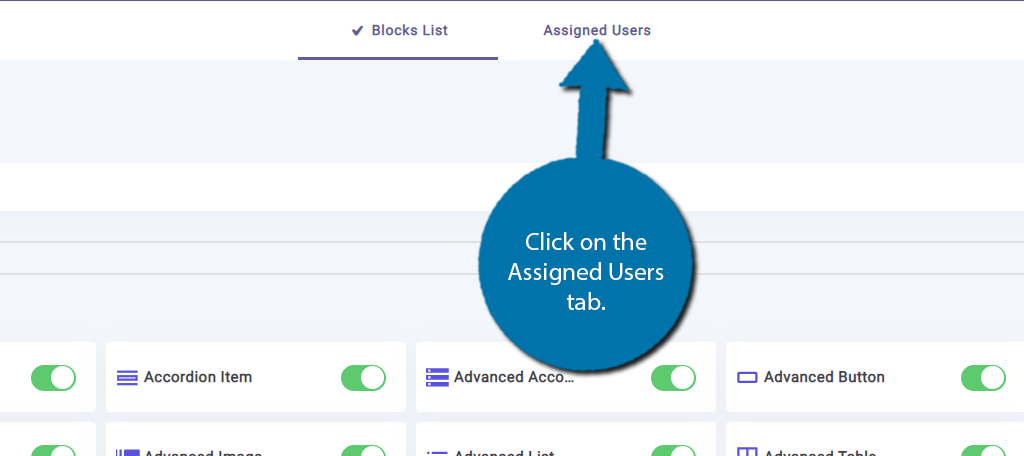
Next, we need to decide which User Roles these settings will apply to. Scroll up to the top and click on the Assigned Users tab.
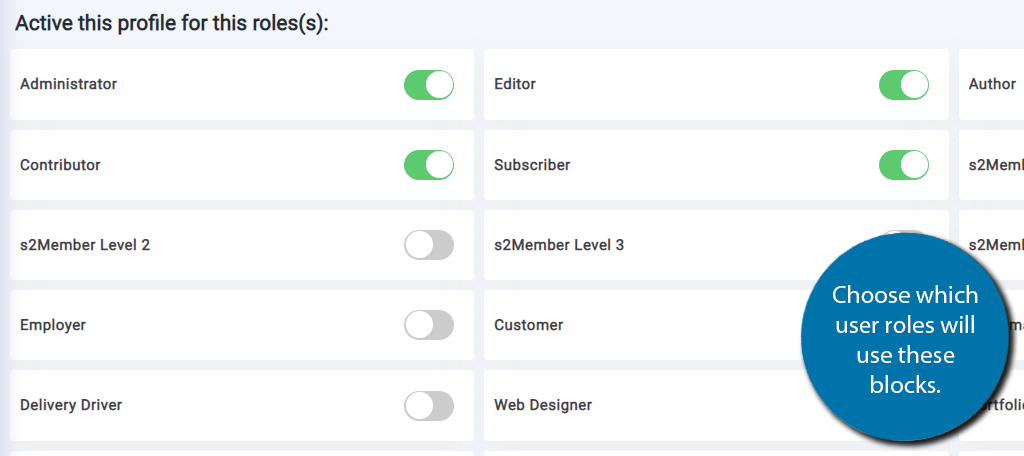
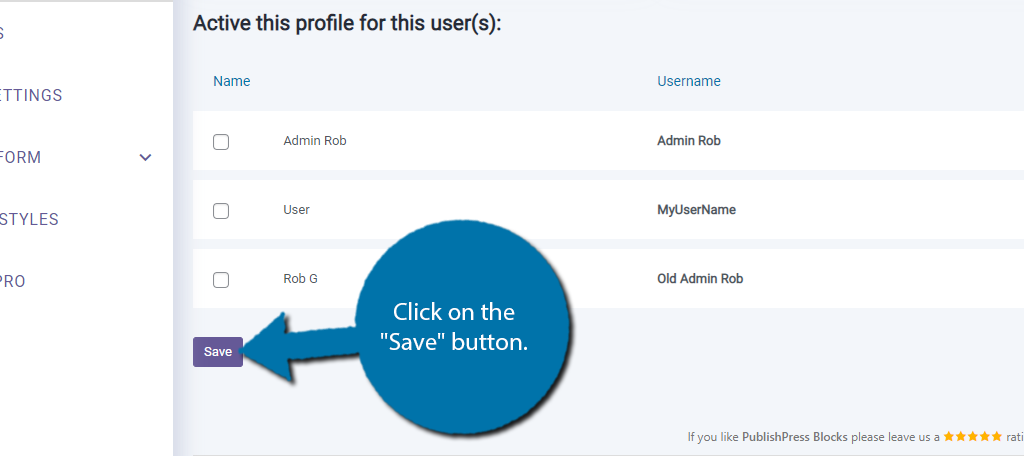
Here, you will see the full list of user roles on your website. You can also find a full list of users with these roles below it.
Choose which roles will be limited to the blocks you chose.
Click on the “Save” button at the bottom to finish.
Step 3: Settings
This plugin actually offers two settings, Settings and Block Settings. We will cover both of these in this step.
Click on Settings.
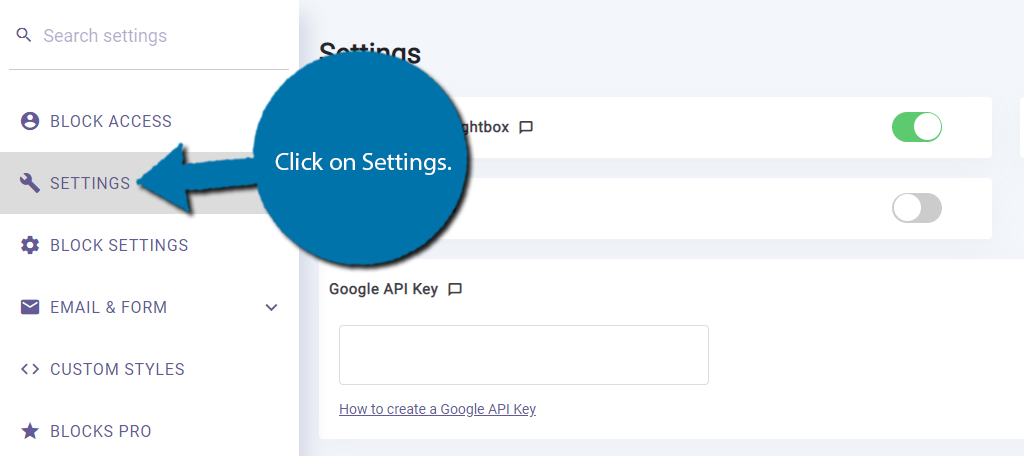
The Settings section provides a few general settings to configure. The first three deal with adding lightboxes to the gallery images, where image captions are placed, and removing Autop.
Below this, you will find a text box for the Google API Key. This is for the Maps block, which adds Google Maps functionality. Just remember that this API Key does require valid billing information on your Google account, but you will not be charged unless you exceed the free credit.
Finally, there will be a few more block settings that deal with spacing, color, and some other default options.
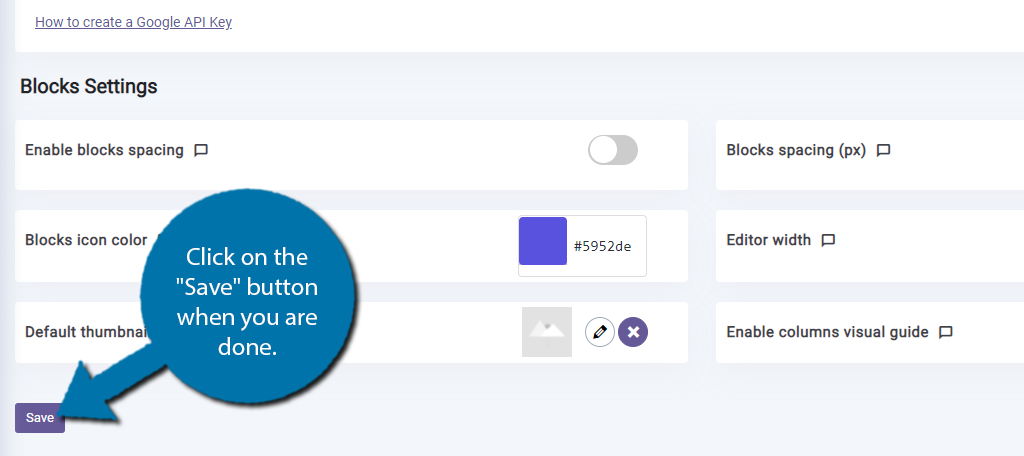
Click on the “Save” button when you are done.
Click on Block Settings.
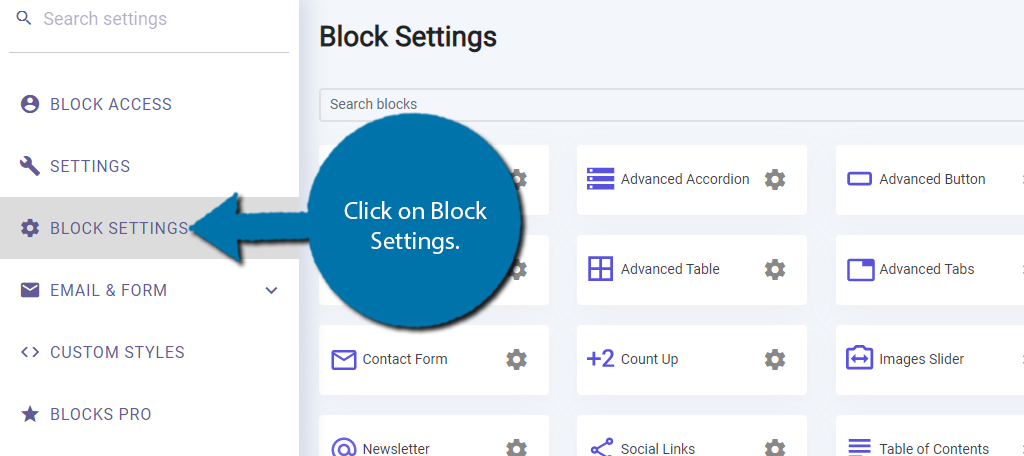
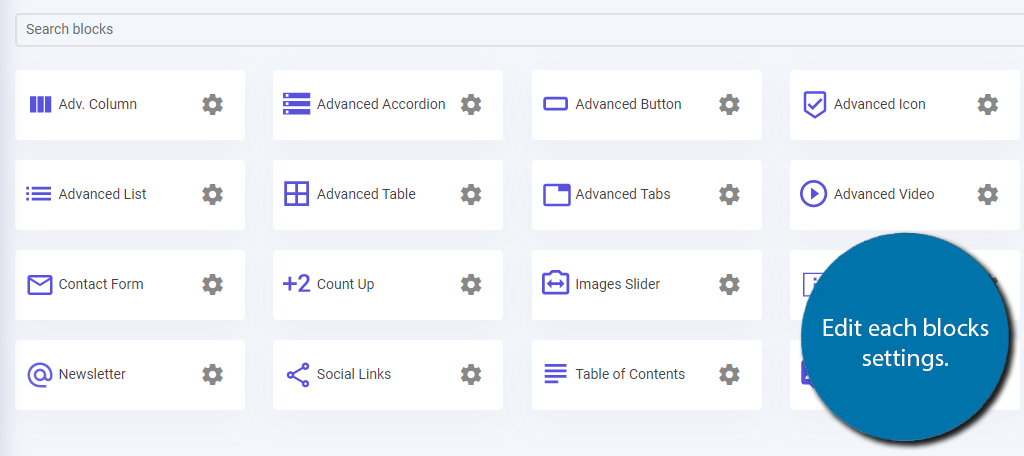
Here you will only see the PublishPress blocks. Each one has unique settings that you can configure. Simply click on the Settings Wheel next to the block to open up that block’s settings. They will appear as a popup.
Remember to click on the “Save” button every time.
There are three more sections in this plugin, Email & Forms, Custom styles, and Blocks Pro. I will not cover these because there isn’t much to say. And as you might have guessed, the final section is for the Pro version of the plugin, which adds even more customization options.
Congratulations on expanding your Gutenberg editor with PublishPress Blocks.
Be Sure to Checkout other Plugins
PublishPress Blocks is excellent for general Gutenberg blocks, but what if you want something specific?
For instance, you might run an online store with WooCommerce. Did you know that WooCommerce actually has a WooCommerce Blocks add-on? And did you know that it is free?
It adds many things to your WooCommerce store like Featured Product Blocks, Checkout Blocks, Sale Blocks, and more. You can fully customize what you display on your storefront with this plugin, but this is only one example.
There are a variety of plugins that add blocks in WordPress, so be sure to check them out.
More Blocks Equals More Choices
Obviously, adding more blocks in Gutenberg offers users more choices when it comes to creating content. For instance, the Table of Contents block is great for long blog posts because it helps visitors find the part they are looking for.
And let’s face it, if they can’t find what they are looking for, they are going to leave the page. Of course, some websites will not need every block the plugin has to offer, and that’s fine. Having them available for use doesn’t impact your website in any way.
That said, adding multiple plugins to expand the number of blocks could have an impact on site performance, so only add what you need.
Which block did you find the most useful? Did you change the permissions some users have to certain blocks?
