For many eCommerce websites, WorldPay is a preferred method of payment acceptance. Like many other online payment gateways, it provides access to collecting money both in the worldwide web and in brick-and-mortar locations simultaneously.
For this tutorial, we’re going to setup WorldPay in CubeCart. In just a few moments, you can start collecting money from your sales with this popular method.
Installing WorldPay for CubeCart
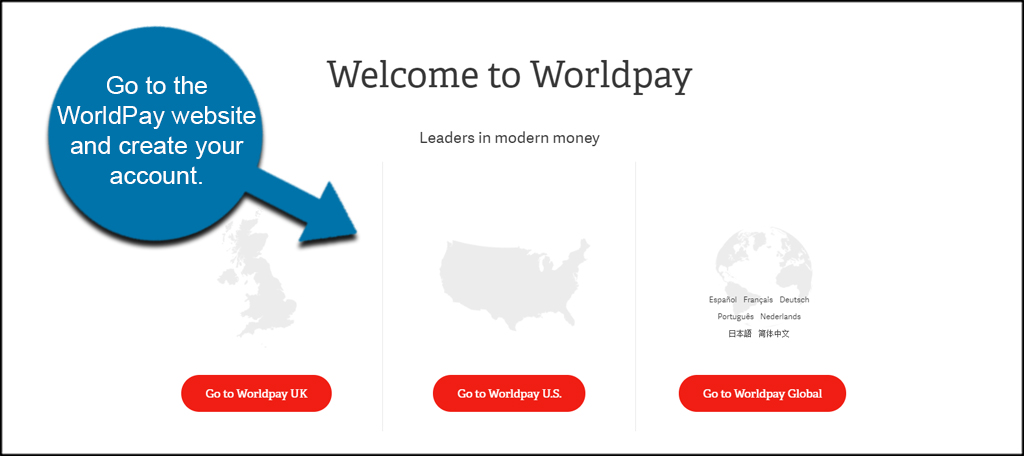
First, you’ll need your own WorldPay login. Go to the WorldPay website and create your account. The type of account you will set up will depend on what kind of a store you’re trying to build.
Once you have an account ready to go, you’ll need to install the module for CubeCart. You can find the module at the CubeCart Extensions website.
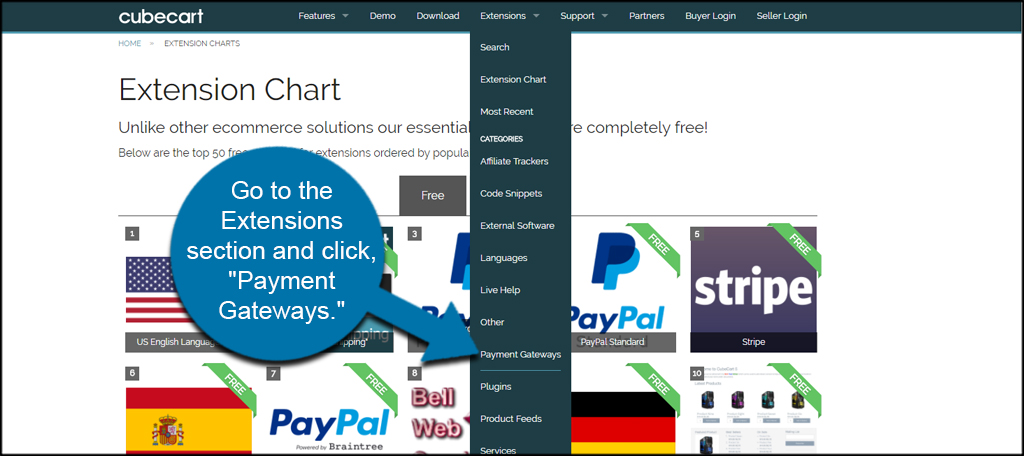
Go to the Extensions section and click, “Payment Gateways.”
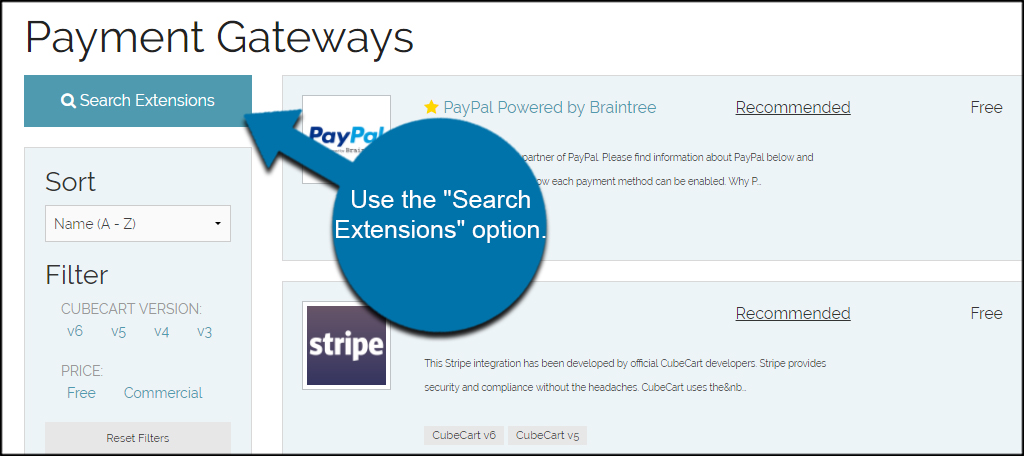
CubeCart has a lot of supported gateways, so you’ll need to search for WorldPay. You can do this by browsing each page or use the “Search Extensions” option.
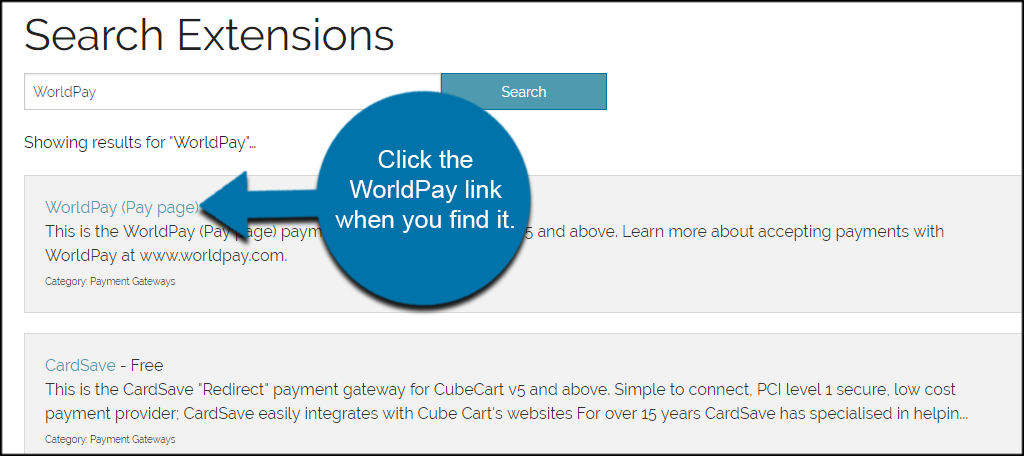
Click the WorldPay link when you find it either though search or on the extension page.
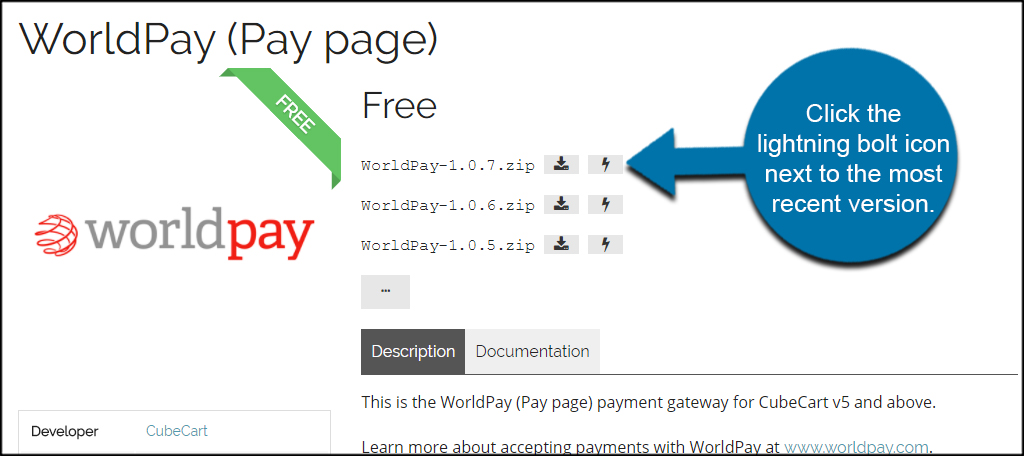
You can either download the module and manually upload it to your website. However, I am going to use the automated direct install CubeCart offers. It’s much faster and doesn’t require any additional effort.
Click the lightning bolt icon next to the most recent version.
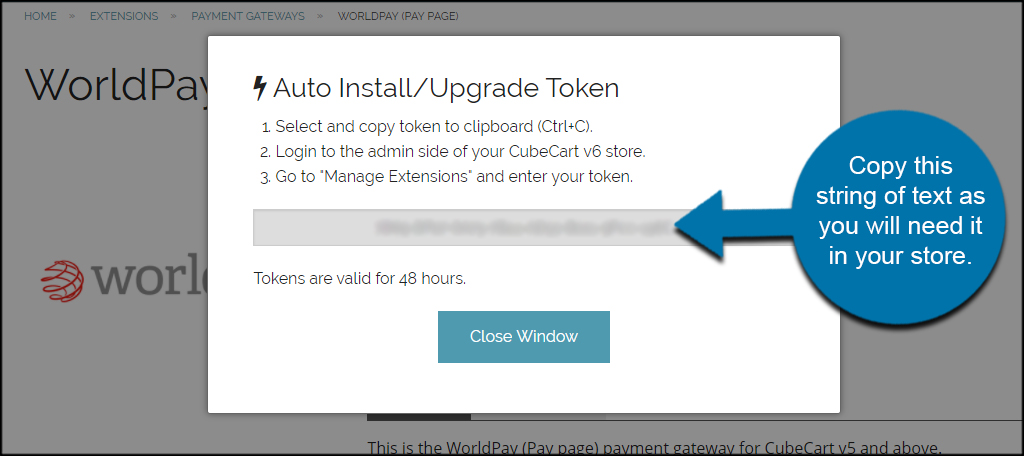
CubeCart will supply you with a token for the install. Copy this string of text as you will need it in your store. You can click to “Close Window” when you’ve copied these numbers and letters. I find it easier to paste the token into something like Notepad. This way, you don’t have to worry about losing it.
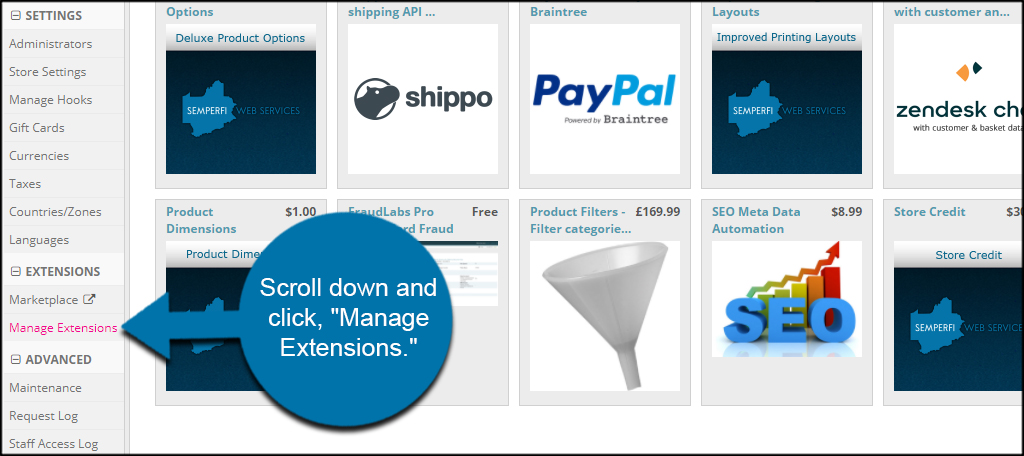
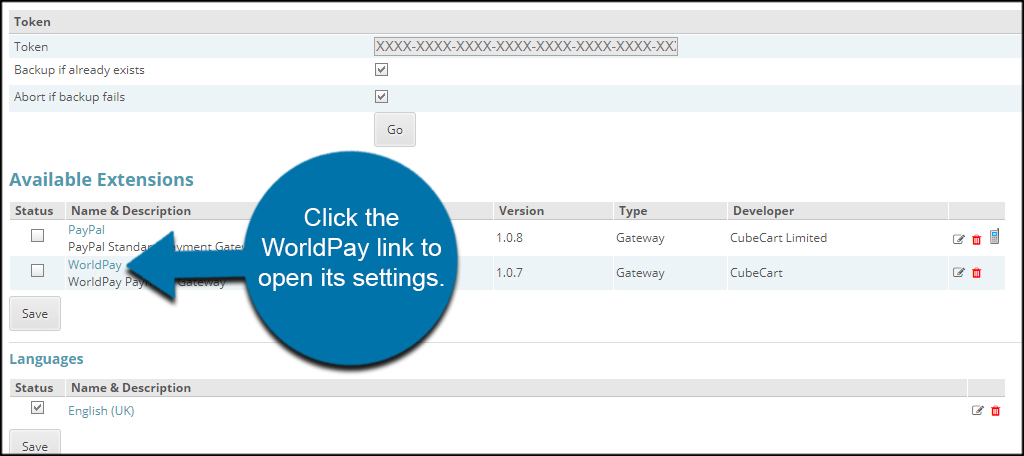
Log into your store’s CubeCart admin screen. Scroll down and click, “Manage Extensions.”
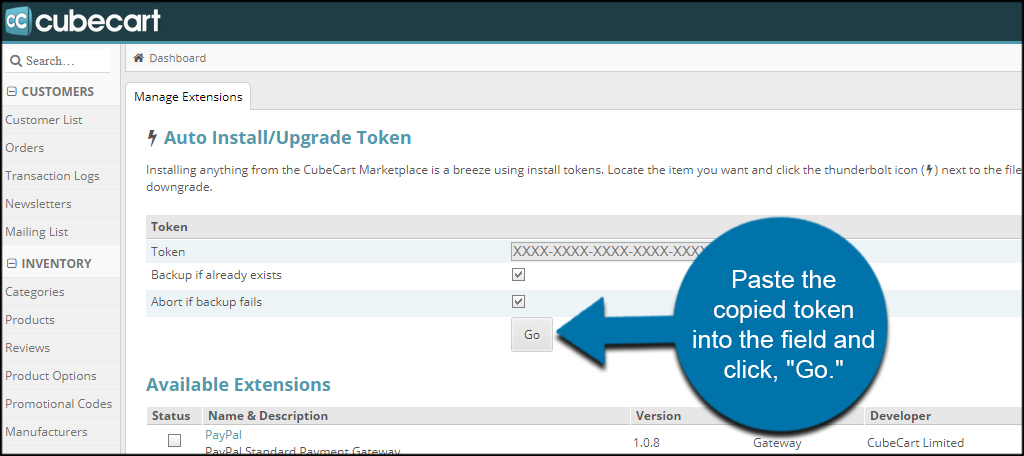
Paste the copied token into the field and click, “Go.”
Your store will connect to the CubeCart server and automatically install the module. Click the WorldPay link to open its settings.
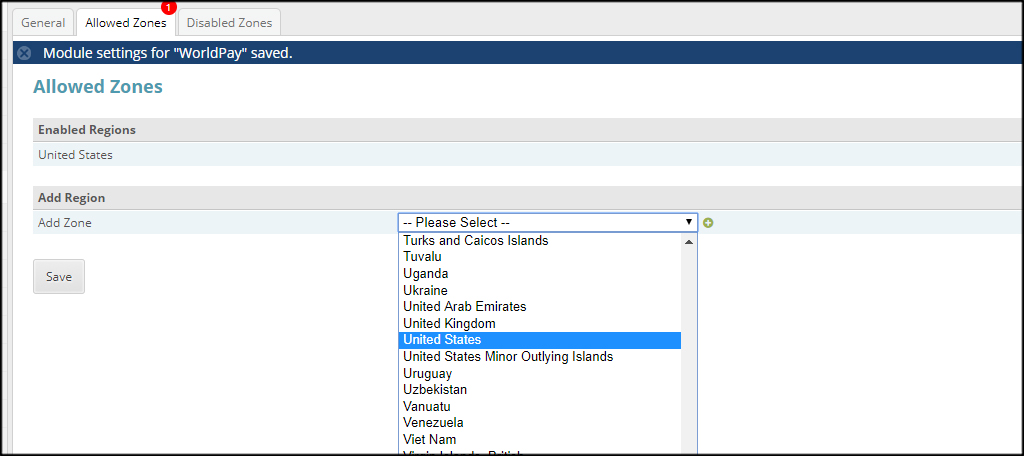
Input your WorldPay account information into the fields provided. This includes adding Allowed Zones and Disabled Zone for different parts of the world. For example, you would only add “United States” as an allowed zone if your based in the US and you don’t want to offer products worldwide.
You’ll also want to check the “Status” box to enable the gateway and select the “Default” box if you want WorldPay to be the default payment gateway on your site. For instance, you can have PayPal Standard and WorldPay available, but the Default box will make WorldPay the first choice.
Users can then select the other methods if they like.
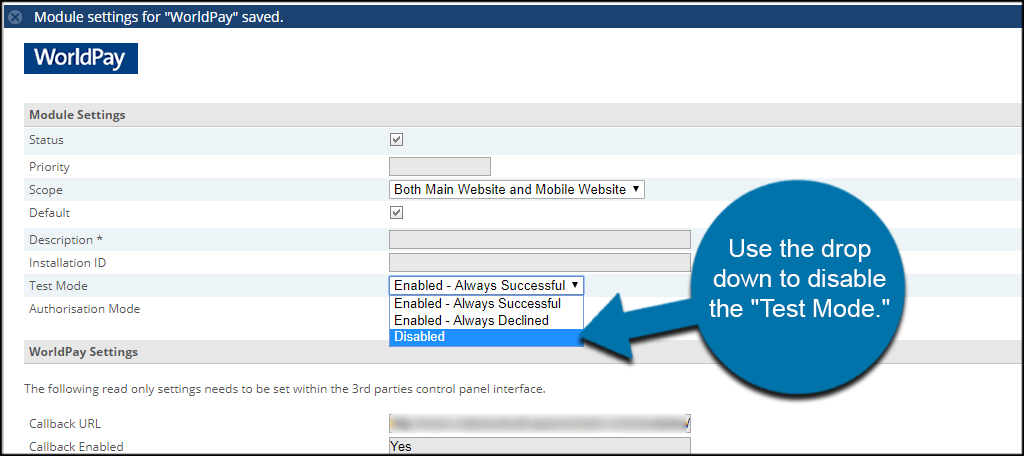
You’ll also want to use the drop down to disable the “Test Mode” when you’re ready to go live.
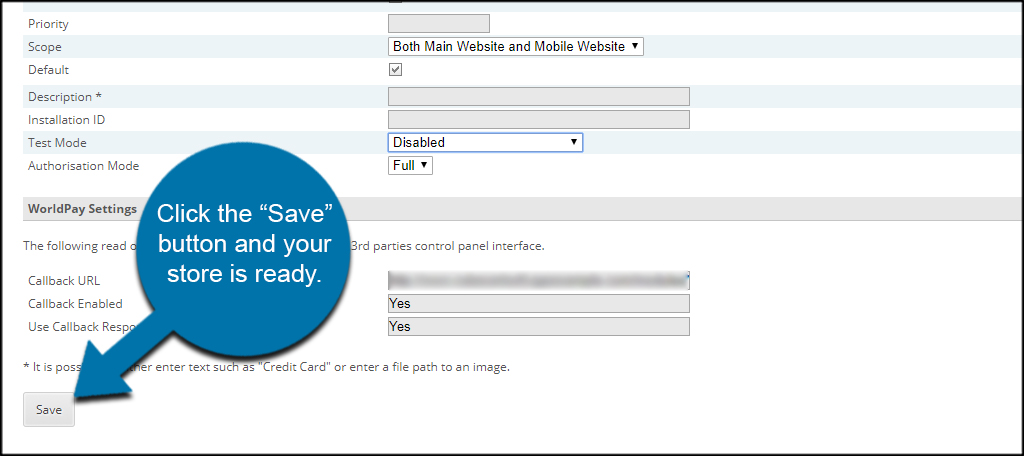
When your settings are done, click the “Save” button and your store is ready to sell some items.
Customize Your Store
The payment gateway is only one piece of customizing your store. Configuration options are quite extensive for CubeCart. Make sure you go through each section of your store as it will optimize its performance as well as being more effective for buyers. Create something amazing and build the site up to become a powerhouse of online sales.