
There are multiple choices for you to think about when it comes to eCommerce. However, if you are running WordPress, then the best solution by far is WooCommerce.
A WooCommerce WordPress installation will give you everything you need to set up your online store and be successful. The proof is in the overall popularity of the tool. WooCommerce has over 4 million downloads and sports an overall 4.6 rating.
This eCommerce solution also powers roughly 7% of all online stores, and a staggering 22% of the top 1-million eCommerce websites out there.
Basically, if you need to launch an eCommerce website and you are running WordPress, then a WooCommerce WordPress installation and setup is exactly what you need.
Today, I’ll show you how to set up WooCommerce quickly and easily in your WordPress website.
Is WooCommerce and WordPress Free?
The answer to this question is both yes and no. Yes, the main WooCommerce plugin for WordPress is free to download, setup, and use. In many cases, you can get away with using just the plugin itself.
However, there will be other costs associated with building your eCommerce store. Buying a domain name, paying for hosting, and buying any subscription-based plugins for other purposes in WooCommerce will more than likely be involved.
These are customizations and add-ons, and you may have to get some depending on what you are trying to accomplish.
How to Set Up a WooCommerce WordPress Installation
There are a few things you will need to have in place before you set up the WordPress WooCommerce plugin. It is nothing major; you just want to make sure you have all your ducks in a row before installing and setting up the plugin.
Here are a few things to have in place before tackling the WooCommerce WordPress setup.
- You have a registered a domain name.
- You have secured solid WordPress website hosting that will give you all the tools you need for growth and expansion.
- Have WordPress installed to power your site.
- Have a WordPress online store theme installed and ready to go.
Once these things are in order, you will be ready to install and setup WooCommerce on your WordPress website. Let’s take a step-by-step look at how to accomplish this.
Install and Activate WooCommerce from WordPress
The first thing you need to do is install and activate the WooCommerce plugin. You can do this by searching for it in the Plugins section of your WordPress admin dashboard.

Once the plugin has been installed and activated, you are presented with a Setup Wizard from WooCommerce.
You have the option of filling out these boxes real for quick use. But you will still need to go back and setup the rest of WooCommerce.
Go ahead and quickly fill this out if you want, as this is their way of getting you up and running quickly. Follow those on-screen instructions and finish the wizard setup.
Now, let’s take a deeper dive into the full WooCommerce WordPress plugin. Click on WooCommerce > Settings and let’s go through the setup option by option.
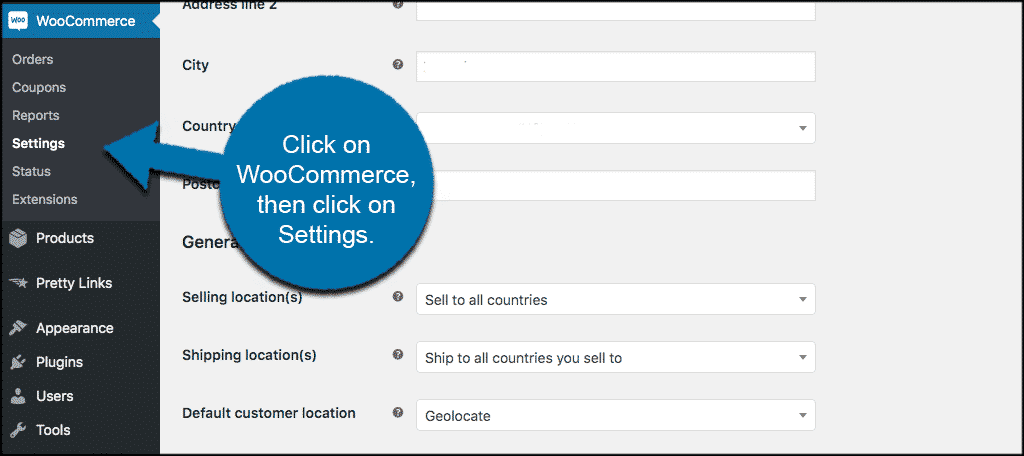
General Settings of WooCommerce in WordPress
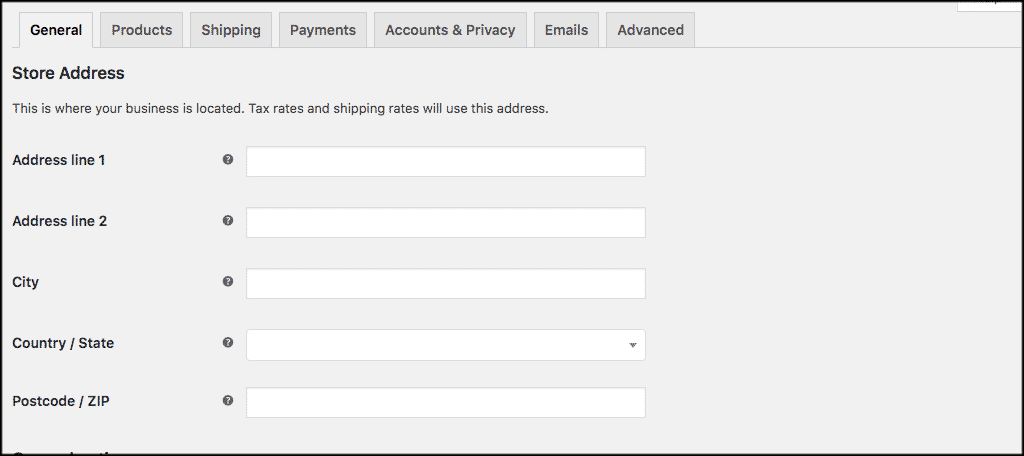
The first option you see in the WooCommerce WordPress options page is the “General” tab. Click on it. This gives settings to fill in for things like your store address, taxes, and currency options.
Under the first set of choices, fill in your store address information.
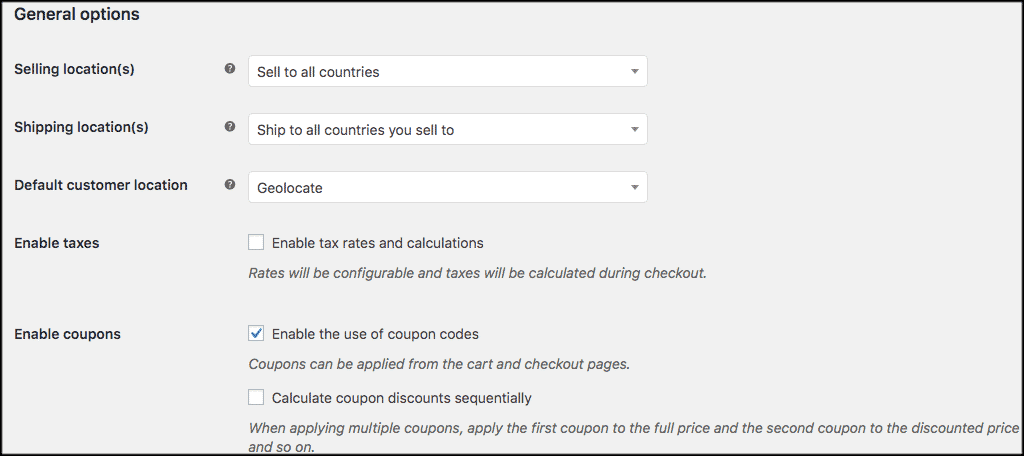
Now scroll down a little and fill in some other settings such as shipping, tax collection, and coupon information.
On the last portion of the general settings page, you will see where you adjust currency methods. Go ahead and fill those out how you see fit.
Don’t forget to click on the “Save Changes” button to apply all changes.
Product Settings
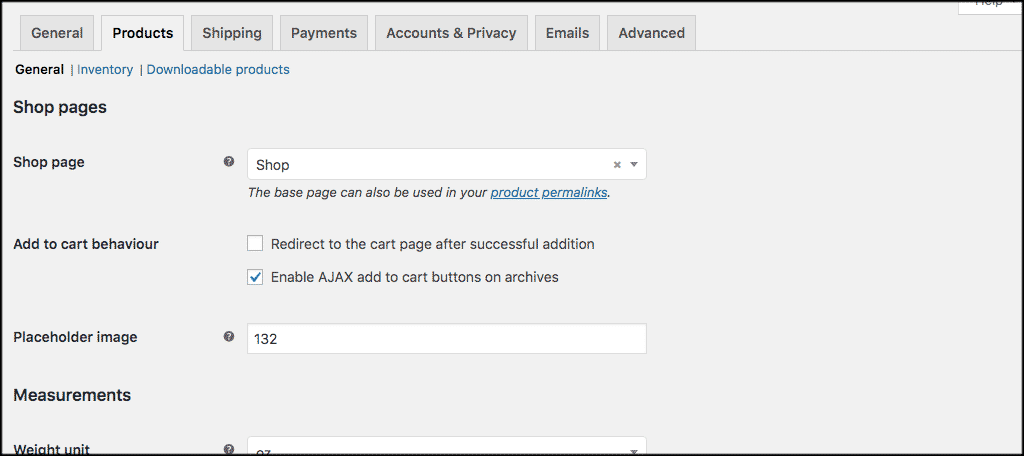
Now go ahead and click on the next tab titled “Products.” The WordPress WooCommerce plugin allows you to set certain options for product pages, inventory, and downloads. Under the Products tab you will find three sub-links:
- General
- Inventory
- Downloadable products
General
Under the General link, you will find settings for the shop page, placeholder image, measurements, and reviews. Go ahead and make changes to your liking.
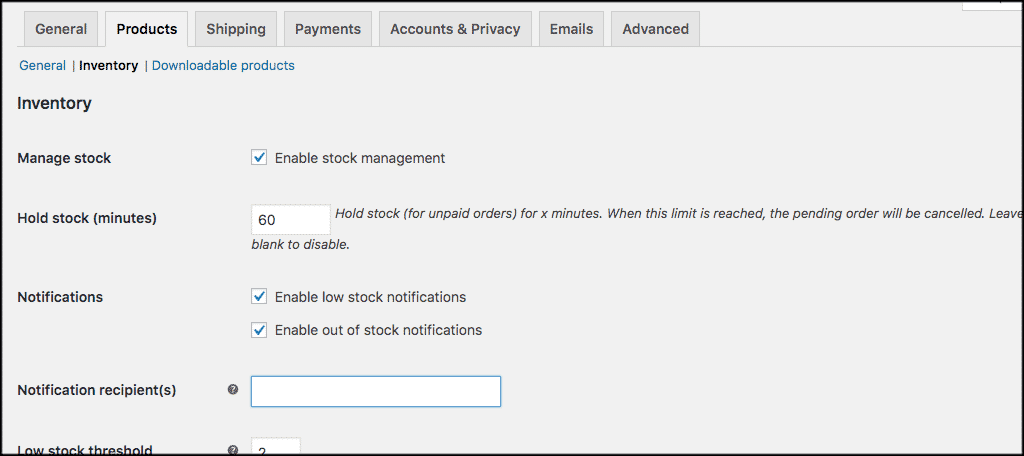
Inventory
Now click on the “Inventory” link and set the inventory and stock how you want.
Note: You will also be able to manage inventory within product pages as well.
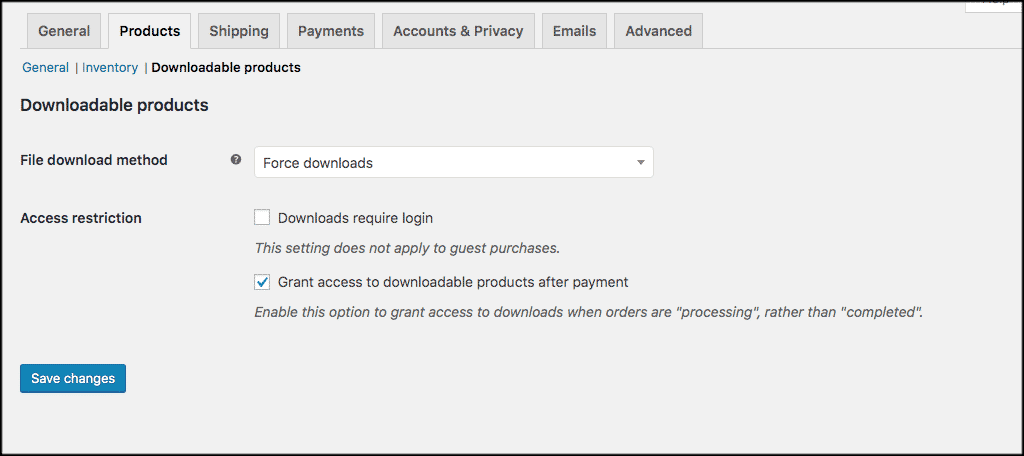
Downloadable Products
The last link will be downloadable products. If you are dealing with digital goods on your eCommerce website, then fill this section out according to what you want to happen when someone purchases a download.
For instance, you can set it to “require login” and/or “Grant access to downloads” after a payment is made.
Shipping Settings
Now that you have set up the products according to how you want, let’s move on to the WooCommerce shipping settings. Go ahead and click on the “Shipping” tab.
Under this you will see three sub-options for Shipping:
- Zones
- Options
- Classes
Here is where you will make changes to how your products are sent to customers and any expenses that may incur.
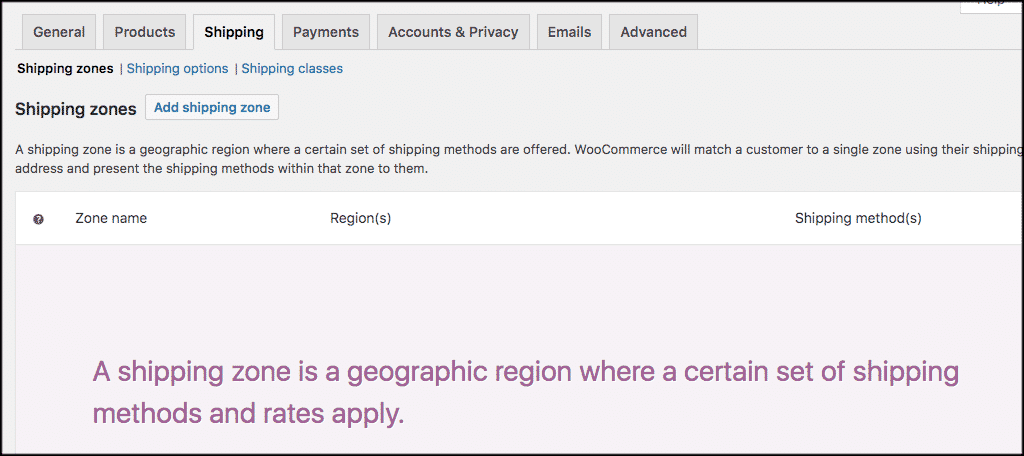
Shipping Zones
Click on the first link titled, “Shipping Zones.”
This is where you will add zones where certain shipping options apply. You can set up as many zones as you want by clicking on the “Add shipping zones” button.
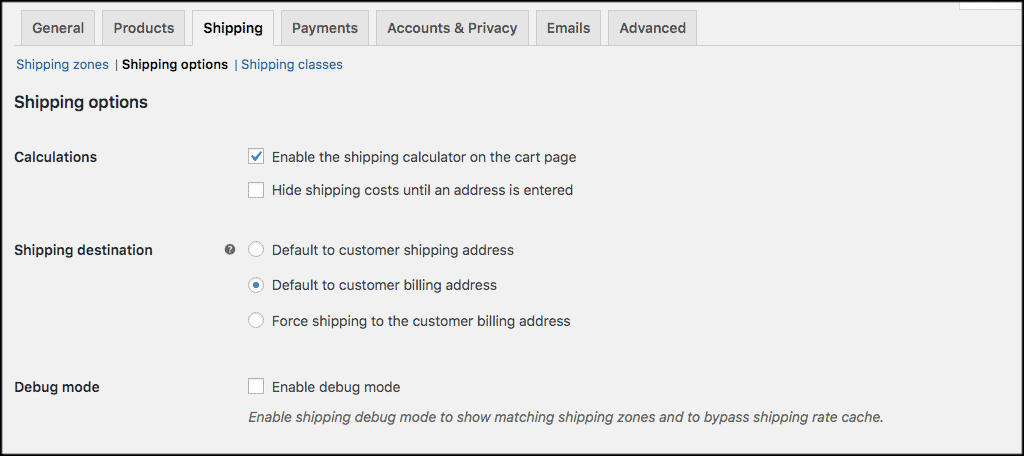
Shipping Options
Now click on the next link titled, “Shipping Options.” From here, you will set calculations and shipping destinations options.
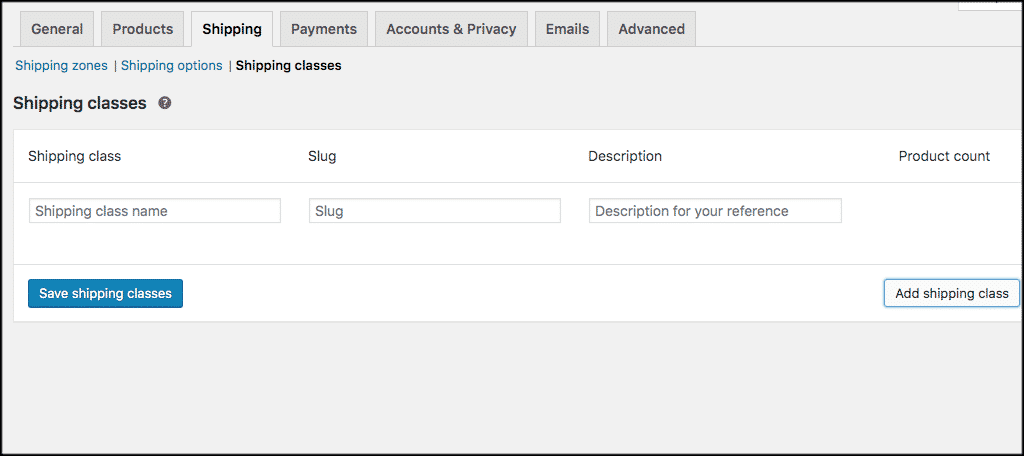
Shipping Classes
Lastly, click on the shipping classes link. You can add as many shipping classes as you would like as well. Simply click on the “Add Shipping Class” button.
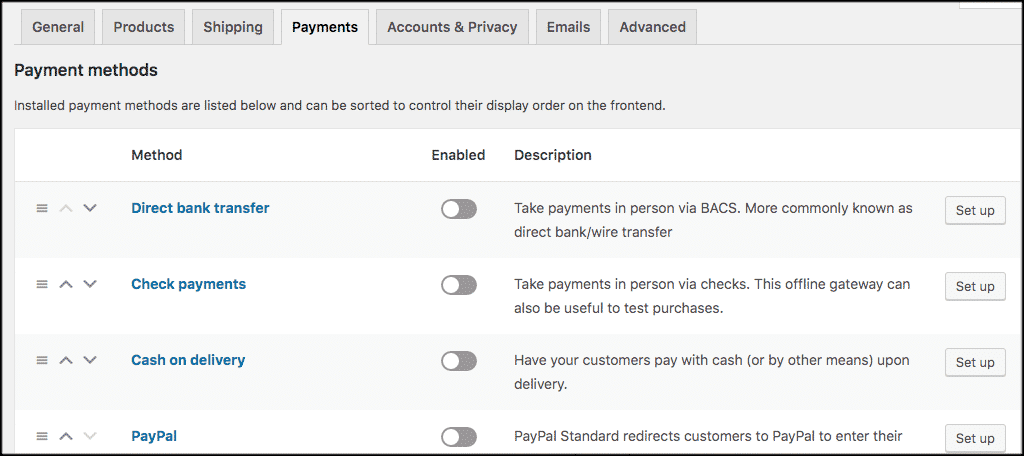
Payment Settings
Now click on the “Payments” tab. These are pretty straightforward as well. WooCommerce has some built-in payment gateway options. You can also install other options like Stripe and use those for free as your payment gateway of choice.
Go ahead and set up any payment gateways you want. You can do this by clicking the “Enabled” switch next to each method and clicking the “Set Up” button on the far right.
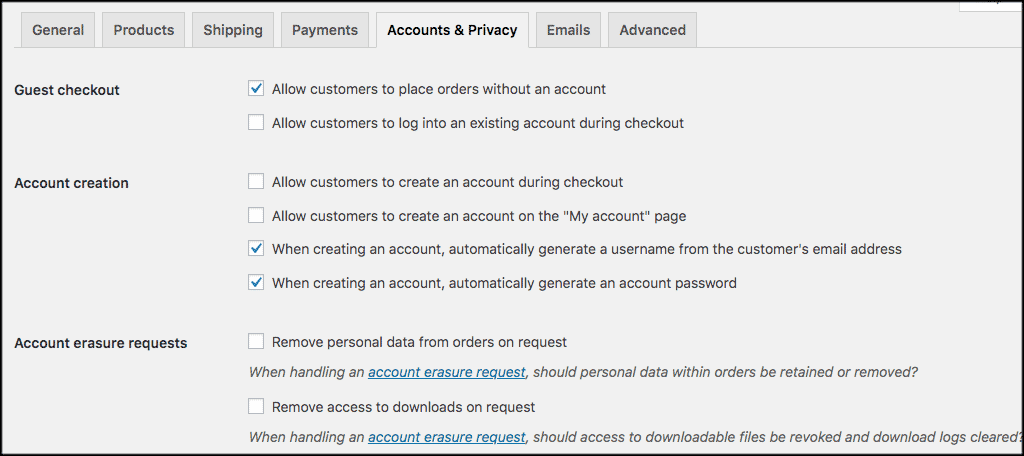
Accounts and Privacy in WooCommerce and WordPress
The WooCommerce WordPress setup gives you a lot of flexibility when it comes to account management and privacy.
Click on the “Accounts & Privacy” tab and you will be able to set up checkout, account creation, privacy policy, and personal data options.
Fine-tune the Privacy Policy for your specific website.
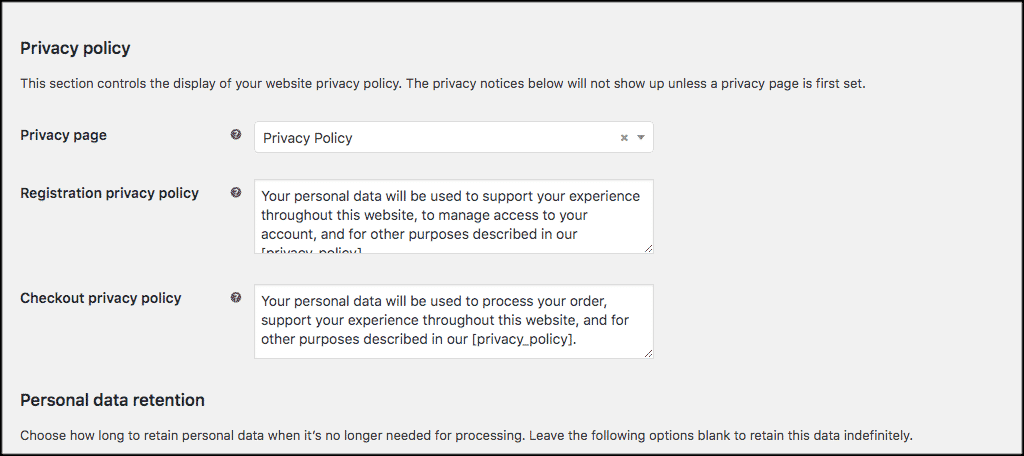
And finally, adjust personal data retention options according to your specific needs.

When you are satisfied with the options you have filled out click on the “Save Changes” button and move on.
Emails Tab
This is pretty straightforward as well. Click on the “Emails” tab and you will see a long list of templates provided by WooCommerce.
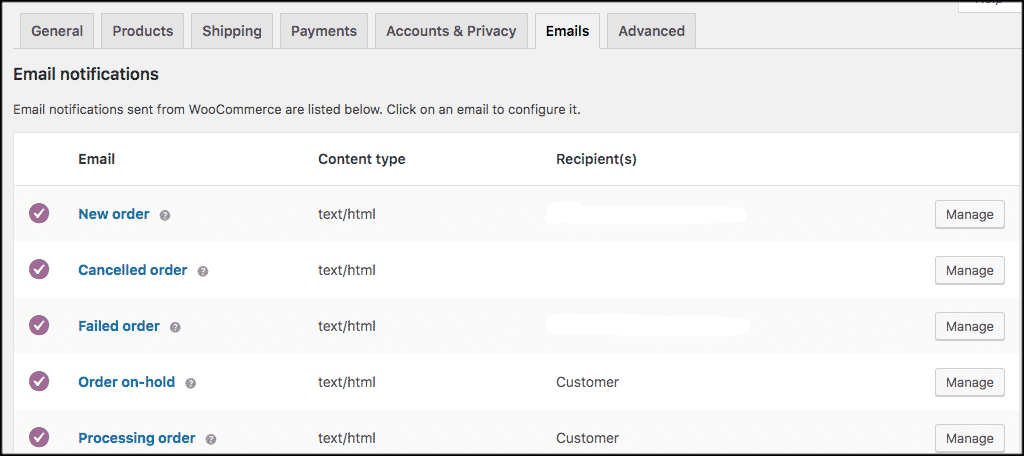
To manage any of these emails and set them up how you want, simply click on the “Manage” button located to the right side of each.
That will take you to a page that looks like this:
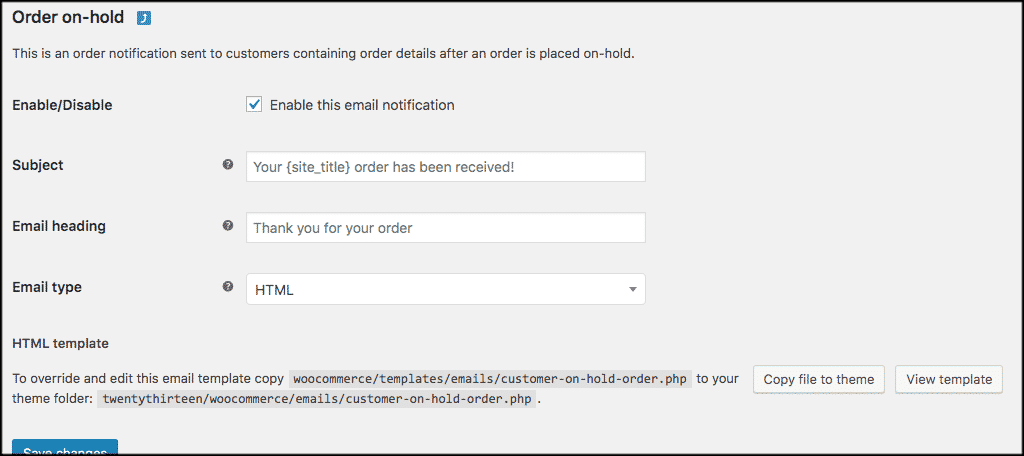
Fill out these template settings how you want and save them. You can do this for all messages sent from the WooCommerce system.
Advanced Options
The last option you will see is the “Advanced” tab. Go ahead and click on that and let’s finish the WooCommerce WordPress installation and setup.
You will see a number of options available under this tab.
These include:
- Page Setup
- Rest API
- Webhooks
- Legacy API
- WooCommerce.com
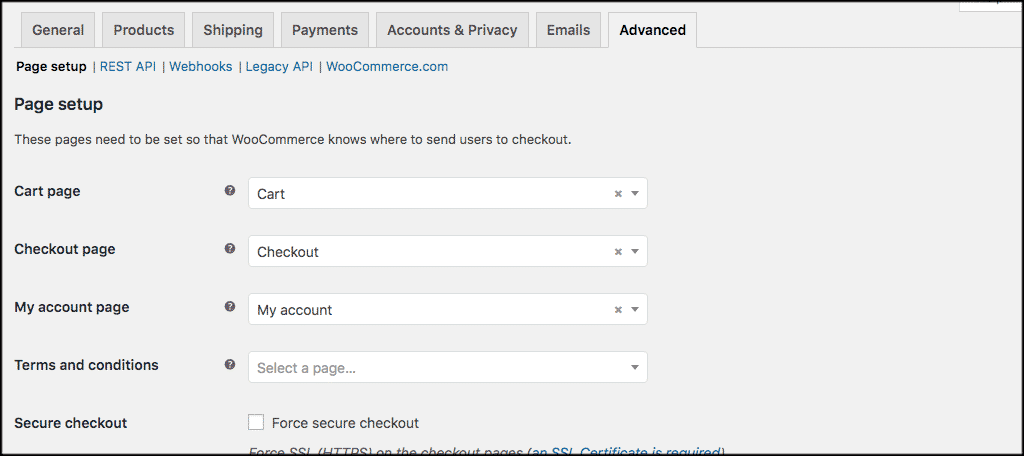
Page Setup
Click on the page setup link and fill out all the options regarding how you want them displayed on the front end of your website.
Rest API
This is where you will create any API keys needed for external apps to run properly.

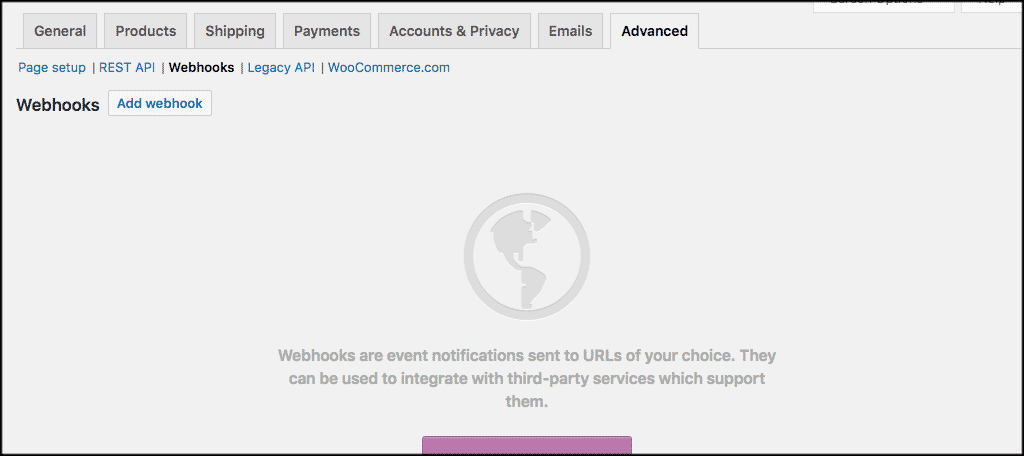
Webhooks
Like the API area, this is where you will create webhooks when you need them.
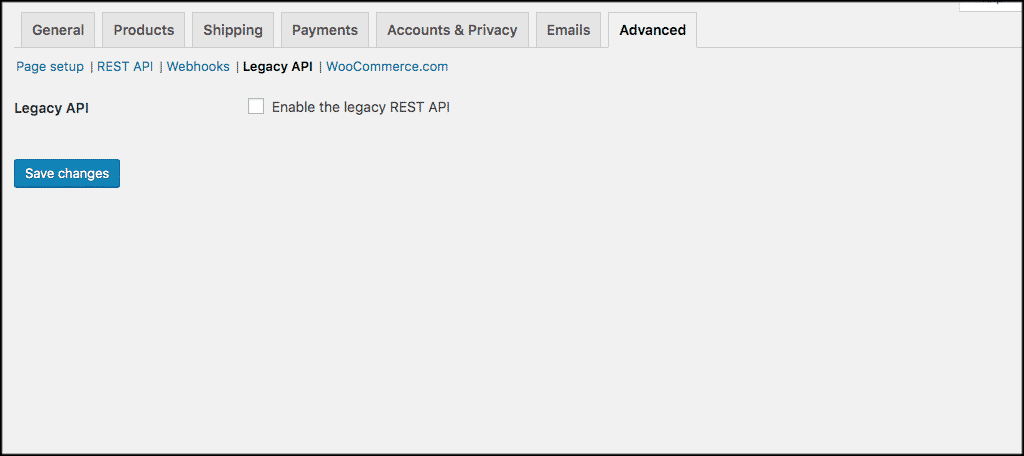
Legacy API
You can enable the legacy Rest API option from this area.
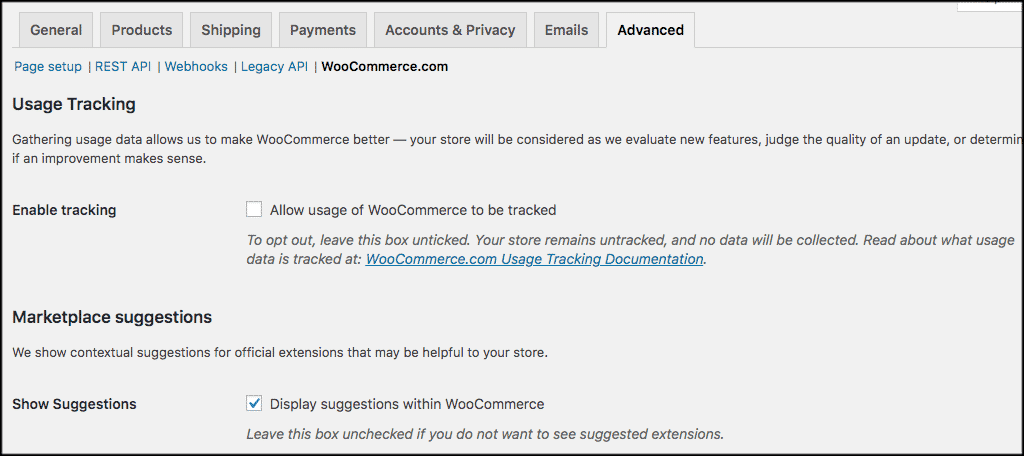
WooCommerce.com
In this last subsection of the advanced area, you will find the woocommerce.com link.
This includes elements like being able to track the usage of your online store as well as suggested extensions displayed in WordPress you can buy and install.
Simply check the boxes you want as relevant and save changes.
Other Setup Options for WooCommerce and WordPress
The above information will give you all you need to set up WooCommerce. Under the WooCommerce tab on the left side of your WordPress admin dashboard, you will see some other links as well.
Two others you may want to check out are Coupons and Extensions.
Coupons
This is exactly what you think. This is the area where you can build customer coupons and apply them to orders.

Note: In order to offer gift cards through WooCommerce you will need to have an extension.
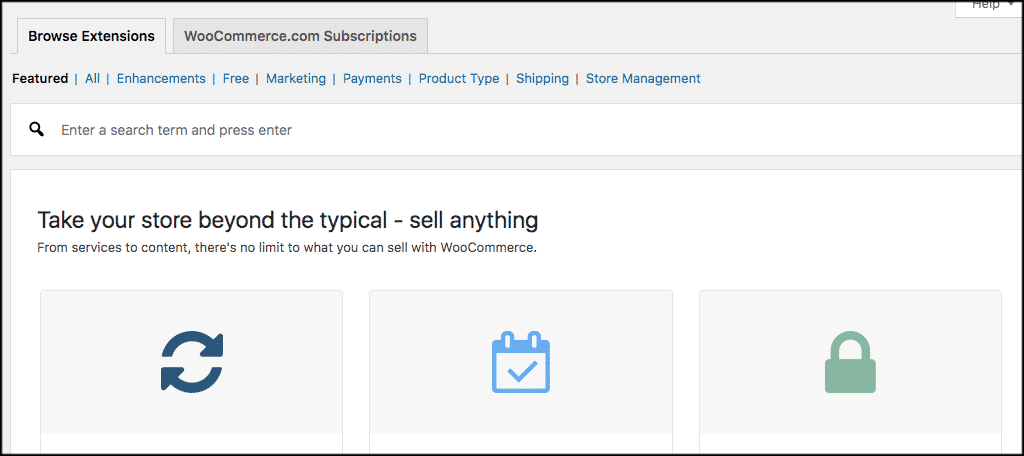
Extensions
You can also scroll through the Extensions page for WooCommerce for things you might want to use. Here you will find both free and paid WooCommerce extensions that may be useful to you.
This will all depend on what you are trying to accomplish for your online store.
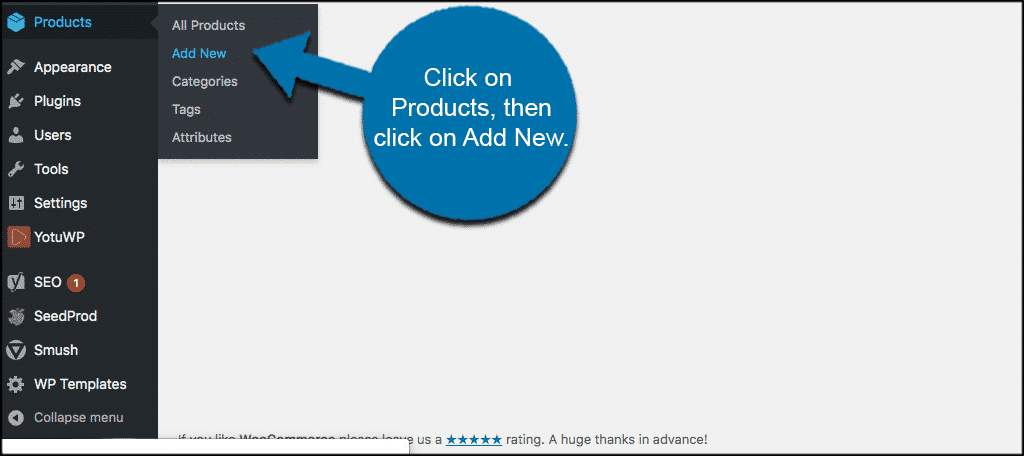
Adding Products for WooCommerce in WordPress
Adding a product in WooCommerce is not difficult. Let’s take a look at the process. Click on “Products > Add New. You will be presented with the WooCommerce product page.
Add a product name and then add its details in the paragraph box below.
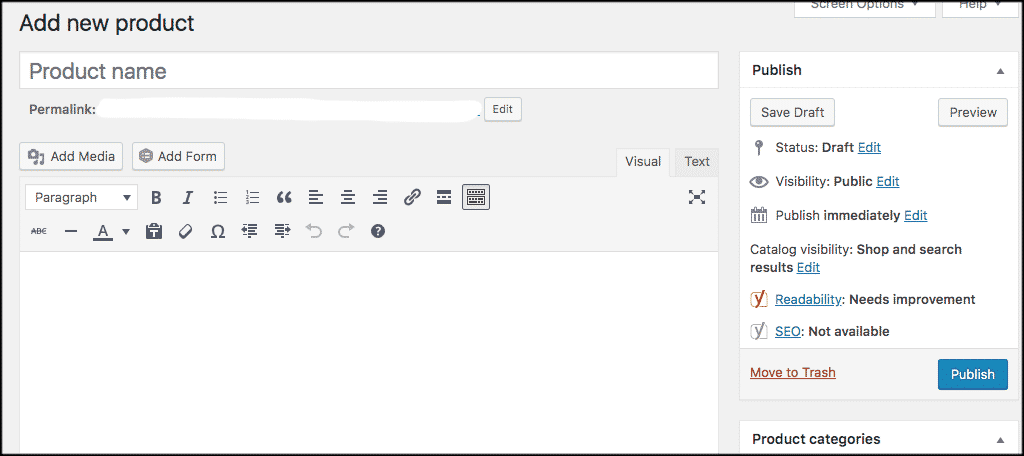
Note: There will be another paragraph box at the bottom of the page. This is where you will actually add product descriptions.
On the right you will see areas for a product category, tags, image, and gallery.
Select the appropriate category for your product. Then, if you are using tags, go ahead and select the relevant ones you want to use on the product.
Example: Category = Cars, Tags = Car Types
The product image is the main image that will show the specific product. Then, the product gallery is for any other images you want to upload for the same product.
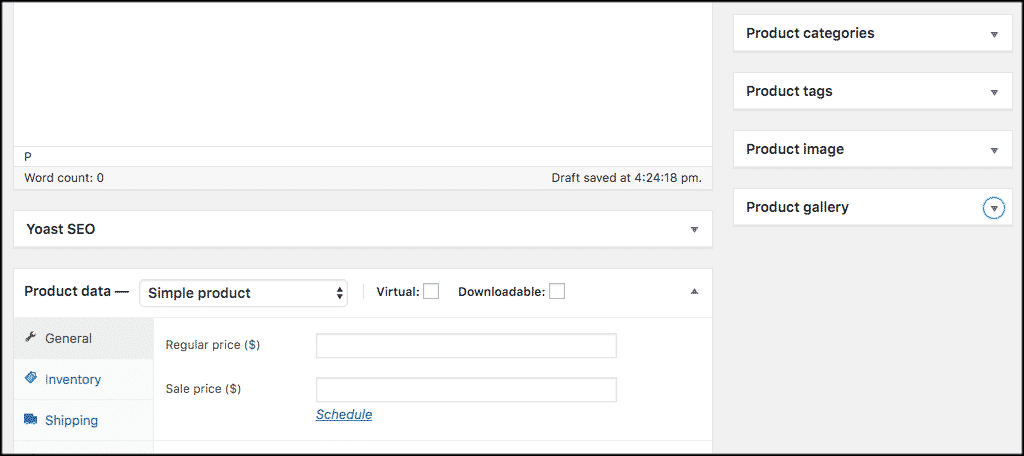
Product Data
Once the above is in place, scroll down a little to the Product data section of the page. This is where the meat of the WooCommerce product setup is.
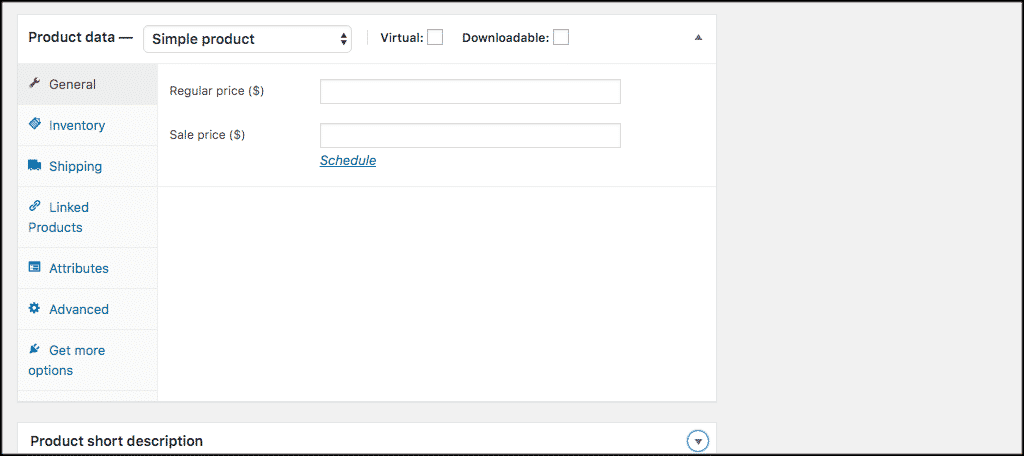
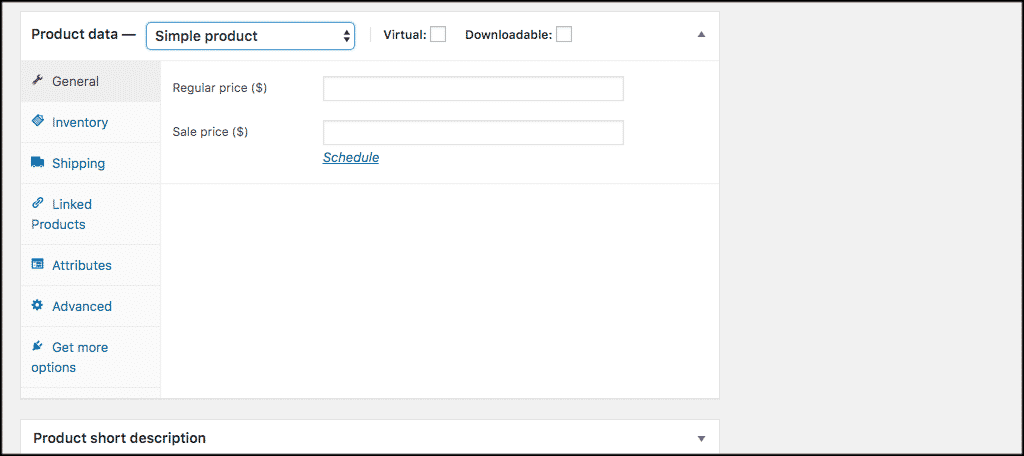
You will see a number of links on the left. These are specific areas to configure your product.
First, select your product type and let WooCommerce know if it is a virtual or downloadable product. If it isn’t, leave that blank.

General
Click on the “General” tab and fill out your product pricing as needed.
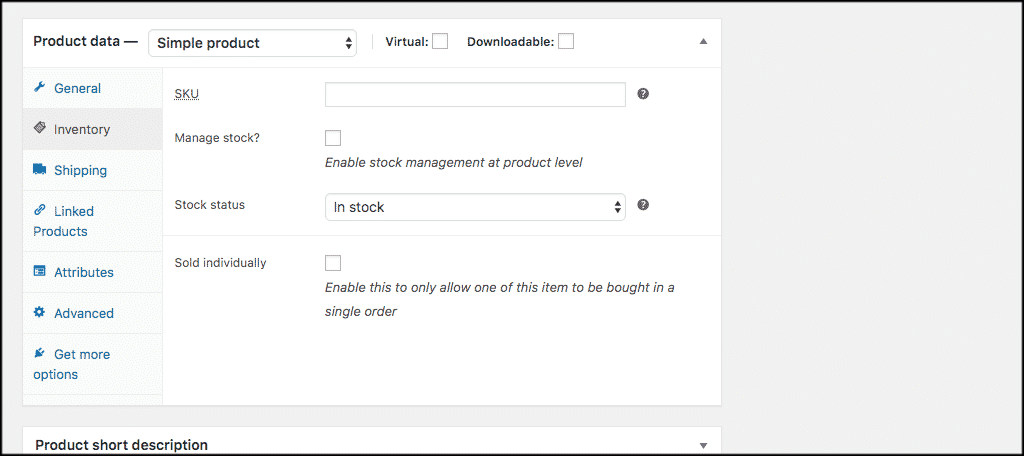
Inventory
Now click on the “Inventory” tab and fill out the inventory section as needed for your products. You will also be able to add an SKU number here, which is important for tracking.
Note: If you don’t keep inventory, just move to the next tab.
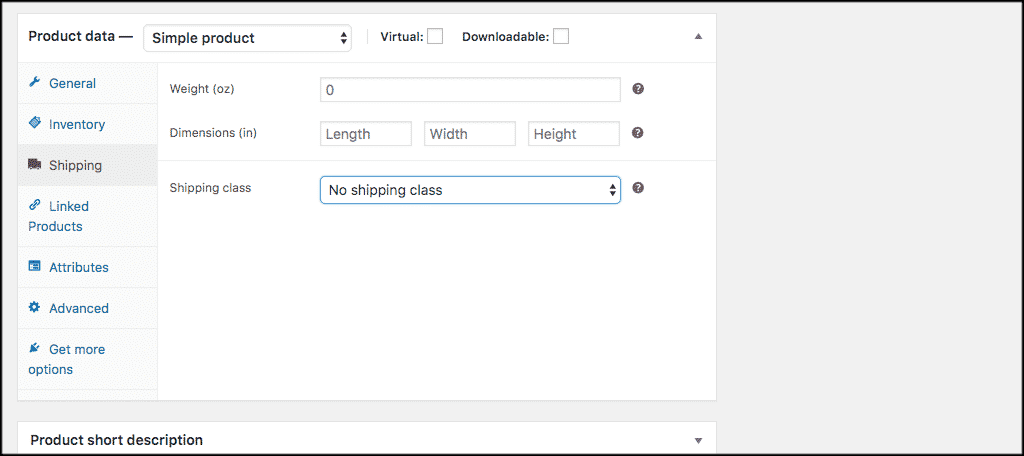
Shipping
Next, click on the “Shipping” tab and configure the shipping how you want it. You will also be able to assign shipping classes automatically based on the ones you built.
Linked Products
Now move on to the “Linked Products” tab. By default, WooCommerce will show other products someone may like (if you have that option checked). However, you can assign specific linked products to show as well if you want by setting up this portion.

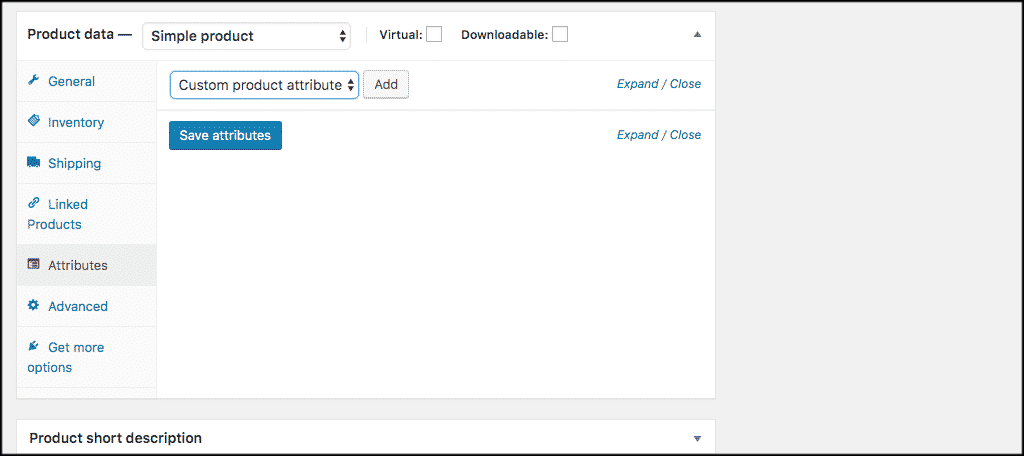
Attributes
Now click on the “Attributes” tab. If you have specific attributes you need to add, then you can do that within this section. The attributes you have built will already be added in the Attributes section of WooCommerce. You can select from these and add them in.
Note: Attributes are things like different colors, sizes, style, models, etc.
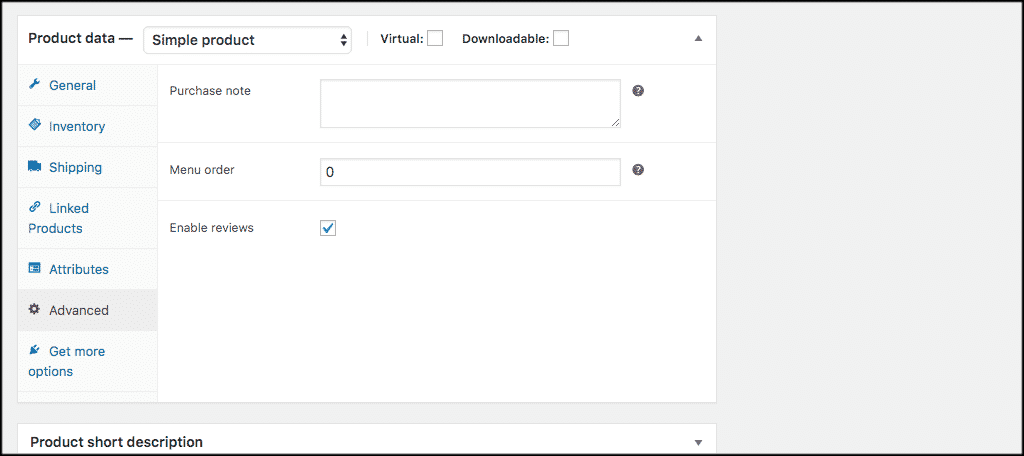
Advanced
The default WooCommerce “Advanced” tab allows you to add purchase notes and enable or disable reviews. Fill this out accordingly.
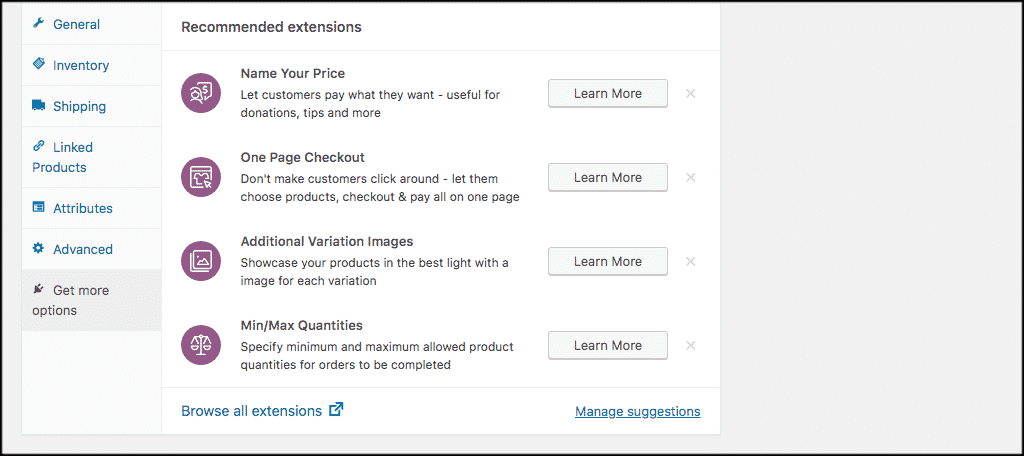
Get More Options
Finally, click on the “Get More Options” tab and take a look to see if you want to add any of the available elements. You can explore those options as needed.
This includes things like naming your price, one-page checkout processes and more.
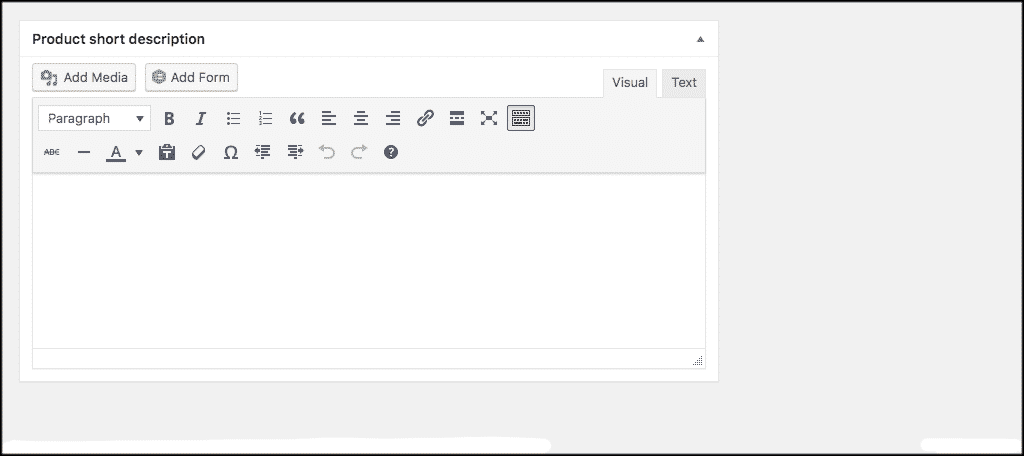
Product Short Description
The final part of adding a product in WooCommerce is the “Product Short Description” area. This is where you will add an actual description for your product.
The short description is essentially a brief synopsis of the item. You don’t have to be too elaborate with this area, especially since the product’s main page will have all the information available.
Once all of the above is entered correctly, click “Publish” and your product will be live and ready for purchase on your WooCommerce website.
How to Market Your WooCommerce and WordPress Website
There are several ways you can go about marketing your WooCommerce website. Of course, you want to start with Social Media posts and advertising. However, you can also market in many other ways. Here are some to think about.
1. Social Media
Pumping your new WooCommerce website on social media is perhaps the fastest way to hit the most people and let them know you have a new website up and running. You can post through your website pages, or you can simply blast the link on all your social media platforms and get people to share it and come see it.
2. Integrate Social Media on Website
While sharing your website on social media is always a great way to market, allowing people to access social media on your website to share themselves is just as important. Make sure you take the time to integrate social media into your website so that users can share it across their own social media.
3. Build Email List
If you have already been building an email list, great! If not, start building one as this is a perfect way to market your new WooCommerce WordPress website. There are several great ways to build an email list. You can even boost email subscribers using social media.
4. Use Best SEO Practices
It is important to use the best SEO practices on a website. Your new WooCommerce WordPress website is no different. You can get ranked higher and noticed quicker if you employ the right SEO best practices and strategies. This will help you market the site as well because the site structure will be correct.
5. Produce Good Content
Producing good content on a website that is relevant to what you are doing is crucial. Not only will good content push traffic to your website, but it will also let people know you know what you’re talking about. There are certain content marketing strategies you can follow to do this the right way.
6. Use Message Boards
When your new WooCommerce WordPress website is complete, you can start posting the link and discussing it on all sorts of message boards. Doing this will get your name out there to a lot of different people and allow them to come easily visit your website.
7. Offer Product Bundles
Face it, most people love bundles. It makes them feel like they are getting more for less, and oftentimes, that is indeed the case. Offer product bundles and packages on your website. This will get people even more interested and coming back for more. If they know they can bundle products instead of buying A la cart, your website instantly becomes more attractive.
Final Thoughts
WooCommerce is a massive eCommerce system that can provide you everything you need to build a successful online store with WordPress. It may look daunting at first, but WooCommerce is actually not too difficult if done correctly.
I hope the information above in this WooCommerce tutorial showed you exactly what you need to do to get your WordPress eCommerce site up and running smoothly.