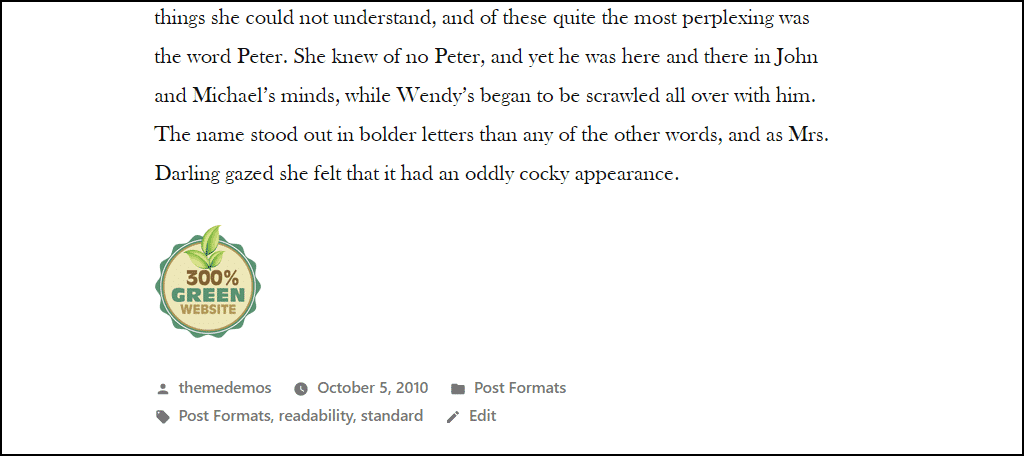
You’re making a difference by using an environmentally responsible website hosting platform. Let the world know that you believe being green is vital by displaying a GreenGeeks seal on your website.
Here’s how you can fly the eco-friendly flag.
Choosing a Seal
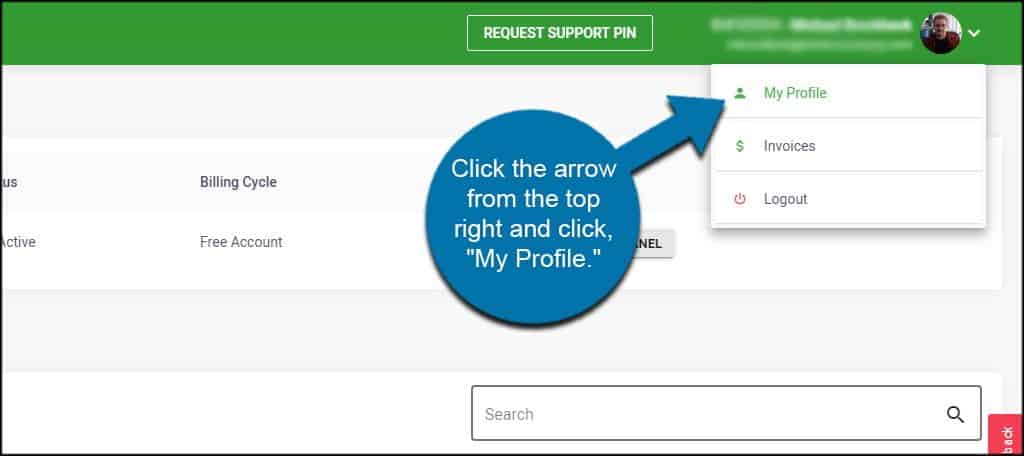
After logging into GreenGeeks, click the arrow from the top right and click, “My Profile.”
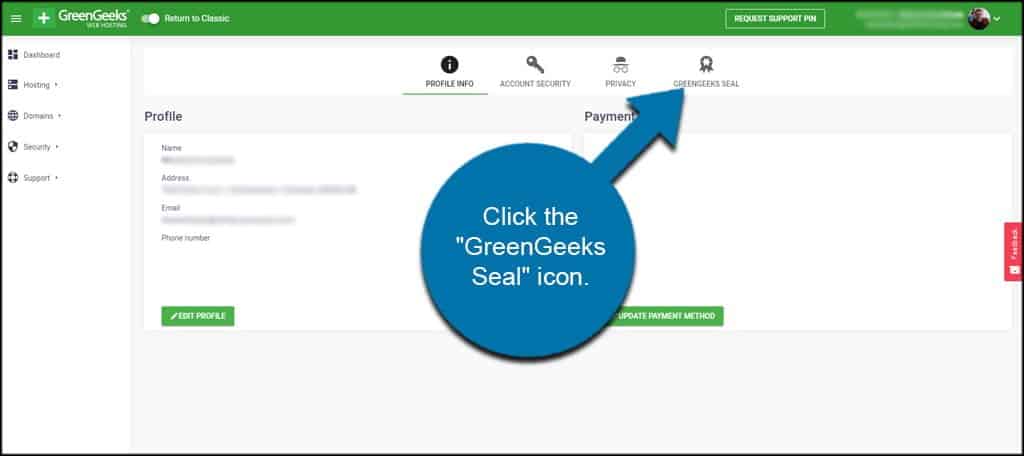
Click the “GreenGeeks Seal” icon from the ride side of the screen.
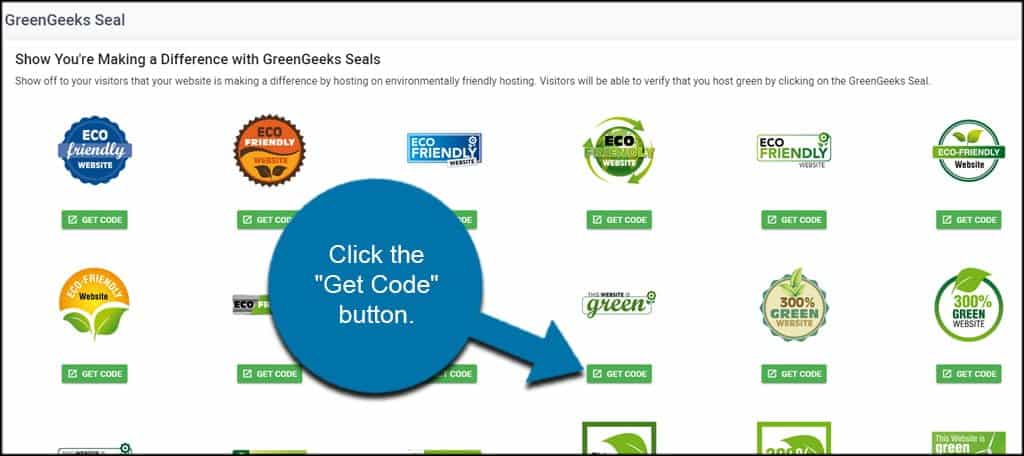
Choose any one of our badges from the selections screen and click the “Get Code” button. There are plenty to choose from, so you should be able to find one that piques your interest or fits your design scheme.
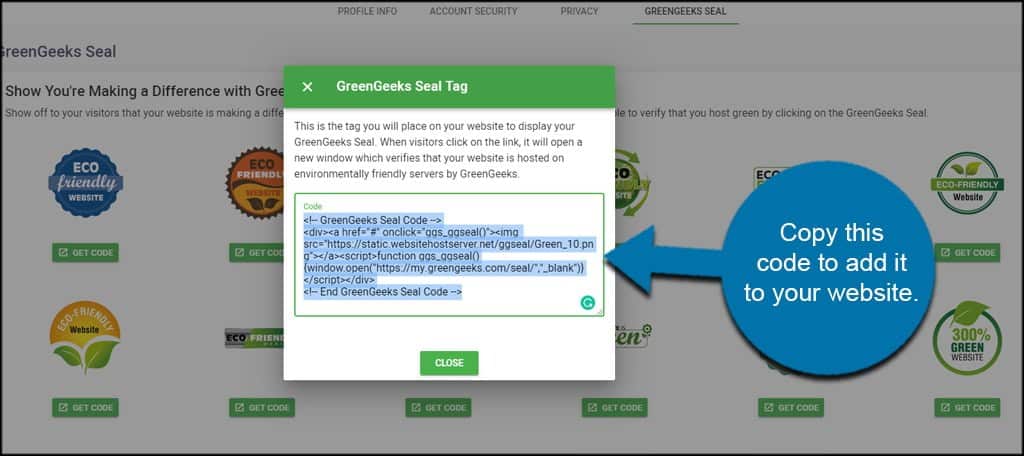
A new window will appear with the HTML coding. Copy this code to add it to your website.
How to Add a GreenGeeks Green Website Seal to a WordPress Page
There are a few ways to add a GreenGeeks green website seal to WordPress: you can add it to a page, to a post, or in a sidebar or footer widget.
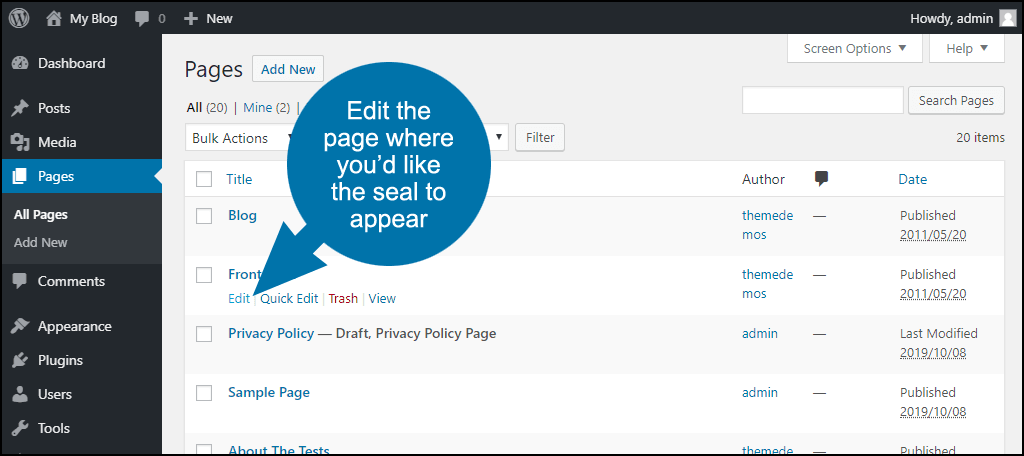
Edit the page where you’d like the seal to appear.
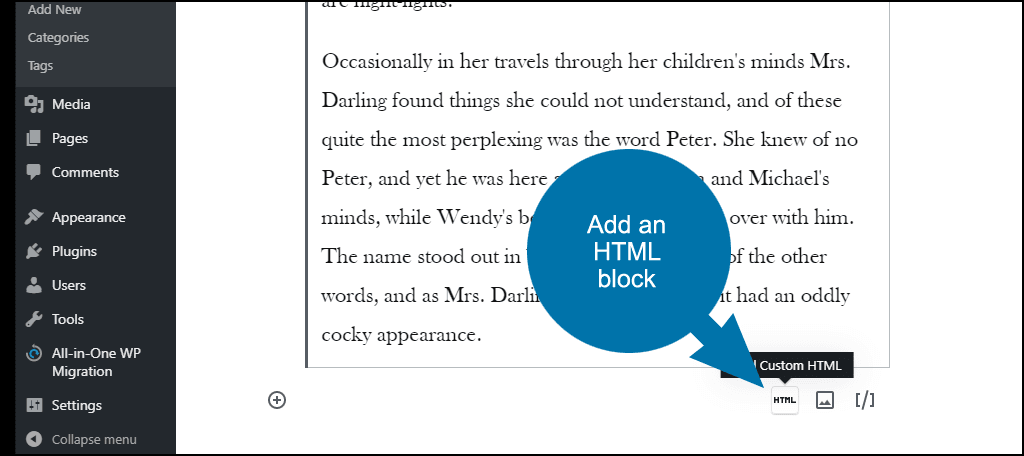
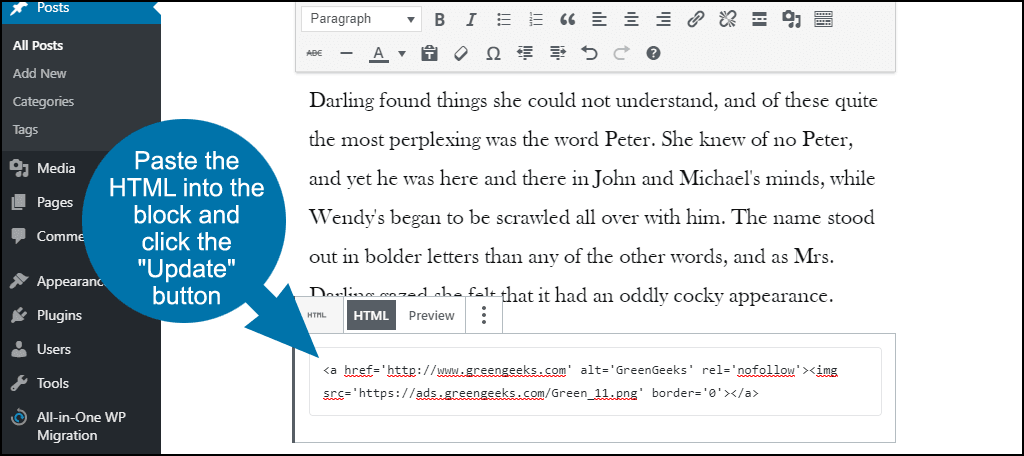
Add an HTML block.

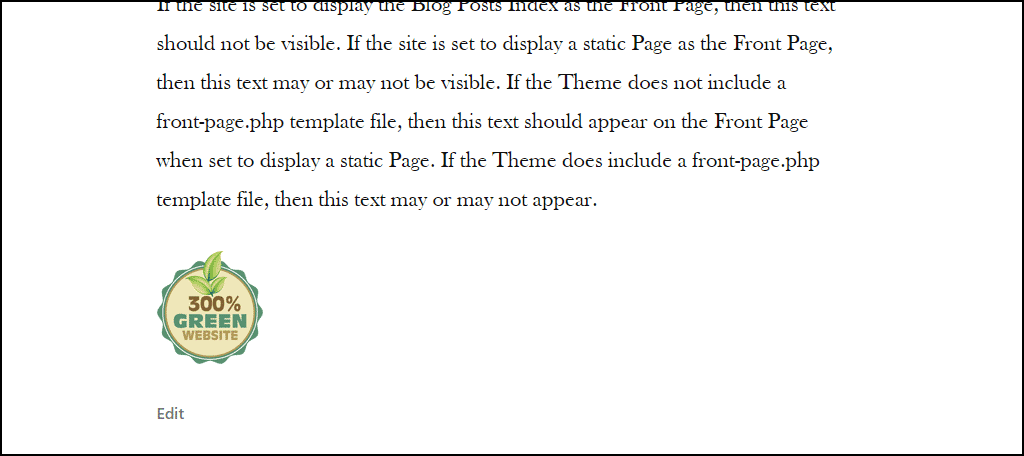
Paste the seal HTML into the HTML block and click the “Update” button.

How to Add a Green Website Seal to a WordPress Post
To add a Seal to a post, use the same method as adding it to a page.
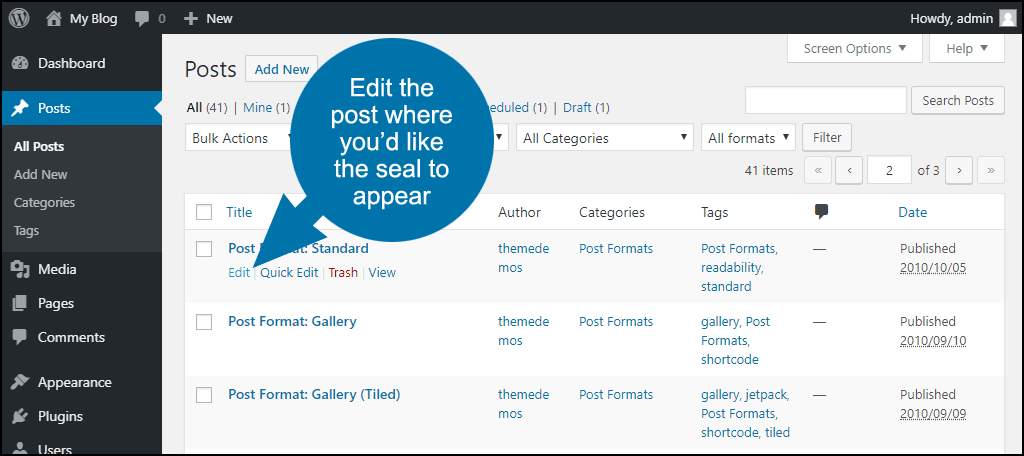
Edit the post where you’d like the seal to appear.
Add an HTML block.
Paste the seal HTML into the HTML block and click the “Update” button.
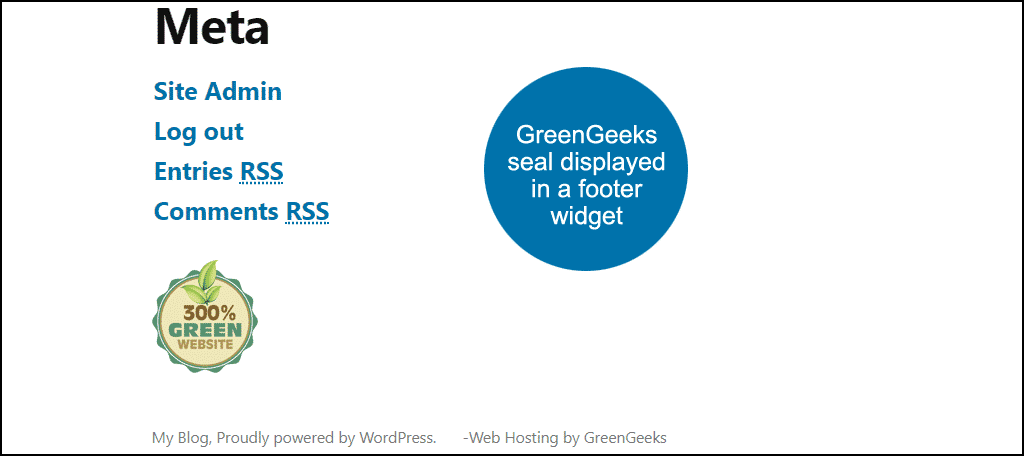
How to Add a Green Website Seal to a WordPress Widget
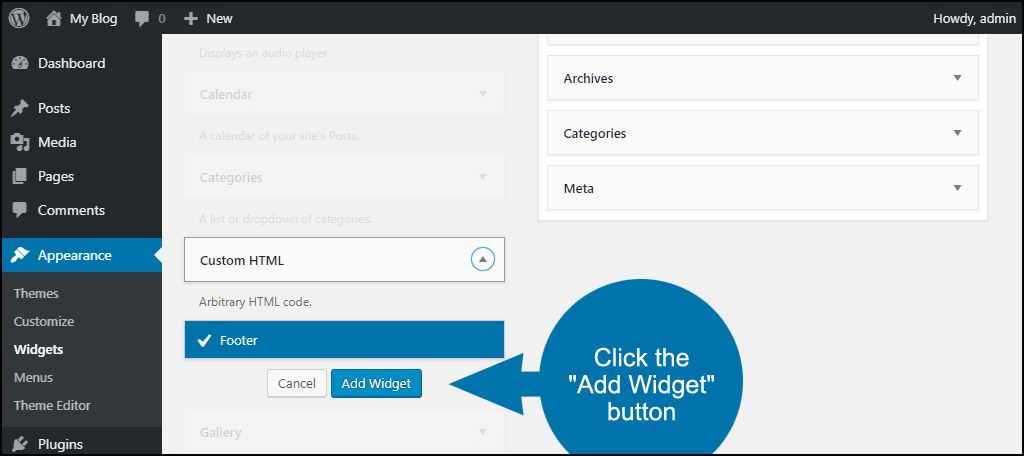
In the left column navigation of your WordPress admin panel, mouse over the “Appearance” link and click the “Widgets” link.

Open the “Custom HTML” section and click the “Add Widget” button.
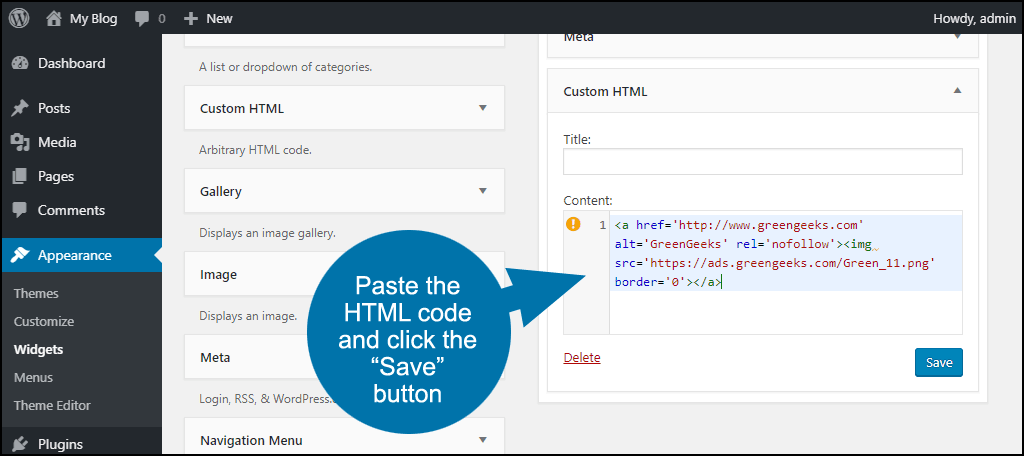
In the section you added the widget to (likely the sidebar or footer, depending on your theme), open the “Custom HTML” section. Paste the seal HTML into the widget field and click the “Save” button.
* To copy selected text, right-click and select “Copy,” or use the Ctrl + C keys. On a Mac, use the Command + C keys.
† To paste the copied text, right-click and select “Paste,” or use the Ctrl + V keys. On a Mac, use the Command + V keys.
The logo comes out too large on my website.
Can I reduce its size?
I’m using the HTML code.
Hank,
You can add height and width values to the img part of the HTML code. For example (the height and width are in bold):
<div><a href=”#” onclick=”ggs_ggseal()”><img src=”https://static.websitehostserver.net/ggseal/Green_2.png” height=”80″ width=”80″></a><script>function ggs_ggseal(){window.open(“https://my.greengeeks.com/seal/”,”_blank”)}</script></div>
That shrinks the image down to 80×80.
Hello, how can i add a GreenGeeks Seal on a Wiki page ?
Thanks