Many site owners will often go back to old articles and make edits. These usually include updates to information, better optimization practices or to otherwise make the article better so it appears more often in Google search. A good way to expand this practice is to make WordPress sort posts by the last update.
This is often part of repurposing old content to serve new purposes. For example, you can share a recently edited older post on social media as if it were a new article.
Of course you want your new content to take center stage. But there’s nothing wrong with displaying the most recent posts according to the update time stamp. Using a widget, you can make sure those older posts are prominently displayed in the sidebar.
Today, I’ll show you how to make WordPress display posts according to the last time they were updated in the sidebar.
Using the Recent Posts Widget Extended Plugin
In this tutorial, I’m demonstrating the Recent Posts Widget Extended plugin for WordPress. It has a lot of features and is quite flexible in what you can show visitors. It may seem a little overwhelming to new developers, but it’s not all that difficult to manage.
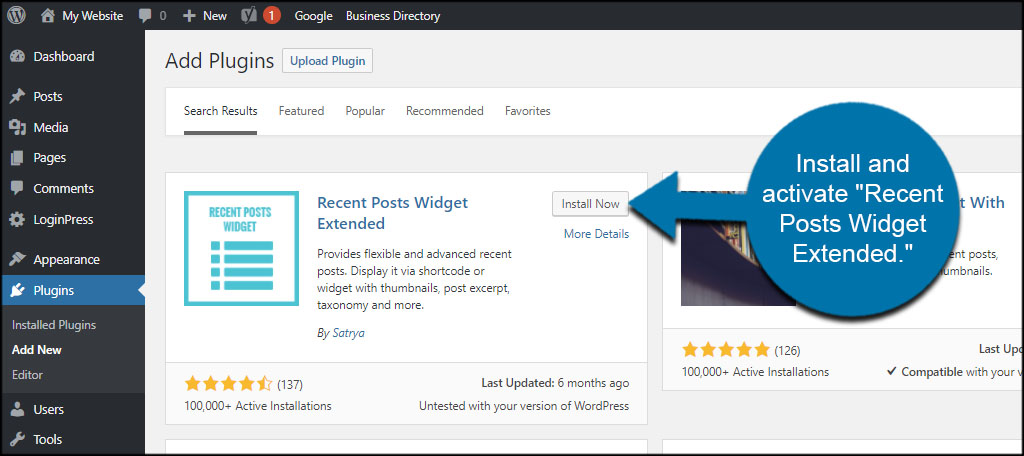
Install and activate “Recent Posts Widget Extended.”
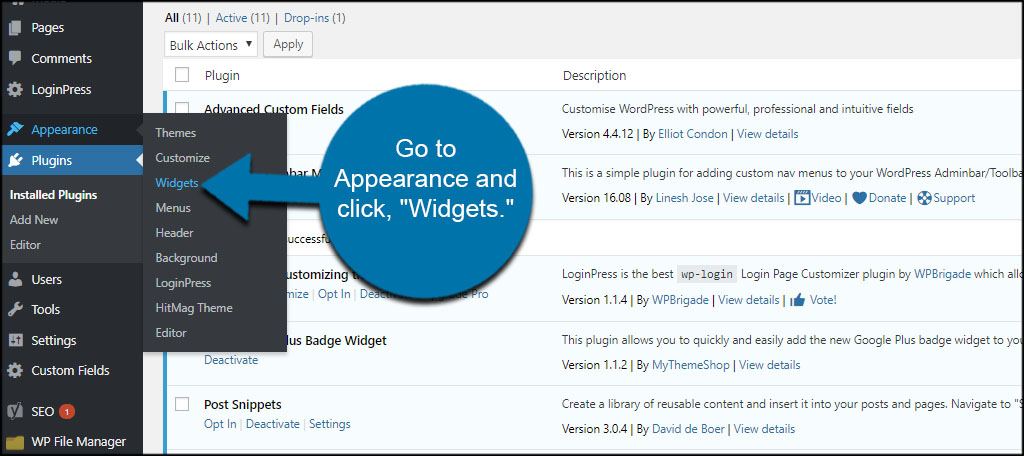
Go to Appearance and click, “Widgets.”
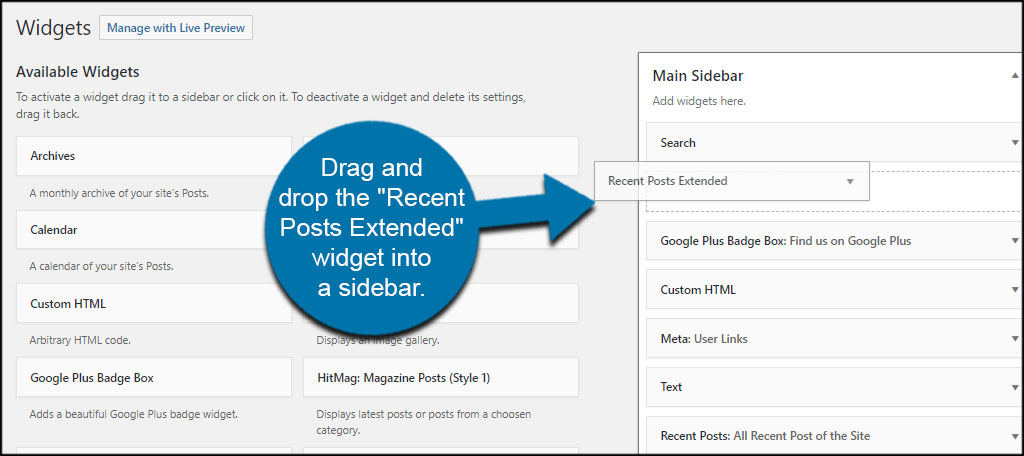
Drag and drop the “Recent Posts Extended” widget into a sidebar.
Setting Up the Widget
You’ll see Recent Posts Extended has a lot of options available. It even has elements for advanced development such as HTML and CSS override abilities. However, we won’t have to worry about the advanced stuff in this tutorial.
In fact, we’ll leave the majority of the widget set as default for now.
Change the “OrderBy” option to “Modified” by using the drop down window. This tells the plugin to arrange the posts according to when each one was updated instead of the publish date.

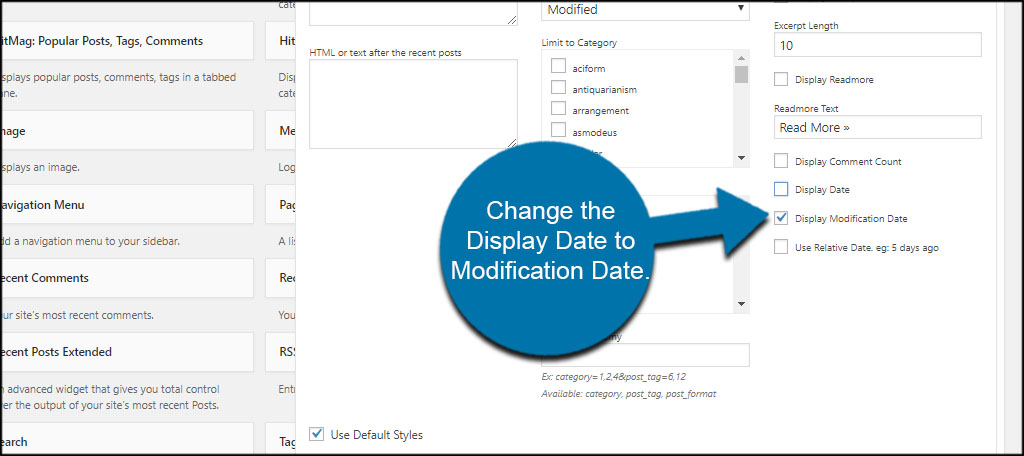
Change the Display Date to Modification Date by unchecking one and checking the other. The only thing that should be checked in this area is the “Display Modification Date” function.
Now this next part is user preference. I don’t want to show thumbnails in the sidebar as it adds to the number of images loaded on a page – which has potential to slow the site down. Uncheck the “Display Thumbnail” box.

If you want to keep thumbnails, you can leave this option checked. It’s all a matter of personal preference. It’s probably a good idea to test the site out with both on and off settings just so you can see the difference.
Another optional setting to consider is the number of posts. By default Recent Posts Extended is set to “5.” However, you can change this number to whatever suits your needs. For this example, I’m going to change the number to “10” to show the most recent 10 posts I’ve updated.

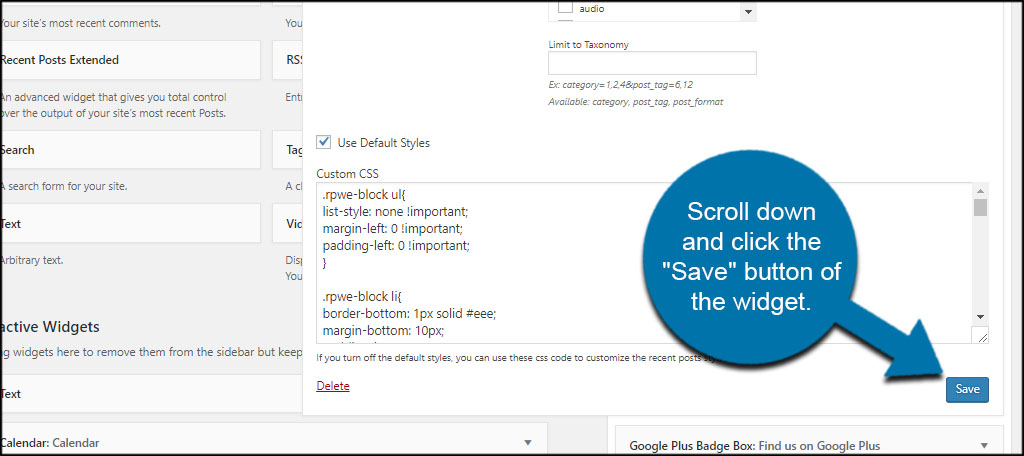
Scroll down and click the “Save” button of the widget.
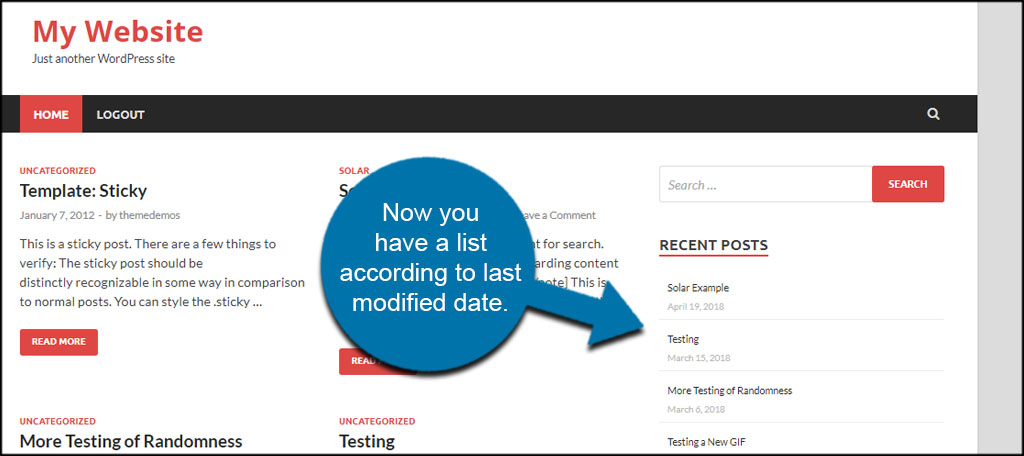
Now you have a list according to last modified date.
Settings to Try Out
In reality, you only need to change two things in the widget for it to display posts according to the last update. I covered a bit about using the thumbnail options and number of posts earlier, but what are some other things you can try?
Changing the Title
Using the default title of “Recent Posts” isn’t necessarily a bad thing. However, you can always change this to offer more clarity to guests. For example, you can always change it to “Recently Updated Posts” to avoid confusion from your visitors.

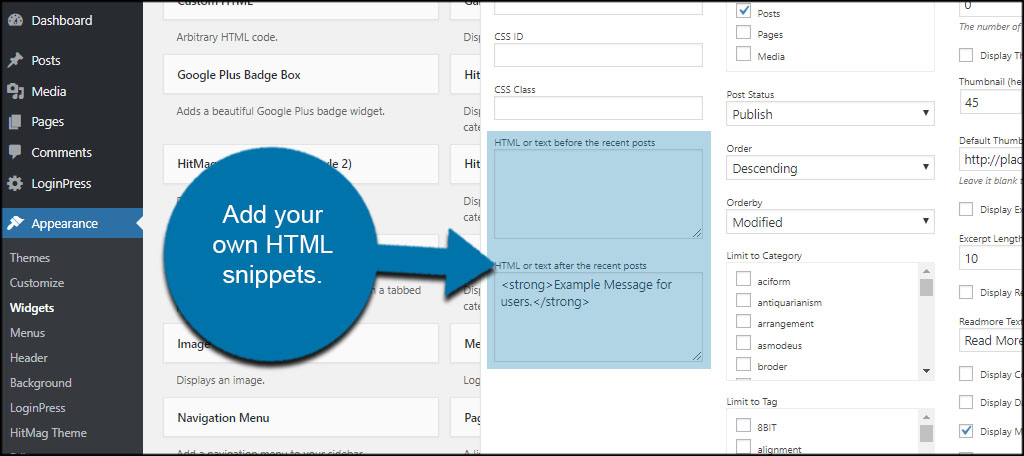
Adding Custom HTML
If you know a bit about HTML and web development, you can always add your own snippets. Unfortunately, you won’t be able to include JavaScript or PHP. This is only for the most basic of HTML functions.
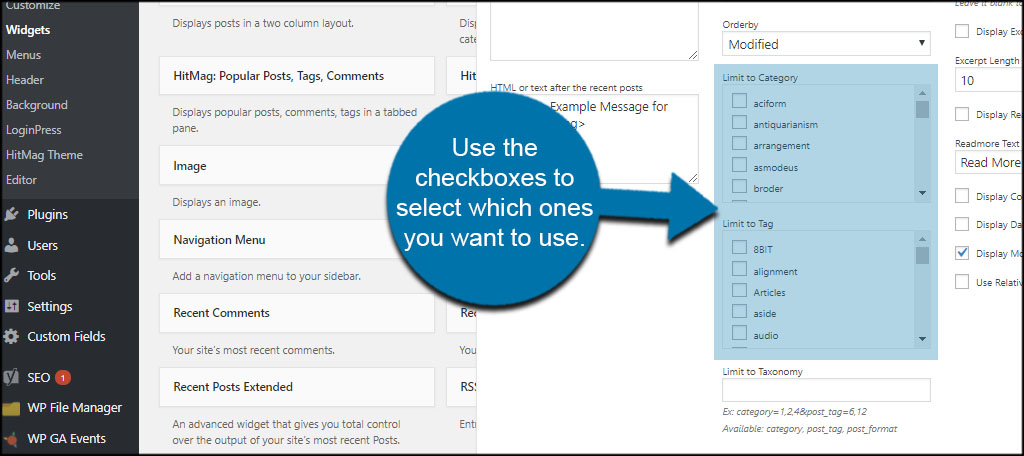
Using Categories and Tags
Want to show specific categories and/or tags? Use the checkboxes to select which ones you want to use in the list. This recent posts plugin will use all content unless you specify which category or tag you want to focus on.
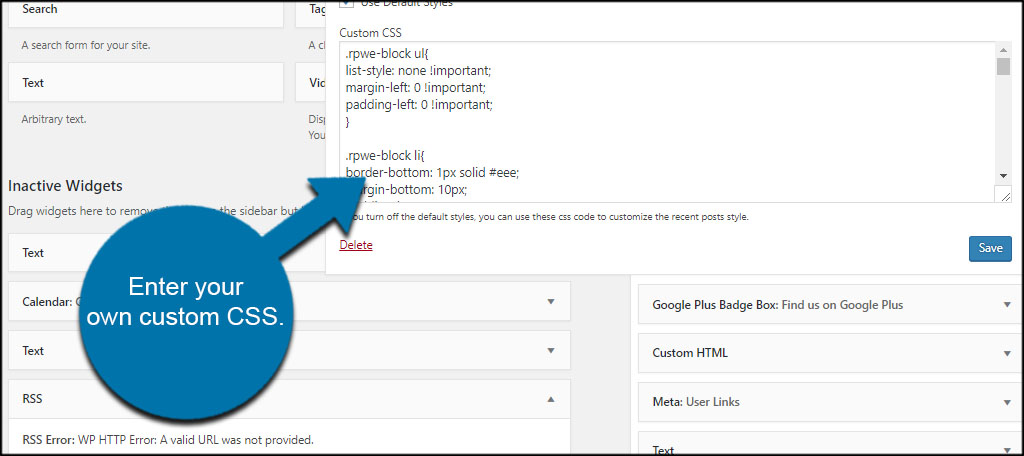
Adding Custom CSS
Using CSS gives you the capacity to alter a lot of visual aesthetics in a website. If you know your way around this form of coding, you can really make your list stand out. Enter your own custom CSS to make your list unique.
Show Off Your Recent Changes
Perhaps the biggest reason to create sorted list of posts according to last update is to keep your content relevant. When a visitor accesses your site, this list is displayed in the sidebar. It’s a way to bring attention to an article that may be long forgotten – until now. Revitalize the old content on your site and maximize your exposure.
How often do you re-write past posts to put a current spin on the topic? How many posts do you have that experience lower and lower rankings with each passing month?