If your web hosting company supports the software, you can use the built-in WordPress Manager in Softaculous to manage your website. It allows you to customize just about every aspect without making you log in to the WordPress admin panel.
Many developers find the Softaculous WordPress manager easier to use than cPanel because it is very concise and easy to navigate. Everything is exactly where you would expect it to be, so there’s no confusion.
Today, I will show you how to use the WordPress manager in Softaculous.
What Can I Do With the WordPress Manager?
It allows you to manage a variety of important settings for your website. These include:
- WordPress Core Updates
- Setting Up Automatic Updates for Core, Plugins, and Themes
- Enable/Disable Search Engine Visibility
- Change Website URL
- Enable/Disable WordPress Cron
- Change Site Name
- Enable/Disable WordPress Debug Mode
- Change WordPress Password
- Multiple Database Options
All of these are in one location and can be accessed at any time, making it far more convenient than doing these directly on your website or through the cPanel. That said, there are a few limitations to discuss.
For instance, while you can enable or disable automatic updates for plugins, doing it in WordPress actually gives you the option to decide which plugins get automatic updates. This gives you a lot more control over plugins and how they behave.
The WordPress manager in Softaculous excels at doing large scale-changes but doesn’t give you the same level of control as logging directly into the backend of WordPress itself.
But, if you’re unable to access the admin account for some reason, this method has more functionality than, say, using cPanel.
How to Manage WordPress with Softaculous
The WordPress Manager was added to Softaculous in version 5.6.1 and was designed to help manage your WordPress installation. It can be accessed via the cPanel as long as your web host supports it. Therefore, you must be able to log in to the cPanel.
Step 1: Access the WordPress Manager
The first step is to actually access the tool. Luckily, it’s very easy to find.
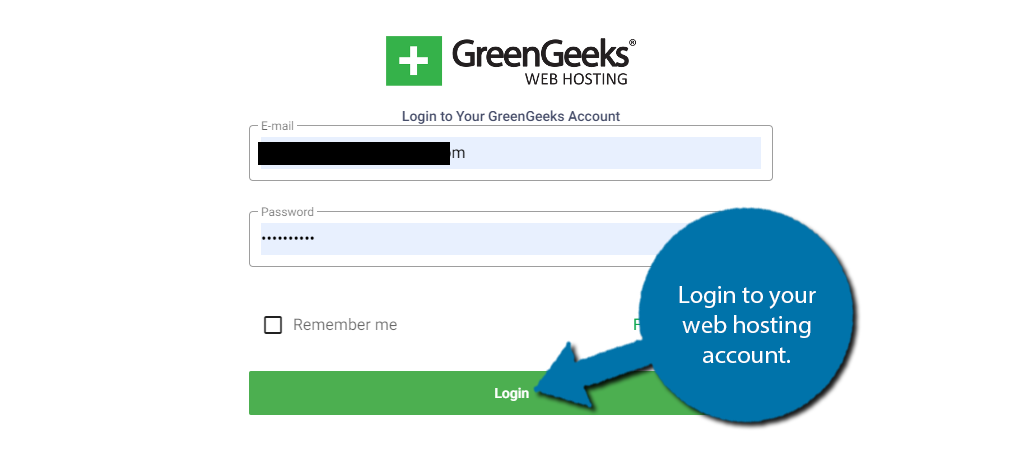
Start by logging into your web hosting account.
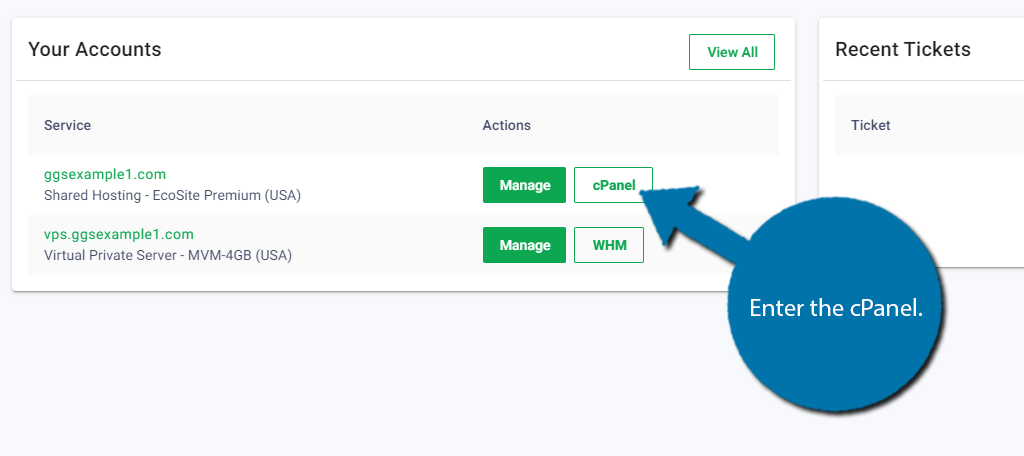
Enter the cPanel of the domain name you wish to use. If you wish to do it on multiple domains, you will have to do them one by one.
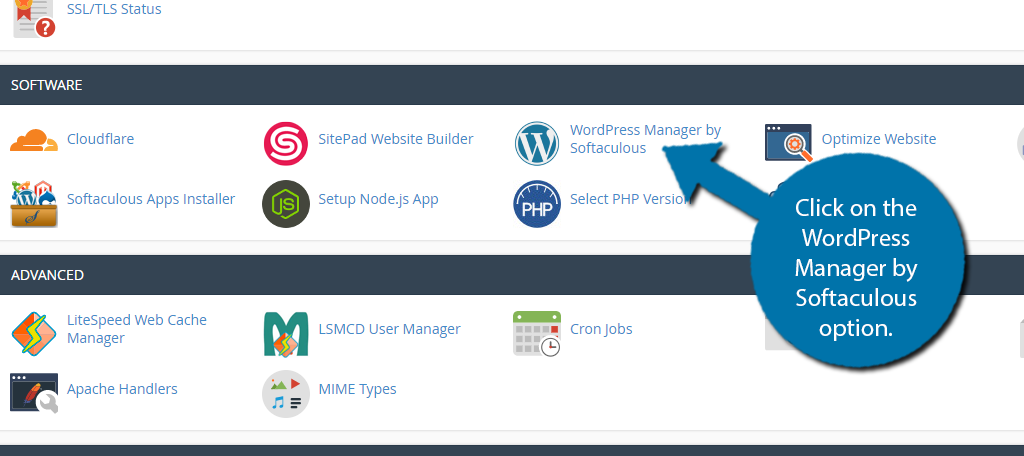
Scroll down to the Software section and select the WordPress Manager by Softaculous option.
Next, I will cover the various settings you can control with this tool.
Step 2: Login & Change Password
Here, you can view your domain name and subdomains that utilize WordPress. You can click on the “Login” button to sign in as the admin for that respective site.
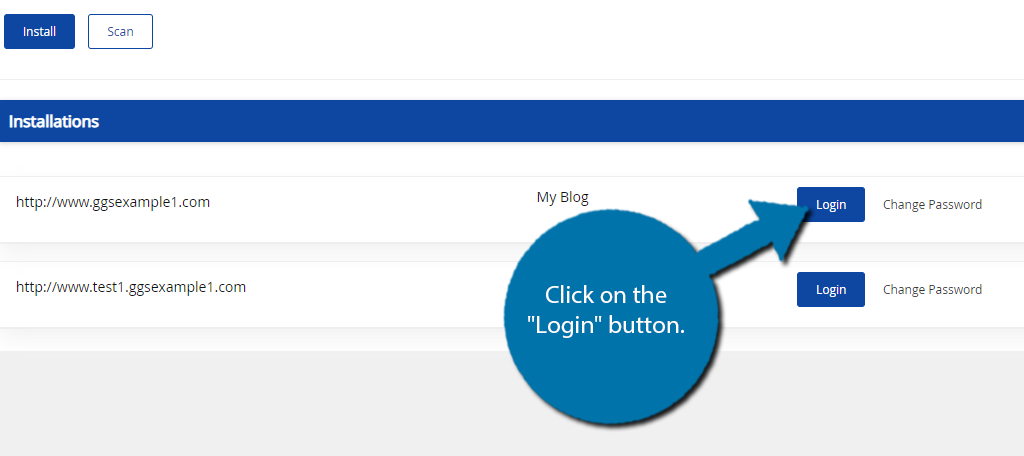
You can also change the password for the admin account by clicking on the Change Password option.

A small pop-up window will appear containing your Admin username and password. Simply enter a new password and click on the “Save” button.
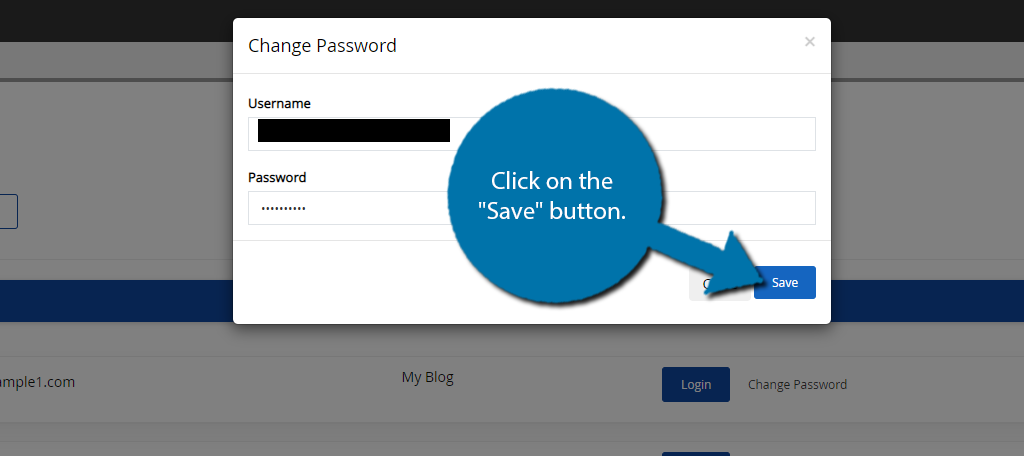
Note: The WordPress Manager in Softaculous can only do a password change for the admin account. For all others, you will need to log in to WordPress as the admin and change the password from the Users area.
Step 3: Change URL and Site Name
You can change the URL and Site name directly from this section. However, I strongly recommend not changing the URL if you’ve already been developing content for the site. This will be a disaster and destroy your rankings while potentially create hundreds of 404 error pages.
Click on the small arrow to expand the settings.
Note: You can also view if an update is available on that site. It will say “Updates available” in orange if there are.

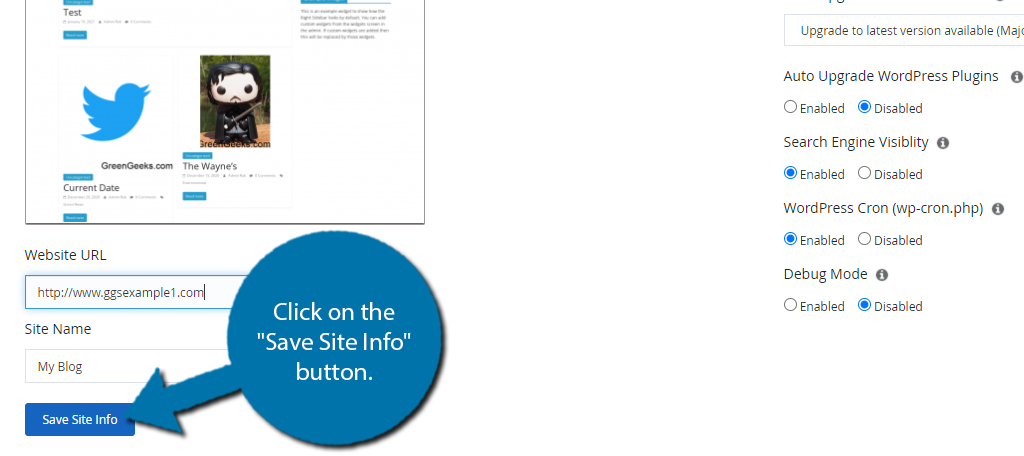
On the left-hand side, you can see the Site Info section. It contains an image of your website, the Website URL, and the Site Name. It is always recommended to change the default “My Blog” to your actual blog’s name.
Type in the new information into the text boxes and click on the “Save Site Info” button.
Step 4: Change the Configuration
The configuration settings are the real meat and potatoes of this tool. One thing that’s important to mention is that all of the changes you make are saved immediately. Thus, you should only make them if you are sure.
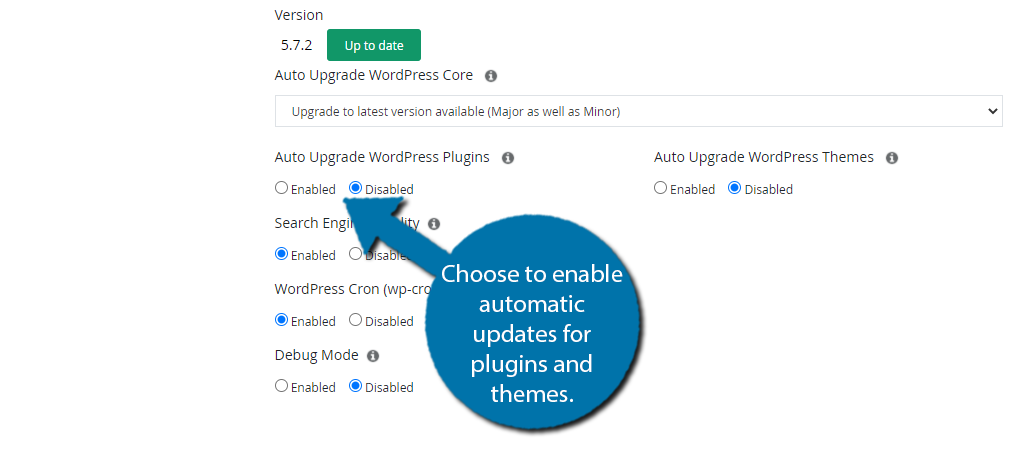
The first two options affect how the core WordPress files work. You can update the WordPress version manually by clicking on the “Upgrade Now” button. You can also use the drop-down option to select if the core files should automatically update.
Note: If your website is up to date, you will see a green “Up to date” button instead of an “Upgrade Now” button. If auto-updates are on, this should be the only button you see.

Underneath this is the automatic update settings for plugins and themes. By default, both of these are set to “Disabled.”
To enable them, select the enabled option.
Next is the search engine visibility option. This enables search engines, such as Google, to crawl through your website and index pages for search results. By default, this is on and should be left that way. Turning this off can cripple your rankings and traffic.
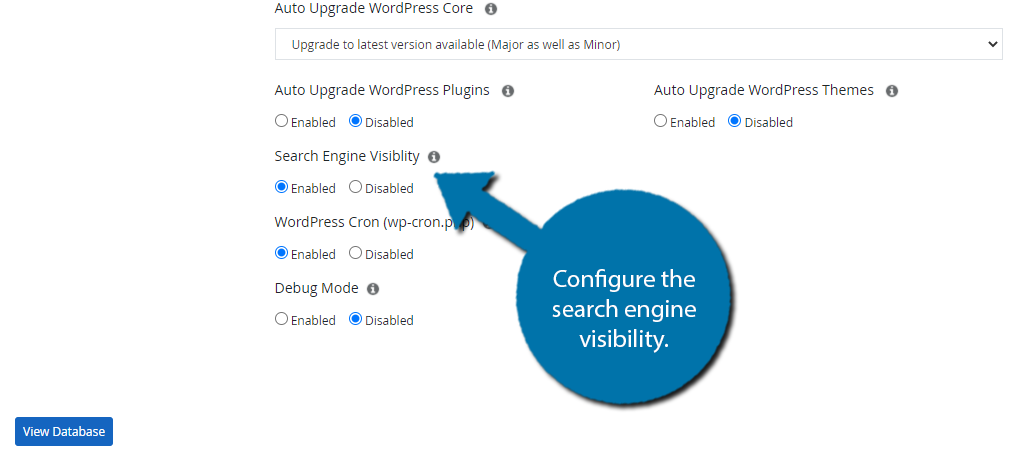 Now you can choose to enable or disable WordPress Cron. It is strongly recommended to leave it on, especially if you already use a plugin to control Cronjobs in WordPress.
And finally is the Debug Mode. This is an extremely useful tool to help you find out what is causing a critical error on your website. This should only be enabled when a critical error occurs. Once you identify the error, disable the feature.
Step 5: Database Options
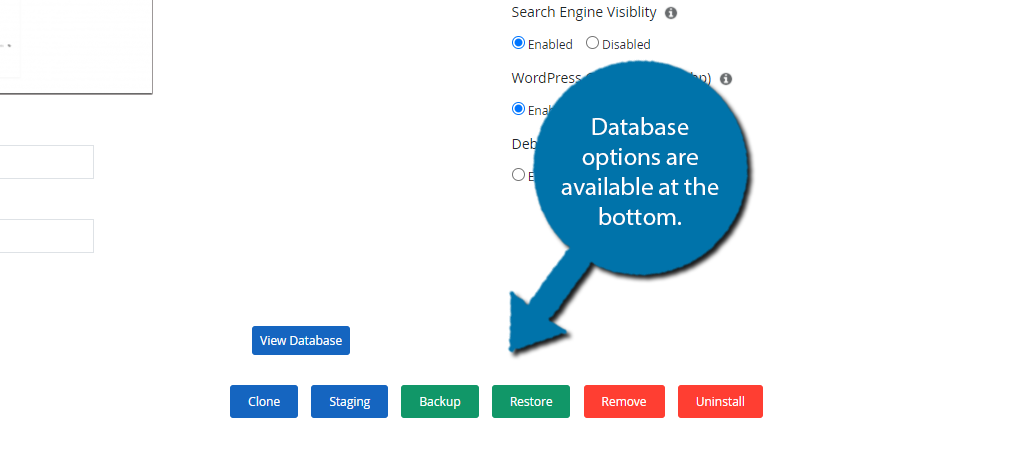
The last part of the WordPress manager by Softaculous deals with your database. It allows you to carry out a variety of functions with a single click. These include:
- Creating A Clone
- Creating A Staging Copy
- Backup Creation & Restoration
- Remove WordPress Installation from Softaculous
- Delete Files and Folders Within the Database
All of these options can be accessed by pressing their respective buttons at the bottom. There is also a button that allows you to visit your database, but it will require you to log in to phpMyAdmin.
Each button will make a pop-up window appear that contains the necessary settings related to each option. Simply go through the settings of whichever ones you use and save the changes when you are done.
I would like to mention that the backup restoration tool is extremely useful if you end up getting locked out of your website. It can be accessed right here and is one of the best places to do it.
This concludes the WordPress manager by Softaculous tutorial. Congratulations on learning how to better manage your WordPress installations.
Improve Your WordPress Management Skills Today
WordPress is an incredibly customizable platform, which is exactly why it has such a large audience. And while WordPress is beginner-friendly, it can be a bit intimidating when you start out. Taking advantage of the WordPress manager by Softaculous is a great way to simplify the process.
However, it does come with some shortcomings.
Mostly, this just includes the limitations on what you can actually do and customize. The tool is designed for broad actions across your WordPress installation. Thus, there are better places to fine-tune your settings and choose how the website operates such as within the admin panel.
In many cases, plugins provide far more customization options than the default installation of WordPress.
Did you find the WordPress manager in Softaculous helpful? Which feature did you find the most useful?