Subtle changes in a layout can have a profound impact on the success of a post or page in WordPress. Things like headers, images, fonts, and overall content can lead to successful conversions or a lack-luster performance. This is where WordPress A/B testing in Google Analytics comes into play.
By comparing the engagement of two or more similar pages, you can determine which is the more effective. It’s a great way to determine just how your target audience is interacting with the content while experimenting with how to develop your website.
In this tutorial, I’m going to show you how to use Google content experiments to improve your WordPress website. If you haven’t thought of using experiments before, you may be pleased with the results.
What Do You Need for A/B Testing?
The first thing you’ll need is a Google Analytics account. If you don’t already have one, you’re missing out on some valuable data regarding your website. It’s a free service the provides you with a slew of information from demographic data to how effective certain pages are in terms of the value of AdSense.
You can sign up for your free account by visiting the Google Analytics website.
Once you have an account, you’ll need to attach it to your WordPress website. This is easiest by adding Google Analytics to your site through various plugins.
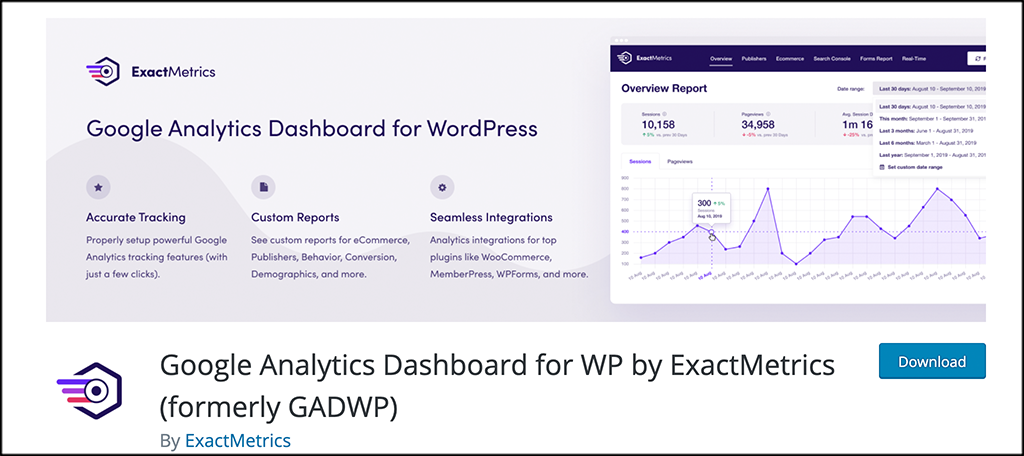
Personally, I prefer the GADWP plugin as it puts much of your data into the dashboard of WordPress making it easy to access from your website. However, there are plenty to choose from if you want to use something different.
Now, you’ll need the original content page and a variation you want to test it against. These need to be published and accessible to the public. Essentially, you’ll create two or more posts or pages in WordPress that are quite similar.
I know most SEO experts drill into your head about copying content or using the same keywords. However, this is not the same thing. For one, you’ll be removing several of these pages once the experiment is over and you have the results.
Secondly, experiments like these give you a chance to test out keywords and phrases to find the best fit for the content.
Once you’ve created an Analytics account, set up your website, and add the code to your preferred plugin. Now it’s time to set up a content experiment.
Creating a Content Experiment in Google
Note: As of August 7, 2019, you won’t be able to create or start Content Experiments (CX) within Google Analytics. If you have created experiments in there prior to that date, they will still be there and will be allowed to complete. Experiments presently running will be allowed to complete. Completed experiments will also remain visible as Google Analytics experiment reports. You will now need to use Google Optimize to run experiments.
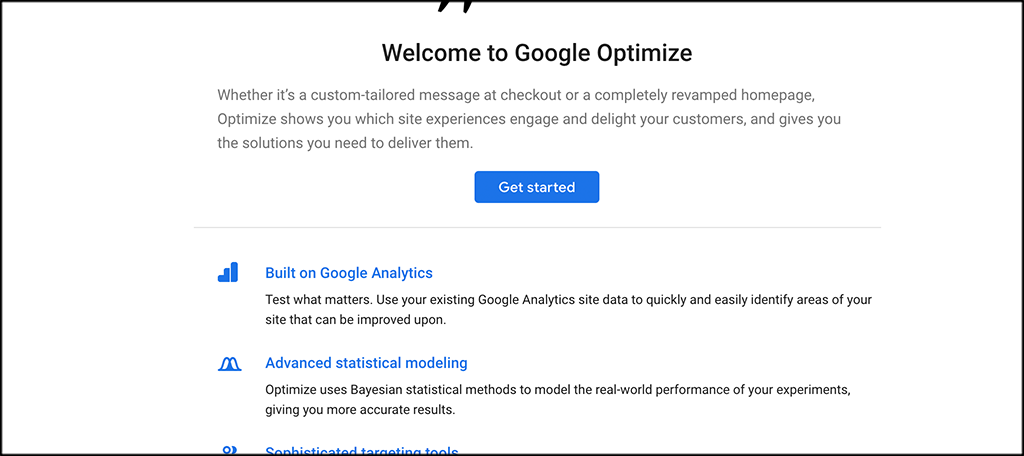
Step 1: Login / Sign Up to Google Optimize Account
Go to the main Google Optimize web page and click on the “Use It For Free” button.

This will automatically bump you to your account that you are already logged in to. There is a welcome page and some information. Click on the “Get Started” button to move forward.
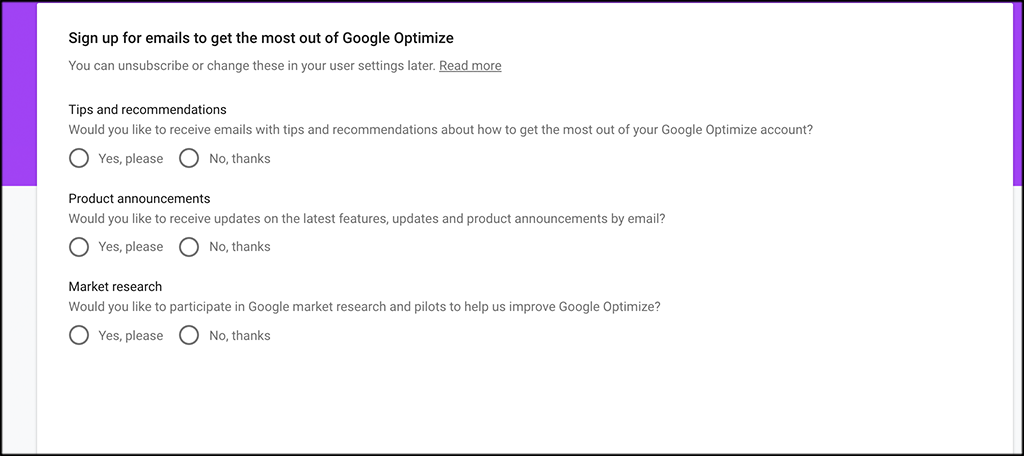
Make a few email selection options and go ahead and move forward.
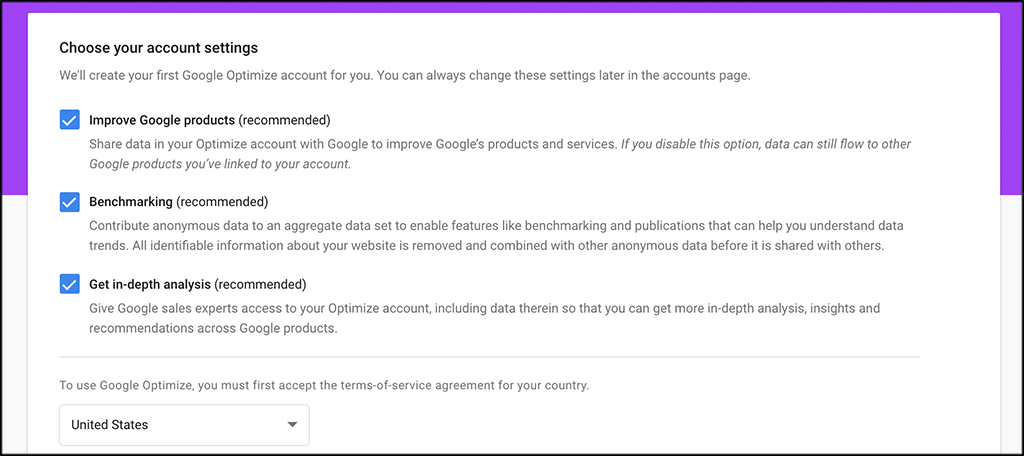
Finally, choose the account settings you want and click on the “Finish” button.
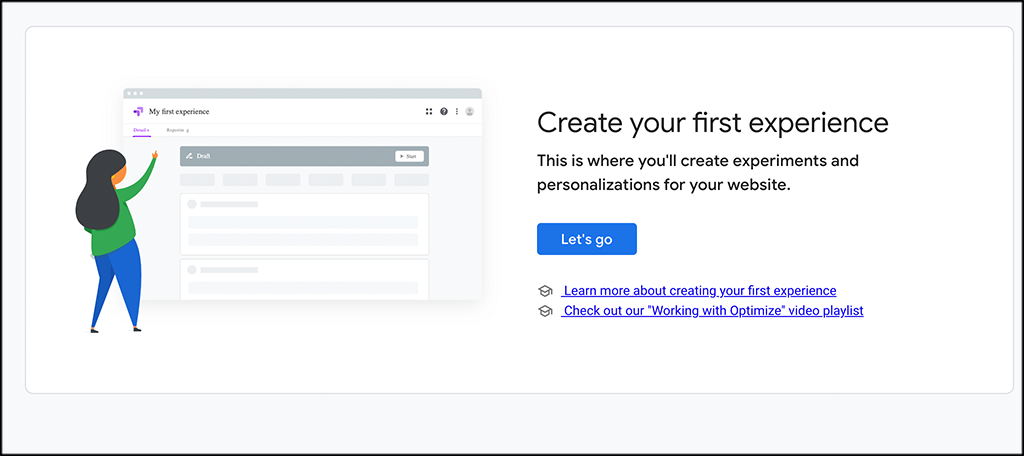
Step 2: Create and A/B Testing Experience
On the main experience page, you want to create an A/B testing experience. Go ahead and click on the “Let’s Go” button.
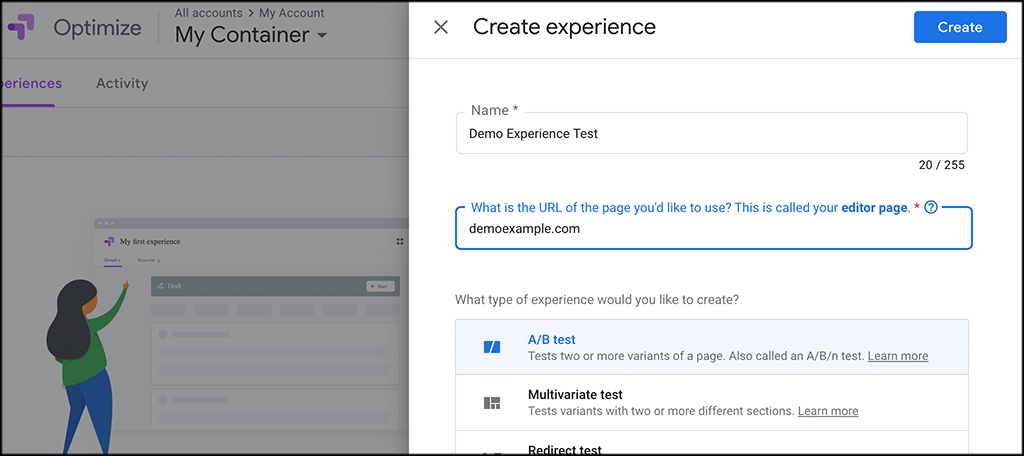
On the popout page that comes up, name your experience, put a relevant URL in, and then make sure the A/B Test option is clicked on.
When you are finished, click on the “Create” button to create the experience.
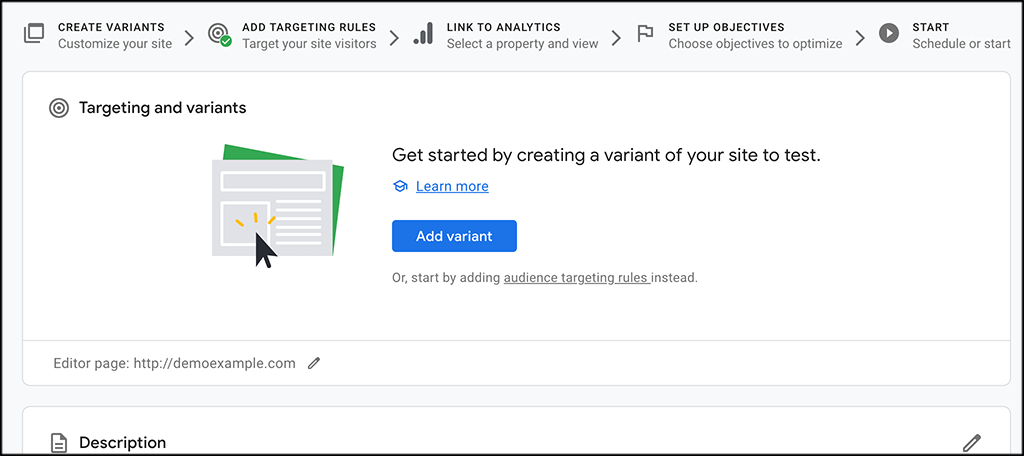
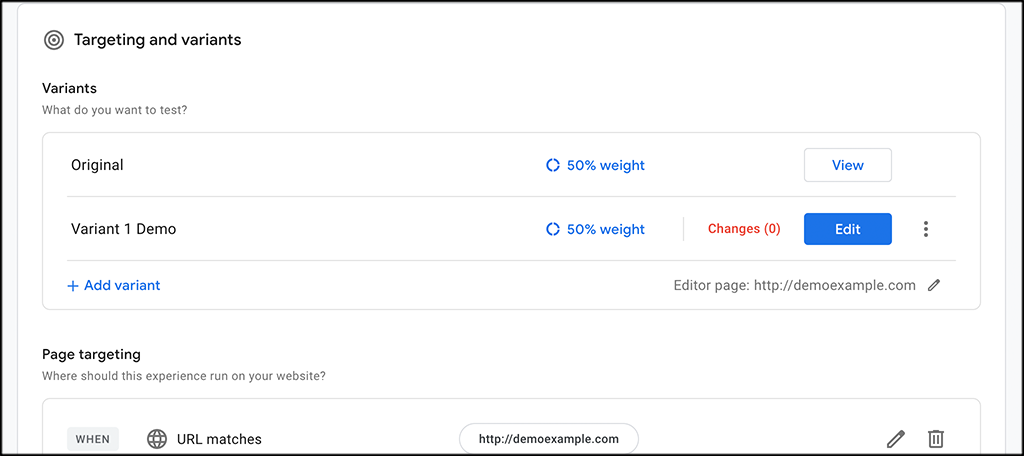
Step 3: Create Variants
After creating the Experience, you will be taken to the rest of the setup. On the top of the page, you need to create your variants.
Variants are different styles of the two pages you are testing. Click on the “Add Variant” button.
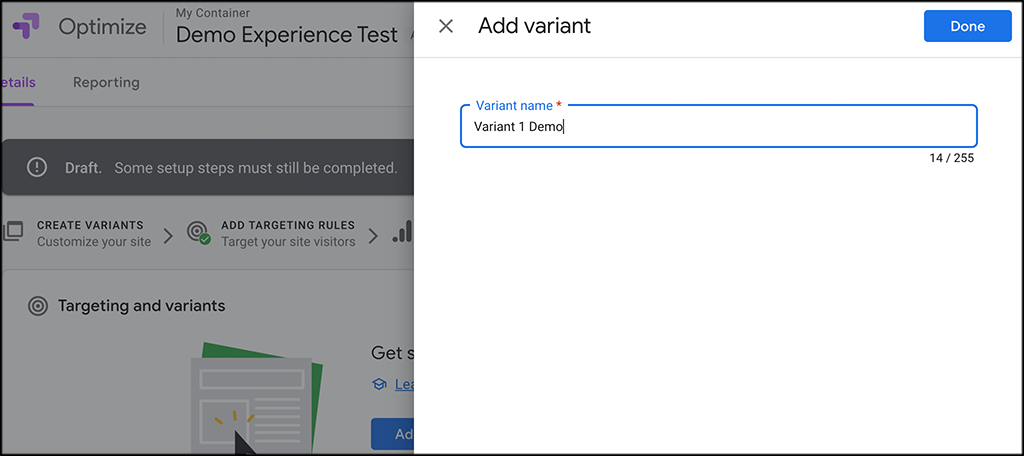
On the screen that comes up, go ahead and create the variants you want. Add a variant name and click on the “Done” button.
You can add as many variants as you want. They will be listed with all the other relevant info as you create them.
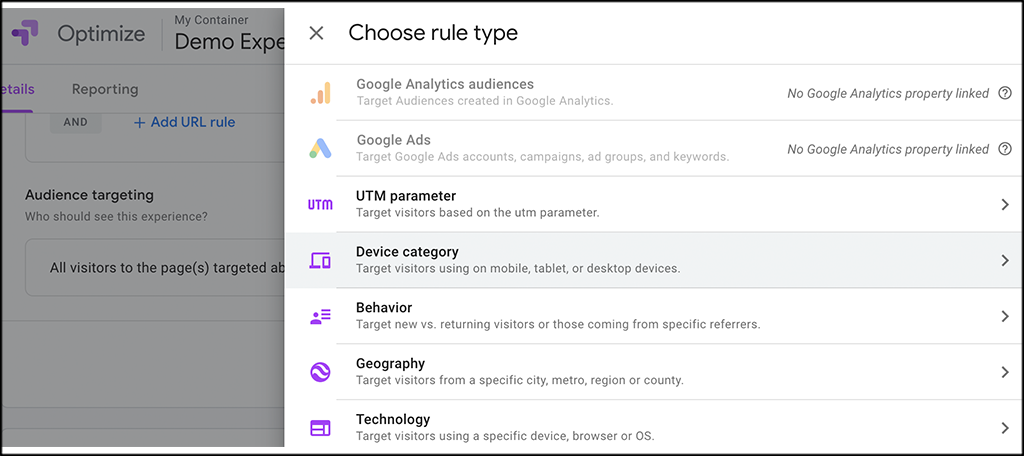
Step 4: Add Audience Targeting
You can customize audience targeting and rules from here. Go ahead and pick the ones you want to put in place.
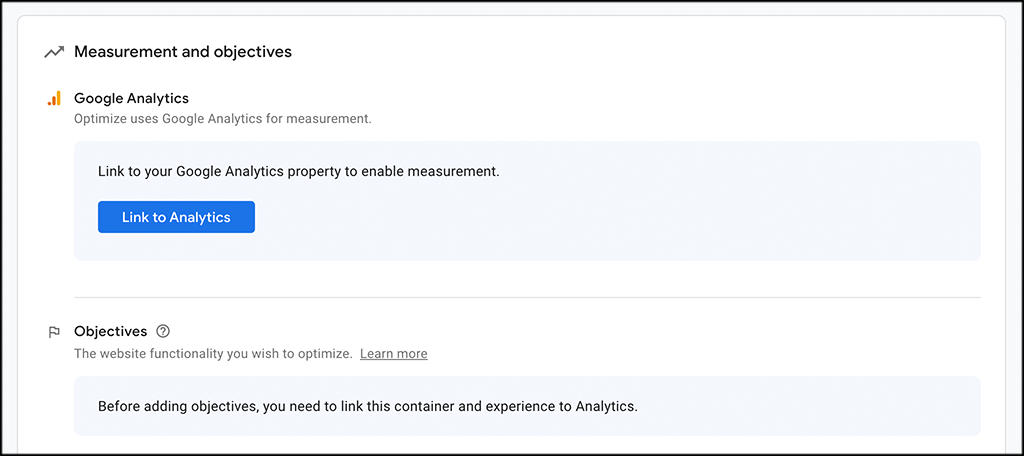
Step 5: Link to Google Analytics
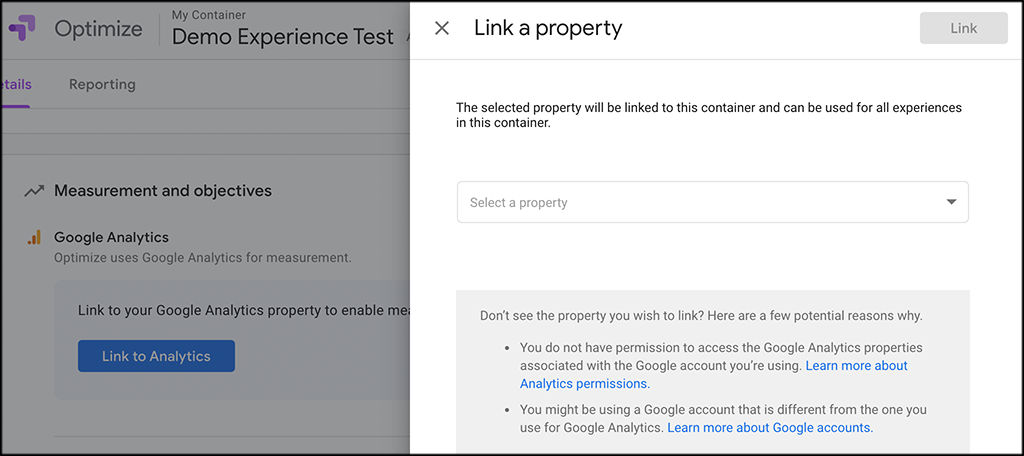
At this point, it is time to link everything to Google Analytics. Remember, completed experiments will also remain visible as Google Analytics experiment reports. Click on the “Link to Analytics” button.
Add the property information you want and click on the “Link” button on the top right.
Step 6: Finish Objectives and Select Settings
Last but not least, select some objectives and then finish choosing the last of the settings you want.
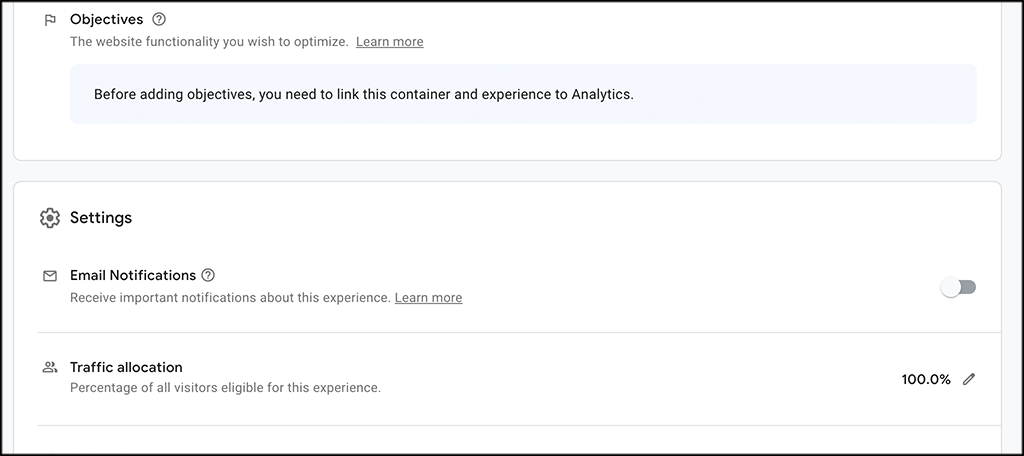
Note: Before creating objectives you need to be linked to your Google Analytics account from step 5.
Step 7: Start the Experience for A/B Testing
When you have finished setting up this entire page and all the steps above are done, then you can click on the “Start” button to start the experience you created and start getting valuable data from the A/B testing.
To do this, scroll back up to the top of the page and click on the Start” button on the right side.
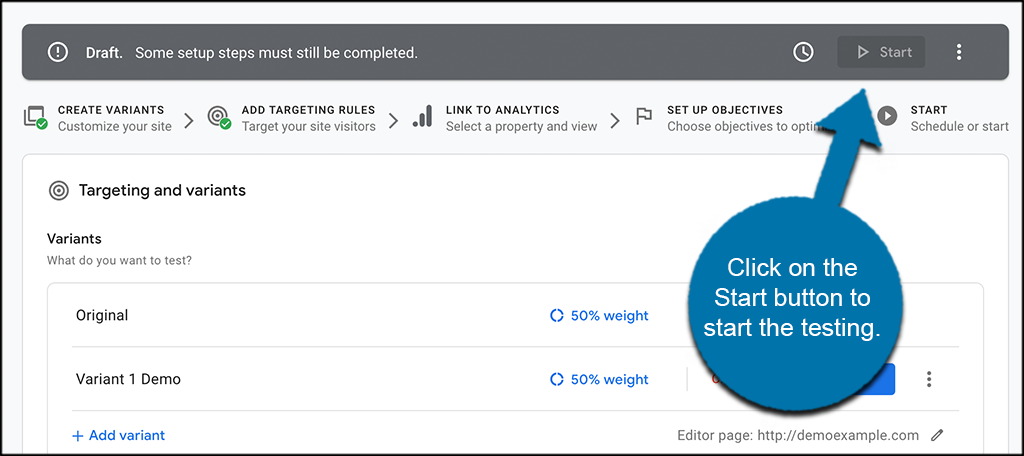
Note: You can see in the demo above that I did not complete every step, which is why my button is gray. At this point, you will have completed all the steps and the button will be ready to press.
That’s it! You have successfully created WordPress A/B testing in Google Analytics and Google Optimize.
Depending on your objectives for the experiment, Google will show you which variant of your webpage is the most effective. If you’re looking at Pageviews, as in my example above, the system will show you which variant is getting the most traffic.
Data is Vital to Campaigns
Whether you’re developing a content marketing campaign or trying to figure out which landing page works best, Google Analytics and Optimize content experiments are incredibly useful.
They can help you fine-tune strategies and build a website that is everything you want it to be. Run your own WordPress A/B testing in Google Analytics and discover how you can create the best site possible.
Conclusion
A/B testing for WordPress sites is not nearly as difficult as it used to be. With the move to Optimize, Google has cleared a path for you to be able to set up all sorts of testing and other experiences for free with a lot less technical effort.
How often do you check analytical data from your website? What metric is the most important to you?