Beginners and advanced users alike often make changes to a WordPress theme to create a unique look. Sometimes, it’s easier to just paste in a code snippet to make the site behave a certain way. Unfortunately, some of these custom pieces of code are removed during an update. To avoid this, a lot of people will update WordPress themes manually.
To avoid problems like this, it’s best to use a child theme. It will allow you to input custom options without worrying about them being deleted during an update. However, not everyone knows how to create a WordPress child theme. After all, it can be a lot of work depending on what you want to edit.
In this tutorial, I’m going to demonstrate how to save customization when updating WordPress themes.
Before doing anything, I strongly urge you to create a backup of your site. This will help recover should anything go wrong. And, it’s always a good practice to get into.
Download Your Theme’s Folder
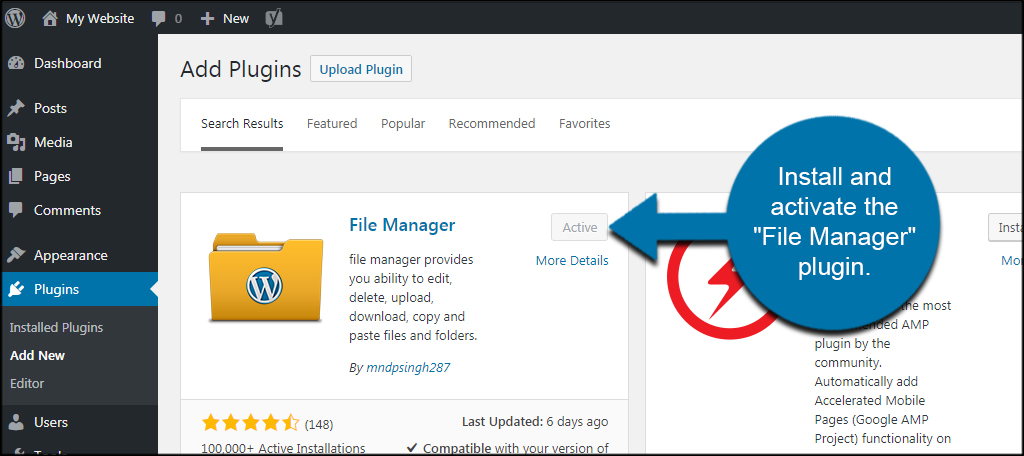
The first thing you’ll need is the theme folder from your website. You can use FTP programs like FileZilla to download these, but I am going to use the File Manager plugin for this tutorial.
It’s like having an FTP app installed directly into your website. Plus, it will only show you the website files. This means there is less to sift through especially for those who host more than one website on the hosting server.
Install and activate the “File Manager” plugin.
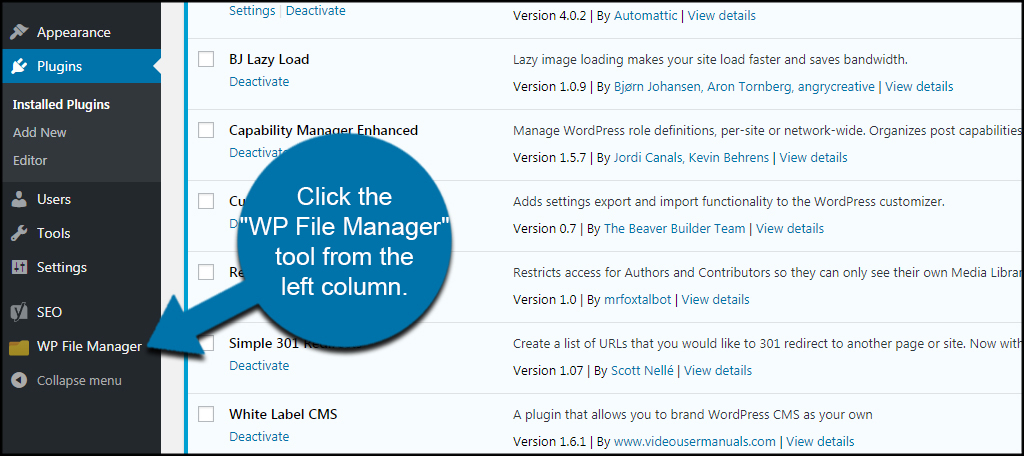
Click the “WP File Manager” tool from the left column.
Go to wp-content and expand “themes.”
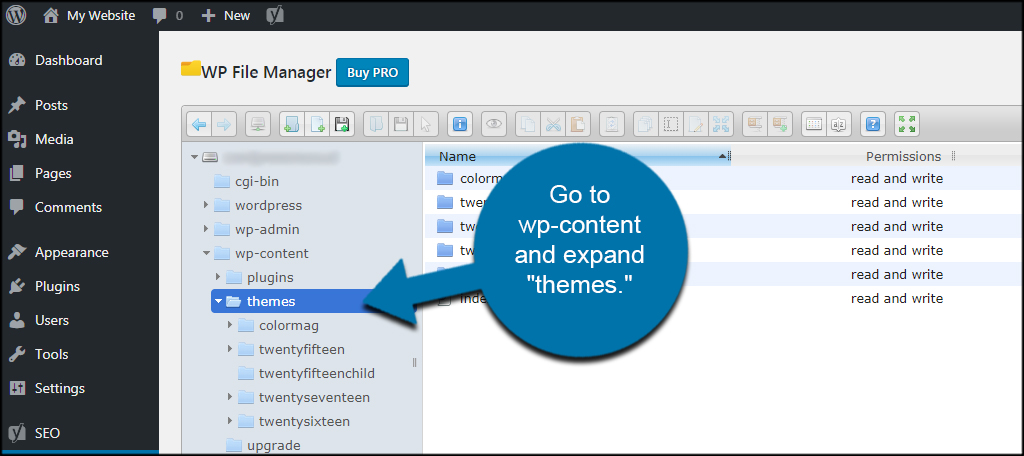
Select the theme you want and click the download button. This will be the theme you’re using which has the customization you want to keep. Save it somewhere that’s easy to find. If you don’t get the option to choose a folder, your browser should place the folder in your default downloads directory.

The folder will be saved as a ZIP file archive.
Download Your Theme’s Files from the Developer
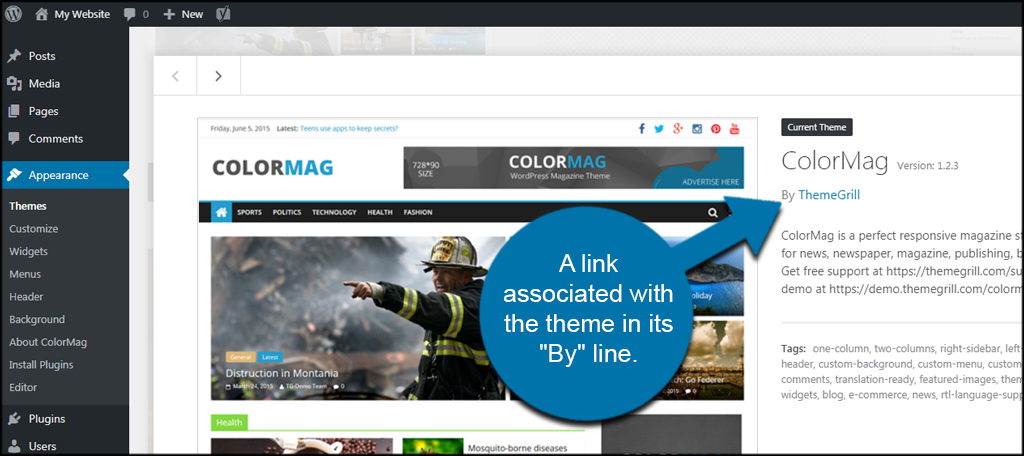
Most developers will have a central website dedicated to their themes. From here, you can download the files for a manual install.
Usually, there is a link associated with the theme in its “By” line. This is found in Appearance from the WordPress dashboard.
You will need to download the current version of your theme. This will also be saved as a ZIP file that you will need to extract onto your computer.

Making Changes
Now here comes the most time consuming part of this process. Compare the old code to the new code and place your snippets accordingly. If you already know where you have changes, this is pretty easy. However, it’s time consuming if you’re unsure where you have custom code.
One way to do this is open each file side by side and compare the code. You can use most text editing software to open website files. The problem with this is how tedious the process becomes. It’s much easier if you keep track of what files you edit, or perhaps simply create a backup of your changes.
One of the easiest and quickest ways to compare files is by using software like WinMerge, Kaleidoscope or Meld, depending on your operating system. For instance, WinMerge for Windows has an option for “Compare.” It will then open a side-by-side window of files and highlight areas that are different.
From here, you can simply copy and paste your snippets into the new files from the developer.
Once your copies are complete, save site files.
Uploading the Theme
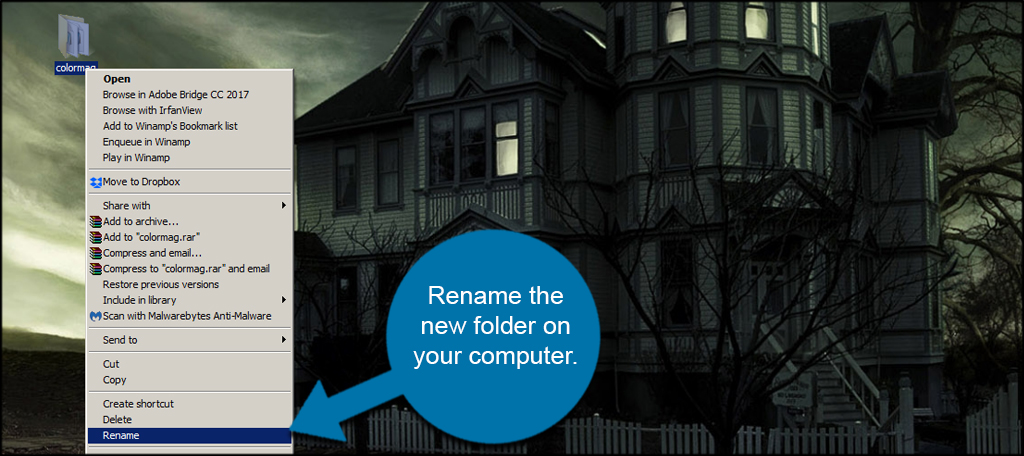
You have a couple of options for adding a theme to your website at this point. You can either upload them and overwrite the theme or create a new folder and save your changes as a separate theme altogether. Do this by simply renaming the new folder on your computer.
Create a ZIP file of that new folder. For this tutorial, I simply named it “colormagTemp.”
Go back to your WP File Manager in WordPress. Click the “Upload” button and add your new ZIP file.
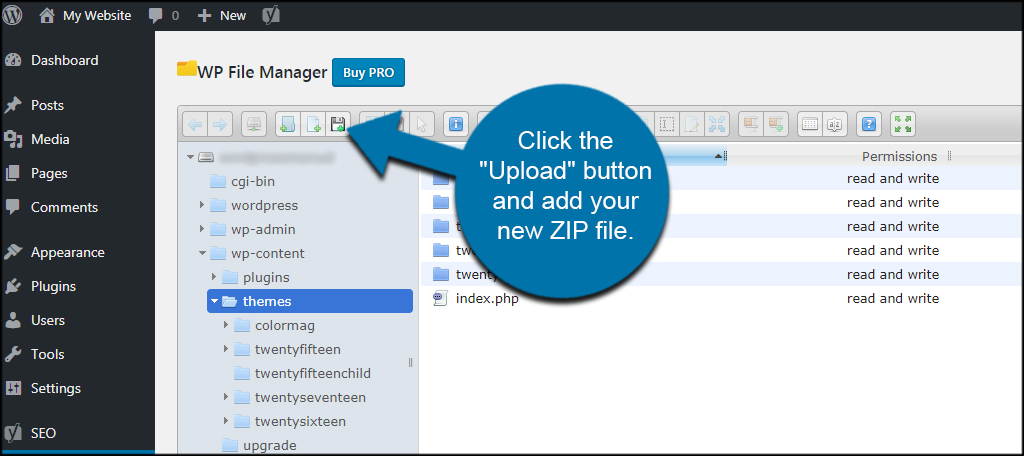
WP File Manager immediately uploads and adds the file to your website.
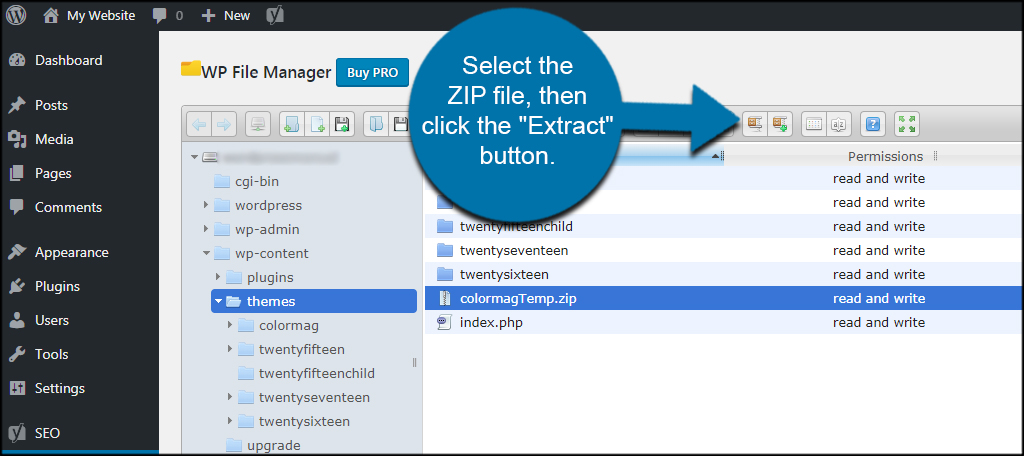
Select the ZIP file, then click the “Extract” button.
Choose to extract in a “New Folder.” Do not choose “Here.” Since we’re going to overwrite files, you don’t want to accidentally delete something you’ll need in the WordPress themes folder.
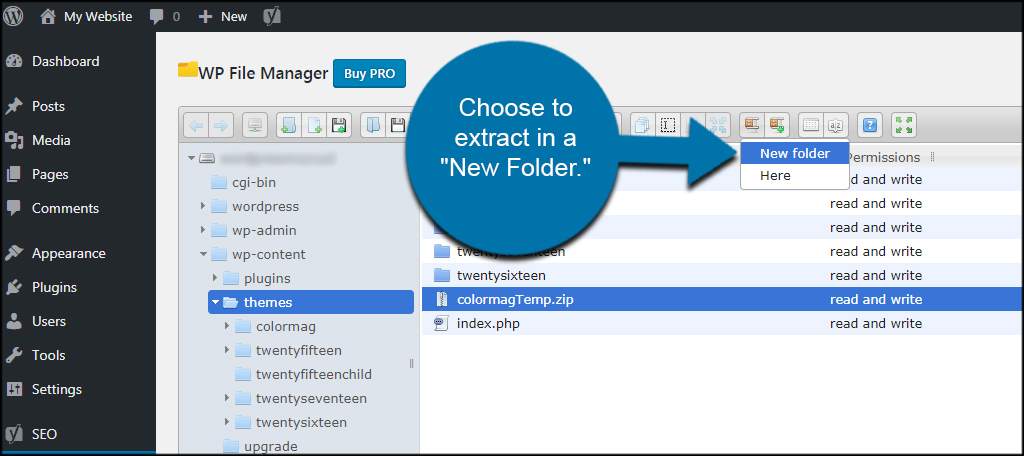
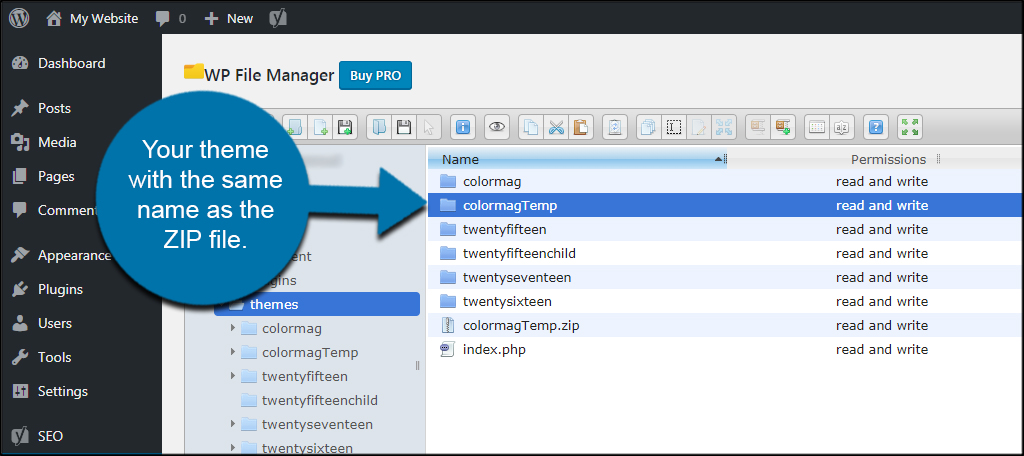
WP File Manager will automatically create a new directory for your theme with the same name as the ZIP file.
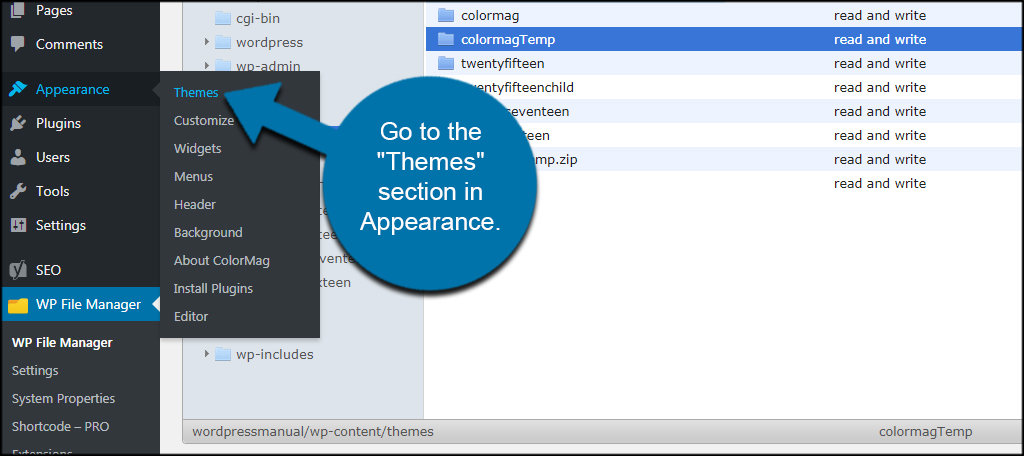
Go to the “Themes” section in Appearance.
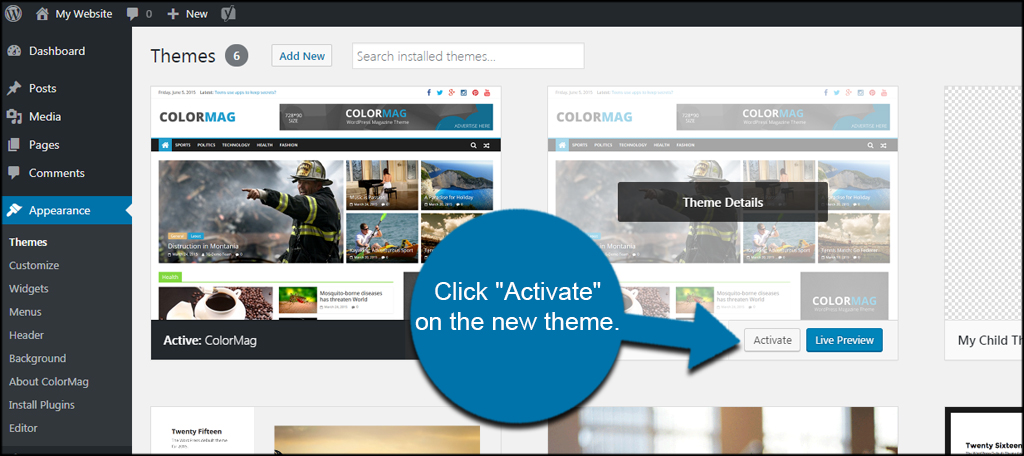
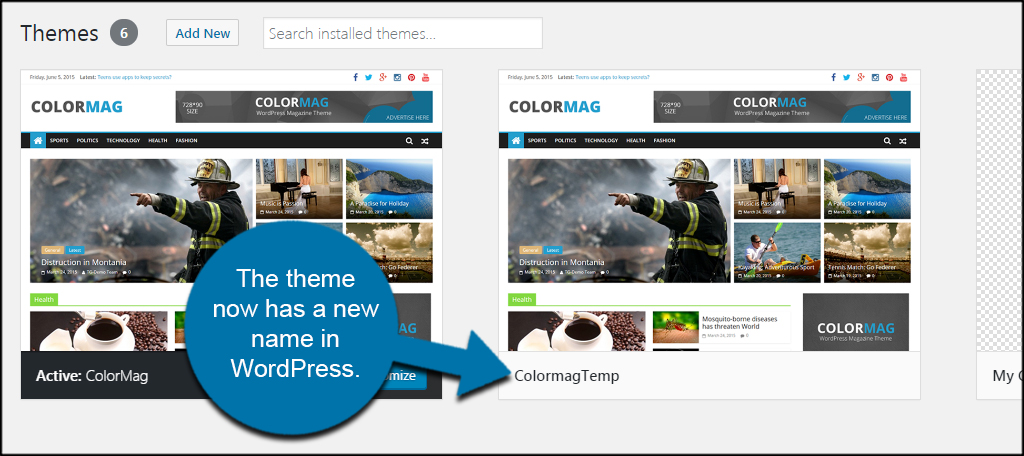
You’ll see I have two identical looking themes now. The one that is not active is the one I just uploaded. Click “Activate” on the new theme and it will become live.
Doesn’t this look a bit confusing, though?
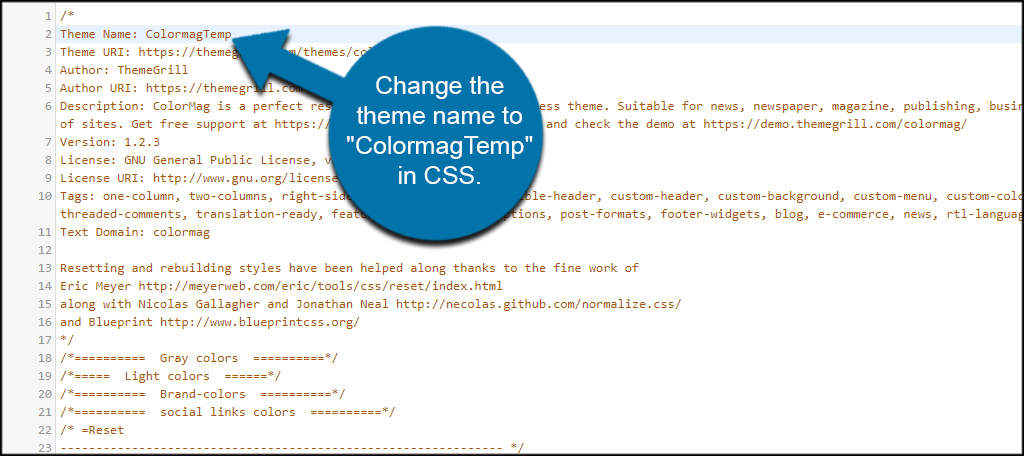
If you want to avoid confusion when looking at your themes, you can always edit the style.css file before you ZIP it.
For example, let’s change the theme name to “ColormagTemp” in CSS before creating the ZIP file to upload. You can do this with several HTML editing tools.
After changing the CSS line as in the example, the theme now has a new name in WordPress.
What if you don’t have a CSS editor?
One of the nice things about WordPress is that it comes with editing tools to make modifications to your themes. In fact, you’ve probably used this tool already to add your code snippets.
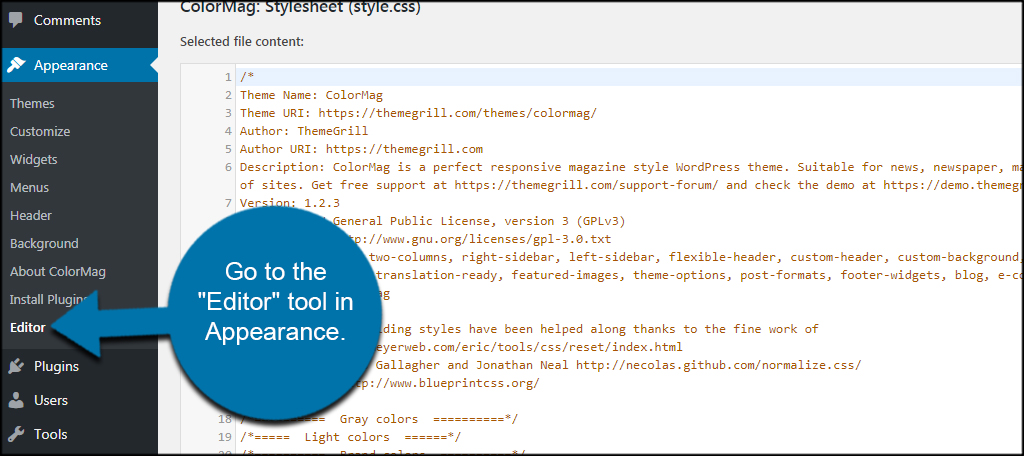
Go to the “Editor” tool in Appearance.
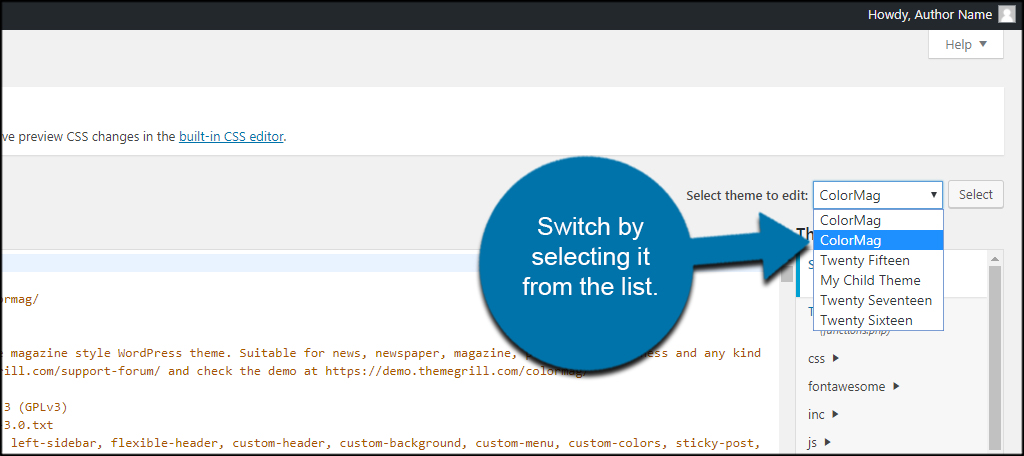
By default, WordPress will load up the current them you’re using. If you haven’t activated the new theme yet, switch by selecting it from the list and clicking the “Select” button. If you have activated the newly uploaded theme, skip this step.
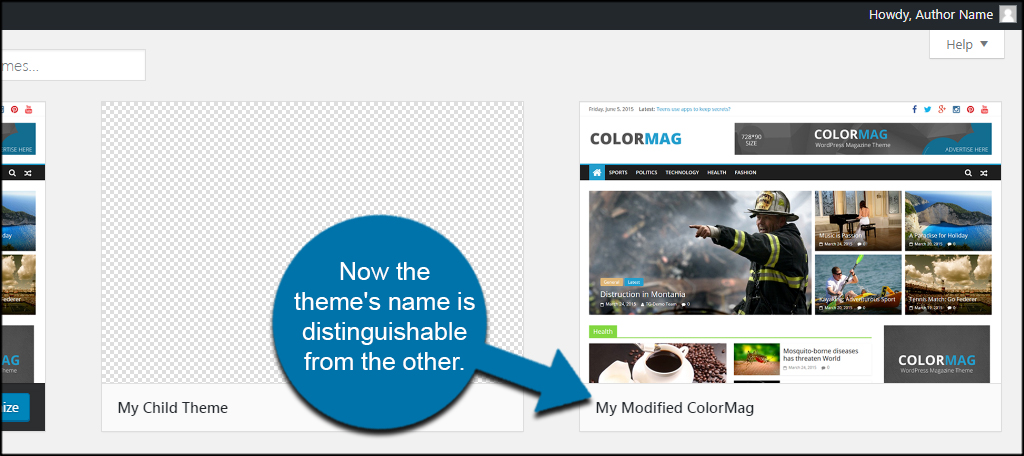
Change the “Theme Name” to something you’ll recognize. To mix it up, I’ll simply use “My Modified ColorMag.” You don’t need to do anything aside from giving the theme a new name.
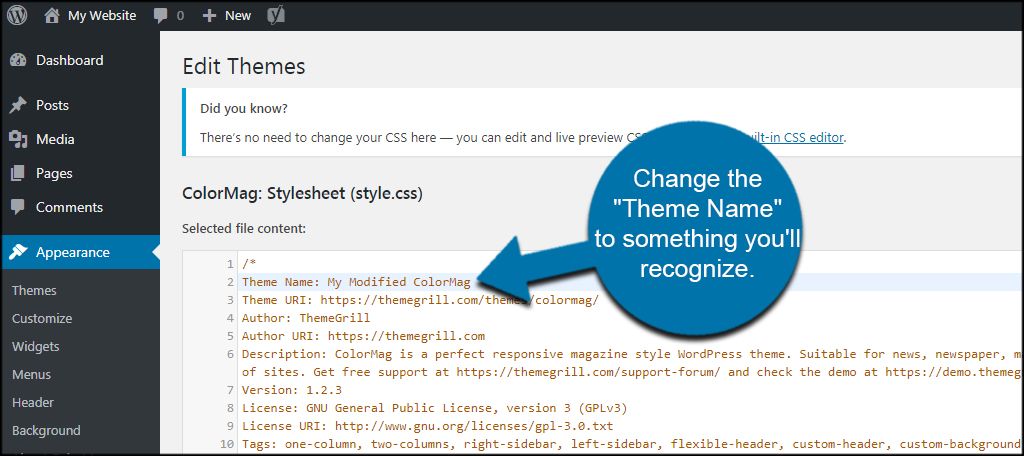
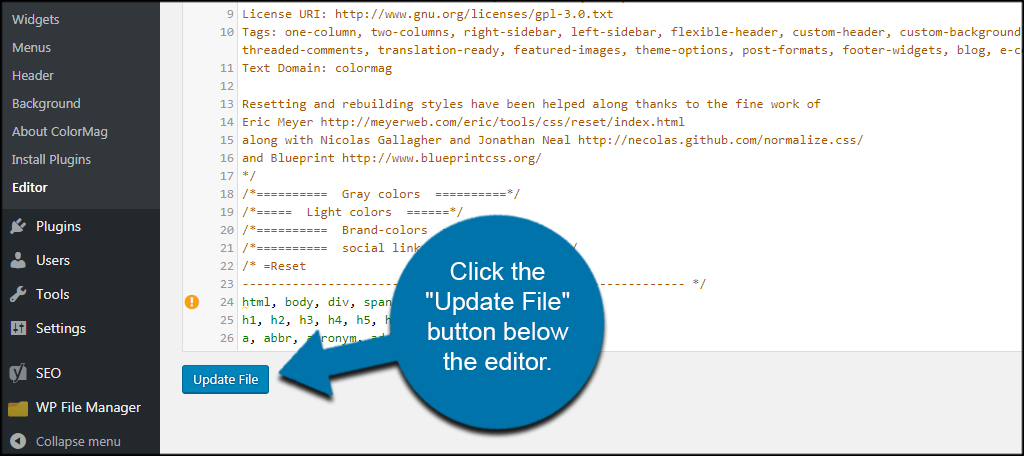
Click the “Update File” button below the editor.
Now the theme’s name is distinguishable from the other.
What are the benefits for doing it this way?
When you upload a complete copy of the site in this manner, you’ll keep it separated from the original. Now, I have a working copy that I can overwrite at any time through WP File Manager as well as a backup of my site’s theme.
This allows you to save your customization before updating occurs. Of course, I still prefer the method of using a child theme. It’s far easier to manage.
Keep Track of Your Modifications
You can customize WordPress quite easily to create any specific appearance or functionality. You just need to bear in mind how updates can erase some of those changes. Always keep track of what materials are being customized. It will save you a great deal of work when an update to a parent theme in WordPress happens.
What kind of customization have you made to WordPress? Do you save your code snippets for safe keeping?