Sharing content on social media is a common method for attracting attention to a website. Simply by hitting publish in WordPress, your social profiles get an instant boost of content. But what happens when Facebook doesn’t receive the right information?
In some instances, Facebook doesn’t grab the correct thumbnail image during automatic updates when an article is published. This can be problematic if the featured image is pertinent to the text.
In this tutorial, I’m going to show you three easy ways to use Facebook Open Graph meta data in WordPress. This will ensure the popular social media hub collects the correct information when you create a new post on your website.
What is Facebook Open Graph Meta Data?
The Open Graph protocol connects website content to Facebook by creating “graph” objects. This gives the developer means to customize certain aspects of the content as it is shared from systems like WordPress.
Essentially, the Facebook Open Graph protocol pulls meta data from the post to display on its own system.
Using Yoast SEO
One of the easiest WordPress social sharing optimization options to use for Open Graph is Yoast SEO. This is an exceptionally useful tool as it helps create optimized content, sitemaps and more.
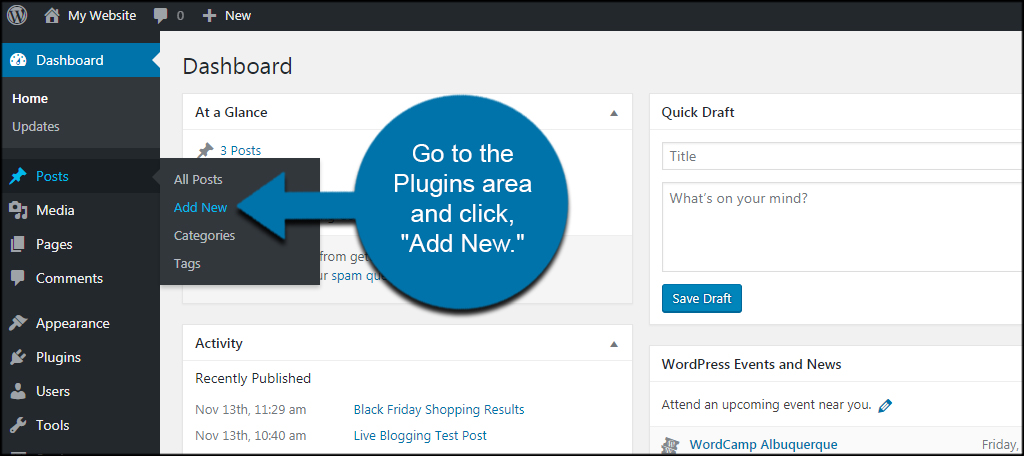
To use this tool, go to the Plugins area and click, “Add New.”
Install and activate the Yoast SEO plugin. It’s easy to search for this tool by using the text field in the right of the screen.

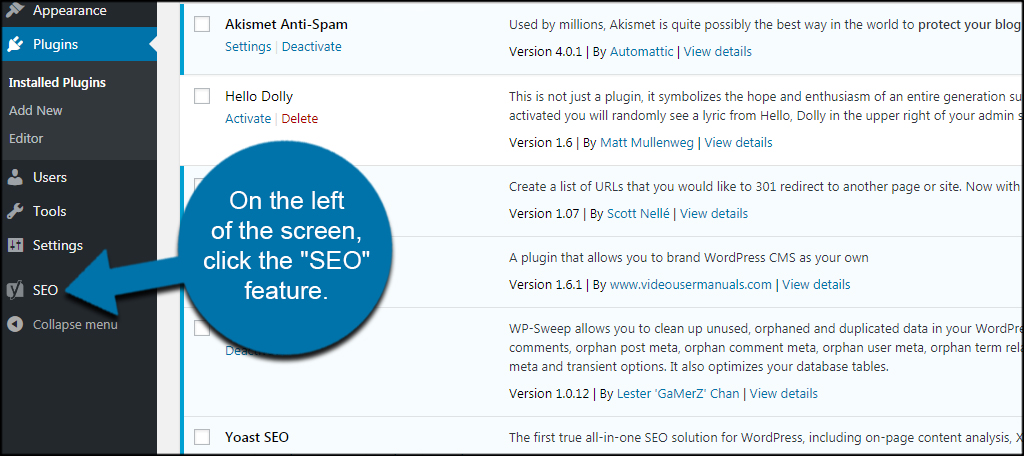
On the left of the screen, click the “SEO” feature. The icon will have a “Y” in front of a folder.
Yoast comes built with basic features to help you create optimized content for search engines. However, you will need to activate the advanced tools to have access to some of the best parts of this plugin.
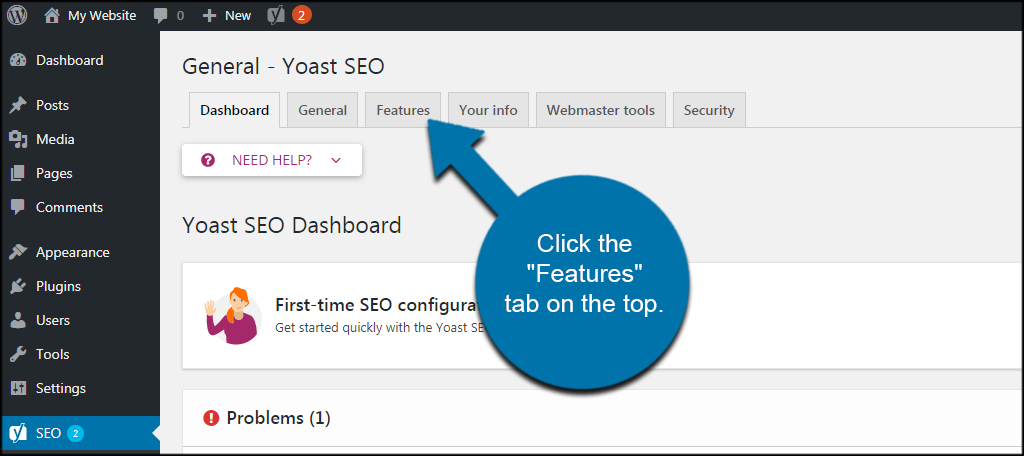
Click the “Features” tab on the top.
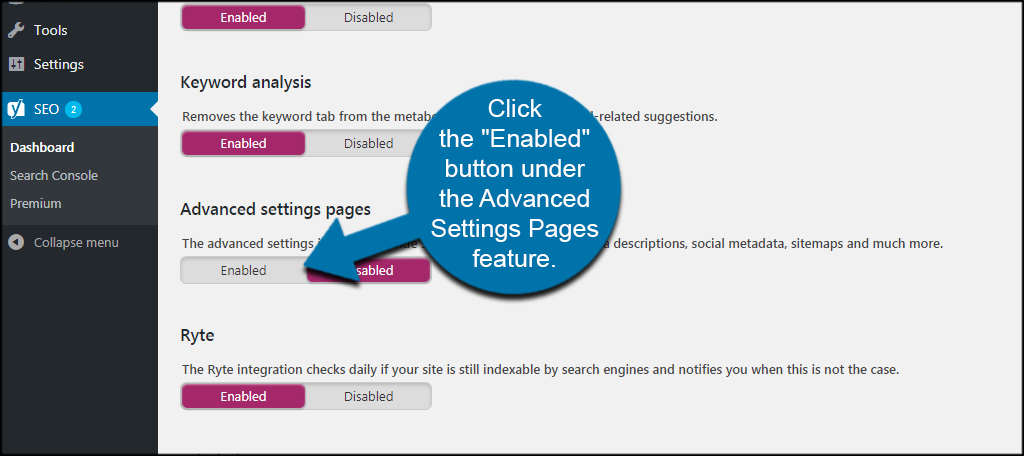
Click the “Enabled” button under the Advanced Settings Pages feature.
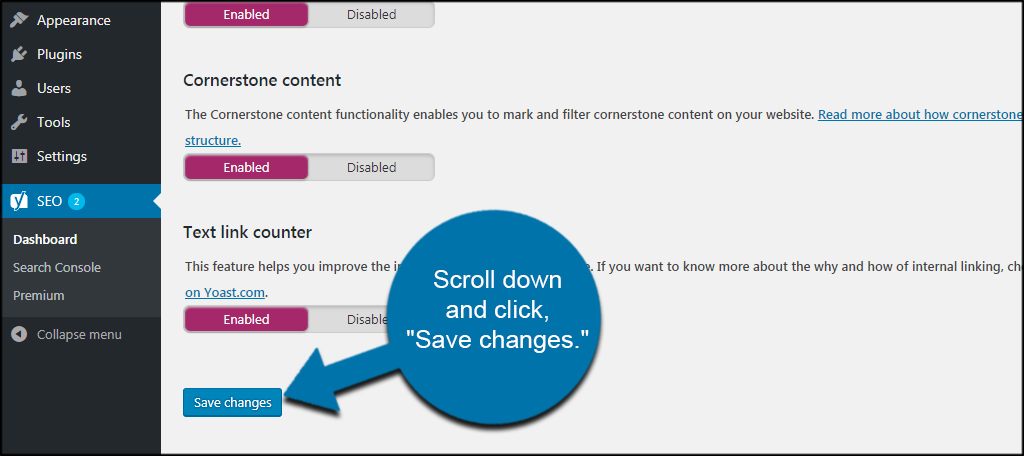
Scroll down and click, “Save changes.” This will greatly expand what you can do with Yoast and include a variety of tools to help you build a successful site.
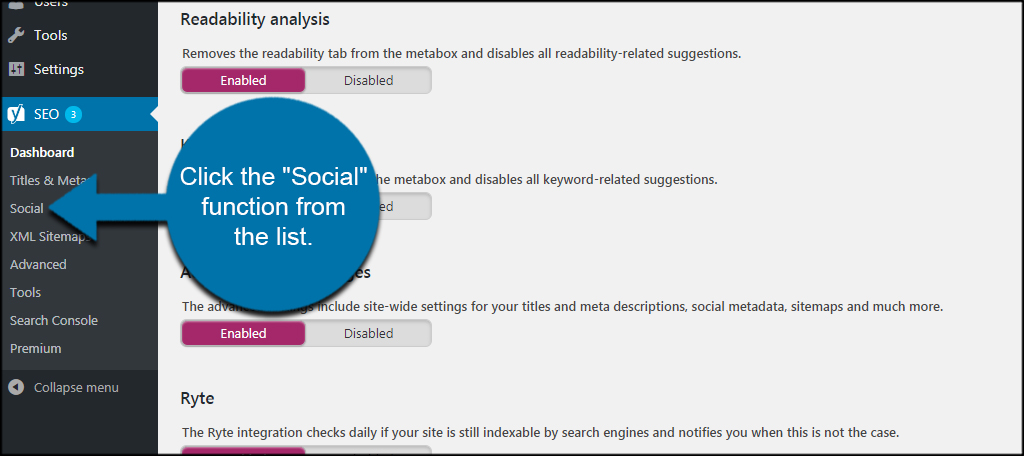
The list of settings for Yoast will expand and give you more options from the left panel. Click the “Social” function from the list.
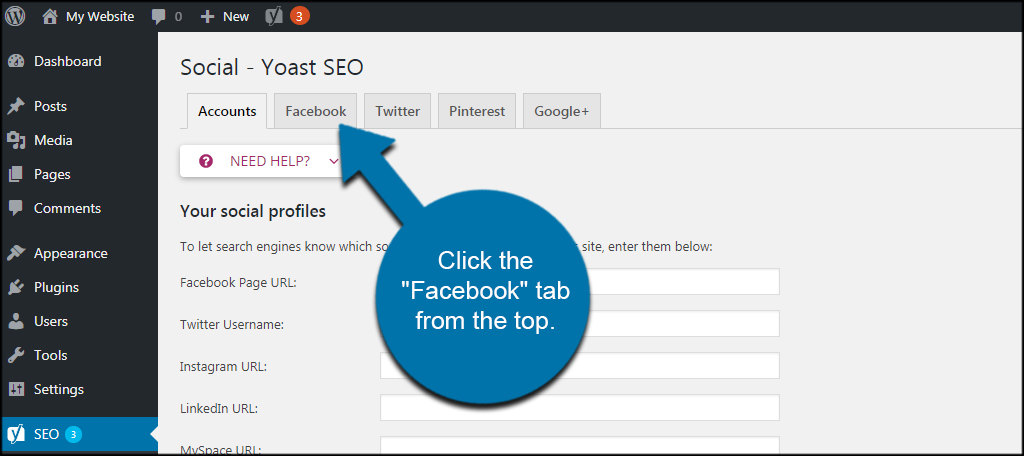
In this first screen, you can add the URLs of your social profiles associated with your website. It’s probably not a bad idea to fill this information out while you’re here.
Click the “Facebook” tab from the top.
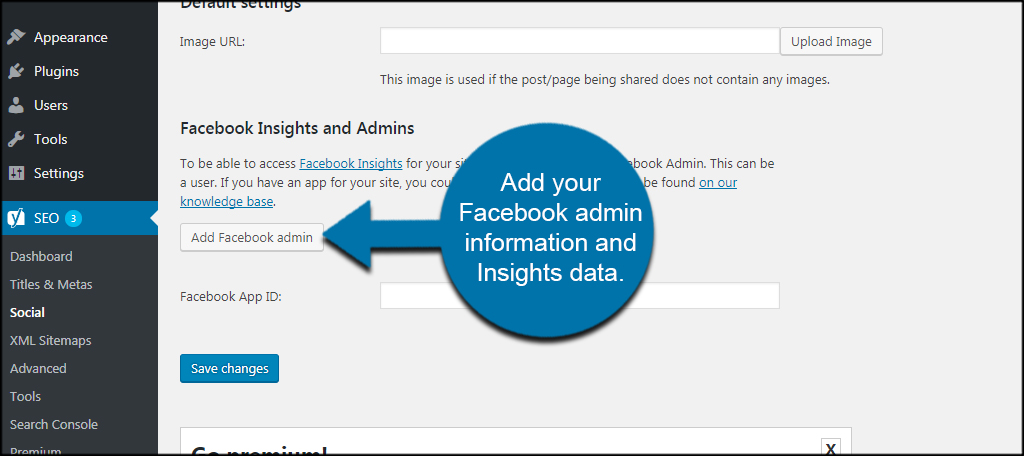
As you can see, Yoast activates the Facebook Open Graph meta data for WordPress by default. There is really nothing more you need to do aside from connecting your profile to the website itself.
Add your Facebook admin information and Insights data. This is not required, but it’s helpful for controlling the social account as well as getting data regarding how your content performs. To do this, you will need an App ID from Facebook through the developer portal.
Using Facebook Open Graph
Another easy-to-use plugin is the Facebook Open Graph, Google+ and Twitter Card Tags tool. What sets this one apart is the fact that it implements a variety of social identifiers including Facebook.
In essence, one plugin will satisfy the needs for three social media sites.
Install and activate the Facebook Open Graph plugin. Be sure you select the correct item. There will be a variety of choices, and you don’t want to get lost through this tutorial by installing a different feature.

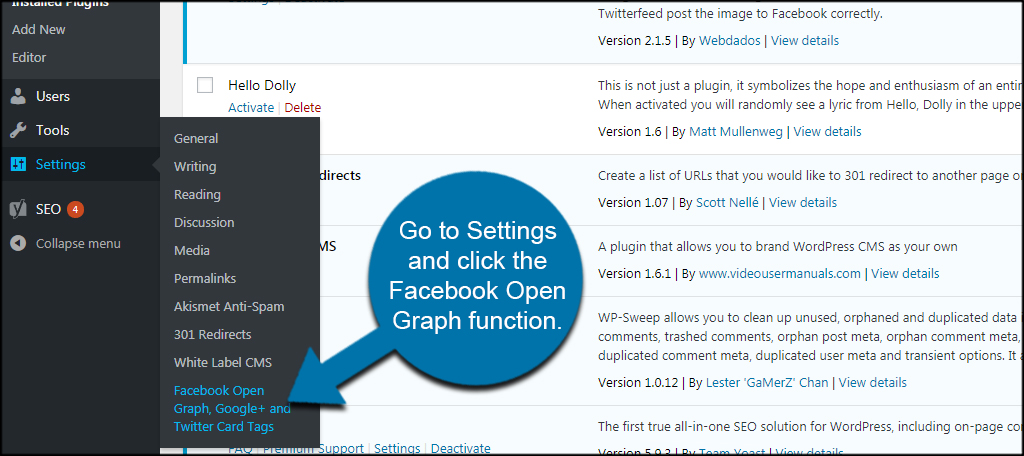
This Facebook Open Graph plugin gives you several options to control what information is shared with the social media site. To access these options, go to Settings and click the Facebook Open Graph function.
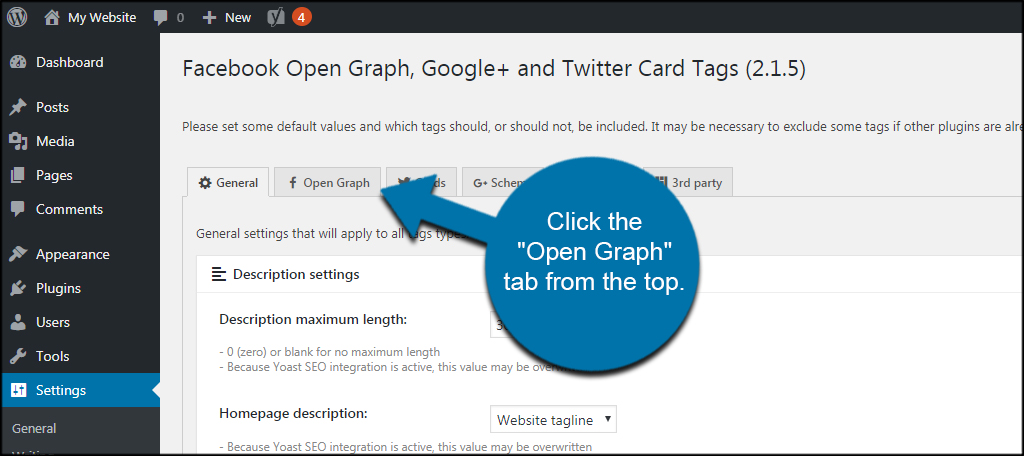
This area gives you the option to make various changes from default images to what tags are available. Click the “Open Graph” tab from the top. It will have the Facebook “f” logo next to it.
This page will have a long list of tags that are shared with Facebook. Titles, URLs, images and more can be turned on and off by clicking the check boxes.
By default, pertinent information for your articles is already available. For now, it may be better to simply leave the default settings until you are more comfortable making custom changes.
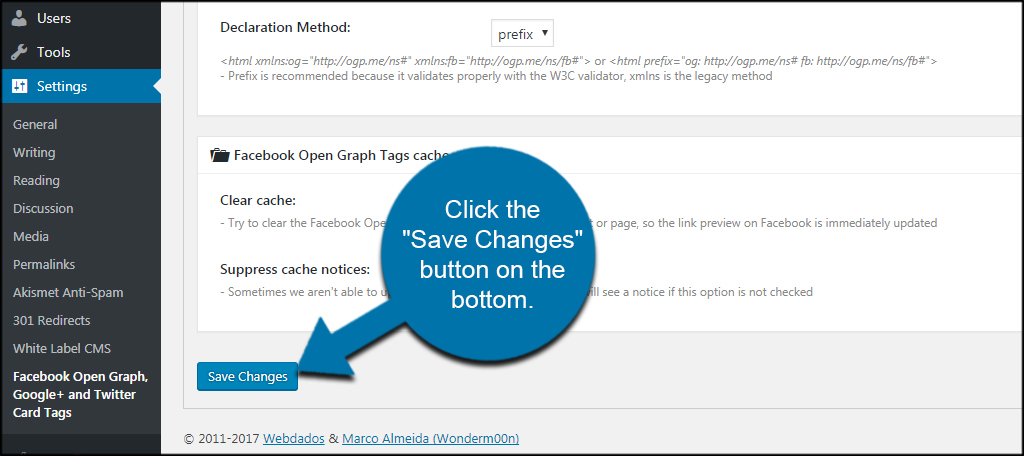
If you do make adjustments, click the “Save Changes” button on the bottom.
The Facebook Open Graph, Google+ and Twitter Cards plugin also has support for various third-party tools like Yoast SEO and WooCommerce. It might not be a bad idea to explore a bit of what this tool can do for your site.
Using NextGEN Facebook
NextGEN Facebook is another multitasking plugin for Open Graph. It includes elements for the most popular social media channels from Facebook to WhatsApp.
One thing to keep in mind when using this plugin is that is doesn’t play nice with Yoast SEO. In fact, you will see conflict errors if both plugins are activated for Facebook Open Graph.
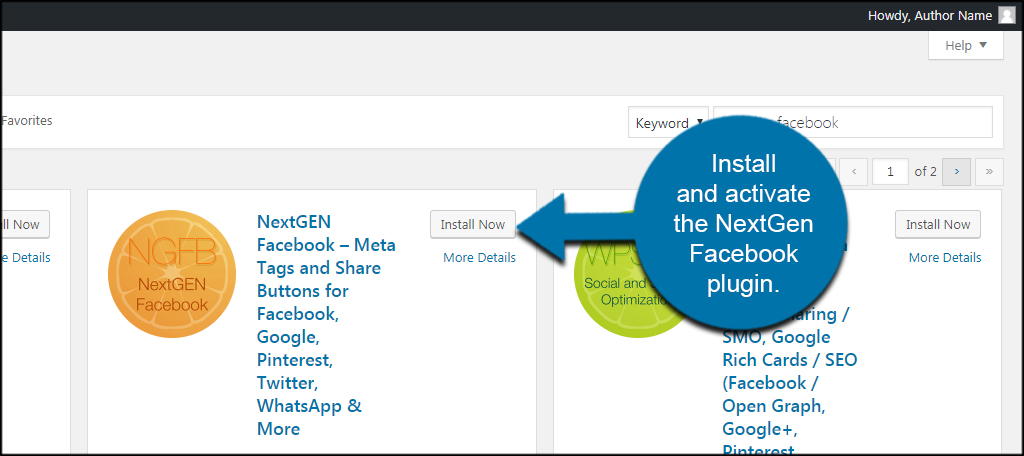
Install and activate the NextGen Facebook plugin.
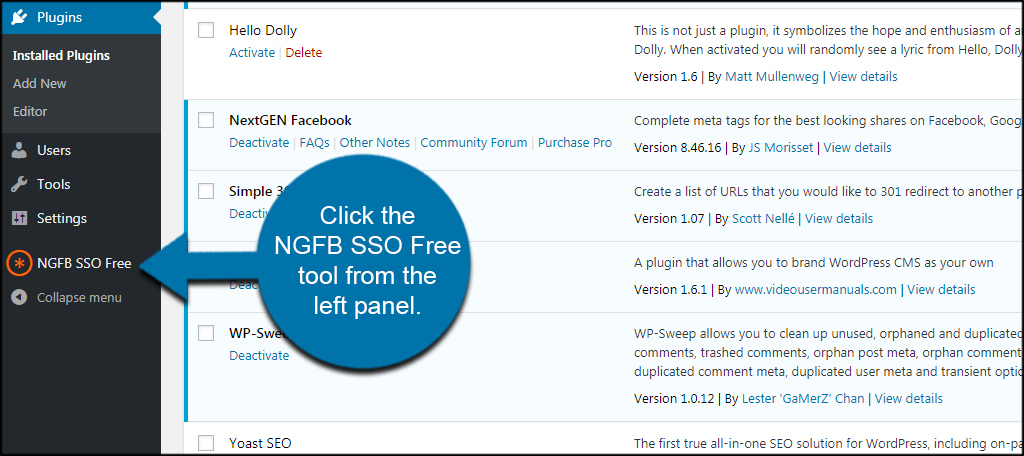
Click the NGFB SSO Free tool from the left panel.
NextGEN has an incredible number of customization options for social options and search engine optimization. Each element is customizable to maximize your discovery for a variety of systems including Facebook.
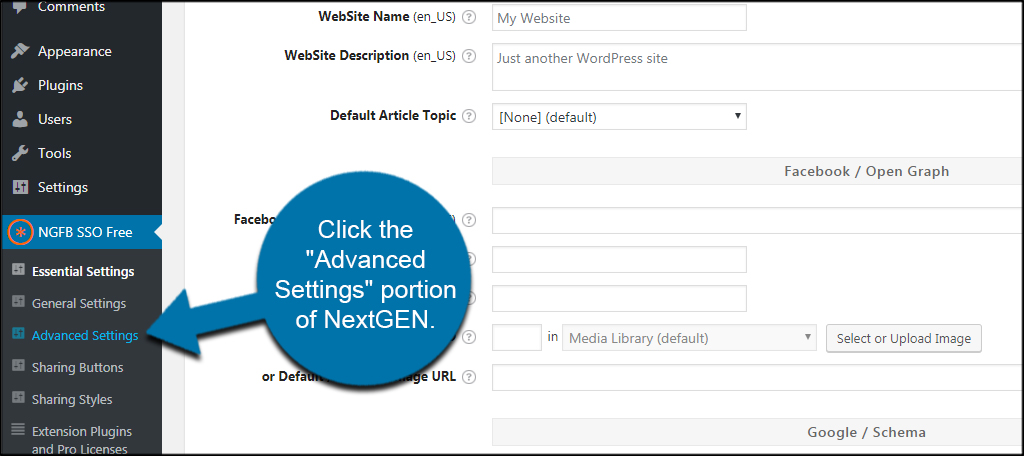
If you want to modify how Facebook reacts, click the “Advanced Settings” portion of NextGEN.
Scroll down to the tags portion and click the “Open Graph” tab.
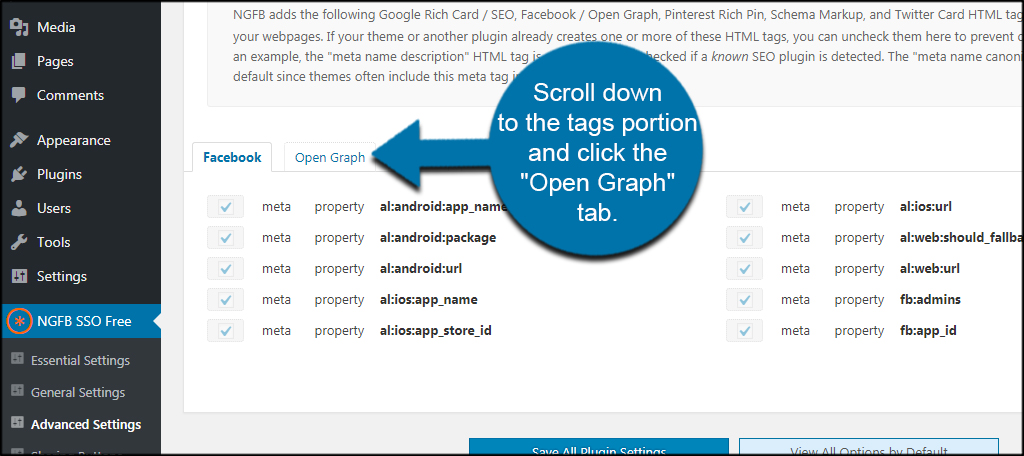
You can see Open Graph has a large number of elements activated by default. If you want to turn any of these elements on or off, simply click the check box next to the property.
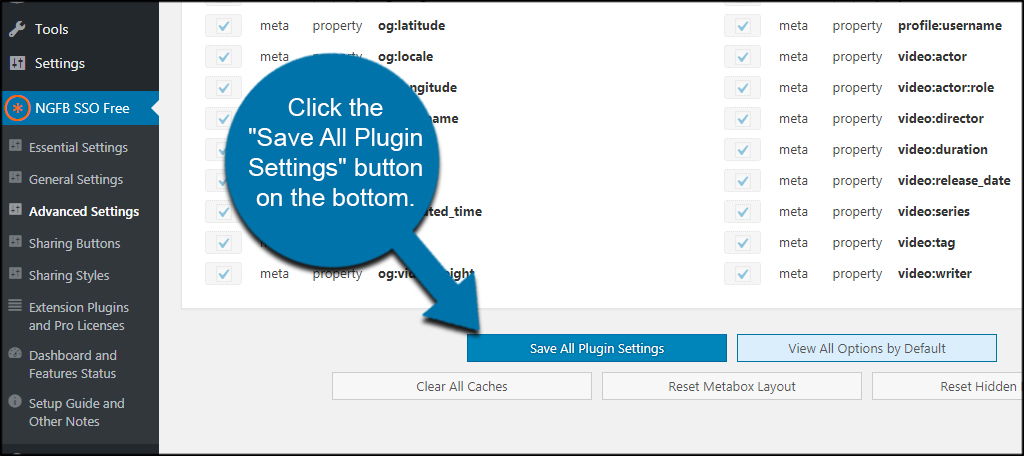
If you make any adjustments, click the “Save All Plugin Settings” button on the bottom.
NextGEN has a vast array of options and settings to go over. If you really want to get the most out of this tool, I suggest you spend some time customizing the options.
Using the Official Facebook Plugin
Facebook did have its own “official” plugin at one time. As of this article, it hasn’t been updated since 2013. Although some older plugins work with WordPress today, this is not one of them.
DO NOT USE the official Facebook plugin for WordPress.
Upon activation, the plugin crashed the entire website to the point where I could not access the admin panel or even view posts and pages. When this happens, you need to turn off the plugin manually.
In this case, I simply accessed File Manager and deleted the folder for Facebook from the plugins directory of the website. WordPress did the rest by removing it from the list of plugins when it could not detect Facebook’s folder.
This happens when a plugin doesn’t use current programming methods for the most recent version of WordPress. This system has undergone many changes since 2013, and this plugin apparently doesn’t adhere to those modifications. The end result is a site that is completely broken.
Social Media Marketing
The Internet has many social media marketing tools to get your site in front of many potential visitors. Not only do they help generate traffic, but they boost the awareness of your brand as well as the site. Automate the process by giving WordPress the ability to share posts on Facebook with thumbnails intact.
What kind of social media marketing tools do you use? How often do you come across a plugin that seems broken in WordPress?