The robots.txt file is a guide for search engines to help them correctly index your site. Although the search engine will still crawl your pages, this file helps streamline the process. Because it plays a role in how engines access your website, it’s beneficial to set up WordPress and the robots.txt file to improve SEO.
Search engines will use the robots.txt file to find the sitemap unless it is already specified. For instance, this is where the engine’s bot will look if you don’t have a sitemap in Google’s or Bing’s site console tools. Essentially, the file will help engines find precisely what they are looking for, which will shave a bit of time off of indexing your site.
This file is also helpful to guide engines away from particular content. By default, WordPress will already have nofollow and noindex status on some items like the admin dashboard. However, the robots.txt file can also be used to keep other folders and content from being indexed as well.
Today, I’m going to demonstrate how you can edit this file and make it work for you to improve the SEO of the website. It’s a very easy process that anyone regardless of skill level can do.
Step 1: Creating the WordPress Robots.txt File
Some plugins will automatically create the robots.txt file on their own when activated. However, there may be times when you’ll have to create one manually. For this example, I’m using FileZilla to access the root folder of WordPress. It’s an easy-to-use program that has a great deal of functionality when it comes to managing a website.
To create the robots.txt file:
Step 1: Open FileZilla and connect to the root folder of your website.
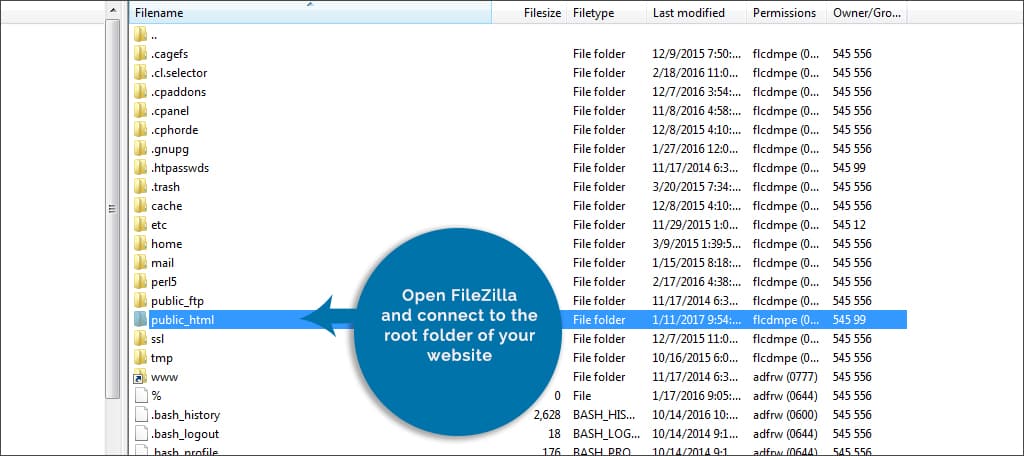
NOTE: Check out our Ultimate Guide to Using FileZilla to learn more about how the program works.
Step 2: In the bottom right window of FileZilla, right-click anywhere and select, “Create New File.”

Step 3: A window will appear asking for a name. Type in:
robots.txt
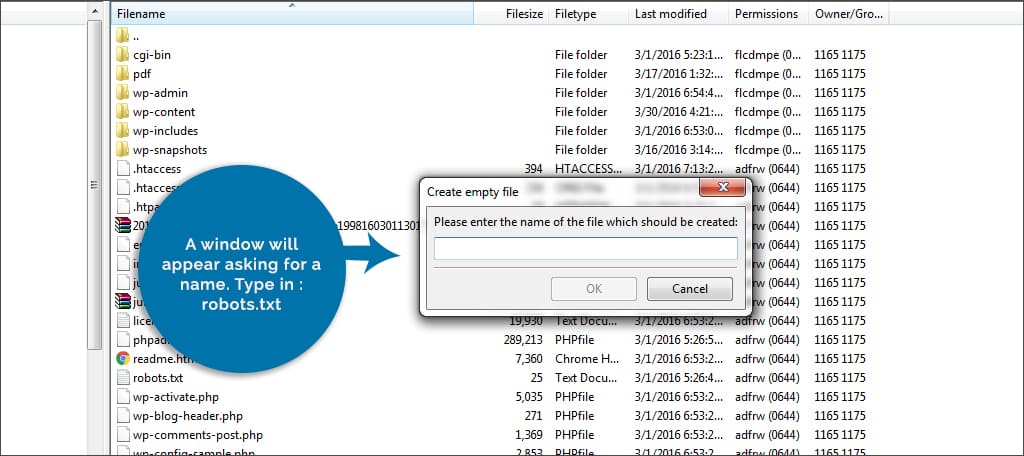
Step 4: Click OK to continue. FileZilla will then create the file on your web host.
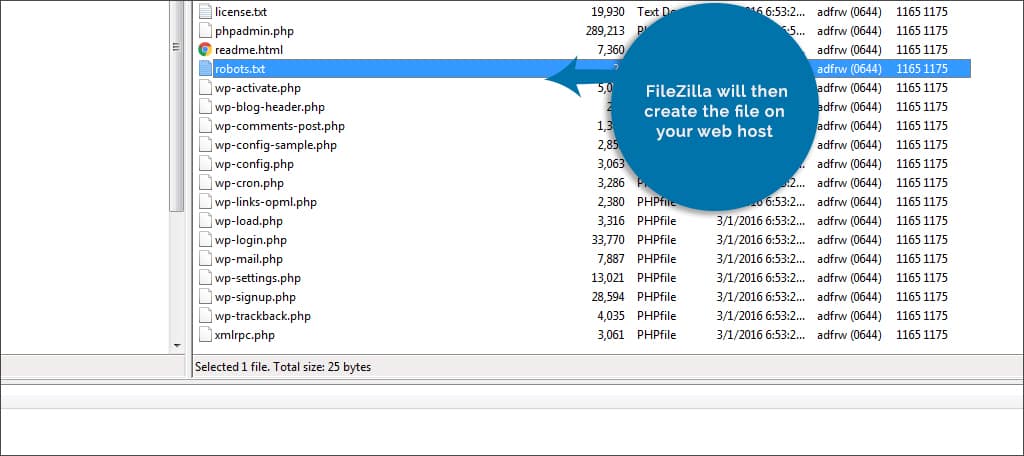
Now, you have an empty robots.txt file waiting for edits. As FileZilla makes these changes in real-time, the file is immediately live. However, nothing is going to happen because it is empty.
Step 2: Editing the Text File
After creating the file, we need to give it some commands. Otherwise, search engines will ignore it and move on. Let’s add some instructions so that the bots will know how to behave when they visit the site.
To edit the robots.txt file:
Step 1: With FileZilla open and connected, right-click the robots.txt file you just created and select, “Edit.”
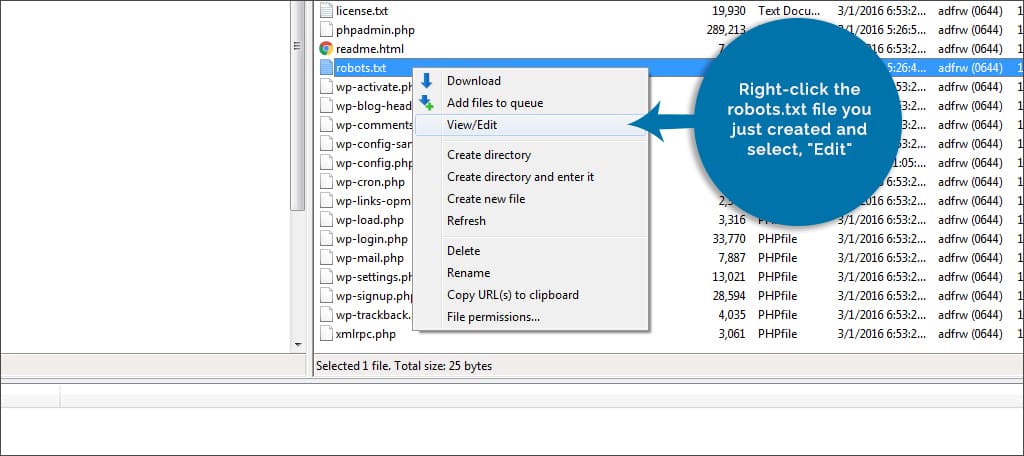
NOTE: This will bring up your text-editing program. Most people on Windows computers will see Notepad. However, you may see something different depending on what computer system you have or software you have installed. If you see a window asking what program you want to use, choose Notepad or your favorite text editor.
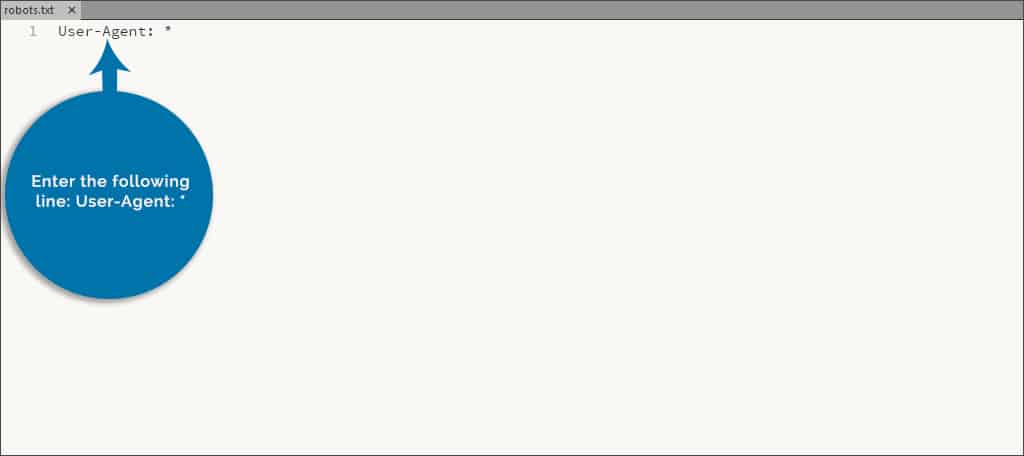
Step 2: The first command will address the bots by name. For example, Googlebot and Bingbot are names of user-agents that crawl the site for content. Since we want to focus on all search engines, we’re going to use a “*” instead. Enter the following line:
User-Agent: *
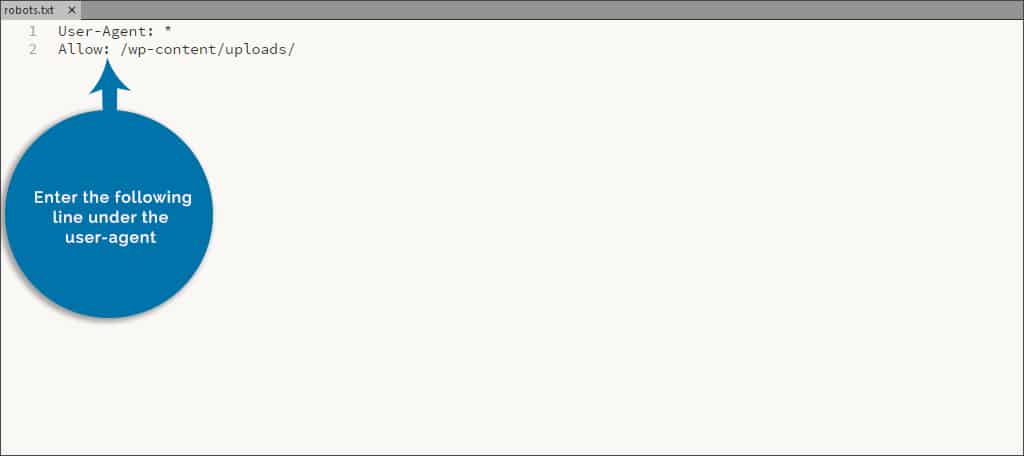
Step 3: Press enter to go to the next line in the file. Now, we are going to set the uploads folder to be crawled by search engines. This is called, “Allow.” Because the folder contains images and metadata pertinent to optimization, we want this to be indexed. Enter the following line under the user-agent:
Allow: /wp-content/uploads/
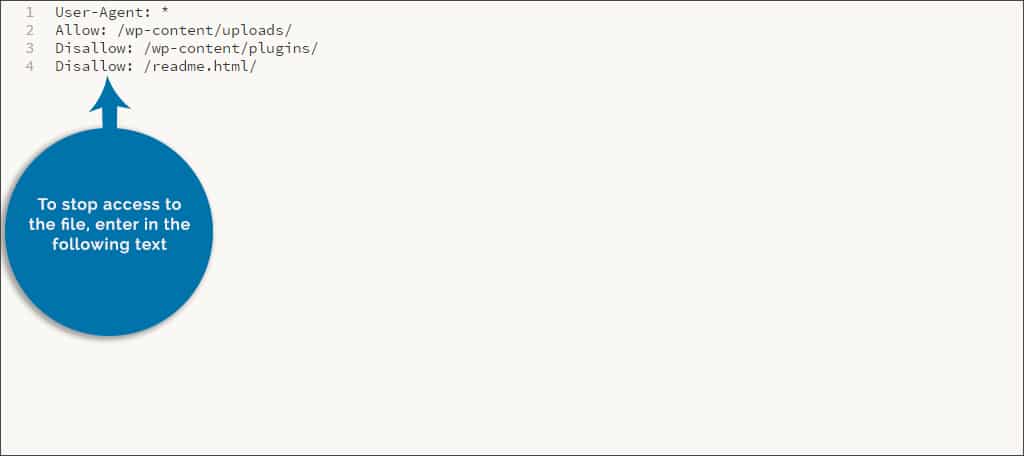
Step 4: Press enter to go to the next line. Next, we’re going to set the robots.txt to “disallow” access to particular files and locations. This is to stop the bots from crawling content that is meaningless to SEO. The less work you create for the bot, the better the site performs in search results. So, let’s stop it from crawling the plugins folder by typing in this command:
Disallow: /wp-content/plugins/

Step 5: Press enter to go to the next line. Let’s stop the bot from indexing a particular file. In this case, we’re going to prevent access to the readme.html file. This is not part of your website and merely gives information about WordPress in general. To stop access to the file, enter in the following text:
Disallow: /readme.html
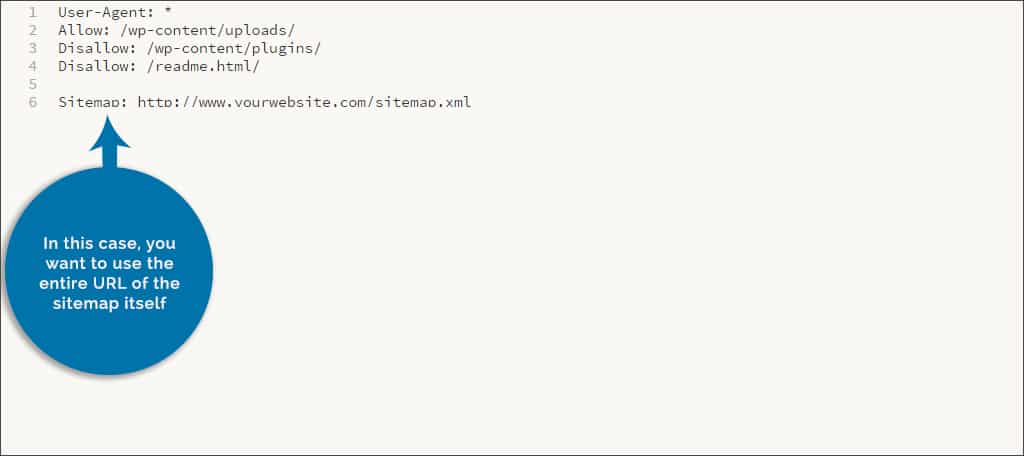
Step 6: This time, press enter twice to give the file a double space. Because we want search engines to find the sitemap for our website, we want to tell them where it is. In this case, you want to use the entire URL of the sitemap itself. Enter the following, but change the address to your map’s URL:
Sitemap: https://www.ggexample.com/sitemap.xml
Step 7: Now, you have a fully functional robots.txt file. You can get even more elaborate by allowing or disallowing specific parts of the website. It should look like this as a whole:
User-Agent: *
Allow: /wp-content/uploads/
Disallow: /wp-content/plugins/
Disallow: /readme.html
Sitemap: https://www.ggexample.com/sitemap.xml
Step 8: Save the file.
NOTE: FileZilla may show a warning window about how a file has been changed. This is because the system will automatically create a local file on your computer while you are editing. Check the box for “Finish editing and delete local file.” Click the “Yes” button to commit the save to your WordPress folder.
Search engine bots will now have a more clear-cut path to the content they need to index. Remember, any time you can save for a bot improves your appearance in the search results.
SEO Plugins and How They Behave

Some SEO plugins will make adjustments to the robots.txt file if it exists. For instance, Yoast SEO for WordPress has an option to generate the sitemap for you. If it’s set to do so, it will add the sitemap’s URL automatically to WordPress in the robots.txt file.
If for some reason adding the sitemaps fail from your SEO plugin, you can easily add them to the robots.txt file to improve SEO functionality. For example, let’s say that your SEO plugin uses post and page sitemaps individually. You would then add them to the bottom of the text file like:
Sitemap: https://www.ggexample.com/post-sitemap.xml
Sitemap: https://www.ggexample.com/page-sitemap.xml
It’s unlikely that a quality plugin will fail when adding to the WordPress robots.txt file, but it’s been known to happen. It may not be a bad idea to check periodically, especially if you change SEO plugins or add a new optimization function to WordPress.
Protecting Your Site
Search engines are not the only thing that can be dissuaded from accessing certain material on the website. There are a few bots set out by hackers that are routed through the robots.txt file. By disallowing those folders, the bots looking for vulnerabilities will bypass those folders altogether. While this isn’t a guarantee against all hacking threats, the robots.txt file can offer a layer of protection against some of them.
Get More out of SEO Practices
Out of all the files you can modify in WordPress, the robots.txt file is perhaps one of the easiest. The coding is straightforward and can be done inside five minutes. Take every advantage you can to improve the SEO of your website. It’s a safe bet that your competition is.
What kind of file modifications have you made to your website? What are your favorite SEO tools for WordPress?