Are any of your website’s features available only to visitors who create an account? If so, then you should consider adding a login area on your sidebars. This can be accomplished by using a sidebar login widget and is very common.
Widgets are used to shape your website exactly how you want it to be, and they have many options that can really help your website stand out amongst the competition.
It is very common to use a WordPress sidebar widget to create a login area for your website. Having the login section on your sidebar will allow you to have more content on your page, instead of just having an entire page dedicated to logging in.
Today, I will demonstrate how to add a sidebar login form in WordPress.
Why Can a WordPress Sidebar Login Help?
The main reason you use sidebar login areas is to save room on your actual pages and to make sure new incoming visitors see that they can create an account. If creating an account will unlock some of the website’s features for them, it is important to encourage them to do so.
For example, if your visitors want to join in the comment section, then they will need to log in. By having the same people communicating and discussing in the comments section, your community will grow.
When you have the sidebar always visible until someone logs in, visitors will have to look at it their entire visit. Instead of having to leave the current page and enter a new one to log in, they can use the sidebar area to log in.
Keep in mind you should add some incentive to creating an account on your website or visitors will not see the point.
How to Add a Sidebar Login Form in WordPress
Step 1: Install WordPress Login Form
The WordPress Login Form plugin allows you to add a login form anywhere on the front-end of your website. This is accomplished by adding a shortcode, and there is a lot of customization available.
This comes in the form of changing what the login form says and what options it offers. For instance, it is possible to add a “Remember Me” box underneath the login to make it easier for visitors to log in.
It’s free and takes almost no time to set up, so let’s begin.
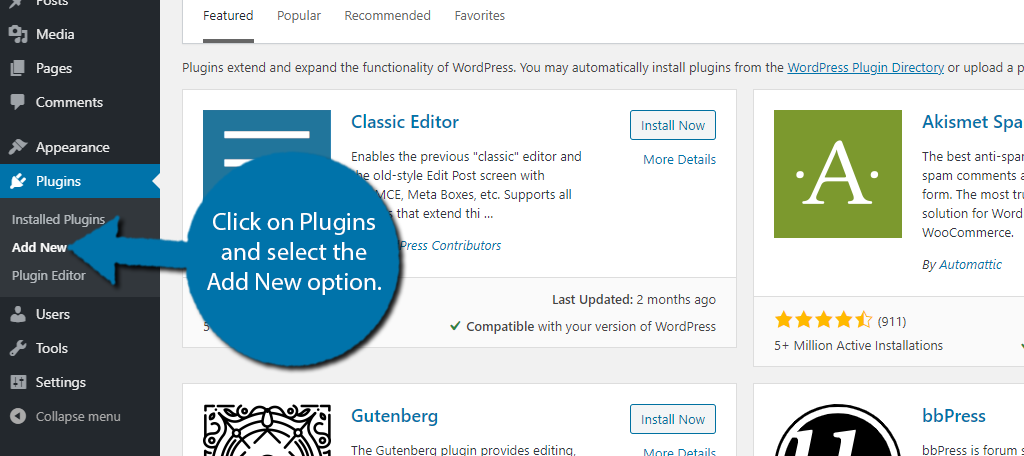
Let’s start by clicking on Plugins and selecting the Add New option on the left-hand admin panel.
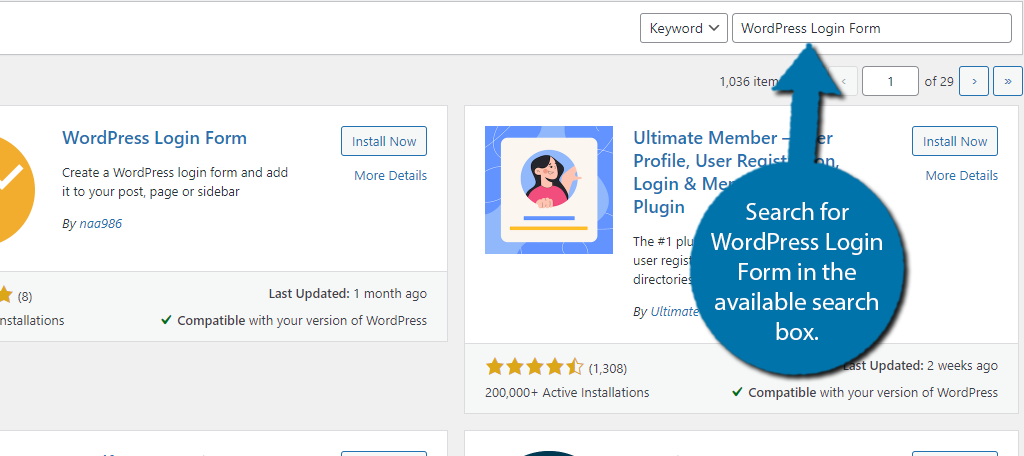
Search for WordPress Login Form in the available search box. This will pull up additional plugins that you may find helpful.
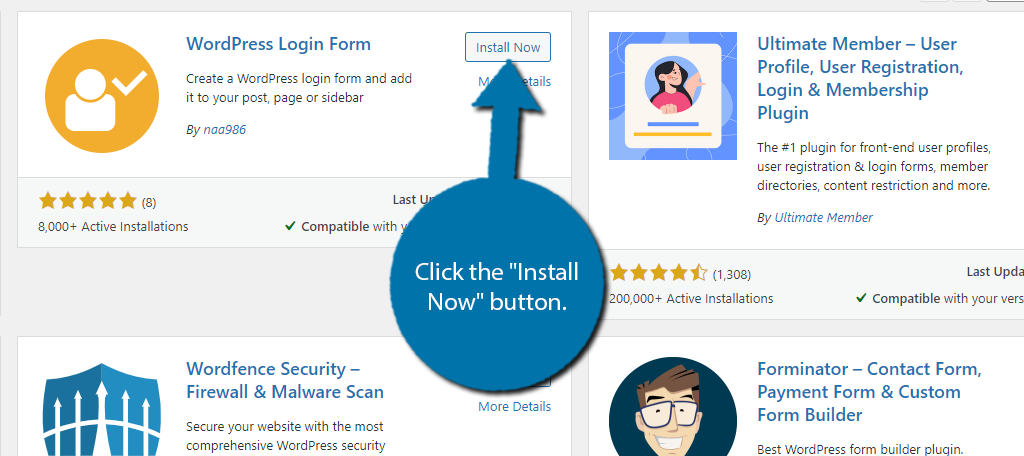
Scroll down until you find the WordPress Login Form plugin and click the “Install Now” button and activate the plugin for use.
Unlike most plugins, this one does not have any settings. Instead, everything is handled via shortcodes. So let’s cover some of the possibilities.
Step 2: Understanding the Shortcodes
There are quite a few shortcodes that add a simple addition or make an alteration to the core login screen. Now, this may sound complicated, but I assure you, it is actually really easy. Everything is based on the core shortcode:
[wp_login_form]
You can add information into the shortcode to accomplish different things. For Instance, by default, WordPress will ask for a username or email address. Perhaps you only want to accept an email address, the shortcode would look like this:
[wp_login_form label_username="Email"]
Another thing you can do with this plugin is add a “Remember Me” checkbox. This will make it so that the user does not have to input their login information every time they visit the site. Instead, the information is stored and they just click on the “Log In” button.
The shortcode looks like this:
[wp_login_form label_remember="Remember"]
You can also combine the shortcodes to add multiple features together. For example, let’s combine the last two. This will result in a login screen that asks for the email address and that has a “Remember Me” check box:
[wp_login_form label_username="Email" label_remember="Remember"]
Take note that there are no commas separating the different elements. For a full list of all of the shortcodes available for this plugin, visit the plugin page.
In summary, you can customize the shortcode to change the information visitors enter into the login form in WordPress before adding it to the widget.
After this, you just need to paste it into a widget.
Step 3: Adding it to the Sidebar
Now, the purpose of this tutorial was for the sidebar, and this is easy to achieve. All we need to do is add the shortcode to a widget to display the login form.
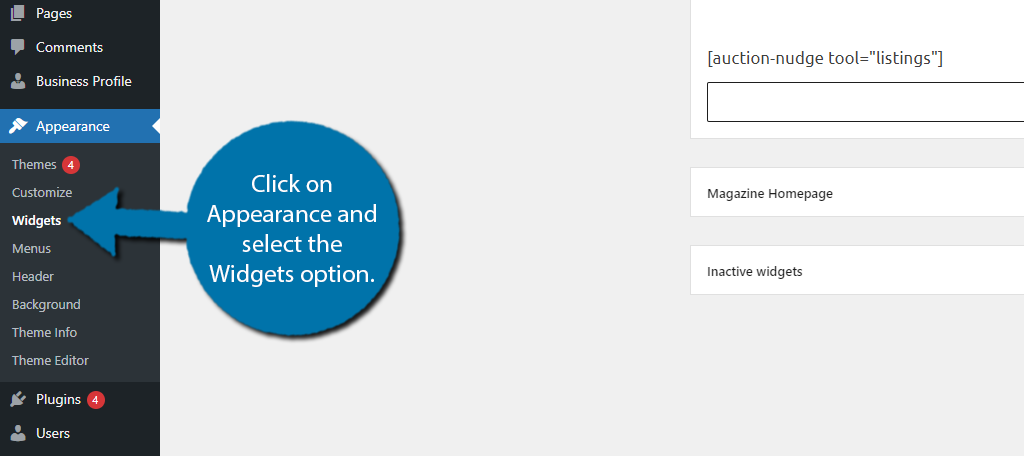
Click on Appearance and select the Widgets option.
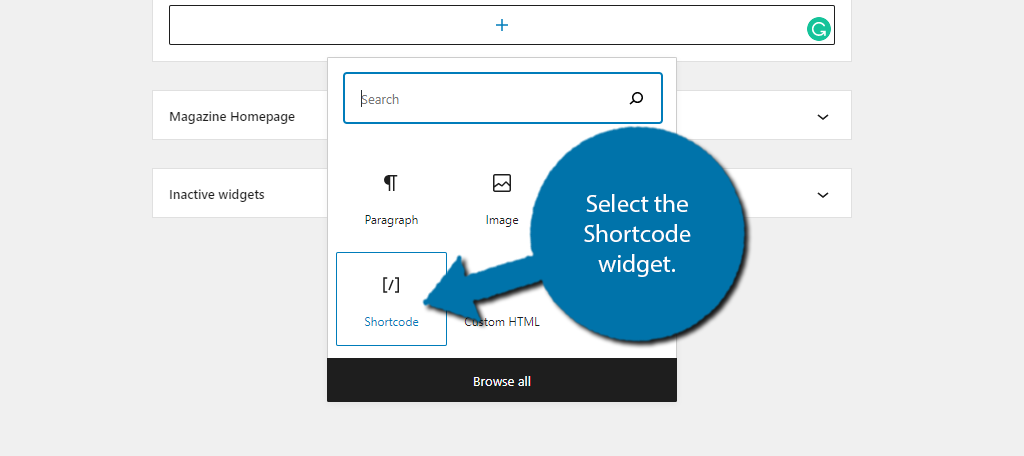
Click on the “+” button under the Sidebar section. You may have additional widget areas depending on your theme.

Choose the Shortcode widget.
Paste the shortcode into the widget and save the changes. It essentially becomes a login widget and that’s it.
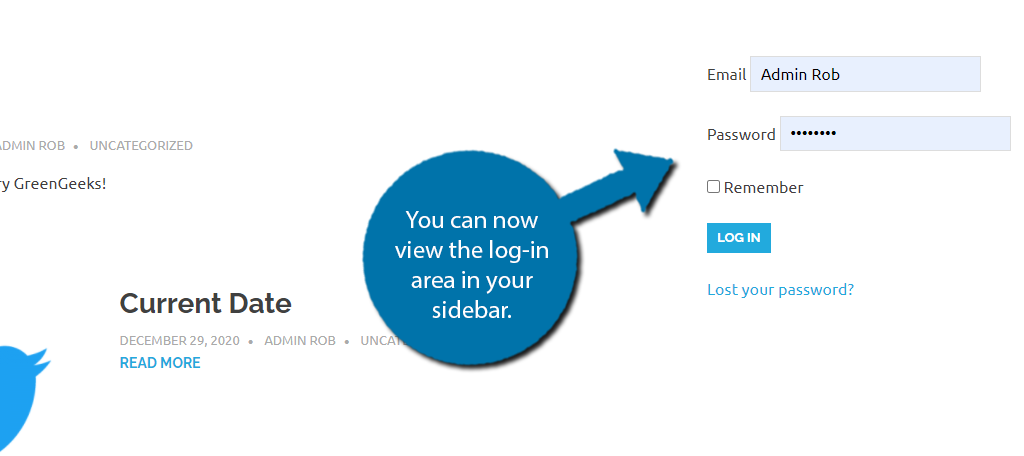
You can now view the log-in area in your sidebar. Make sure if you changed any of the information, that the spelling is correct.
Note: If you are currently logged in, you must log out to see what the log-in section looks like.
Congratulations on adding a login to your sidebar by using a WordPress widget. You can freely customize the shortcode at any time. You can also use this shortcode on any post or page.
Additional Plugins
WordPress is full of plugins and you better believe there are plenty of others that can add a login screen to the sidebar area in WordPress. Here are a few noteworthy alternatives that can accomplish the same task:
Login Widget With Shortcode

The Login Widget With Shortcode is an excellent plugin to add a login area to your sidebar in WordPress. Similar to the plugin we just covered, this plugin does it via shortcode but has one critical difference.
It allows you to change the settings and configuration of the log-in area through the settings. This means you do not need to constantly recreate the shortcode every time you want to make a change.
Login With Ajax
Login With Ajax is another terrific plugin to consider. It adds a login widget with Ajax functionality. And unlike the other plugins, it does not require you to deal with shortcodes at any capacity.
Instead, all of the settings are managed through the widget itself. It also fully supports SSL login to add more security to your website. As a free plugin, it’s a comprehensive login solution.
Keep Your Website Practical
Logging into a website is generally not the highlight of a visitor’s day, though most browsers will store the login information and keep them signed in, so having it readily available on the sidebar can help.
This can lead to security problems though and you need to make sure your login area is secure. This means visitors will not be pulled off their current page to sign in, unless you actually set that up, which will help them enjoy the content without interruption.
It’s very important that if you do require visitors to log in to enjoy certain features or certain content, your website remains still enjoyable to visitors that are not logged in.
Many visitors will not log in because they find it very annoying, however, they are still a valuable source of web traffic that every website needs.
Do you use a different WP login widget plugin? What types of links did you choose to place on your logged-in and out menus?