After using WordPress for a long period of time, you’ve probably accumulated a lot of plugins. After all, there are a lot of good tools out there to help you build an amazing site. This can make your site a bit messy, thus you need a way to organize your plugins.
And as you might have guessed, there is in fact, a plugin for that. It could streamline management while making the list of tools seem less overwhelming.
In this tutorial, I’ll show you how to set up a WordPress plugin to manage those plugins.
Why Organize Your Plugins with Groups?
One of the key features of WordPress is the incredible number of plugins you can add. It’s easy to come across new features and tools you want to add to the site to improve SEO and user experience.
Over time, this list of plugins can become quite extensive. It could take you a long time to scroll down to find certain add-ons in the event you want to remove or edit them.
By grouping the WordPress plugins together, you can easily cut down the time it takes to find them.
How to Organize And Group Plugins in WordPress
Step 1: Install Plugin Groups
Today, I’m showing what the Plugin Groups plugin can do to keep your site cleaned up. As the name suggests, it allows you to group a WordPress plugin with another plugin. For example, you could group Elementor and its add-on plugins together.
It’s an easy WordPress plugin manager that’ll help you group up specific tools to make them easier to find.
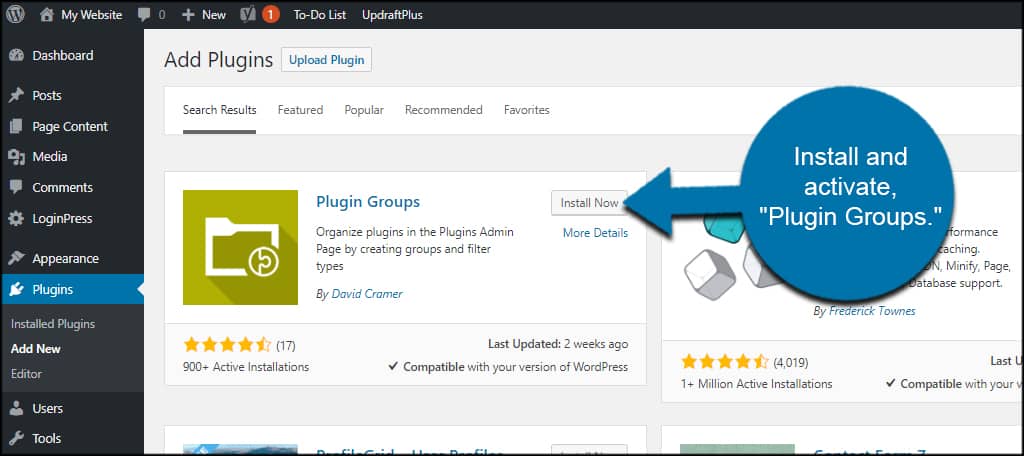
The first thing you need to do is go to the Plugin section of WordPress and click on the “Add New” button. Search for the Plugin Groups plugin and click on the “Install” button. Finally, activate it for use.
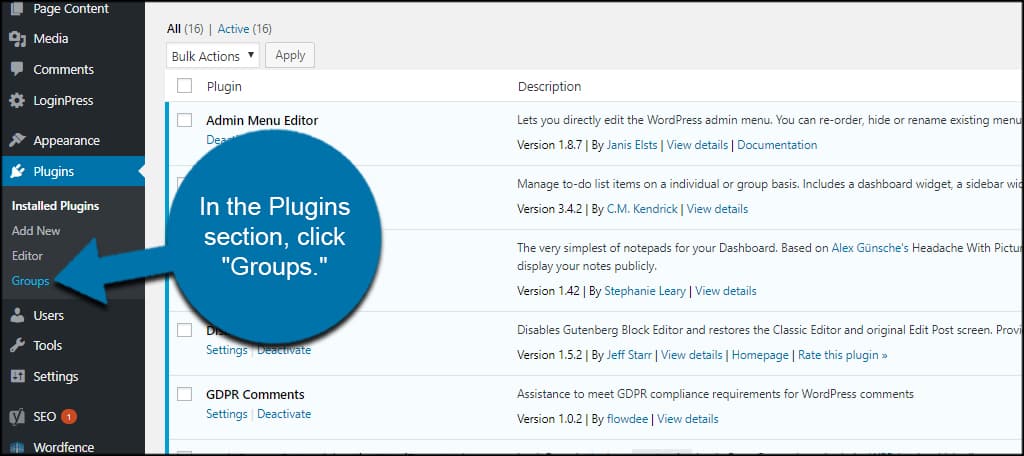
With the plugin activated, you will find a new option in the plugins section of the admin panel. Click on the newly added Groups option.
Step 2: Add a New Group
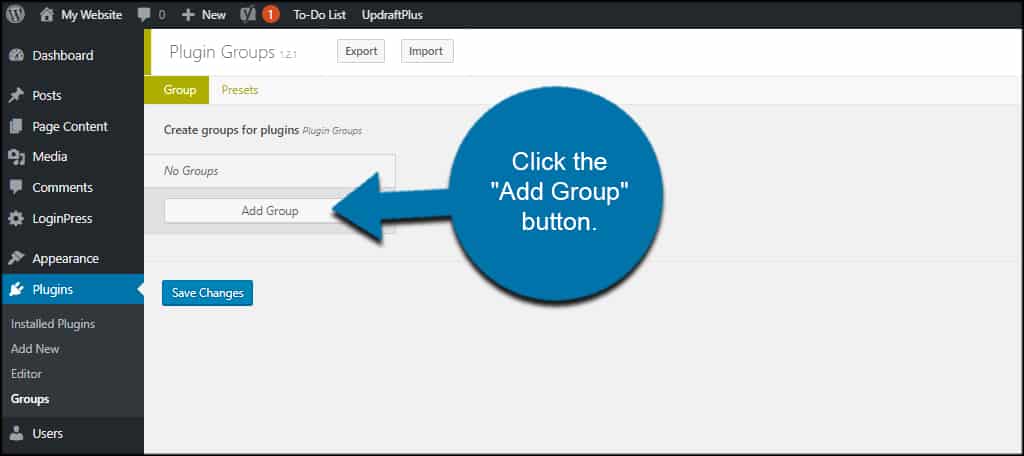
This screen will show you all of the groups you have available. Since this is the first time you’ve used the plugin, this list is empty. But for future reference, you’ll come here to make edits later on.
NOTE: You also have the ability to import and export groups you create. This means you can use the same group lists in other sites you may manage.
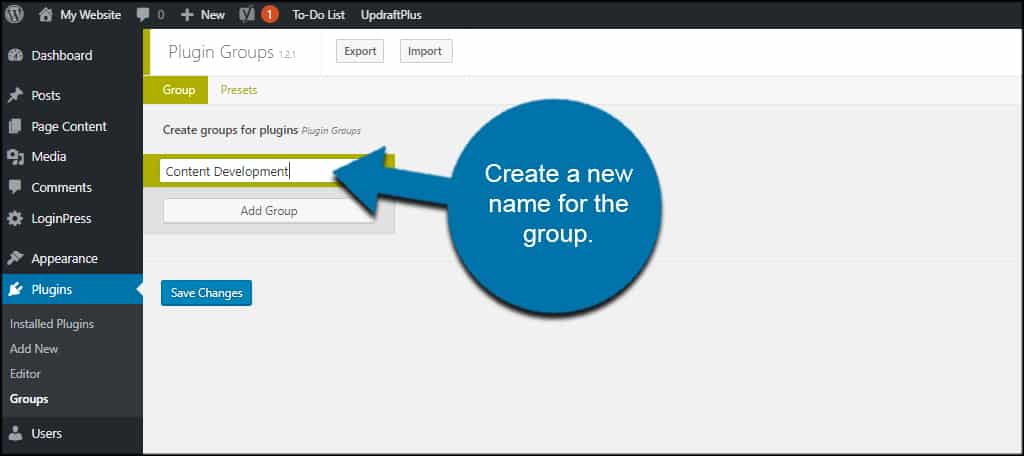
Click the “Add Group” button.
Create a new name for the group. For this example, I am going to create a group for “Content Development.”
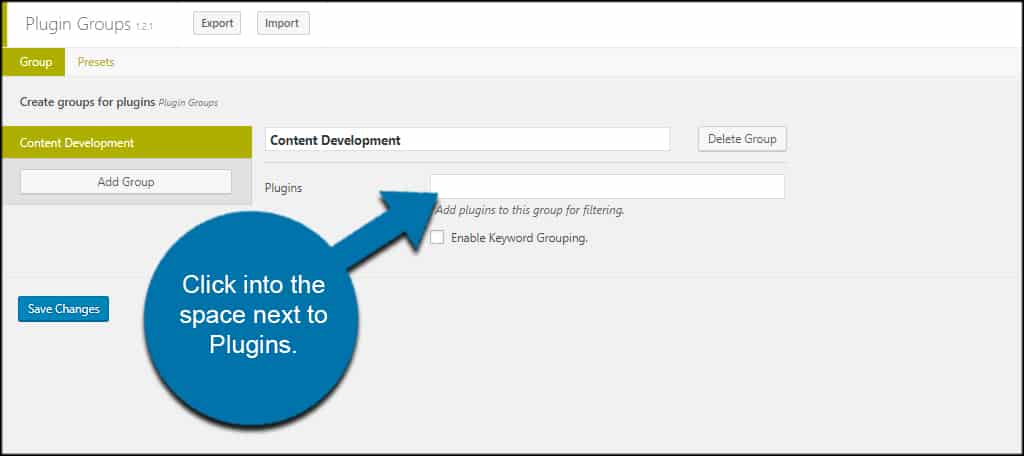
Click into the space next to Plugins. This will show you a drop-down list of all the tools you have installed.
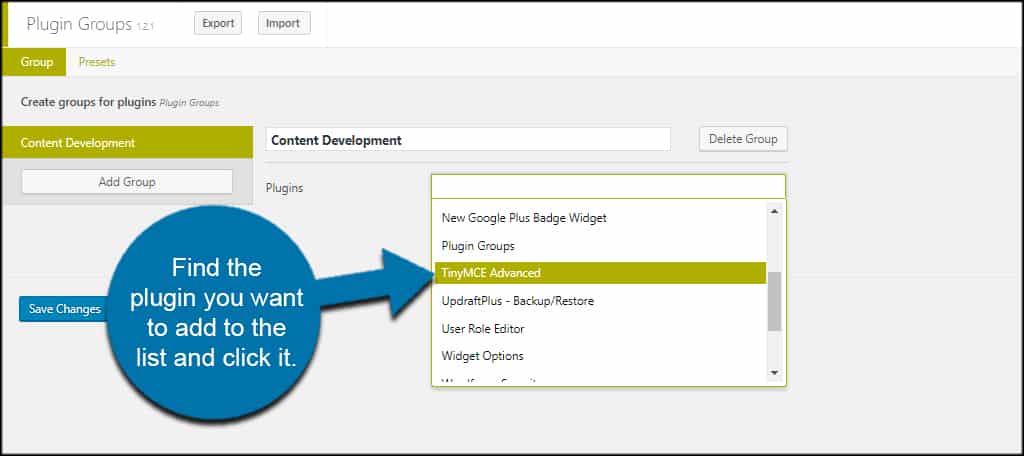
Find the plugin you want to add to the list and click it.
To add another plugin, click the empty space next to the one you added.
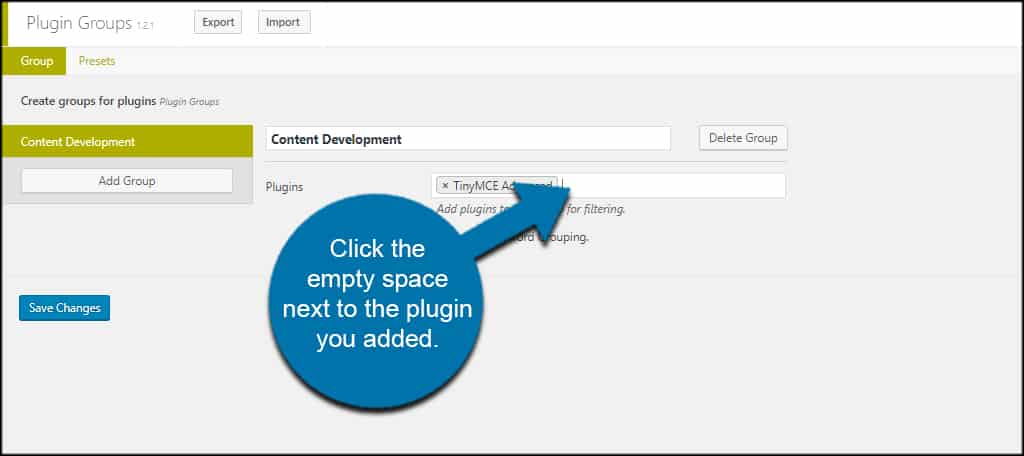
Add your next plugin to the group.
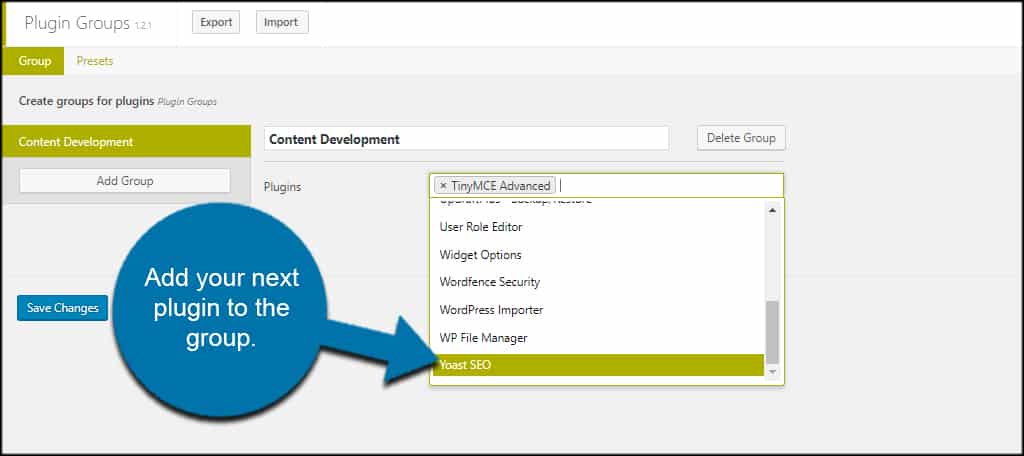
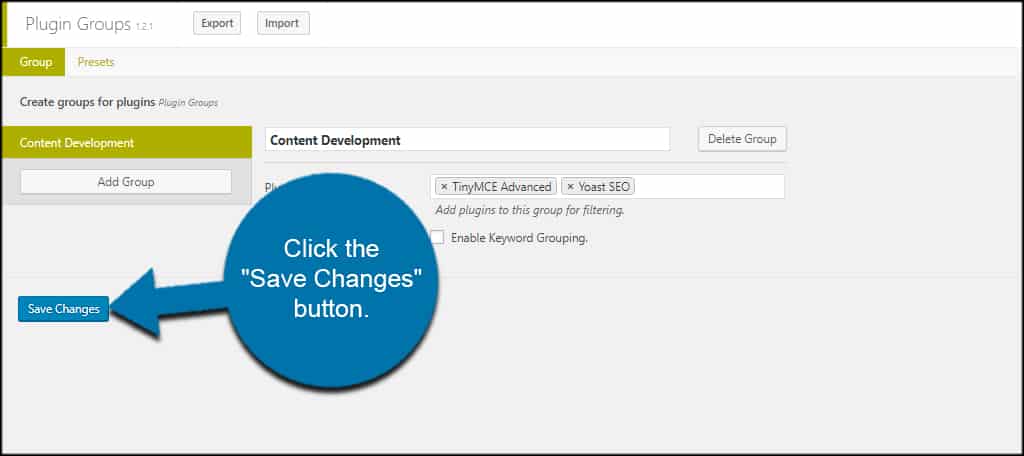
Keep with this process until you’ve added all the plugins you want to this specific list.
Once you’re done, click the “Save Changes” button.
At any time in the future, if you want to add plugins to your groups, you just come back to the “Groups” feature and click the one you want to change.
Step 3: Accessing the Plugin Groups
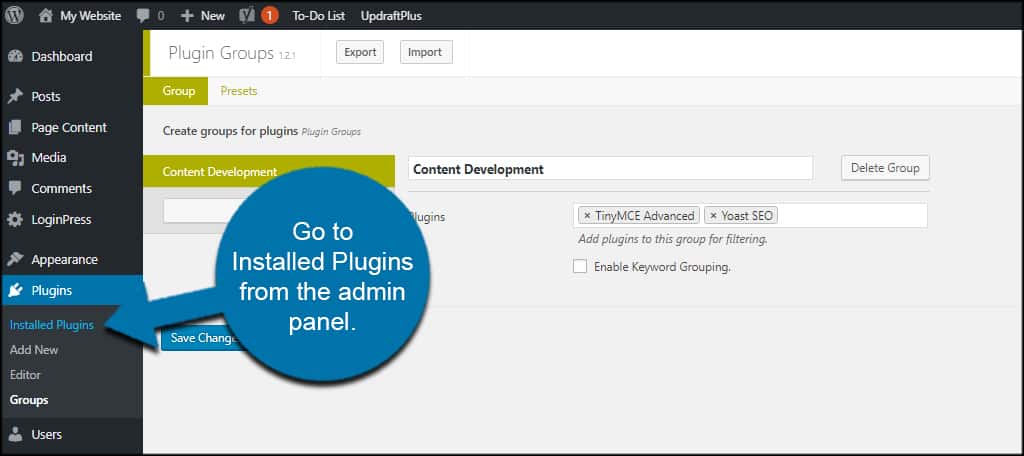
Now that you have your group, where do you go to access it?
Go to Installed Plugins from the admin panel.
Click the link for the group you created.
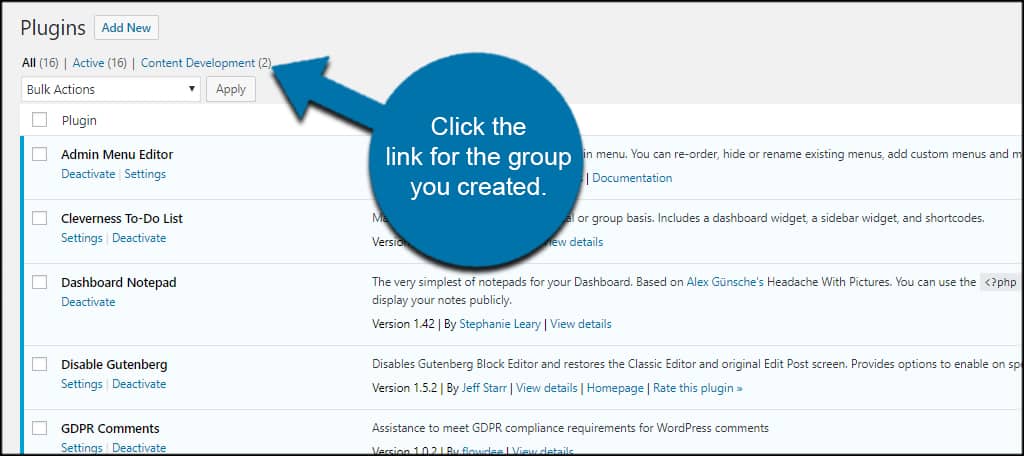
You’ll see a list of the plugins you added to the group.
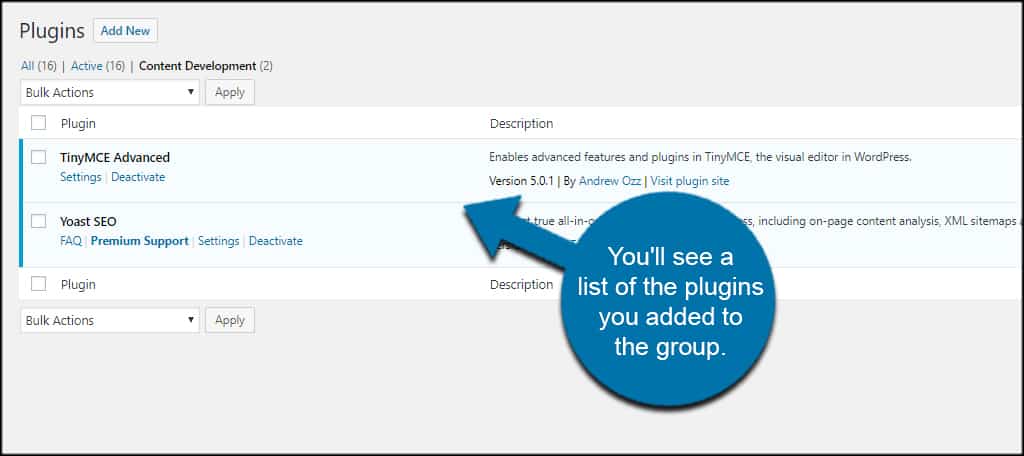
You can now perform maintenance on those plugins without having to see the others. Congratulations on setting up the Plugin Groups tool.
How many groups can you make with this plugin?
You can set up as many groups as you’d like. Not only that, but you can add the same plugin to multiple groups if you need.
For instance, let’s say you have Yoast SEO installed. You could add it to a “Content Development” group as well as an “SEO” group if you want.
What are WordPress Plugins?
WordPress plugins are software packages that add extra functionality to your website. The best way to think of them is as apps for your smartphone. Every app adds a particular function to your phone.
It’s the same for plugins in WordPress.
Plugins can do just about anything in WordPress and can be broken up into several categories like security, backups, contact form builders, page builders, sliders, galleries, and much more. Typically a website will only have one plugin for a specific task, but there are exceptions.
The main reason isn’t to avoid compatibility issues, but to not slow down the website. The more plugins you have, the more resources they use. Thus, you have a slower website. With just a few plugins, this is negligible, but as your list grows, the effect becomes more apparent.
In truth, you probably have too many plugins if you need a plugin manager for WordPress.
Organize Your Plugins Today
When you organize plugins by groups in WordPress, it helps streamline maintenance. Instead of scrolling through trying to find the right tool, you can simply click a link. For those who have a lot of tools installed, it will save time.
Now, while I have shown you how to organize your plugins, another way, and honestly better way, is to start deleting plugins you don’t need. Not only does this help organize them, but it also improves your website’s performance.
How many plugins do you have installed on your website? What other WordPress tools do you use to manage plugins?
Outstanding!! Just what I was looking for. There is this myth/hyperbole that you should only have a handful of plugins or your site will grind to a crawl. Valid but exaggerated. This helps to organize which plugins are backend admin related, frontend related, performance related, etc.