Do you want to make your website easier to navigate? While a default WordPress website is generally simple to navigate, it can still be easy for new visitors to get lost. For this reason, many developers create their own custom navigation menu to aid visitors.
Navigation menus are crucial to helping your visitors navigate your website. The more sections that are added to your website, the harder it is for first-time visitors to navigate your site. You always want to keep your website compact and easy to navigate at all times.
Today I will demonstrate multiple methods to create a custom navigational menu.
Why Create A Custom Navigation Menu
It is quite easy to set up a menu in WordPress and this should be one of the first things you do on your website. They offer website’s a lot of benefits to take advantage of.
The most well-known benefit of menus is to help your visitors find their way on your website. While at the same time, they allow you to promote your own content, as it always appears on the navigation menu.
And menus are not just used for displaying your content. They can have other options like contact information, affiliated deals, sister websites, etc.
There are a variety of types of menus to choose from, but the most common way to break them up are static and floating menus. A static menu stays in one place on a page, while a floating one will follow visitors as they scroll.
There are advantages to both and they are equally easy to make with the right plugin.
How to Create a Custom Navigation Menu
Building navigation menus are quite simple and there are a variety of ways to go about it.
In this tutorial, I’ll show you three ways for customizing the menu. I will demonstrate how to build one without a plugin, how to create a sticky or floating menu, and how to use the Max Mega Menu plugin.
Method 1: Customizing the Menu without Plugins
Step 1: Go to Your Theme’s Customizer
Most people’s instinct is to use a plugin to create a stylish menu, but you can do it without using a single plugin. In fact, many themes come with their very own menu options for you to take advantage of. And some plugins even require a menu in place first.
Thus, this might be unavoidable depending on the plugin.
Just keep in mind that all changes made to your themes menu system are for that specific theme. Thus, if you change themes, you will have to customize the menu again.
Click on Appearance and select the Customize option.
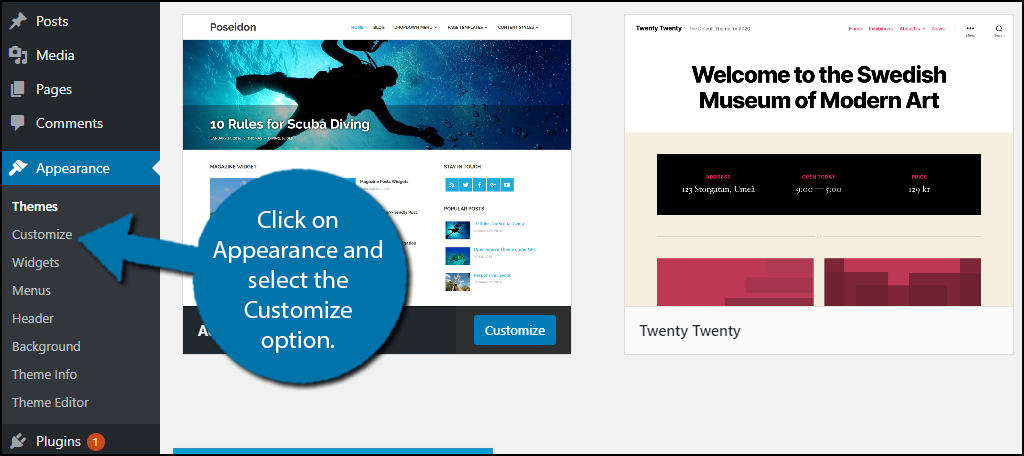
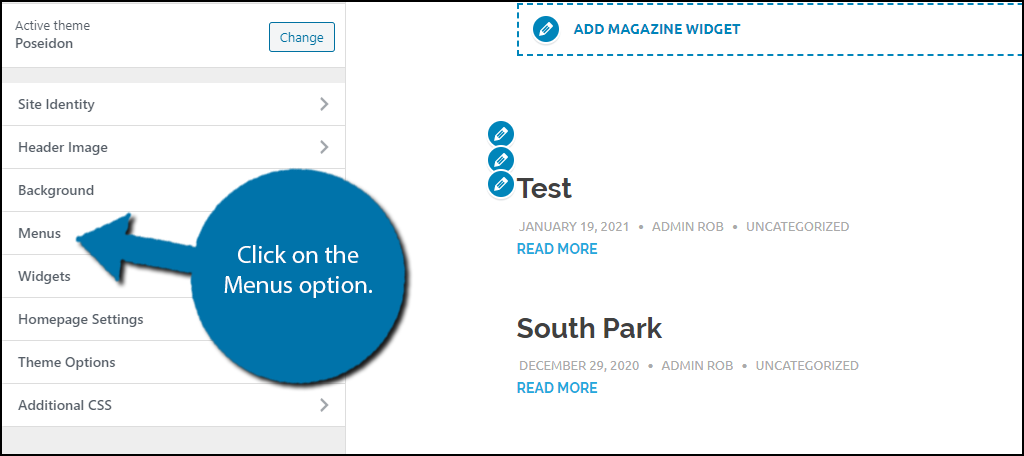
Here you can customize just about every aspect of your theme. In our case, we want to customize the menus, so click on the Menus option.
Step 2: Customize Your Menus
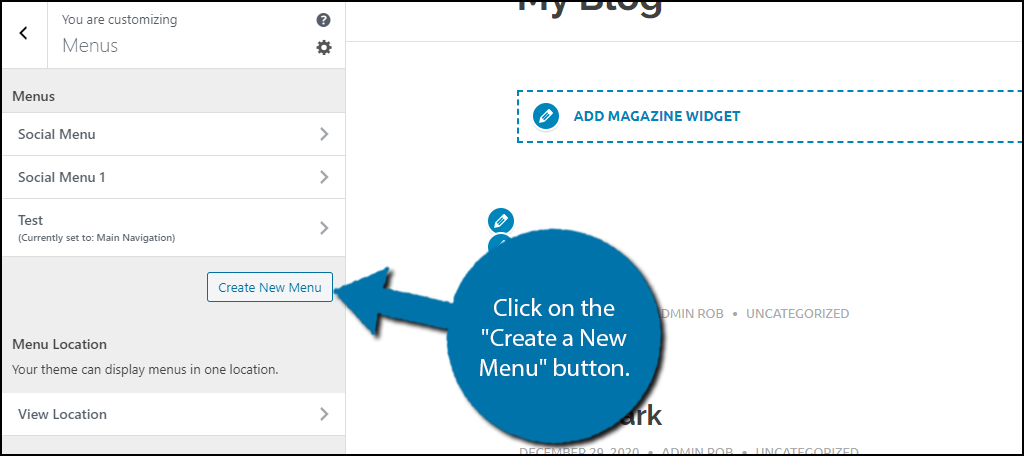
Here you can customize any existing menus on your website, or create a new one.
Note: For this tutorial, I will demonstrate how to make a new one, but this is unnecessary if you already have it. Instead, you should focus on customizing it.
To edit an existing menu, simply click on the menu name. To create a new menu click on the “Create a New Menu” button.
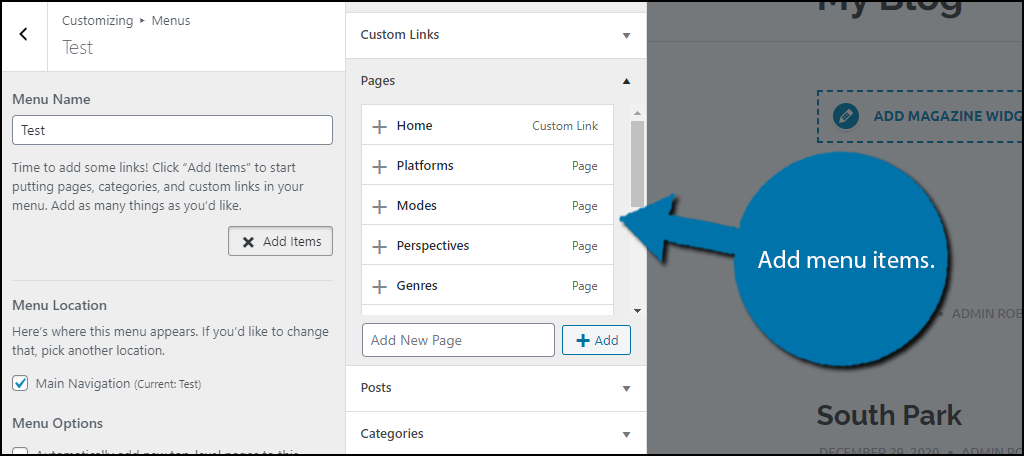
This will now be asked to create a name for the menu. Enter the name and click on the ” Next” button. Next, you need to add some menu items. Click on the “+ Add Items” button.

WordPress allows you to add custom links, pages, posts, categories, and tags as menu items. In most cases, custom links are the most versatile option to use. It allows you to add any link to the menu. For instance, you can create a home option and use the link to your home page.
Of course, some of the more basic options, like the home option already exist in the page’s section. Add as many menu items as necessary.
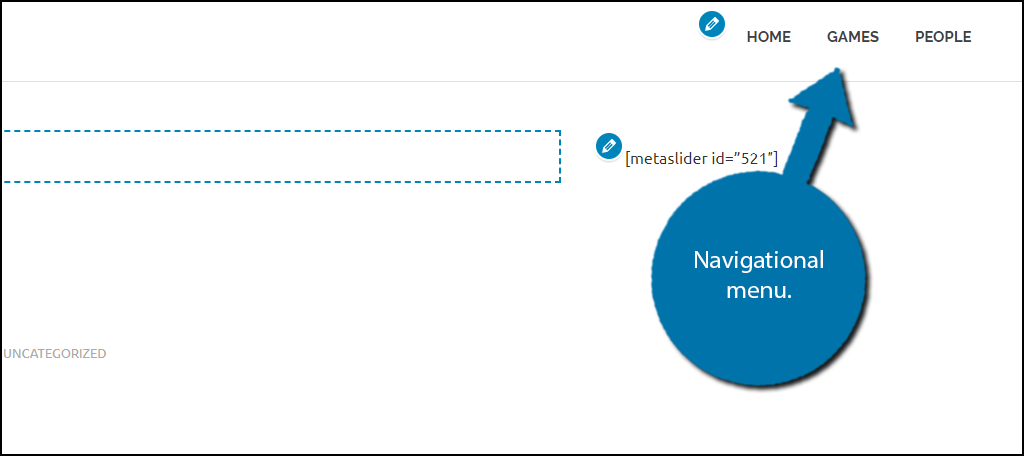
The menu will appear in the designated position that your theme places it. You can view all of the changes in real-time within the theme editor.
In my case. using the Poseidon theme, the menu is on the top.
If you are unhappy with the position, you would have to customize your theme to a great extent. Thus, I recommend swapping to a different theme.
Method 2: How to Create A Sticky Menu
Step 2: Install Sticky Menu
The Sticky Menu (or Anything!) on Scroll plugin allows you to easily add a sticky menu to your WordPress website. It’s very easy to set one up using this plugin, but you will already need a menu in place on your website or create one first. thus, you will need to follow method 1 first.
The plugin will do all the work and you just have to know the menu’s CSS ID and this plugin will make it sticky for you. You can always change the menu whenever you add new content or sections to your website.
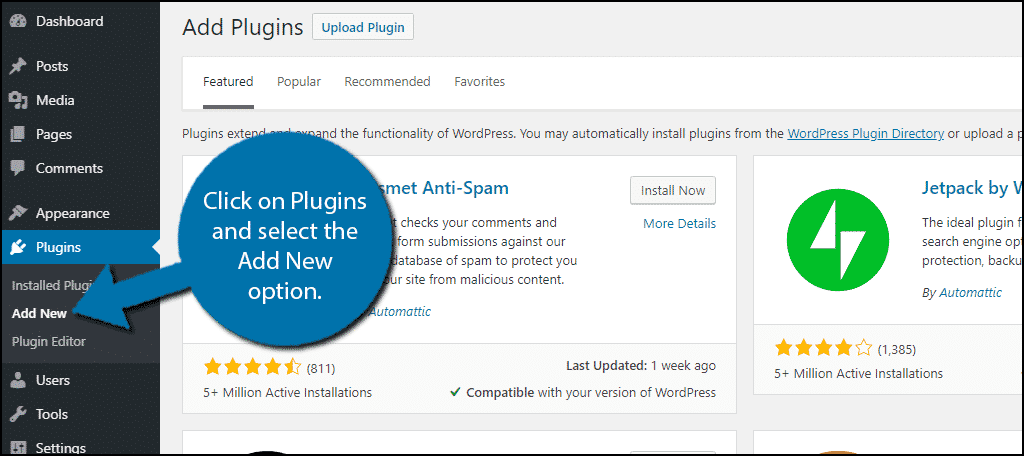
Begin by clicking on Plugins and selecting the Add New option on the left-hand admin panel.
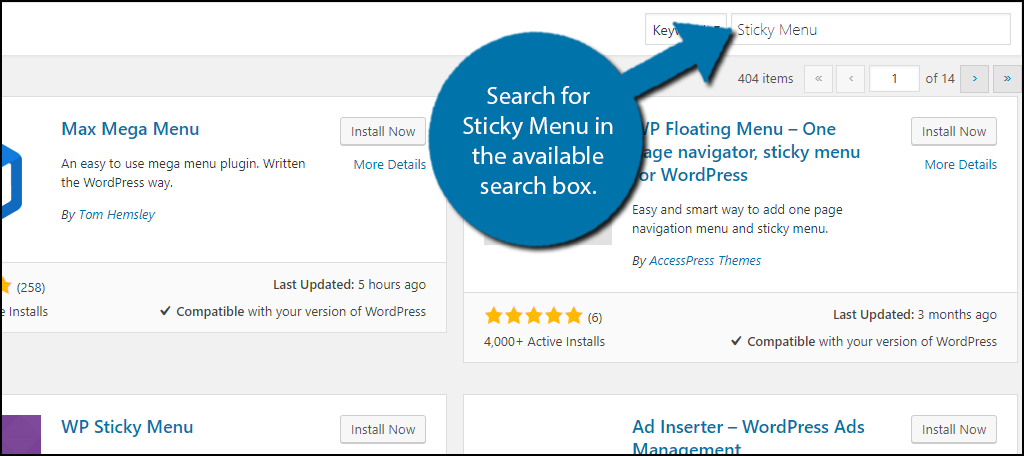
Search for Sticky Menu in the available search box. This will pull up additional plugins that you may find helpful.
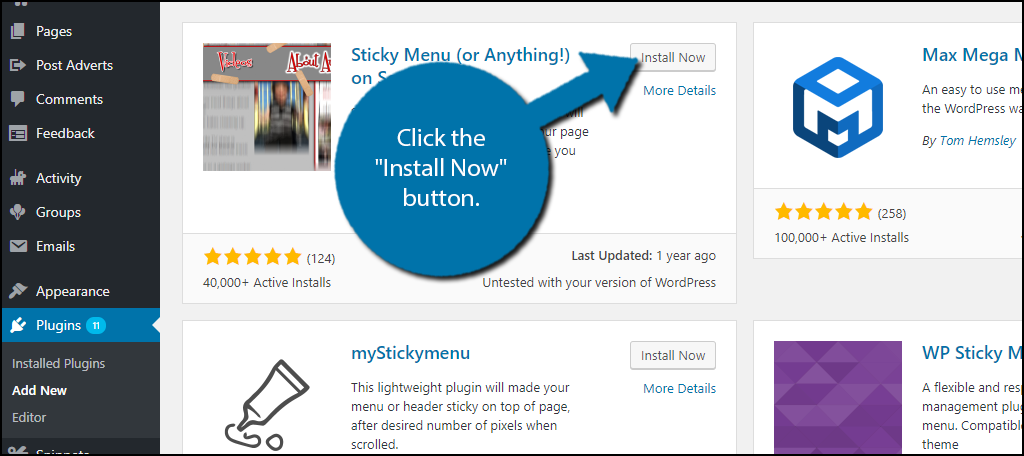
Scroll down until you find the Sticky Menu (or Anything!) on Scroll plugin and click the “Install Now” button and activate the plugin for use.
Step 2: Add Sticky Menu
The first thing you will need is a CSS ID.
To get it, simply visit your website’s live page. Go to your website’s menu and right-click it. Select the Inspect option. You will see your browser screen get split between the website and code. Scroll through the code until you find the following line.
[ht_message mstyle=”info” title=”” show_icon=”” id=”” class=”” style=”” ]
On the left-hand admin panel click on Settings and select the Sticky Menu (or Anything!) option.

On the live page instead of CSS ID you will have an actual ID number. Highlight and copy it and paste it into the first textbox.

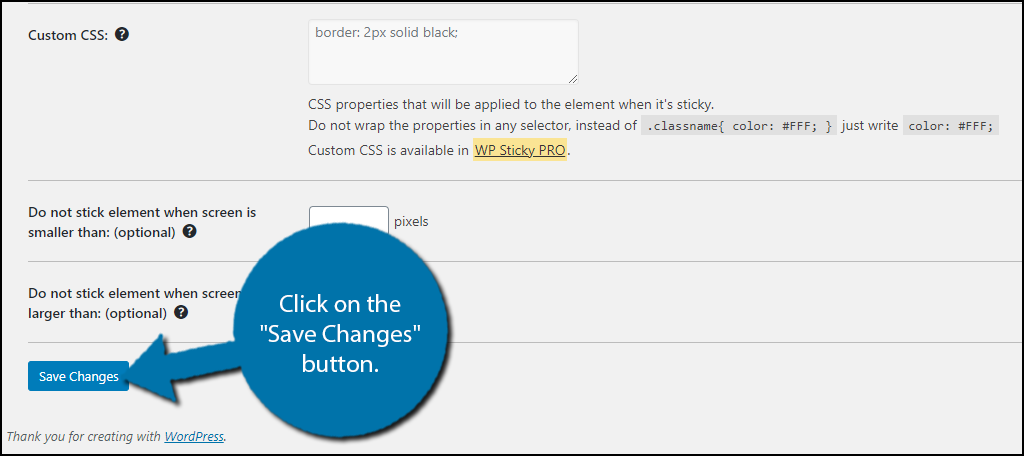
The rest of the settings on this page are straightforward. They control various visual settings like opacity and effects. The most important ones are located on the bottom and determined if the sticky menu will be present on certain screen sizes.
Or in other words, on mobile devices.
It’s important to realize that mobile devices have small screens, and a sticky menu might be taking up the screen, which is why many developers do not use sticky elements of any kind on mobile versions of their website.
Once you are satisfied with the changes you have made, click on the “Save Changes” button.
You can now go to your live website and see that the sticky menu is working.
Keep in mind that if you cannot scroll down far enough on a page, it will not move. If it is not working, double-check that the CSS ID is correct and has a # in front of it. Remember, you can always add a gap at the top of the screen if you think it would look better at any time.
Method 3: Using Max Mega Menu
Step 1: Install Max Mega Menu
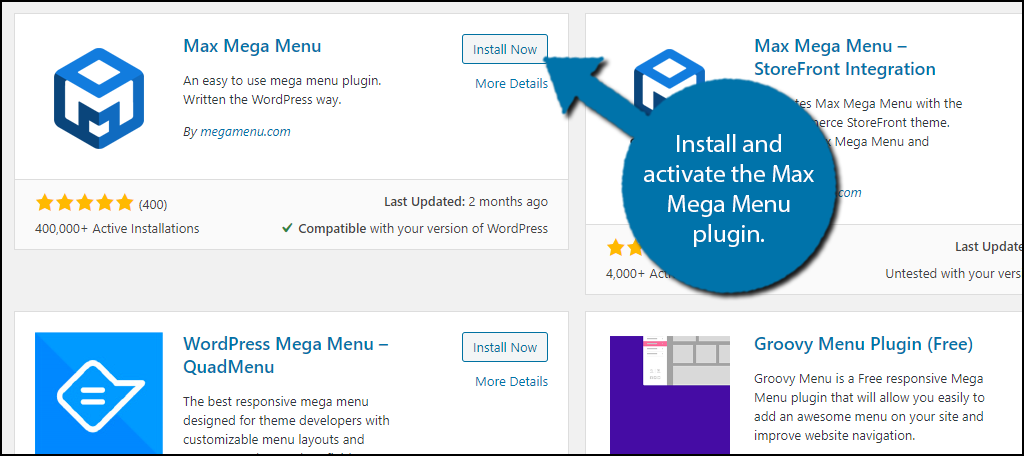
for many developers, the default menu editing options are just not enough. Many developers will take it upon themselves to customize what they can do with code, but you can achieve the same results with a plugin. One such plugin is Max Mega Menus.
This plugin allows you to further customize existing menus in WordPress. Thus, you will need to create menus using WordPress first.
And like most plugins, the first step is to install and activate it for use. Please refer to the previous installation step for in-depth instructions.
Step 2: Open Mega Menu
Click on Mega Menu and select the Menu Location option.
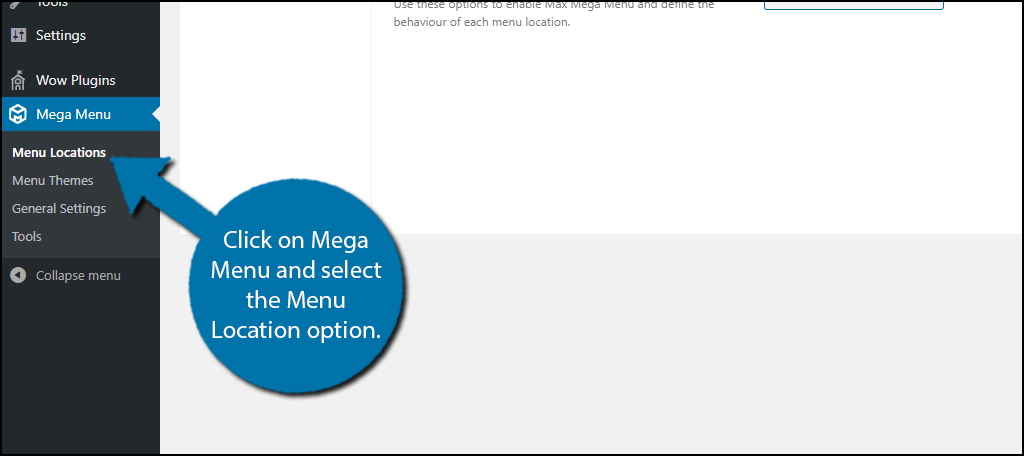
The plugin breaks up all of the settings for menus into different sections that I will go highlight.
The Menu location allows you to select where current menus are and relocate them to different locations. This will allow you to easily change the location on the fly.
Step 3: Customize Existing Menus
Click on Menu Themes when you are finished in this section.
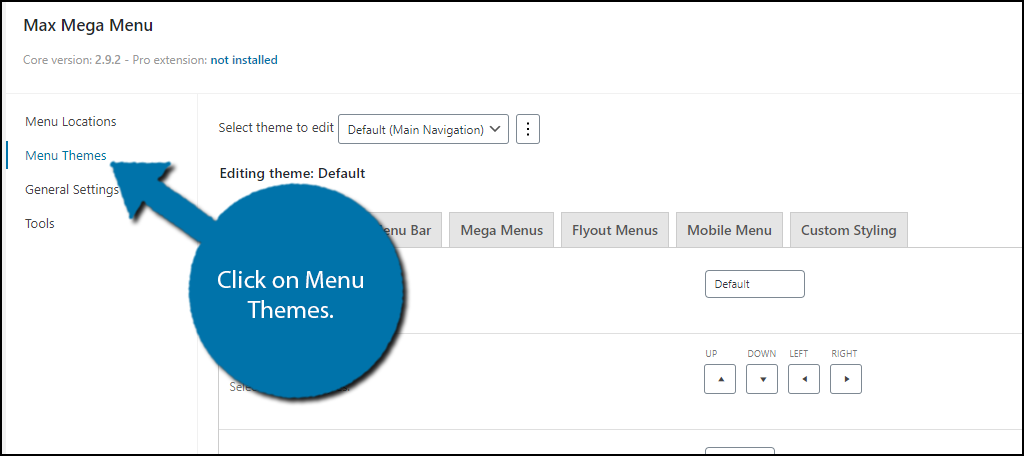
Here you can really begin customizing your existing menus. This section is broken up into multiple tabs. Line spacing, shadow effects, hover effects, and just about everything else you can imagine can be added or removed here. Simply go through the settings until you are satisfied
Note: You cannot view the changes that you make like on the theme customizer, thus, you may want to keep a second tab open so you can save the changes and quickly view them.
Make sure to save the changes you make.
The General Settings option only contains one option, the CSS output. Simply select the best option for your website. Finally, the tools section allows you to clear the cache and delete the plugin data.
Keep in mind that you can achieve anything in this plugin by writing CSS yourself, but this is a better option for beginners.
Always Help Your Visitors Find Your Content
A navigation system can definitely help your visitors locate new sections, blogs, and other content offered by your site. It can even help boost sales and affiliate links by leading customers to the proper areas.
And remember to always make sure your menu items are easy to understand and link correctly.
Are you planning on making sticky elements visible on mobile devices? Has customizing your menus made navigation easier for visitors?