If you love taking photos and want to create a WordPress image gallery to display them, you might wonder how much of a challenge is in store for you. Fortunately, creating a clean-looking image gallery in WordPress as complicated as you might expect.
There are a couple of ways you can create a WordPress image gallery. The back end Gutenberg block editor has a built-in image gallery block that allows you to build a create WordPress image galleries straight from the editor.
You also have the choice of using a WordPress image gallery plugin. While you don’t have to use a plugin to accomplish this, they will give you more freedom as far as gallery options go. If you are trying to create a WordPress custom gallery of images, a plugin may be a better option.
Let’s go over both ways to create a WordPress image gallery on your website.
Create a WordPress Image Gallery Using Gutenberg Editor
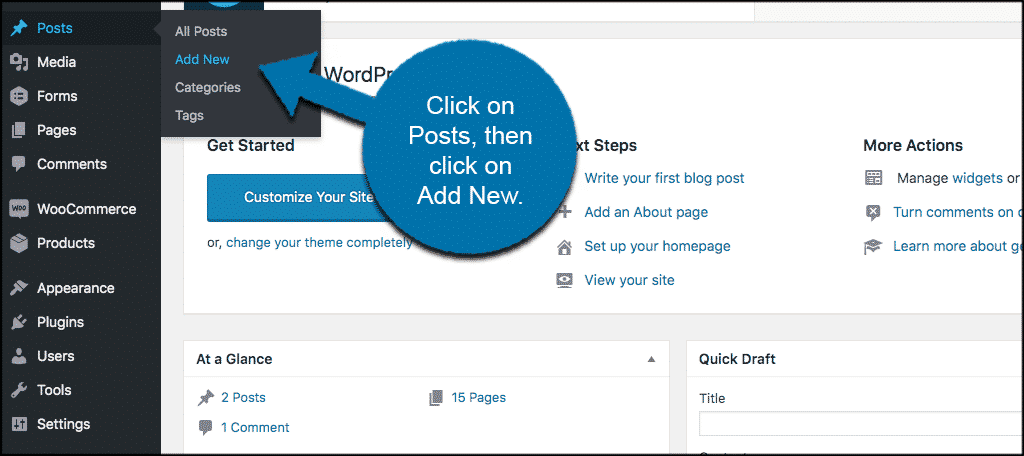
Before you can start building a gallery, you will need to make a new post. However, you can simply click the “Edit” button if you already have a post for adding a WordPress image gallery. To add a new post click on Posts > Add New.
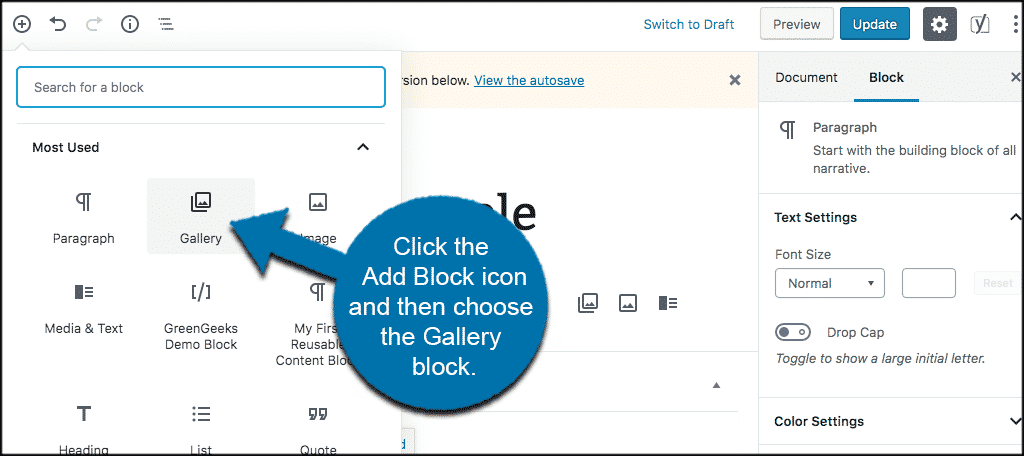
When the editor for the new post comes up click on the add block icon and then choose the “Gallery” block.
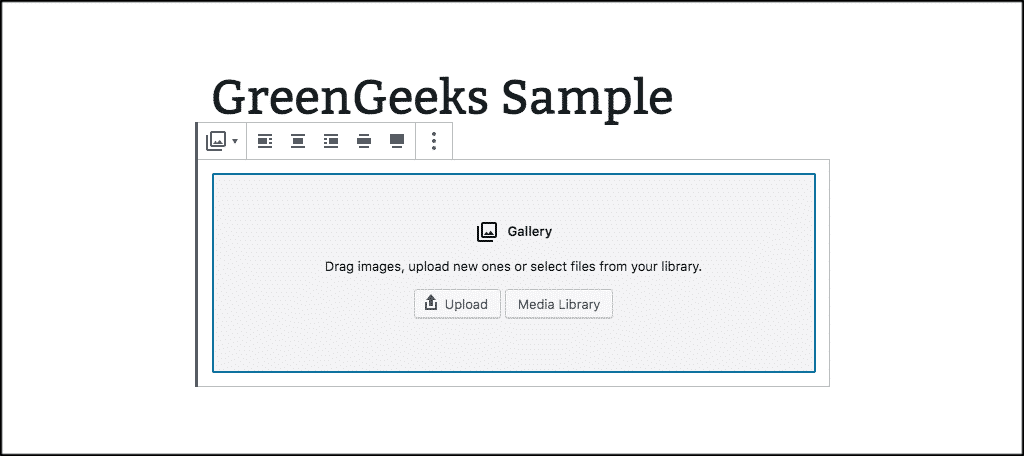
From here you can click on the “Upload” button, or the “Media Library” button. This will depend on where you are inserting images from for your WordPress image gallery.
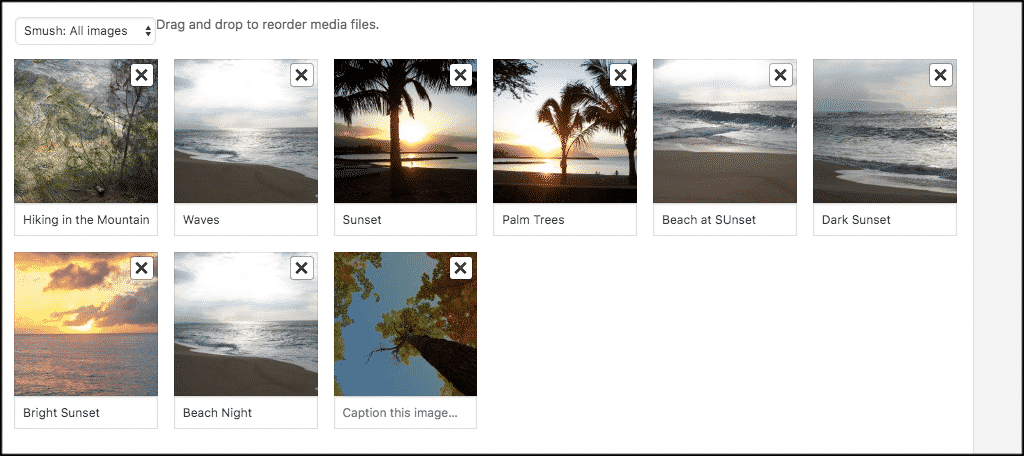
Select all of the pictures you want to put in your gallery and click on the button labeled, “Create New Gallery.” The images you selected will show up in the “Edit Gallery” view. You can then give your pictures captions or drag and drop your images in the perfect positions for your new gallery.
Finally, click the “Insert Gallery” button to complete the process.
You will see the full WordPress image gallery has been inserted into your post. You can also now edit columns, and choose whether or not you want to crop images.
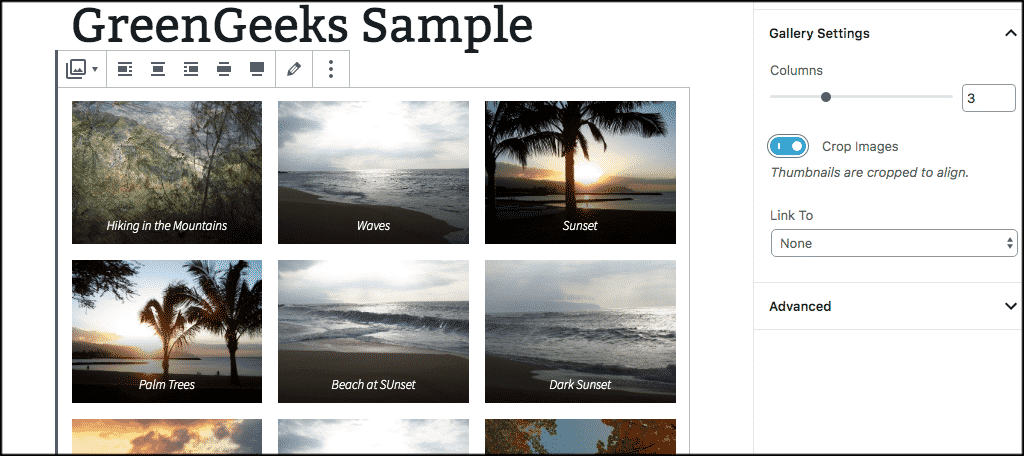
Check your gallery by clicking on the button labeled, “Preview.” If you want to change the way your gallery looks, you can click the “Upload Media” button to add more photos or click on the gallery itself to edit it further.
When you are all finished simply publish the post and you are all set.
You can use this same process to add galleries to WordPress pages. Whether you are making a gallery in a post or a page, you can also change the way readers can view your gallery.
Note: If you are still using the Classic Editor, the process is the same, except you will add the WordPress image gallery using the “Add Media” button, instead of adding a gallery block.
Adding WordPress Image Galleries Using a Plugin
There are dozens and dozens of plugin choices to choose from if you want to add a WordPress image gallery using this technique. We are going to use the Photo Gallery by 10Web plugin for this example.
This plugin is considered the top image gallery plugin for WordPress and comes loaded with a ton of features. For instance, some of the main features include:
- Customizable Views
- Unlimited Photos, Galleries, and Albums
- Powerful Lightbox
- Audio & Video Support
- Multiple Widgets
- Image Watermarks & Right Click Protection
- Pre-Loaded Themes
- Social Sharing
- Tons of Add-Ons
- Customization Options
Basically, this plugin will do just about anything you want when it comes to adding a WordPress custom gallery to your post or page.
Install and Activate the Plugin
In order to start the process, you need to install and activate the Photo Gallery by 10Web plugin. You can do this from the WordPress admin dashboard.

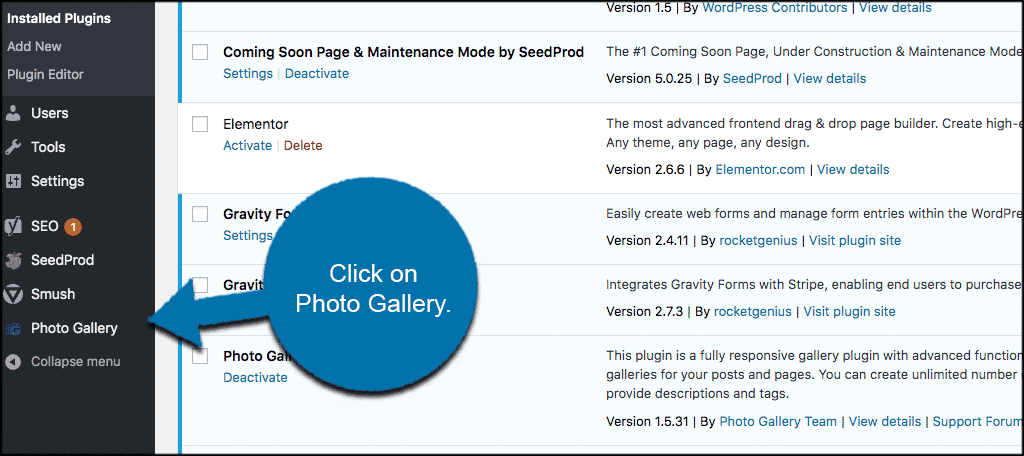
Once the plugin has been installed and activated, click on the “Photo Gallery” link located on the left menu area of the WordPress admin dashboard.
This will take you to the main setting’s area of the Photo Gallery plugin. Before you actually add a WordPress image gallery, run through the settings and set the configuration up how you want your galleries to operate and display.
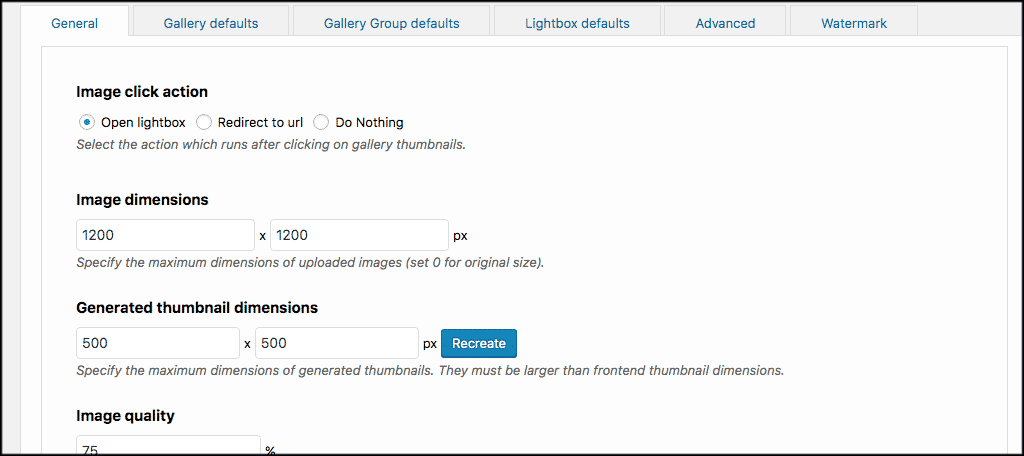
Click on “Options” underneath the “Photo Gallery” link and you will see6 different configuration areas. They include:
- General
- Gallery Defaults
- Gallery Group Defaults
- Lightbox Defaults
- Advanced
- Watermark
General
On the “General” tab you will find all the general settings that the plugin offers. This is where the bulk of the setup will happen, so play around with it some to get it to your liking.
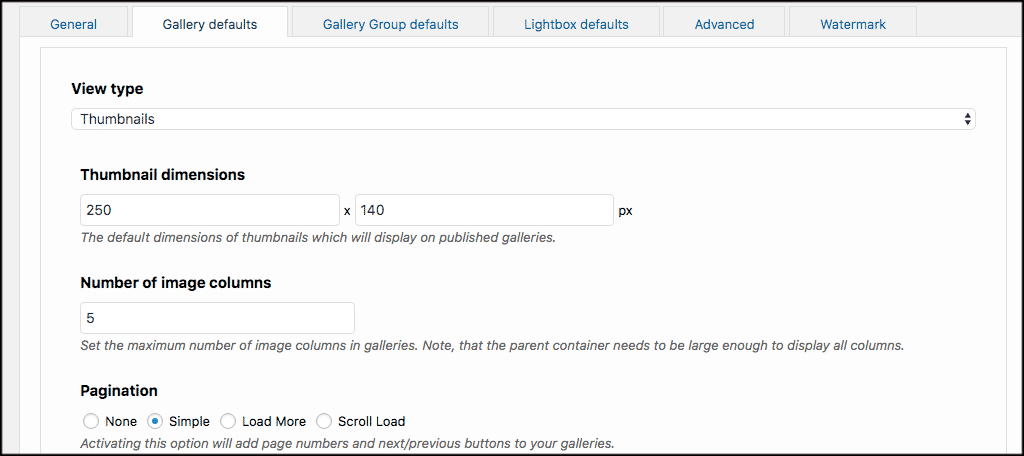
Gallery Defaults
Now click on the “Gallery Defaults” tab. This is where you will set the default settings for the actual WordPress image gallery.
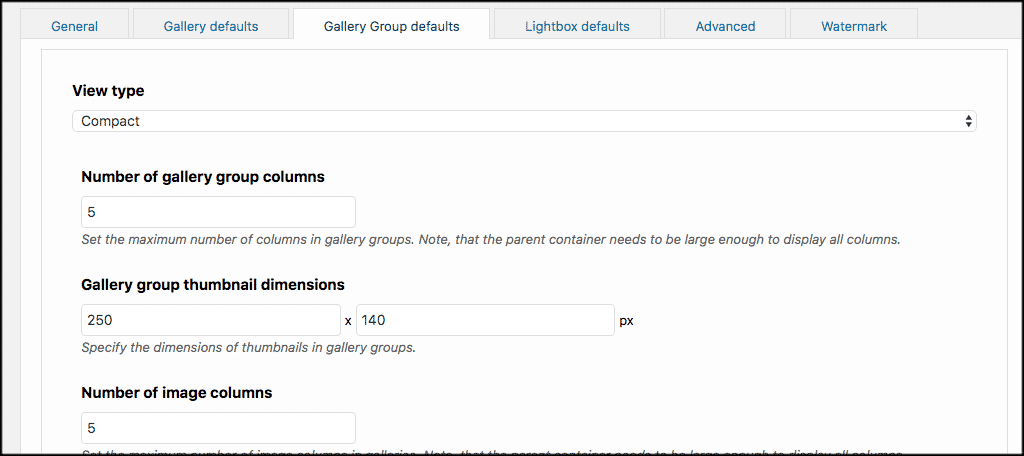
Gallery Group Defaults
Now click on the “Gallery Group Defaults” tab. This is where you will set the default settings for the actual WordPress image gallery group’s settings and layout.
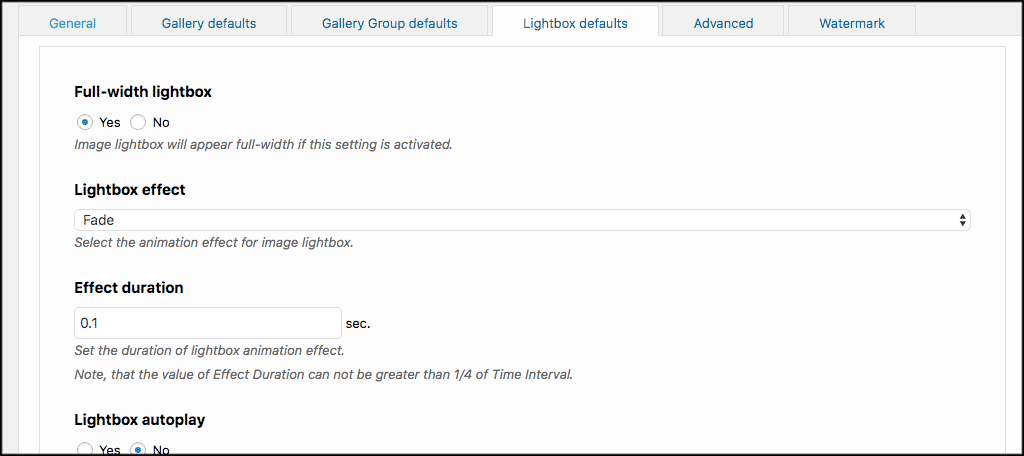
Lightbox Defaults
Create and display all your lightbox effects however you see fit.
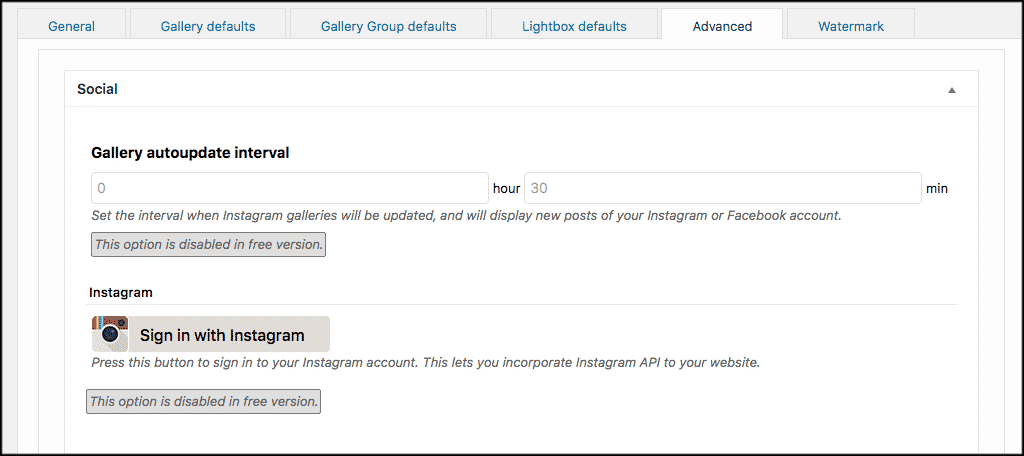
Advanced
The plugin gives you a few options for advanced configurations. Fill these out how you would like.
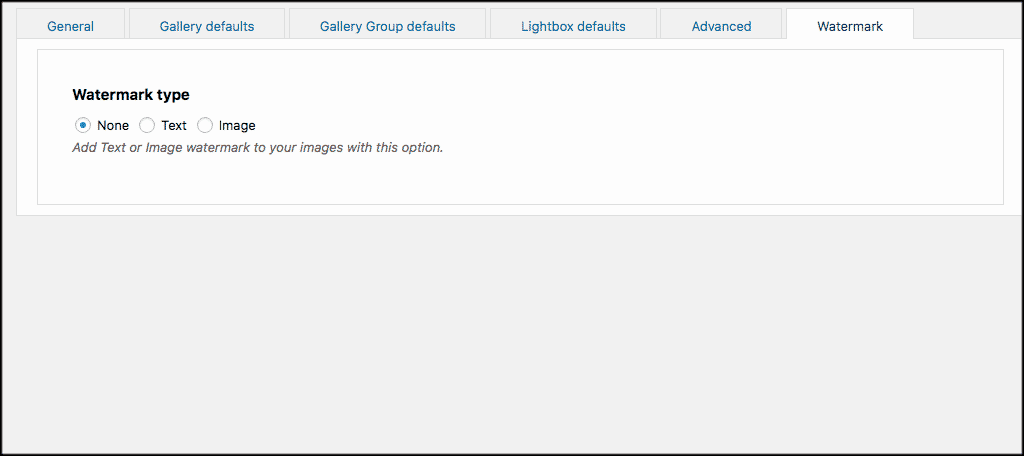
Watermark
This particular WordPress image gallery plugin allows you to create watermarks to protect your content. You can do that here.
Add a WordPress Image Gallery
When you are finished with the configuration of the plugin, go ahead and add your first image gallery.
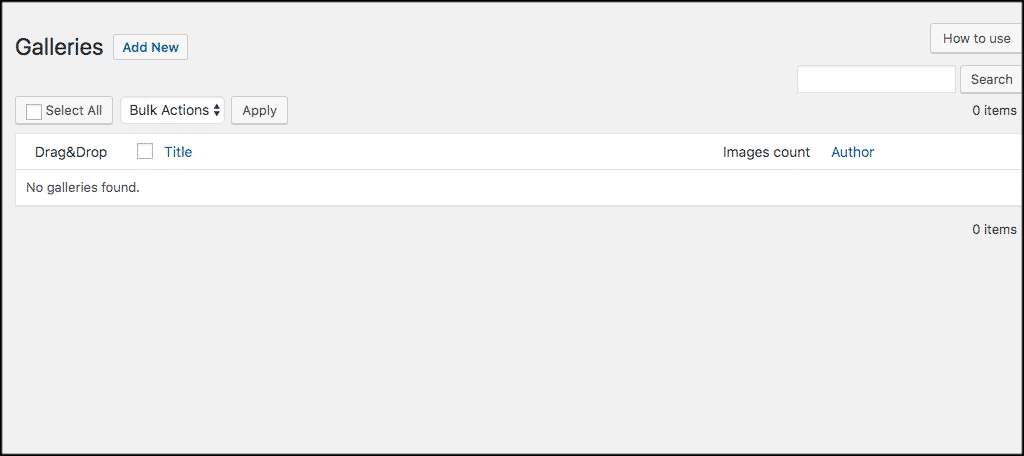
To do so, click on the “Add Galleries / Images” link and you will be taken to the gallery area. From here click on “Add New.”
From here, you can enter your gallery title, set a preview image, and then add all the images to the gallery that you want.
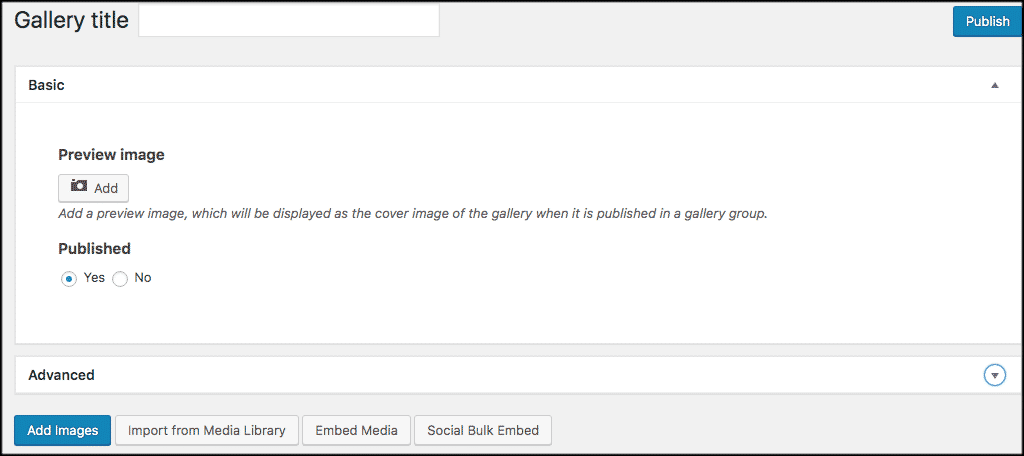
Note: There is also an “Advanced” tab you can click on that will allow you to create a slug and a description for your WordPress image gallery.
When you have placed all the images into the gallery, go ahead and click the publish button to publish the gallery. Once the gallery is published, you will see a new button appear titled “How to Use” on the top right next to the update and preview buttons.
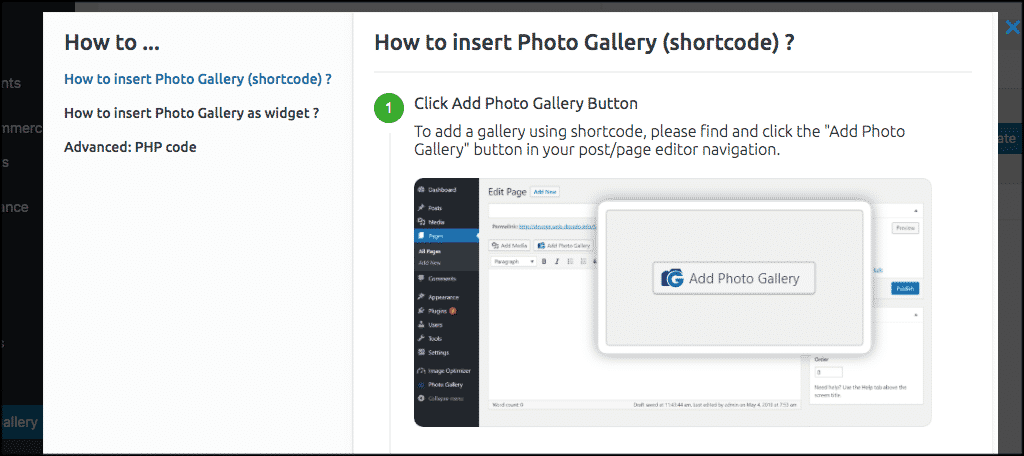
Go ahead a click on that and you will see a popup box appear that has the different types of usage for the WordPress image gallery.
You can follow these instructions to set the gallery where and how you want it.
When you have selected where and how you want to display the gallery, go give it a look.
Note: Remember, the gallery actually displays based on the configuration options you filled out before creating any galleries. So if you want something changed, you will need to go back to the configuration options to do so.
Other WordPress Image Gallery Options
As was stated above, there are dozens of great WordPress image gallery plugin options to choose from. Here are three more I highly recommend.
To put any of these to use, simply install and activate as we did above, then configure the plugins how you want and test them out.
FooGallery
There is the FooGallery Image Gallery plugin. It comes packed with features, some of which include:
- Gutenberg ready (Gallery previews inside the new editor!)
- Lazy loading
- Simple Pagination (dots)
- Live previews in admin
- Retina thumbnail support
- Gallery Widget
- Use built-in media library to manage images
Envira Gallery Plugin for WordPress
The Envira Gallery plugin for WordPress is another attractive option. Like the other options in this tutorial, it is packed with features. Some of them include:
- Guttenberg Blocks for WordPress 5.0
- Drag & Drop Photo Gallery Builder
- 100% Responsive – Mobile Friendly
- Beautiful WordPress Templates for Customization
- Albums – Easily organize your photo galleries, choose cover photos, and more.
- Social Sharing – Share your photos on Facebook, Twitter, Pinterest, and Google+
- Video Galleries – Not just for photos! You can add YouTube, Vimeo, Wistia, and other videos in your video gallery.
- Watermarking – Protect your images from theft with watermarking.
- Slideshow – Add beautiful slideshow with autoplay, manual controls, and more.
NextGEN WordPress Gallery Plugin
The NextGEN WordPress Gallery plugin has close to 1 million downloads and is still running strong. It comes packed with tons of functionality as well.
It has a simple interface, which is why so many users enjoy it. Give it a try.
Final Thoughts
By default, WordPress offers you a pretty simple way to create image galleries and insert them into your content. However, if you are trying to go the extra mile and really do some amazing things with a WordPress image gallery, then using one of the plugins above will serve you well.
Have you ever used any of the WordPress image gallery plugins listed above? If so, which one works best for you and why?
Hello, I am helping my husband construct a website for a book he has just published. I am testing the gallery carousel and read with interest your article regarding the the WordPress gallery carousel option to change the background. Oddly, when I change this Media Setting from black to white, there was no change. Any advice?
Thanks!