Adding title tags to images in WordPress is not a difficult process. As a matter of fact, there are a few different ways that this can be done, depending on how hands-on you want to be with the images.
Today, I am actually going to show you how to add the WordPress image title attribute to all your images using three methods. We will talk about a plugin method, a Gutenberg editor method, and even touch on a method to add them if you are still using the classic editor.
How Does the Image Title Attribute Impact Website SEO?
When it comes to image optimization in WordPress, there are several things you can do to help. That being said, as far as the title tag goes, there are camps on both sides that will argue how important it really is.
There is a camp that will argue that it is an excellent choice to add a WordPress title tag because it is a good way to incorporate keywords and help with SEO. However, the other side of the camp argues that search engine bots don’t crawl it, so it isn’t an important aspect at all.
The main takeaway here should be this; when you add a title to an image in WordPress, it does not hurt your site in any way from an SEO standpoint. As a matter of fact, Google actually recommends it. So with that said, there really isn’t a reason you shouldn’t do it.
Let’s take a look at the three methods we are going to use today in order to add title tags to images in WordPress.
How to Add Title Tags to Images
Method 1: Use a Plugin
This method is both the easiest way to accomplish this and the fastest. You will be able to add title tags to images in a bulk fashion. It is a little more hands-off but gets the job done the easiest.
Let’s take a quick look at the plugin we are using to do this.
Bulk Auto Image Title Attribute
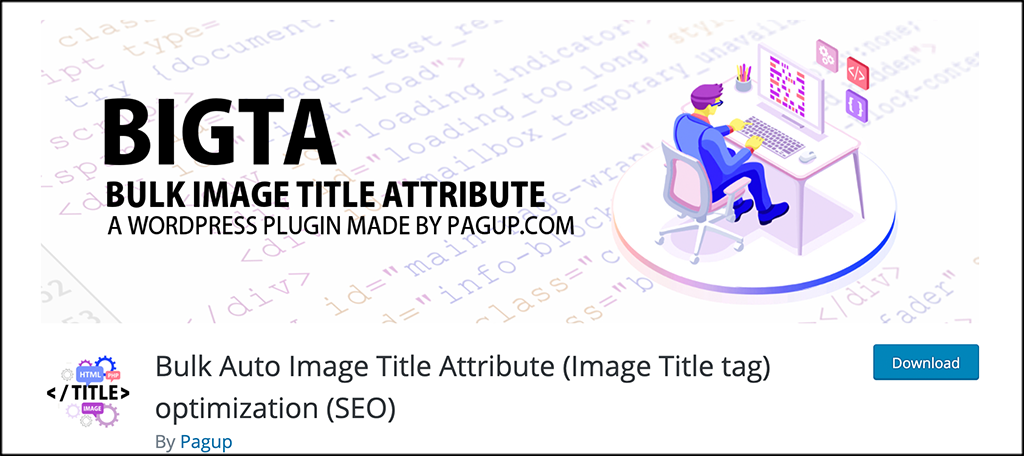
Bulk Auto Image Title Attribute (also known as BIGTA) will automatically add title tags (attributes) to your images (into HTML code). It does this depending on your selections and needs.
The plugin will also allow you to manually add these using the Post META box. The plugin is straightforward and easy to use. Once installed, it automatically starts working both retroactively and for all future content.
Let’s get it installed and set up together so that you can use it.
Note: While this plugin is compatible with Gutenberg, there is not an “advanced Options” section anymore that allows you to manually add title attributes. This is why we are covering the manual method for Gutenberg below this.
Step 1: Install and Activate the Plugin
The first thing you want to do is get the relevant plugin installed and activated. There are a couple of ways to do this, manually, and through the dashboard on the Plugins page.
In this case, let’s just go to the Plugins page in the dashboard and do it from there.
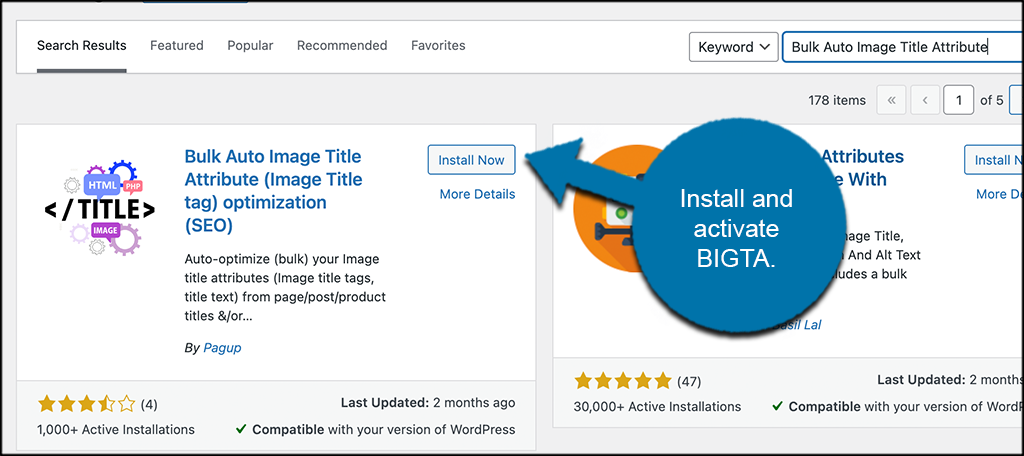
There will be a search field that you can use. Use it for a quick reference of the plugin and when you find what you are looking for, click on the “Install Now” button.
Step 2: Access the Main Settings Page
Accessing the settings page for a plugin usually works the same for most plugins. You will see new menu items available on the left menu of the dashboard. So, look there and click on the “Bulk Image Title Attribute” link that is located on the left side menu area of the dashboard.

Step 3: Configure the Plugin
The main settings page has three tabs available. They include:
- Settings
- FAQ
- Recommendations
If you want to go read the FAQ page, go ahead and click on that tab. You can also explore other recommended plugins by clicking on the recommendations tab. For now, let’s focus on configuring the plugin settings.
Add the title attributes to posts and pages the way you see fit by using the available dropdown menu to make your choice.
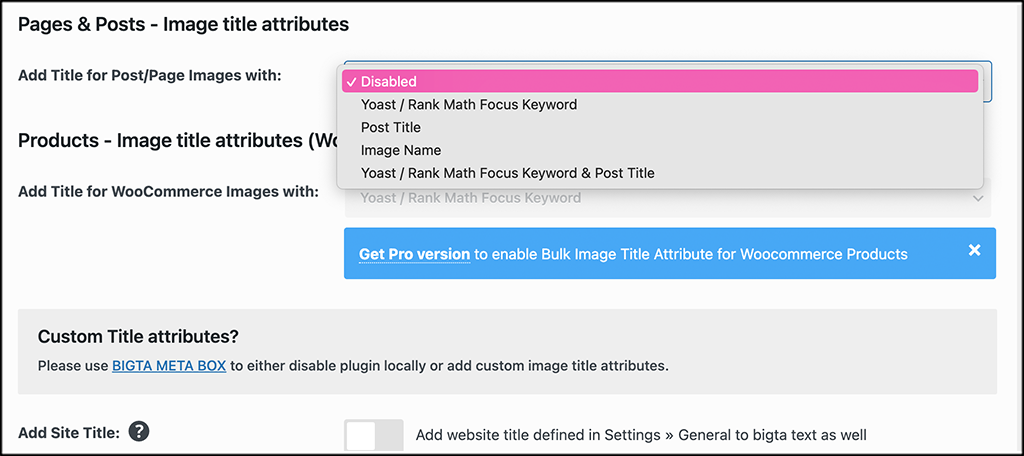
Now, scroll down some and add the configurations you want for custom title attributes.

Below that, you will see some clickable boxes for things involving search engine rankings and mobile-friendly designs. If you click to enable any of those, then you will need to download and install the recommended plugins they list.
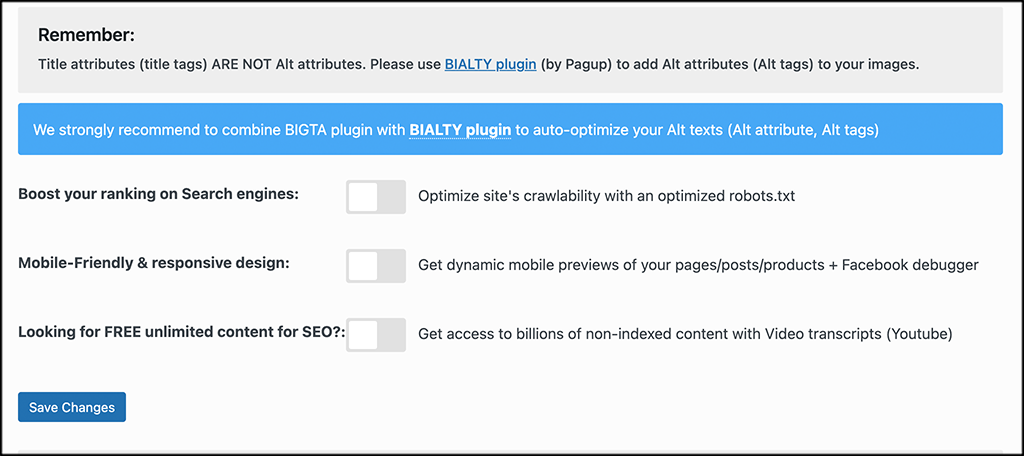
For now, click on the “Save Changes” button and you are all set!
That’s it! Title tags have been added to your images in bulk based on the settings you applied.
Method 2: Using the Gutenberg Editor
We will explain a little about the classic editor in Method 3. However, Gutenberg is the future of WordPress, so you should be doing most of your editing and building in this editor by now.
The Gutenberg WordPress editor actually allows you to very easily add title tags directly within the content editor. This means that you can add attributes on the fly as you put new content up.
Step 1: Open a Post or Page
Open a post or page that you want to add an image to.
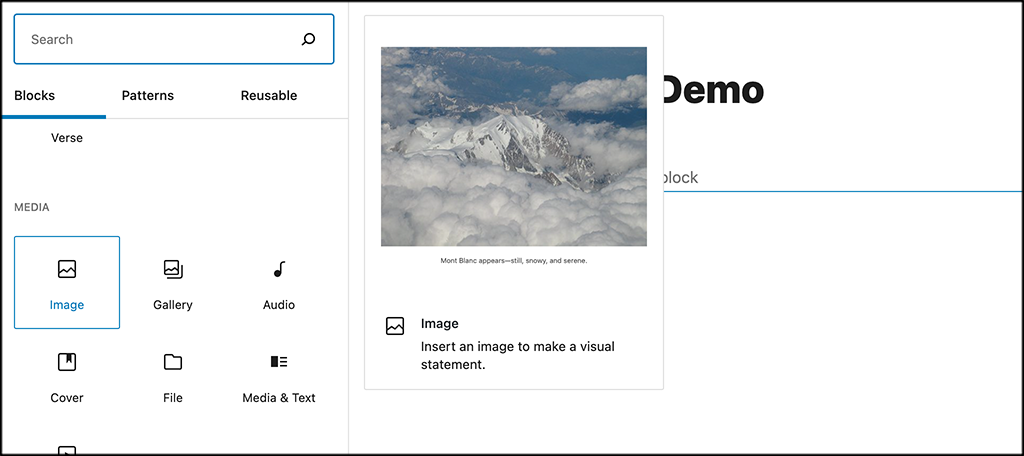
Step 2: Add an Image Block
Click on the + symbol to add an image block onto the page you have open.
Step 3: Add an Image
Now that the image block is on the page, click on it to add an image. You will be prompted to add the image from your media library.
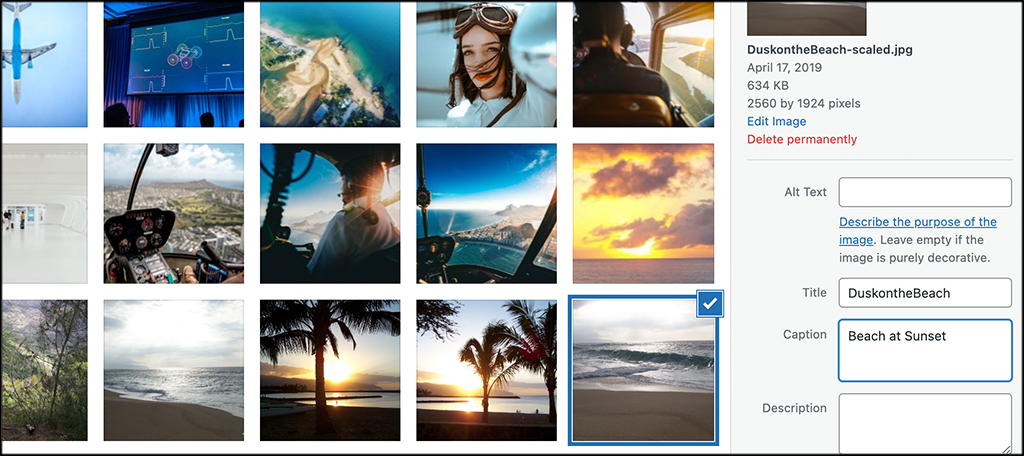
Note: You can see that there are spaces to add both an image title and image alt text when you are uploading the image. This is not actually where the HTML image title is used, we will add it below. This is simply an internal title used by WordPress.
Step 4: Add Title Attribute
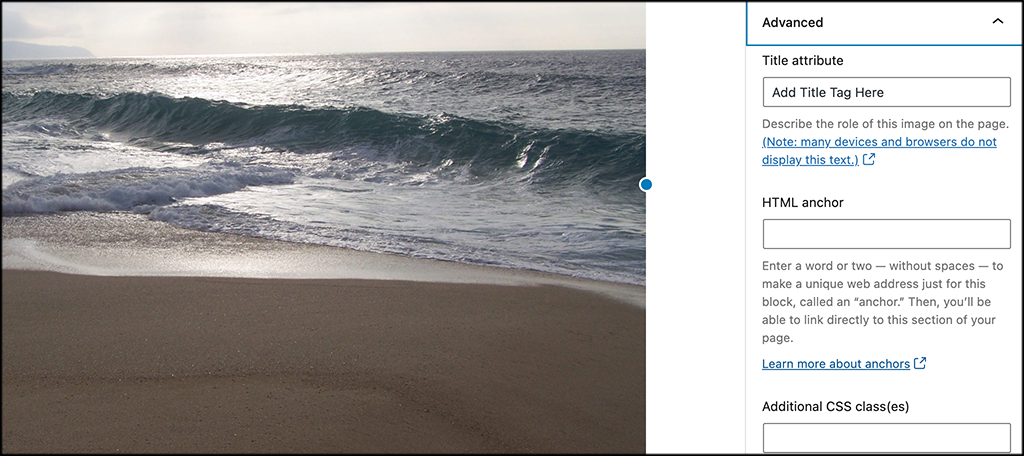
On the right side of the page, click on the “block” function and scroll down to the “Advanced” dropdown menu. Inside this menu, you will see the “Title attribute” field. Enter the title tag that you want in there.
That’s it. You can repeat these steps for all the images you add in the future.
Method 3: Using the Classic Editor
Last but not least, we come to the classic editor. If you are still using this editor in WordPress, it is still pretty easy to add a title tag to your images.
Let’s run over the instructions real quick.
Step 1: Open the WordPress editor.
Again, open the post or page that you want to add an image to.
Step 2: Add the Image
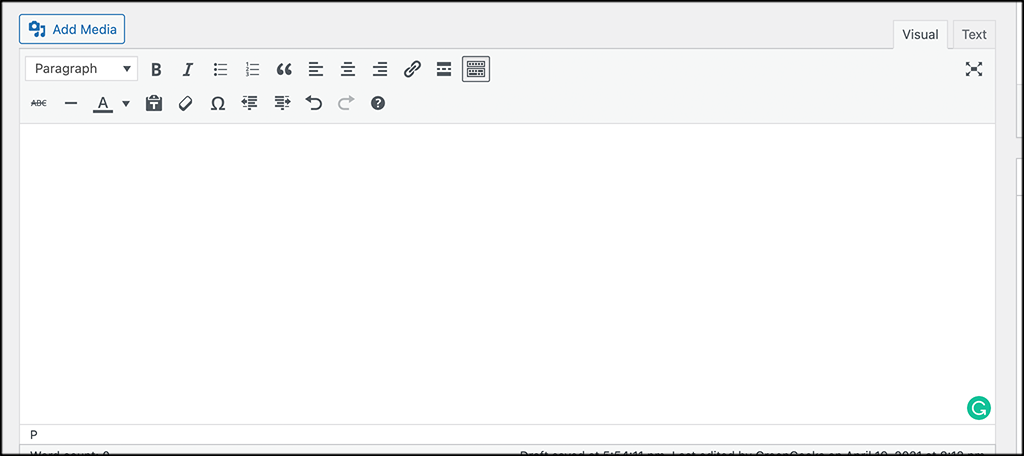
On the top left of the editor, you see an “Add Media” button. Click on that to open the WordPress media gallery on your site.
Add the image you want into the editor
Step 3: Edit the Image to Add Title Text
Hover over the image that you brought into the editor. You will see an “edit” icon show. Click on that to open some advanced editing options.
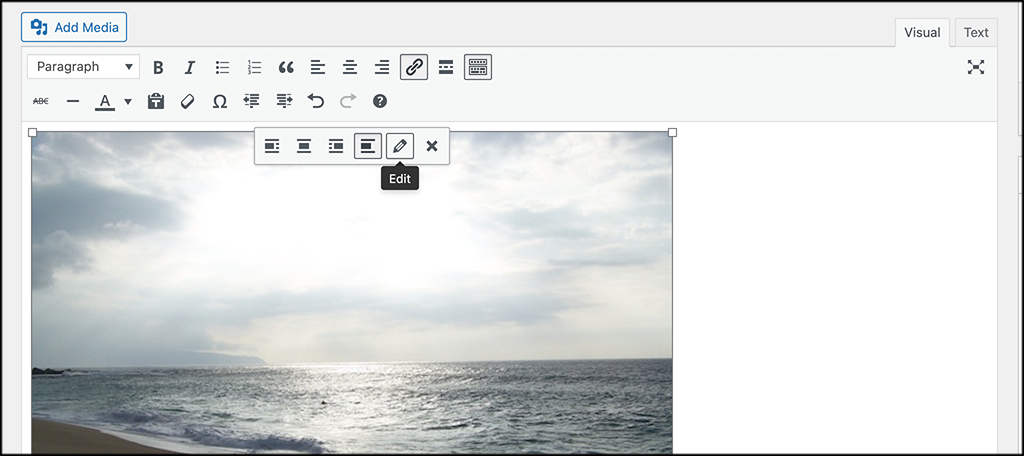
Find the “Advanced Options” dropdown and click on it to open it up.
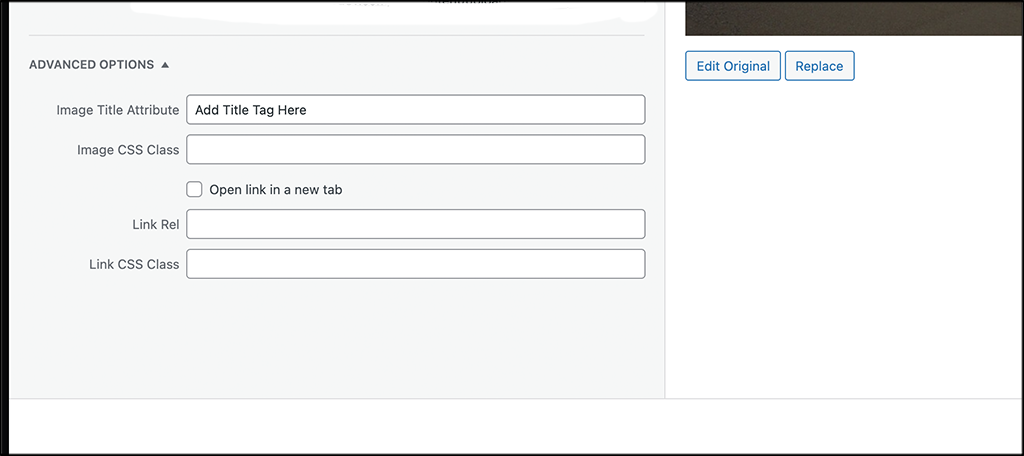
Add the title tag you want in the field provided and you are good to go.
That’s it. You can also repeat the classic editor steps above to add a title tag to all the images you want.
The Difference Between a Title Tag and Alt Tag
Title tags and alt tags are oftentimes confused in a couple of different ways. Many people think they are the same thing, while others simply don’t know the main difference between the two.
The main purpose of an alt tag is to describe the visual elements of an image to users who can’t see them. Adding alt tags to images is one of the best ways to help with image SEO.
The title tag, as mentioned above, is the actual title of the image usually based on keywords that you would like the image to be relevant for in search engines.
Final Thoughts
Whether you are adding images HTML title tags or doing it in bulk using the plugin above, you want to make sure title tags are added correctly. All three methods above work great and will put you on the right track.
Adding title tags to images in WordPress does not have to be difficult. It may take a little time based on the method you choose, but the process isn’t hard.
Have you started adding title tags to pages? What is the preferred method you like to use?
This plugin already stopped working for 2 years and under violation guideline. Maybe you can update your article?