Image galleries can offer a lot to a website in terms of generating interest and sharing visuals with visitors. Whether you’re creating an art portfolio or showing off your staff, images improve engagement. But what if you want to add links to images in a WordPress gallery?
By default, the system doesn’t have this option available. Perhaps you want each image to link to a different page. Instead of trying to force it through code, you can actually use a pretty simple plugin.
In this tutorial, I’ll show you how to add a custom link to an image in WordPress galleries. With a quick install, you can create additional fields when creating a WordPress photo gallery on your site.
Why Add Links to Images?
Just like adding links to text, you can add them to images, but you may be wondering if there is an advantage. And I’m here to tell you that there are quite a few.
For instance, one of the most common uses is on a home page. You can create a series of images to represent products or services on your website and make them clickable. These act like ads for your own pages and are extremely effective and popular.
Similarly, when staring at a product page, it’s common to have an image for every item in the shop. However, I’m sure you noticed that you can click on the image to get to the product page, which is by far, the most common use for image links.
Of course, more creative content creators may find a more unique way to take advantage of image links. Regardless of how you use them, image links are versatile tools to take advantage of and they are easy to implement.
How to Add Image Links in WordPress Galeries
Step 1: Install Visual Portfolio
While there are a variety of gallery plugins in WordPress, I will be demonstrating how to do it with the Visual Portfolio plugin. It’s a great tool to create stunning galleries, and most importantly, you can easily add links to each gallery item.
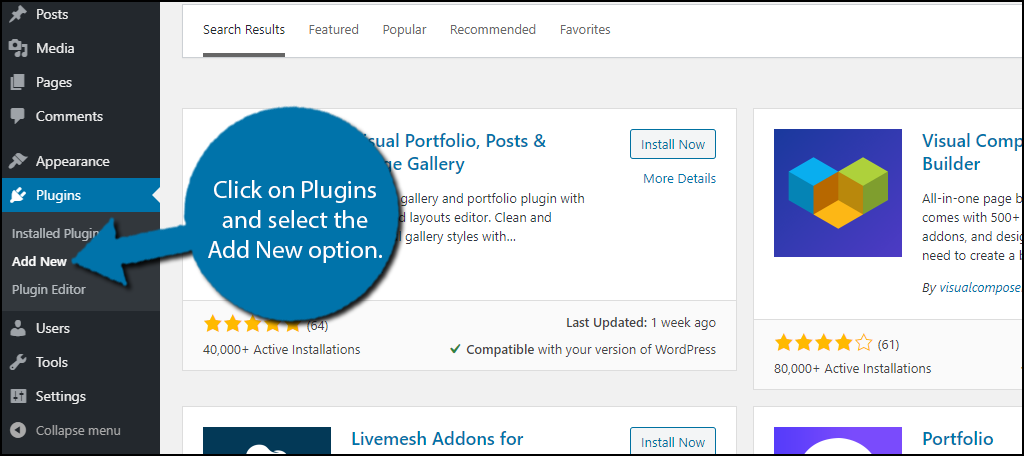
Let’s start by clicking on Plugins and selecting the Add New option on the left-hand admin panel.
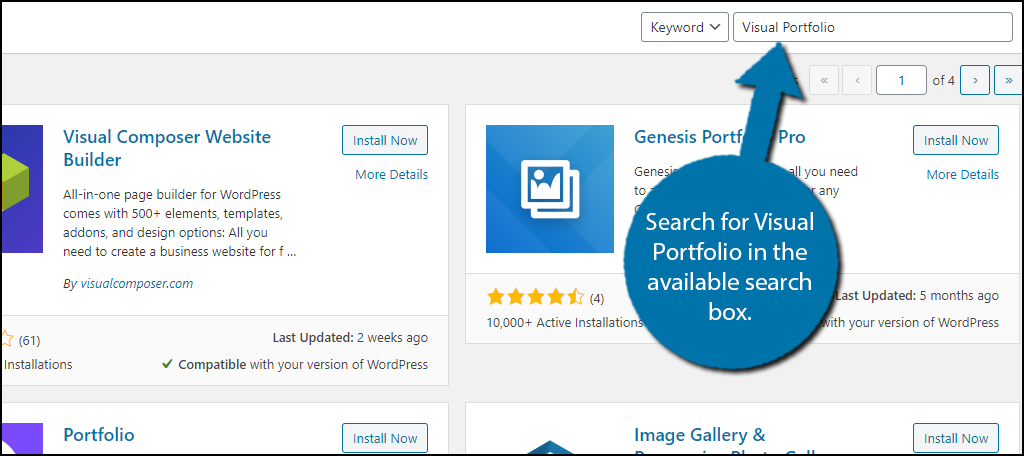
Search for Visual Portfolio in the available search box. This will pull up additional plugins that you may find helpful.
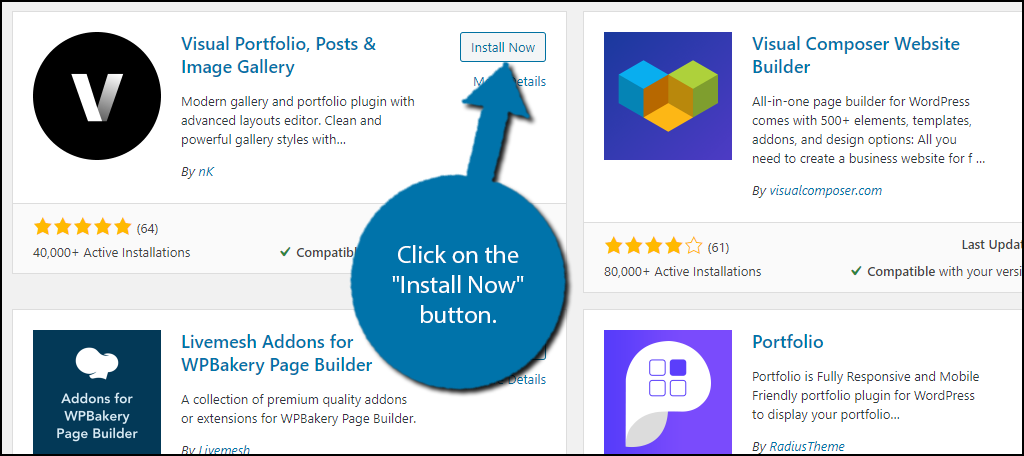
Scroll down until you find the Visual Portfolio plugin and click on the “Install Now” button and activate the plugin for use.
Step 2: Add the Visual Portfolio Block
There are a variety of settings you can configure that can decide the size of images and other factors the plugin manages. There is nothing special about the settings section, so simply go through each one and pick what works best for your website.
Go to any existing page or post on your website. Alternatively, you can start a new one for testing purposes.
In either case, click on the “+” button and type Visual Portfolio into the block search box.
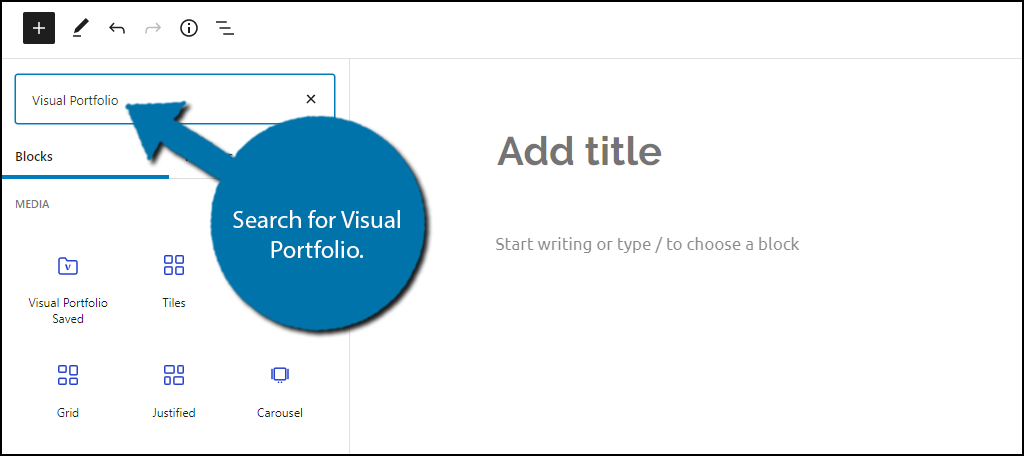
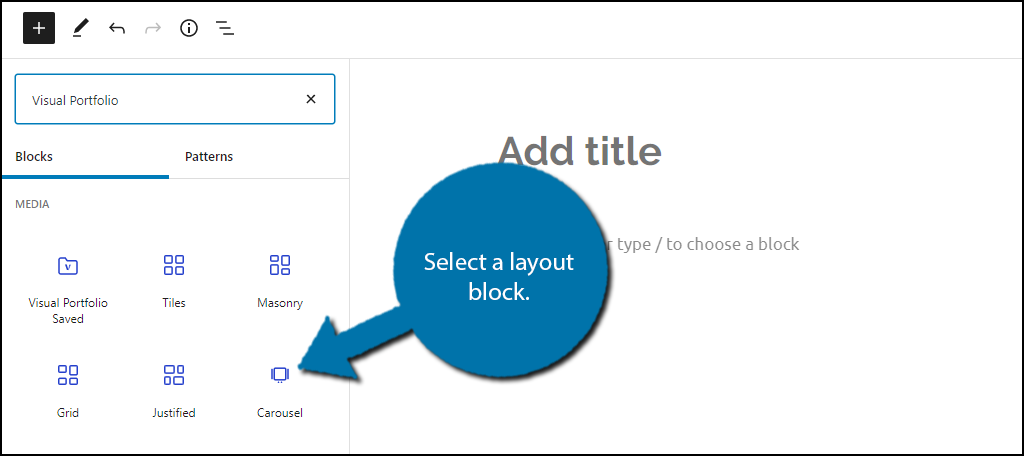
This plugin adds 6 new blocks to WordPress that includes Visual Portfolio Saved, Tiles, Masonry, Grid, Justified, and Carousel. All of these are different layouts you can use for the gallery, with the Visual Portfolio Saved block being for custom layouts you add to the plugin.
In this case, I am selecting Carousel, but the choice doesn’t matter. Pick the one you like.
Note: The blocks are structured slightly differently, but operate the same.
Step 3: Add Image Links
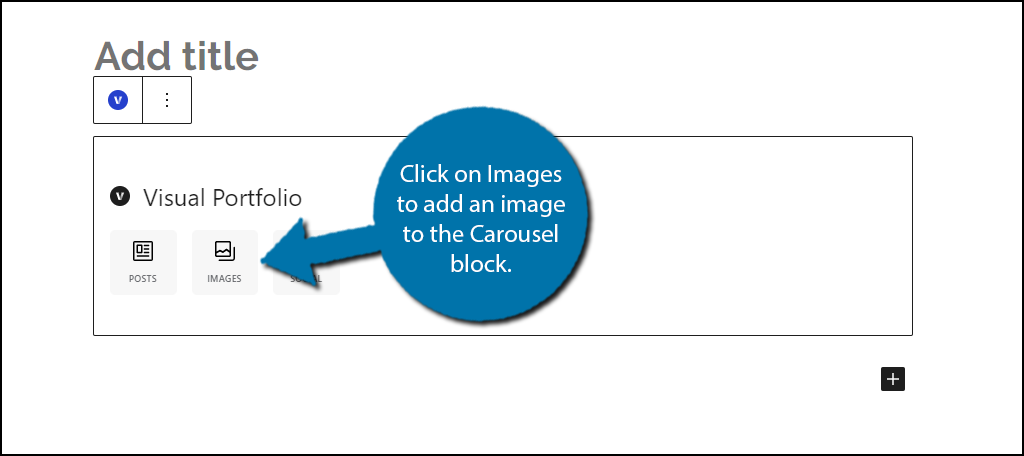
You can add individual posts (the thumbnails will appear and link to the respective post), images, or add social sharing buttons. In our case, we want to add images, thus, click on Images to add an image to the Carousel block.
This will open up the Media Library. Select any picture in it and click on the “Select” button.
Note: The title of the image will appear when a mouse hovers over the image. Make sure to add a proper title name because it will look awkward if it says “IMG-6389236349” instead of something simple like “Twitter.”
On the right side of the page, click on the image itself.
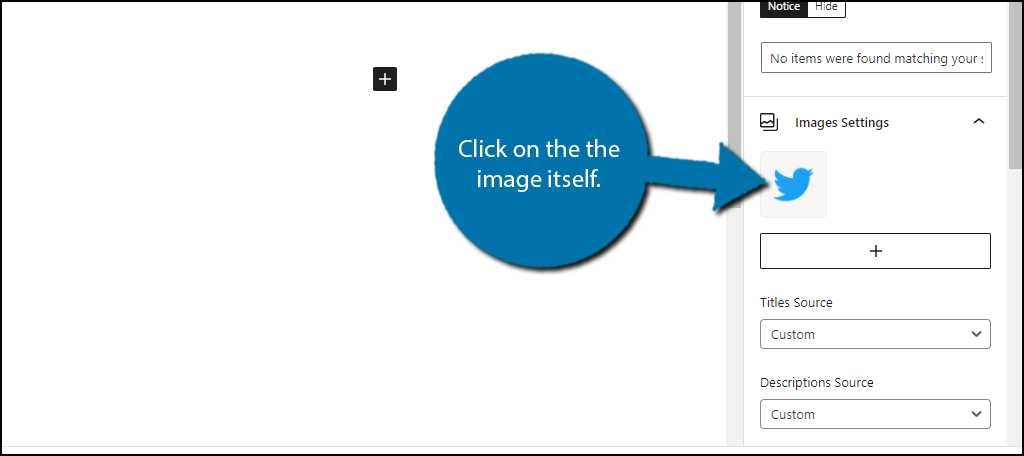
Note: When you hover your mouse over the images, you will see a settings icon.
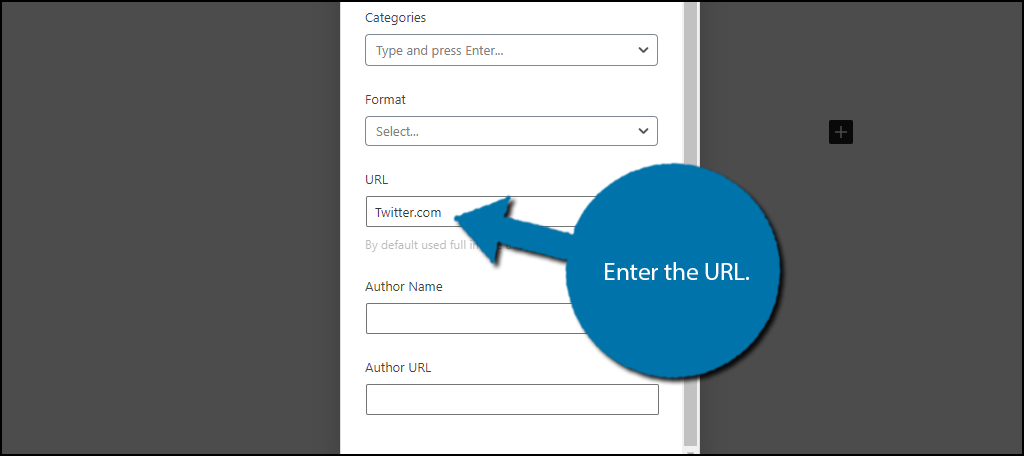
This will open up the image settings. There are a variety of options to configure, but most importantly, there is a URL textbox. Add the URL that you want the image to link to here.
There is no save button within the image settings popup, so you can safely exit once you have made your changes and they will be saved automatically.
Repeat these steps for as many images as desired and click on the “Publish” or “Update” button to save your changes. View the gallery on your website and click on the image for the link to work.
Congratulations on adding image links to your WordPress gallery.
How to Add Links to Individual Images
You do not need a gallery plugin, or any plugin for that matter, to add links to images. This is a built-in feature of the image block in WordPress.
It is worth mentioning that there is such a thing as too many image links in WordPress. For standard WordPress blogs, it is unnecessary to turn your images into links. This is not a common practice and it could end up being annoying in the event of a misclick.
Thus, make sure to add them responsibly.
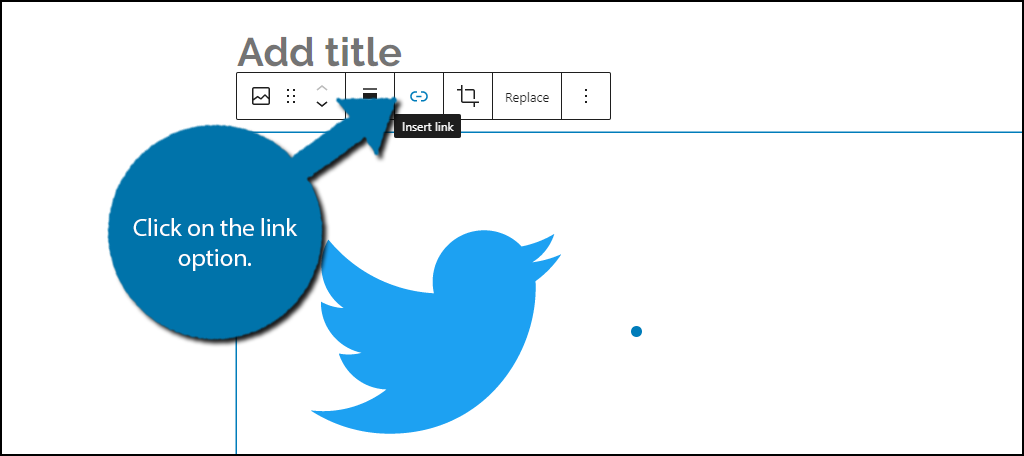
Simply add an image block and then add an image. Click on the link option.
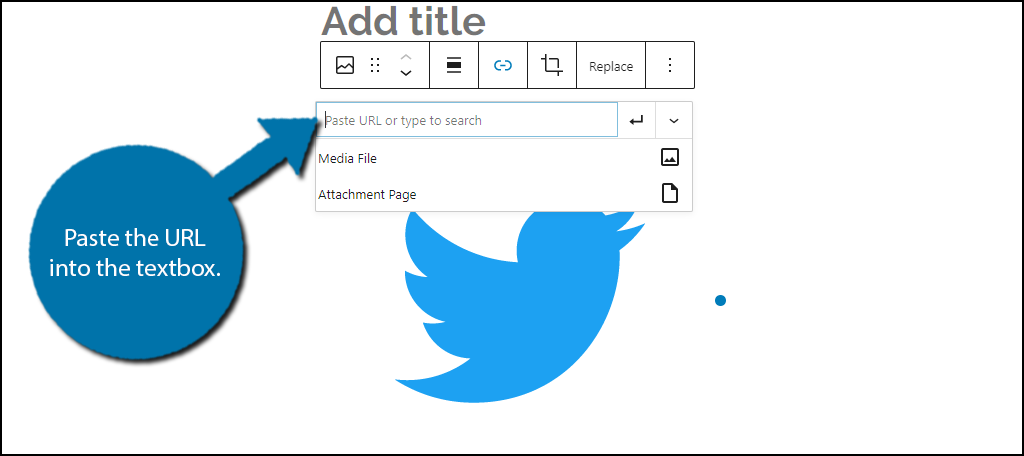
Paste the URL into the textbox. You can also use it as a search box to search for URL links.
You can repeat these steps on any image block on your website. When viewed on a live page, any time the image is click, it will bring visitors to the URL you entered.
Make Sure the Links Make Sense
Just like normal internal or external links within the text, image links need to make sense.
For example, I used the Twitter logo to create a Twitter link, that makes sense. However, would it make sense to use a picture of a desert to do that?
No.
While it is simple and you may think it is obvious, it’s still very important. Make sure there is a natural connection between the image and link. It doesn’t mean you can’t get creative tho.
For instance, the logo of Twitter is a small blue bird, it wouldn’t be much of a stress to use a real bird and create a link. Or you can even create a custom image that included the Twitter logo among other things.
It’s all about making the link relevant to the image.
Improving Interaction
Adding photos increases the value of your content. But including links to images in a WordPress gallery adds to the engagement factor. It expands the possibility of interaction with visitors and keeps them on your site longer.
After all, every second they’re not on your website is one that potential customers spend at a competitor’s site. Of course, this means you need to be careful about where you are sending visitors with these links.
After all, you don’t want to send them to a competitor’s site!
How would you use an image gallery? How often do you use image links to pages on your WordPress website?
Plugin is no longer available: “This plugin has been closed as of January 6, 2019 and is not available for download. This closure is permanent.”
Thanks for alerting us. The plugin will be replaced very soon.