Do you want to know how to bulk resize large images in WordPress? Adding images can be very annoying because of the maximum upload limit in WordPress and large images make that even harder. Large images can also impact the loading time on your website pages, which can hurt your website’s SEO.
A great solution is to create images that are properly sized for the website and resize the images that are already on your website. The problem is that WordPress does not come with a built-in image resizing feature, but luckily there are many image resizing plugins to choose from. Today, I will demonstrate how to quickly and efficiently resize large images in WordPress using the Imsanity plugin.
Why is it Important to Resize Images
Images are extremely important to online content and sometimes act as the main source of content. Getting the correct size for images is not easy and often times you will need graphic designers to get images sized properly. This does not solve the problem for the images that are already uploaded to your website.
You may suggest re-uploading them, but for websites that have thousands of images, this is not a realistic suggestion. Instead, websites need to perform a bulk resizing. Of course, they must also be careful about the images they select to be resized. It is not a simple matter and will take hours of planning before a decision is reached.
How to Quickly and Efficiently Bulk Resize Large Images in WordPress
Today, I will demonstrate how to quickly and efficiently resize large images in WordPress using the Imsanity plugin. This plugin allows you to quickly resize images in WordPress. It is widely used with over 200,000 active installs. It has multiple sizing options to meet every website’s needs.
Keep in mind that resizing images on your website that are currently being used can be problematic. The images may no longer fit into your content or mess up the formatting of pages. You should create a backup of your website. This will ensure that you can revert to before any changes were made on your website.
Installing Imsanity
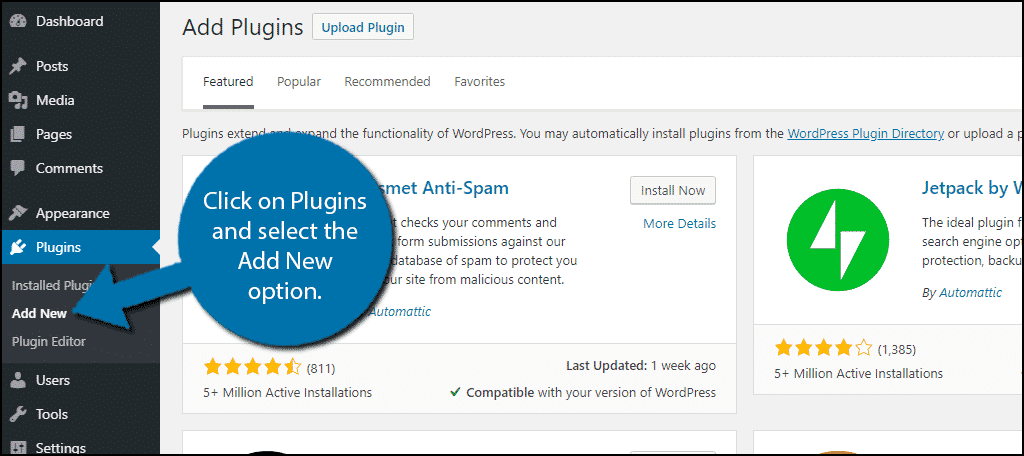
Let’s start by clicking on Plugins and selecting the Add New option on the left-hand admin panel.
Search for Imsanity in the available search box. This will pull up additional plugins that you may find helpful.

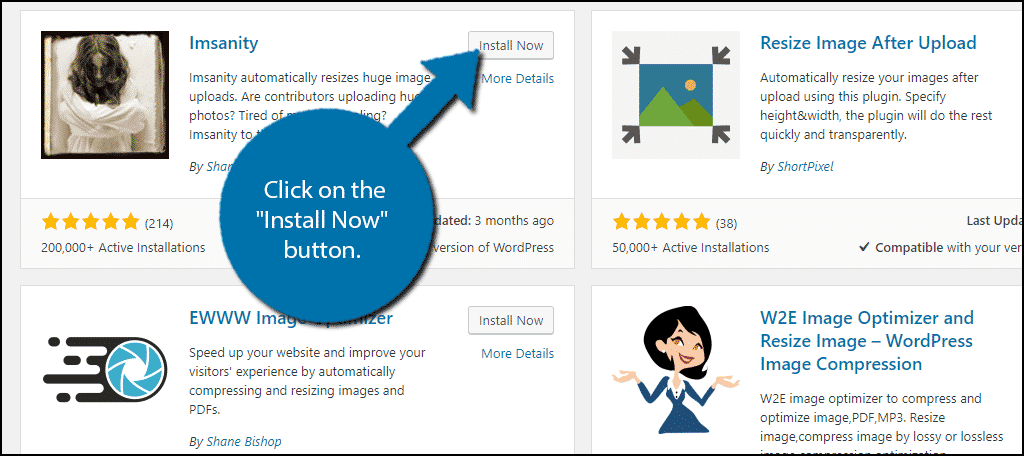
Scroll down until you find the Imsanity plugin and click on the “Install Now” button and activate the plugin for use.
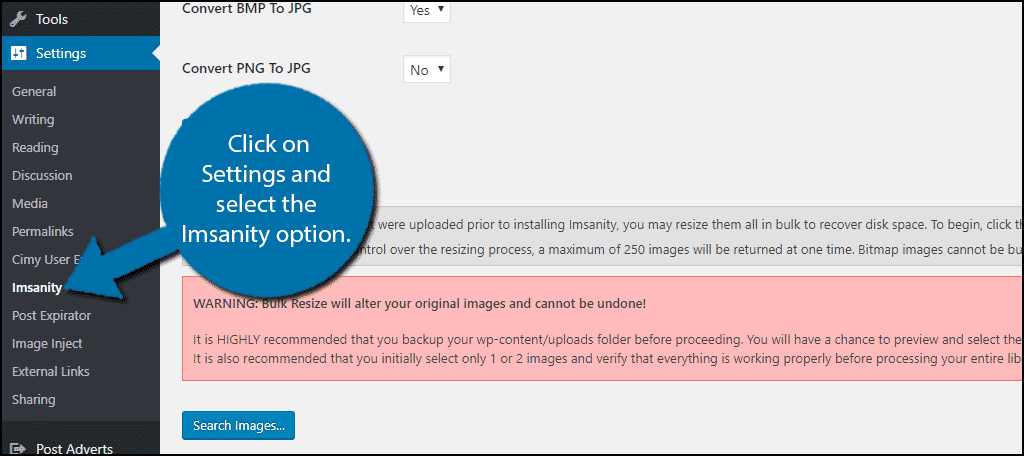
On the left-hand admin panel click on Settings and select the Imsanity option. This will pull up the main settings page.
Picking the Size of the Images with Imsanity
The first thing that should catch your eye is the big red warning box. Resizing your images could drastically alter your website’s pages and posts. You should create a backup of your website now before continuing with the tutorial. The process cannot be undone and only a backup will let you revert your website to the previous version.
The first step to using this plugin is to decide on the size of the images. This is completely up to you, but keep in mind taking a small image and forcing it to be larger or vice versa will result in quality issues. It is important to carefully select the correct images. A good tactic is to resize your images in groups.
For example, let’s say you use larger images at the beginning of a post and medium-sized images in the actual content and smaller images for sidebar content. You would need to identify all of the images that need to be large and select them all for the resizing. Then you would repeat the process for the medium and small sized images. As I said, this will take time, but for larger websites, it is very important to carefully examine the images that are used on their website.
Select the max height and width for the images that have been uploaded to your website. Make sure to pick the same values for each option. Click on the “Save Changes” button.

Choosing the Images to Resize
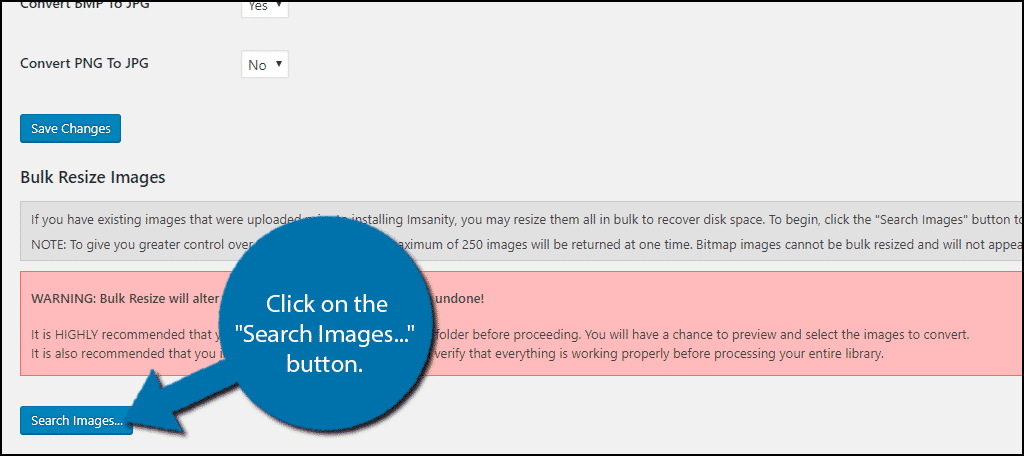
The next most important step to the image resizing process is to actually pick the images. Underneath the big red warning box, click on the “Search Images…” button. Make sure to backup your website before continuing.
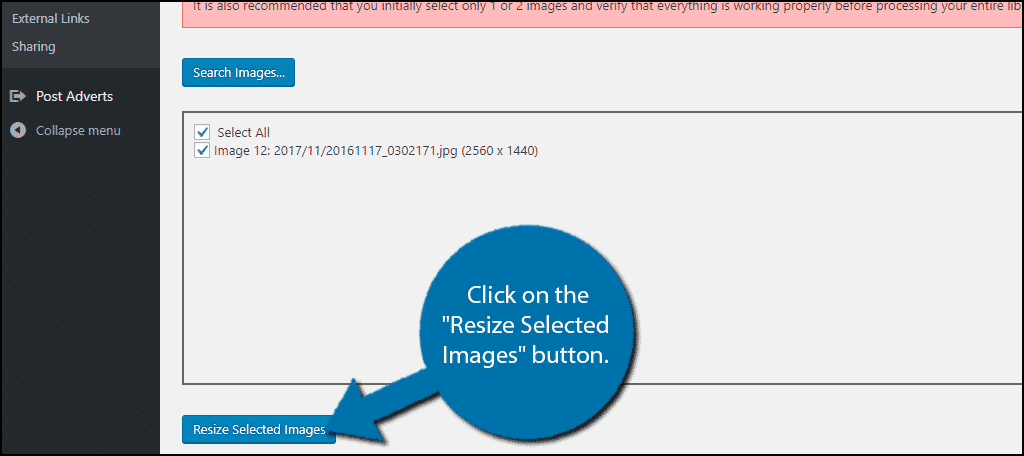
You will now see the image names (not the actual images) on your website appear in the box. Select all of the images you need to resize. A good tip is to open another tab where you can see your media library. This way you can see the actual image that the image name corresponds too. Many websites have images with dates, but those don’t help you very much here.
This is the point of no return, create a backup now if you have not done so. Once you have selected all of the images, click on the “Resize Selected Images” button.
Congratulations, you have successfully resized your images. You can repeat this process multiple times to resize different groups of images. Keep in mind you should check all of your pages and posts after you resize any images. This way you can correct any issues that may have occurred.
Be Consistent
Image sizing is different for every website, but what shouldn’t be different is the consistency. If you are choosing to use 1024 x 1024 px images throughout your website, that’s great. Just don’t try to slip in smaller or larger images. Being consistent is important and it is especially true when you run a multiauthor website. Setting clear guidelines for multiple authors is important.
How did you select the images that you resized? Did you select every image or resize in groups?
Thank you, pointing to this plugin just made my day. I had 15G of picture just because lots of pictures were drop from an iPhone without resizing at all.