There’s no denying the importance of preparing a website for mobile-friendliness. More than half of Internet users in the world do so from hand-held devices. When you create badges for mobile apps in WordPress, you have a method to engage that audience.
For one thing, it boosts the engagement of your content from those who use smartphones and tablets when viewing your pages. It also has the potential to be among the many ways to make money from your website.
After all, helping someone identify which mobile OS an app is for provides an optimum user experience.
In this tutorial, I’ll show you how to create badges for mobile apps in WordPress and why you should.
How to Create Mobile App Icons in WordPress
In today’s tutorial, we’ll use the WP-Appbox plugin. It has a lot of customization options while giving you the ability to connect affiliate information to each click.
Secondly, WP-Appbox supports the most popular app store platforms such as Amazon, Apple’s App Store, Google Play, Windows, and even Steam.
Step 1: Install WP-Appbox
Install and activate the “WP-Appbox” plugin.
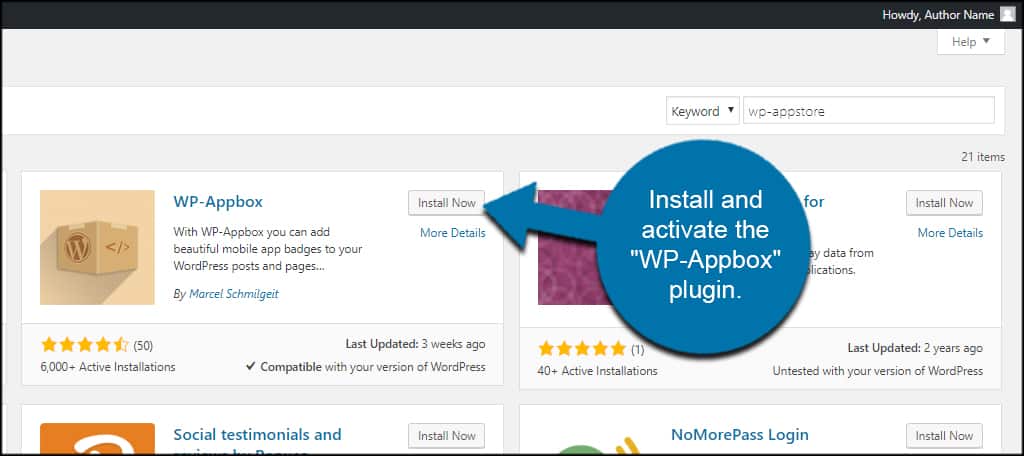
This will add a series of new buttons to the post or page editor in WordPress.
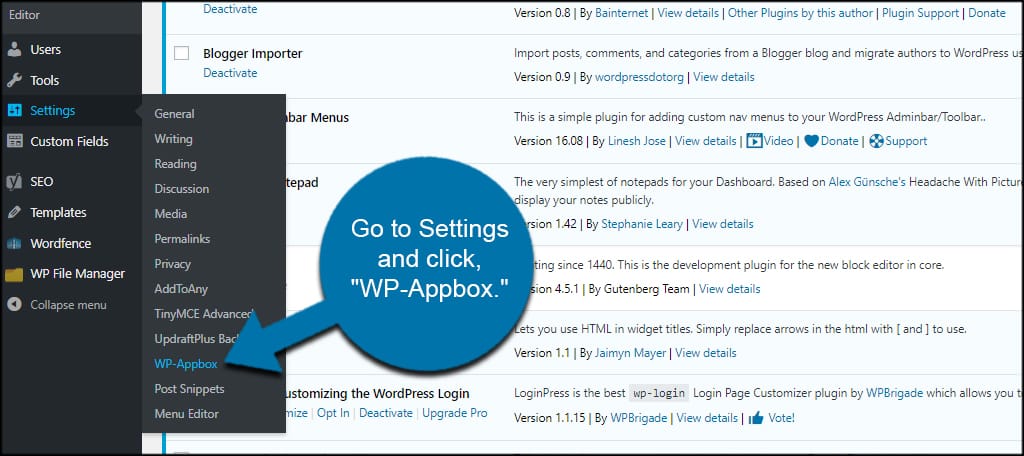
Step 2: Adjust Your Settings
The first thing we’ll need to do is modify our settings in the app.
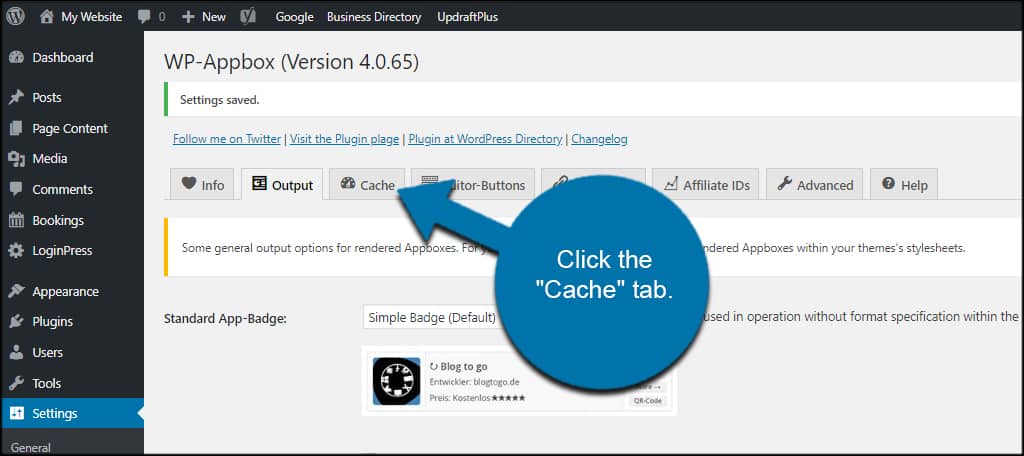
Go to Settings and click, “WP-Appbox.”
Click the “Output” tab on the top.
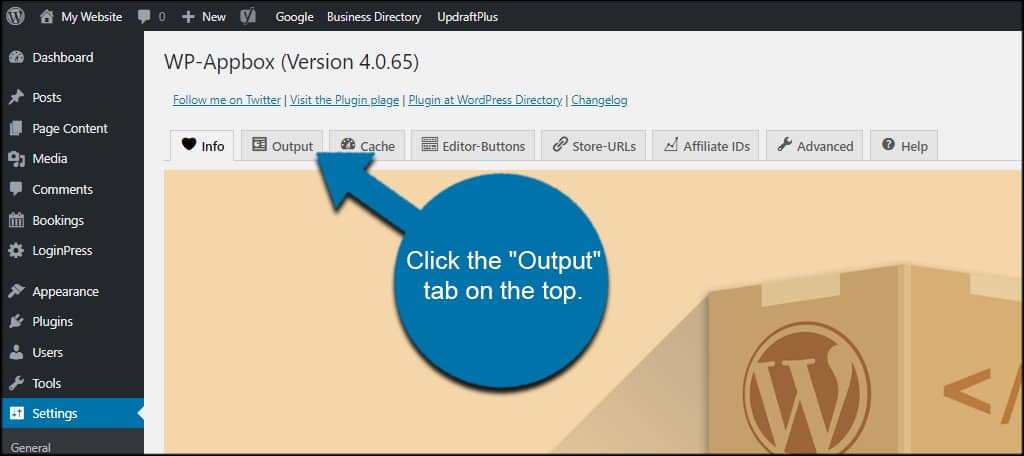
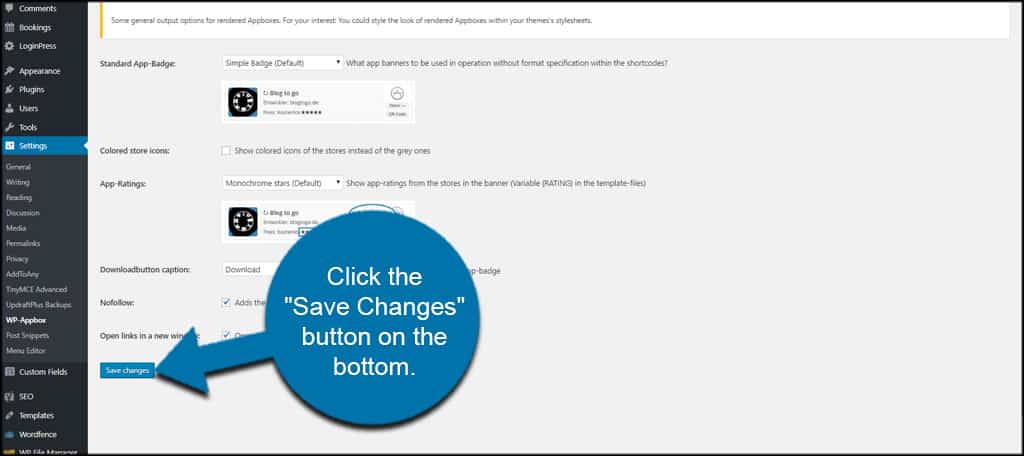
This screen lets you change how you show mobile app pages from WordPress. You can select the style of the badge’s appearance, how rating stars are shown, adding “nofollow” links, and how clicks behave in terms of opening a new browser tab.
For this tutorial, I’m simply going to leave these as default.
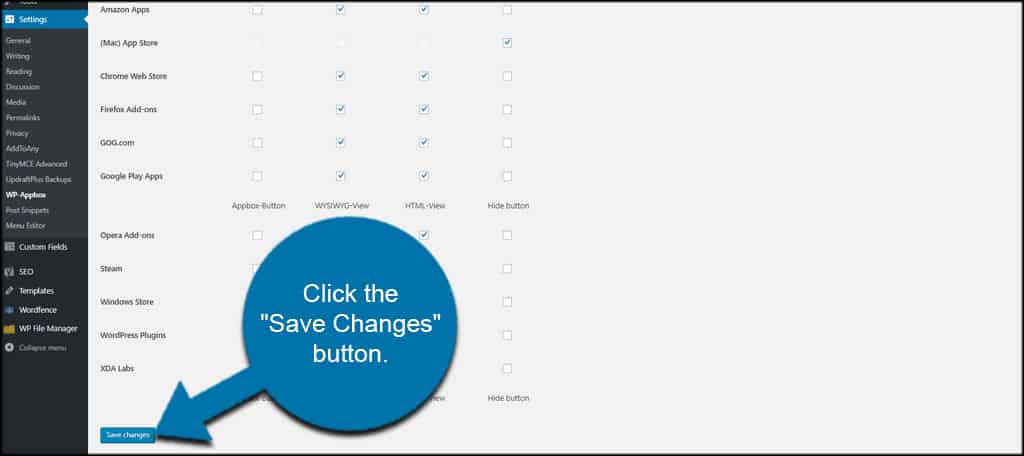
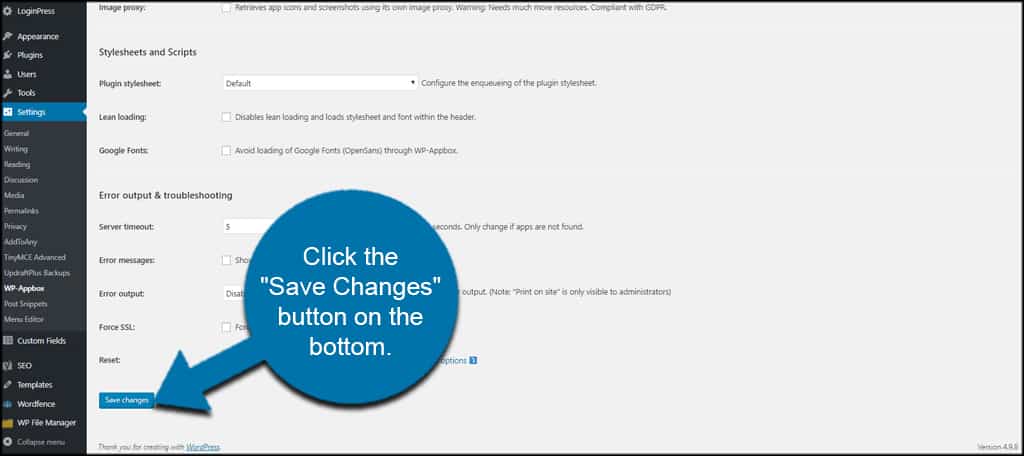
Once you’ve made adjustments, click the “Save Changes” button on the bottom.
Step 3: Set Up Your Cache
Click the “Cache” tab.
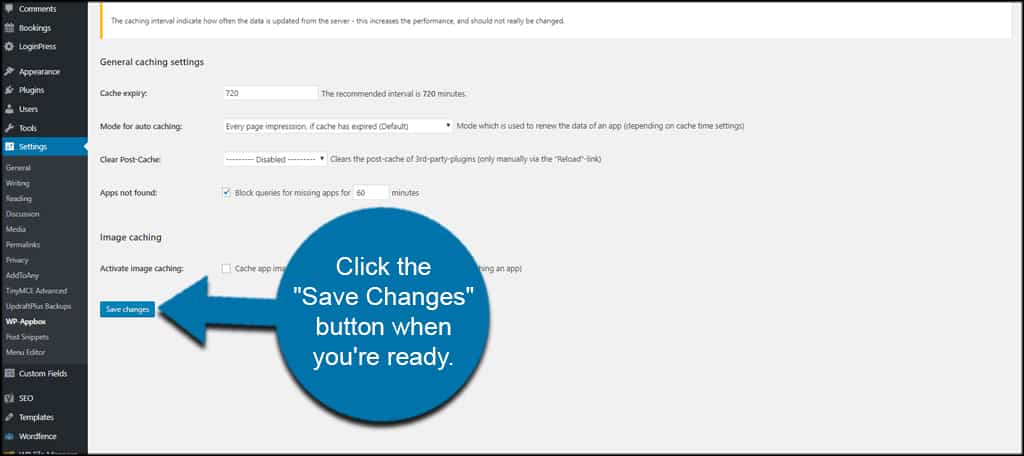
In the Cache section, you can control how WordPress stores the WP-Appbox layouts for visitors. This helps make the site faster and more efficient.
You have access over the expiration, caching modes, and image caching for app images onto your own server.
Again, I’m going to leave these as default.
Click the “Save Changes” button when you’re ready.
Step 4: Modify the Editor Buttons
Click the “Editor-Buttons” tab.
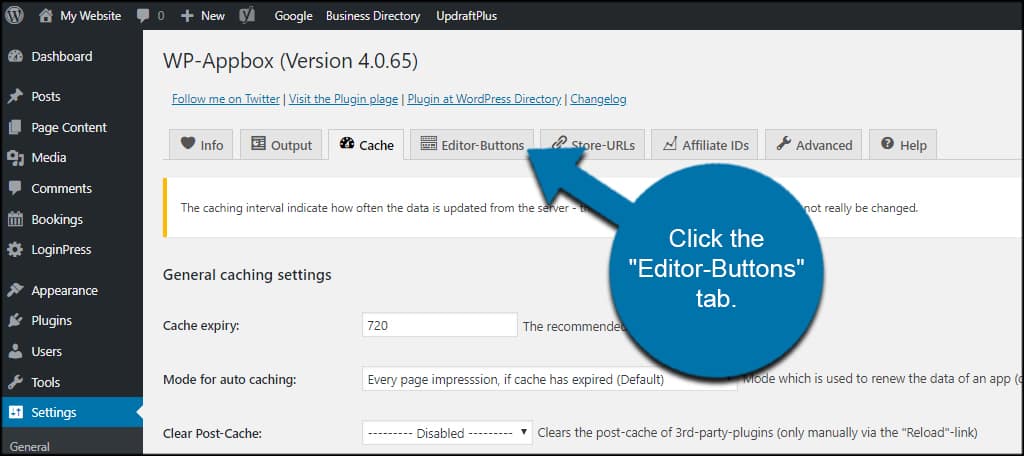
By default, WP-Appbox will show the app store buttons in the WordPress editor, you can choose the behavior of this with the drop-down selector.
Use the list and select, “Custom Settings.” This will show a new set of checkboxes where you can change each individual appbox from the WordPress editor.
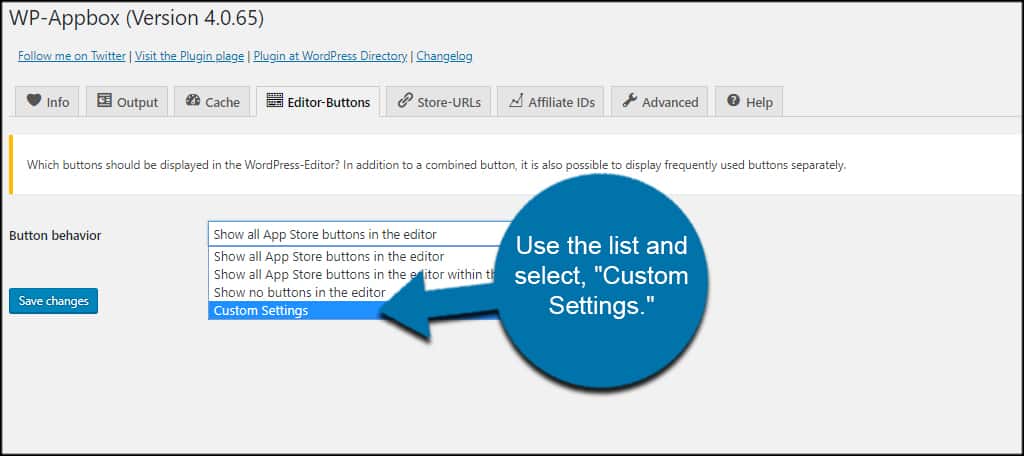
For instance, let’s say we want to deactivate the Apple App Store because we’re not showing those specific apps. You would then click the checkbox under “Hide Button.”
This is helpful if you don’t want to fill your WordPress editor with buttons you don’t plan on using.
You’ll see what I mean in a moment.
Once you’re done, click the “Save Changes” button.
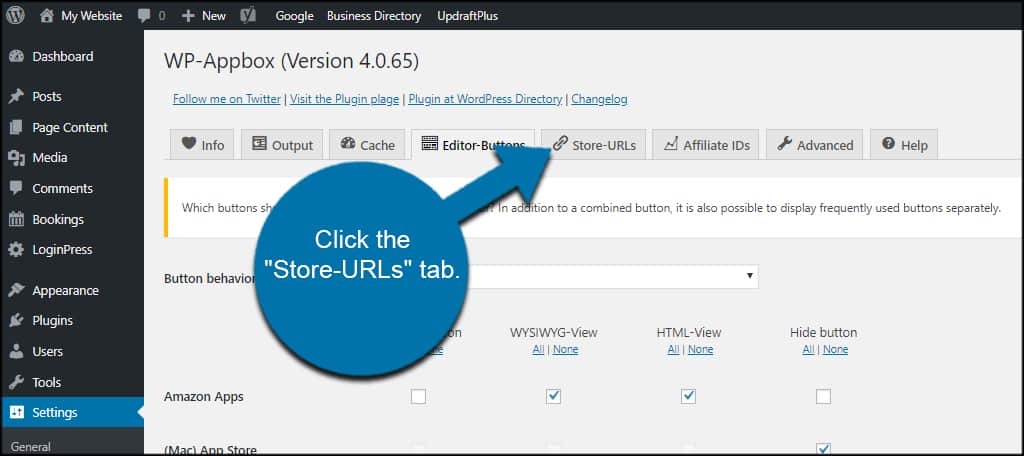
Step 5: Modify Storing URLs
Click the “Store-URLs” tab.
WP-Appbox supports a variety of locations. Depending on your target audience, you may want to change the base site where the apps are being pulled from.
For instance, WP-Appbox defaults to the “Germany” version of various sites. If you’re in the United States, you may want to use the drop-down to change URL location.
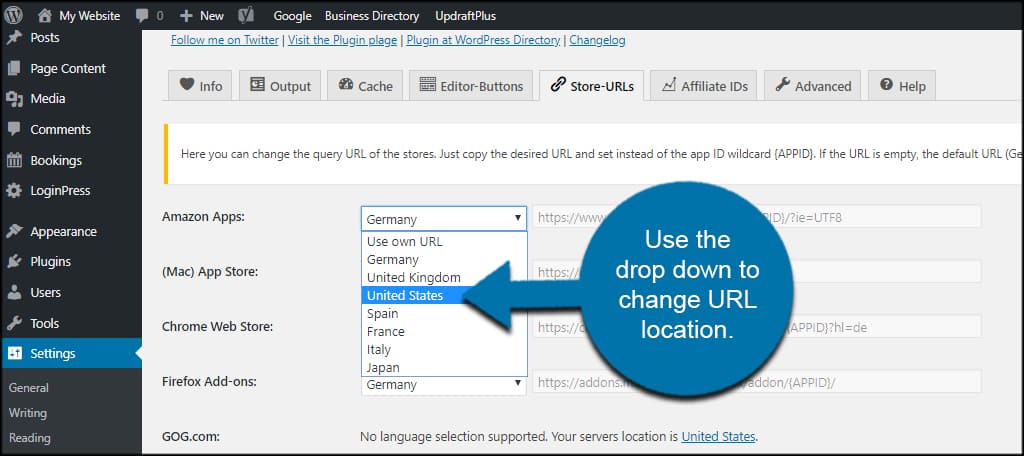
Why is this important? Because your visitors may not be able to read and understand German from the app’s webpage. Not to mention how URLs may differ across servers.
You don’t want to accidentally wind up with a 404 error.
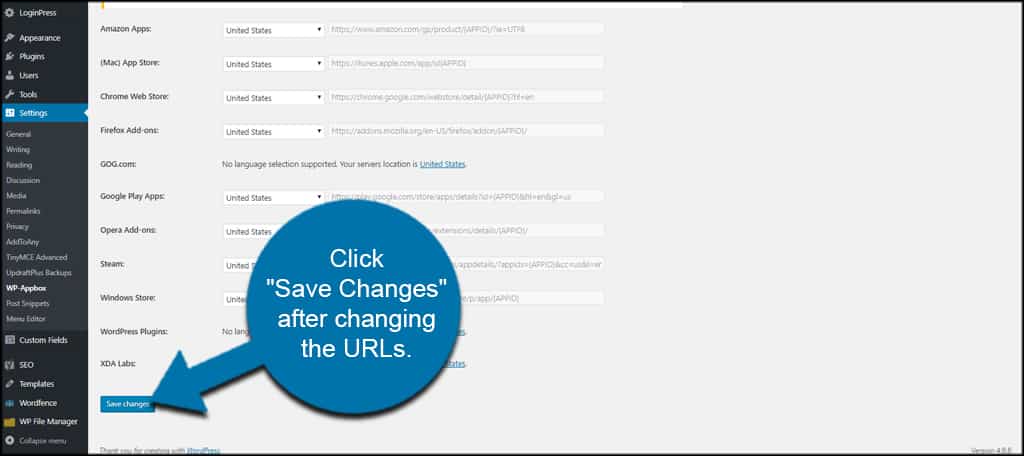
Click “Save Changes” after changing the URLs.
Step 6: Add Affiliate IDs (if any)
Click the “Affiliate IDs” tab.
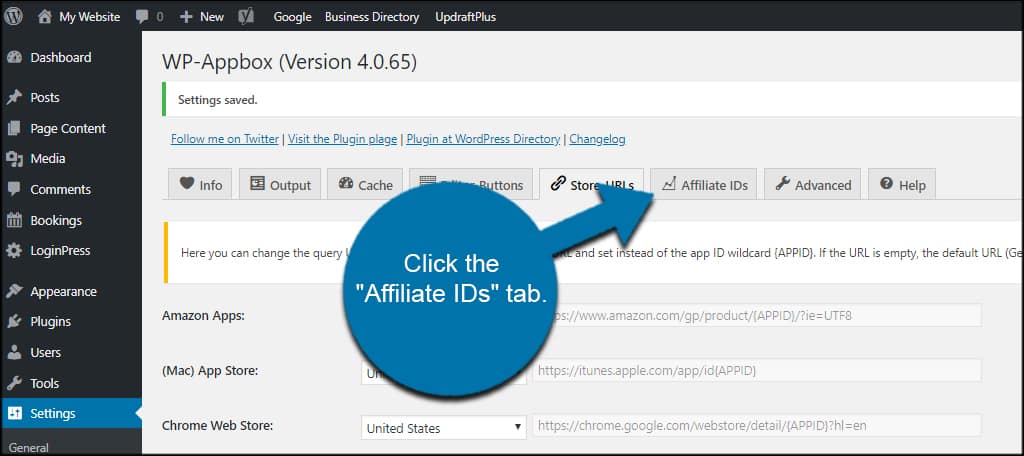
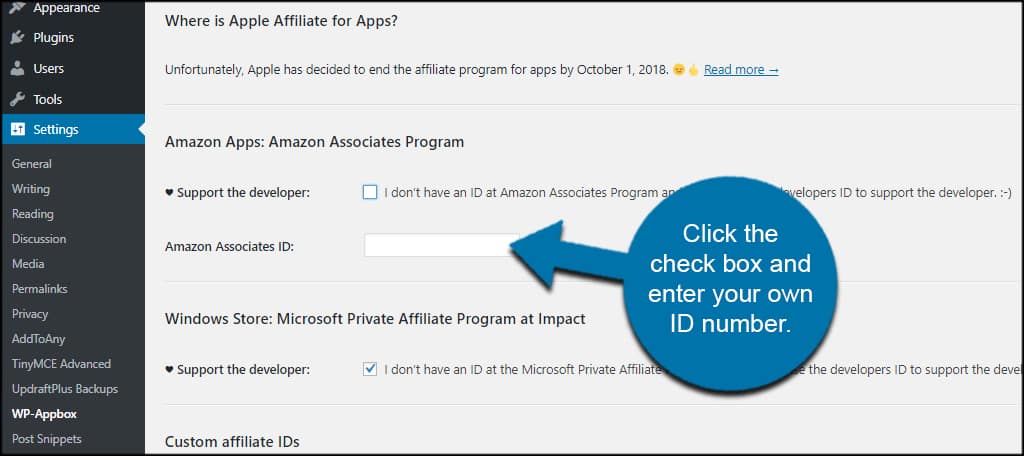
In this section, you can set up Amazon and the Windows store affiliate IDs for your app banners. Since Apple discontinued its affiliate program for now, this is no longer an option.
By default, WP-Appbox will use the developer’s affiliate ID. This helps the developer keep WP-Appbox free to use by giving the developer the clicks and sales from Amazon and Window.
However, you can choose to click the checkbox under each and enter your own ID number.
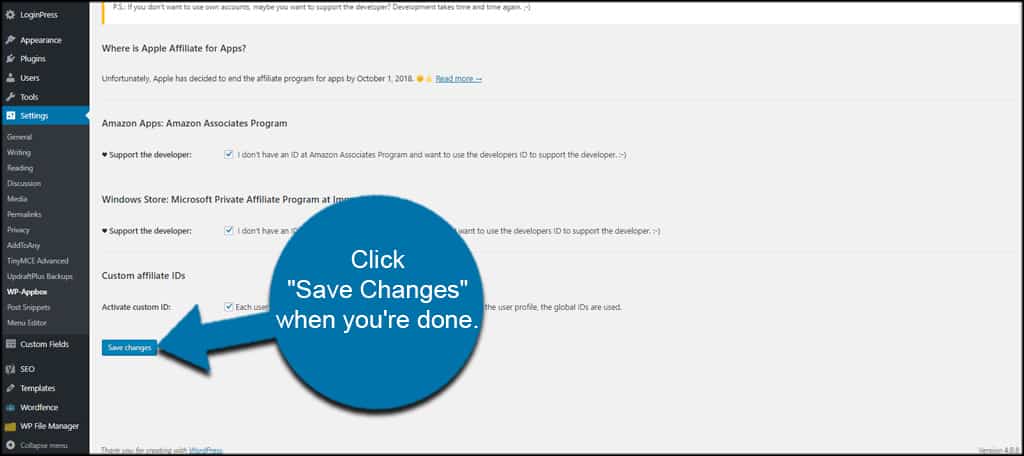
You can also choose to activate custom ID fields when setting up each app banner.
Click “Save Changes” when you’re done with affiliate IDs.
Step 7: Change Advanced Settings
Click the “Advanced” tab.
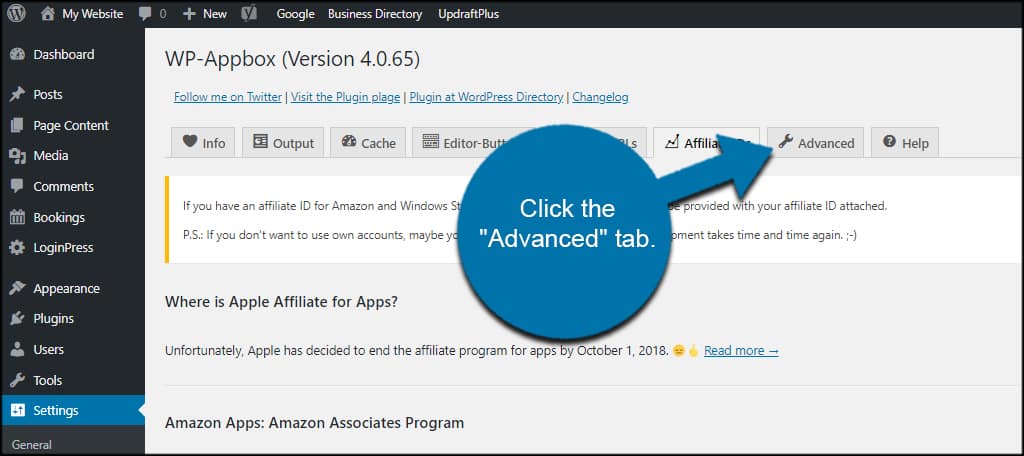
In the Advanced tab, you can change how WP-Appbox uses links, images, the Amazon API, and error reporting.
If you’re not sure what to adjust in this section, it’s better to leave it as default until you research the different abilities.
But if you do make adjustments, click the “Save Changes” button on the bottom.
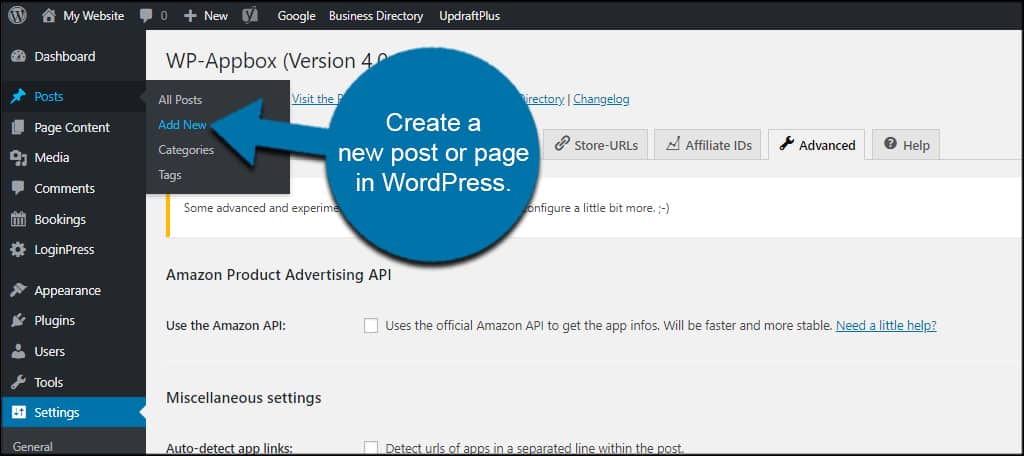
Step 8: Add WP-Appbox to Posts or Pages
Create a new post or page in WordPress.
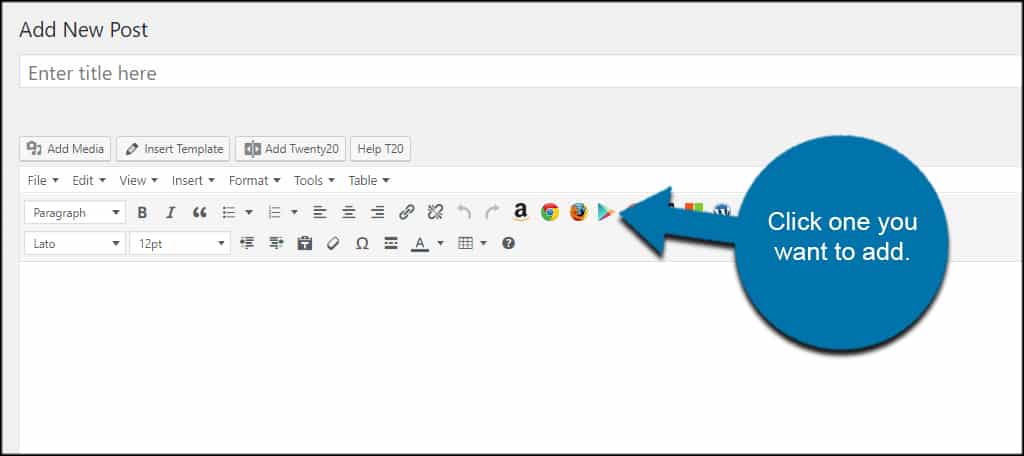
You’ll see the WYSIWYG editor now has a collection of buttons for various app stores.
Click the one you want to add. For this tutorial, I’m going to add a Google Play app.
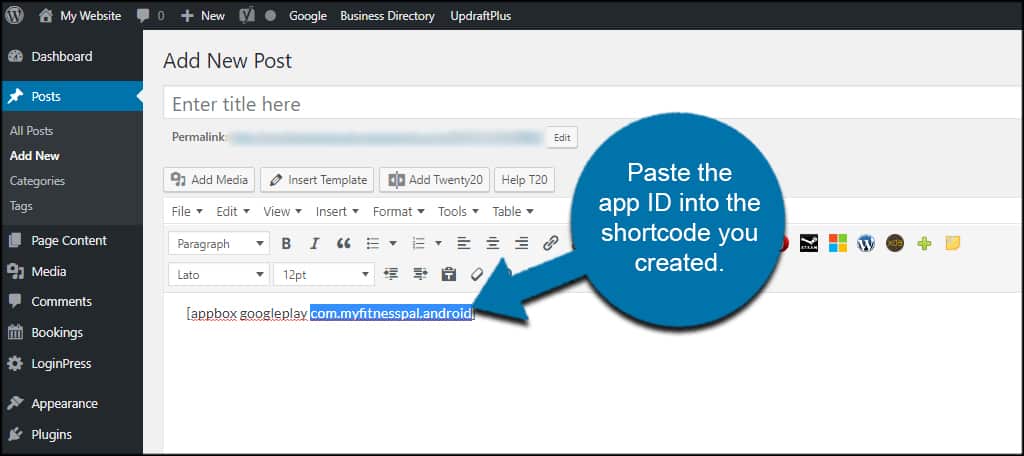
WP-Appbox will automatically place the shortcode for the app store in your content.
Now, we need the App ID. In my example, I’ll use MyFitnessPal from Google Play. Copy the app ID, which is the text after the “=” and before the “&”.
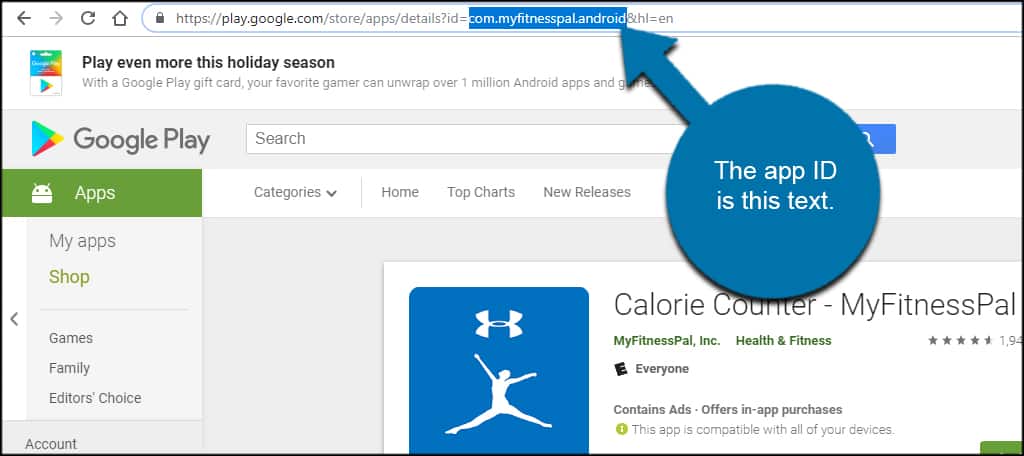
Each platform will have slightly different layouts. However, they should all have something that points to an app’s ID name or number.
Paste the app ID into the shortcode you created.
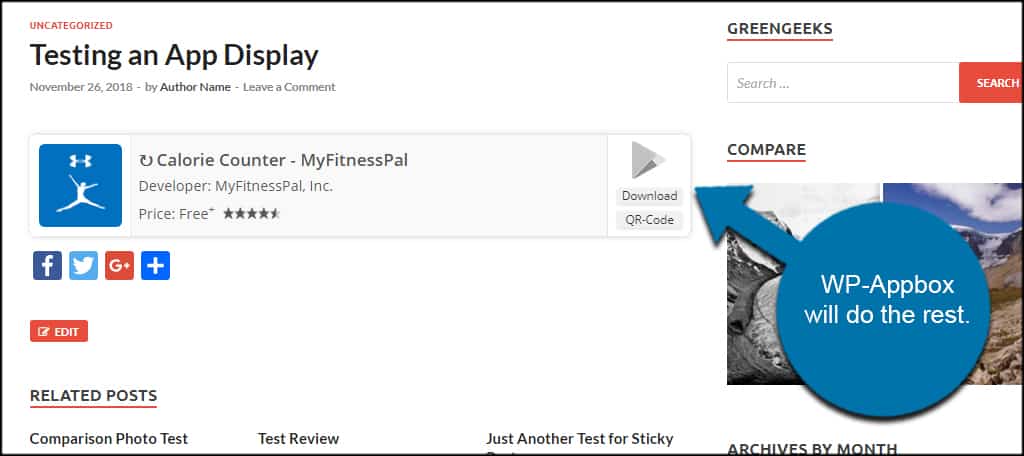
Once the post or page is published, WP-Appbox will do the rest.
If you want to add a bit of flair to the display, you can use one of these styles in the shortcode:
- compact
- screenshots
- screenshots-only
For instance, if you wanted to add the screenshots from Google Play, you would use the shortcode:[ht_message mstyle=”info” title=”” show_icon=”” id=”” class=”” style=”” ][appbox googleplay com.myfitnesspal.android screenshots][/ht_message]
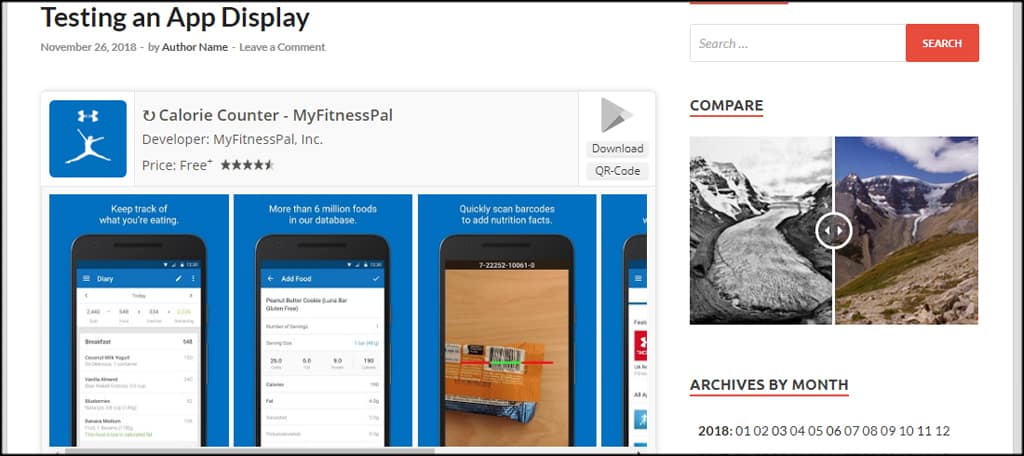
Pay attention to the “screenshots” portion of the shortcode.
Why Add Mobile App Badges to WordPress?
First, let’s start with what mobile app badges can do for you. Essentially, you’re showing an app banner in WordPress which allows readers to click and install the software.
Why would you want to do this? Well, it works better than a simple link as it’s more of a visual element rather than text. And people are more receptive to imagery.
How would this help you make money? By giving you the tools to inspire someone to click and install the app. And if you have an affiliate ID, such as with Amazon, you could create residual income from your content.
Reviews are some of the most sought-after types of content on the Internet. That’s because of how much of an impact reviews have in terms of generating interest and sales.
After all, roughly 84% of consumers trust online reviews as much as they do input from friends and family.
When you display mobile app badges in WordPress, especially if it’s part of a review, you help visitors find the app as well as generate clicks.
Keep the Audience Engaged
When you create badges for mobile apps in WordPress, you give visitors something extra for viewing content. Based on a review page, you could inspire users to install applications for various purposes.
You may even help drive the installations of your own apps to promote further sales or leads.
What kind of visual add-ons do you use in WordPress to “wow” the visitor? How often do you write reviews, and how well do they perform on your website?
i also want to show apps video from google play store. how to do that?
Thank you so much, Sending green hugs to the writers of this blog. Stay green.
At last, I was able to setup Wp – Appbox. Thanks for sharing.