With device screens getting smaller, providing your visitors with the ability to magnify images easily is more important than ever. An image magnifier lets you “zoom in” on specific areas of an image. The rest of the image remains the original size, with only the area of interest enlarged.
We’ve had the technology needed to magnify images for years, but implementing the effect has been complicated and time-consuming. If you’ve been looking for an image zoom WordPress plugin to make it easy, you’re in luck. We’re going to use the Image Hover Effects Ultimate plugin to achieve the effect in minutes.
No code, no muss, no fuss! Let’s get right to it.
Installing the Image Hover Effects Ultimate Plugin
Log in to your WordPress admin panel.
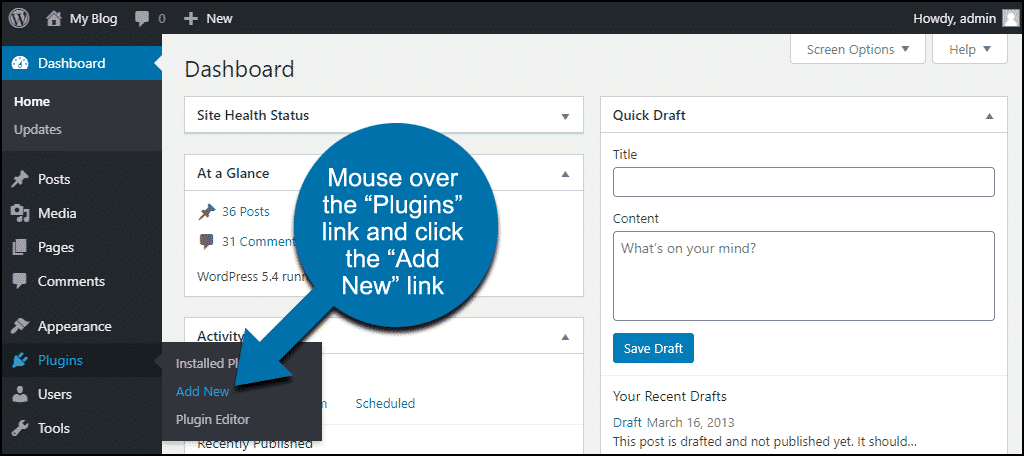
In the left column navigation, mouse over the “Plugins” link and click the “Add New” link.
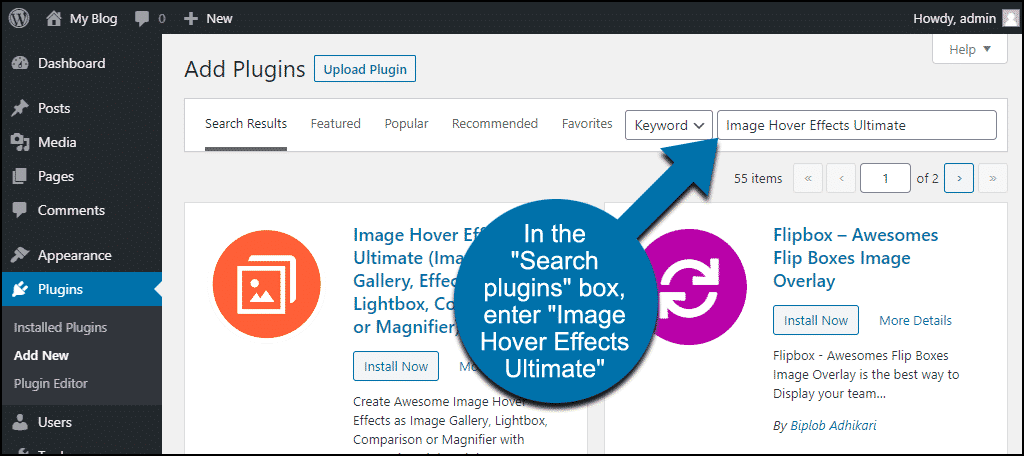
In the “Search plugins…” box, enter “Image Hover Effects Ultimate.”
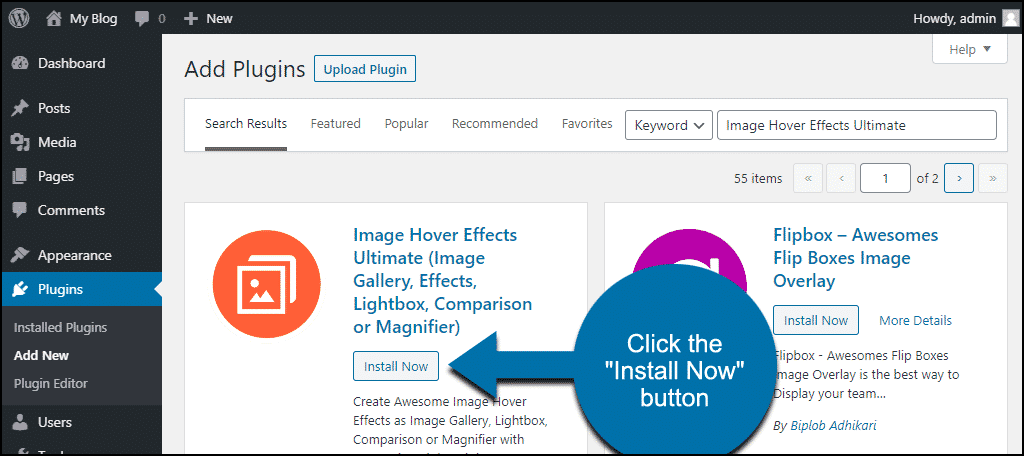
Once you have located the plugin, click the “Install Now” button.
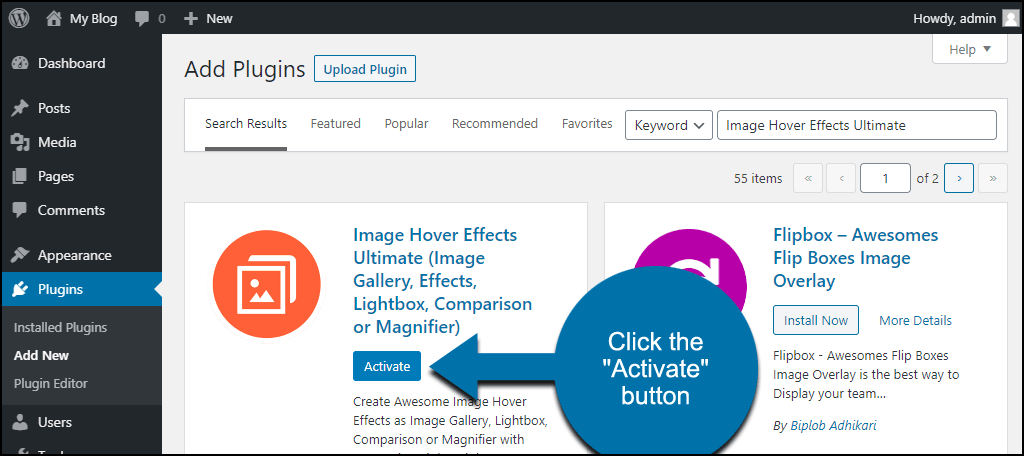
Finally, click the “Activate” button.
Magnify Images Using Image Hover Effects Ultimate
The way the plugin works, you create an image magnifier “Style.” The Style controls how the image magnification works as well as other configuration options. You can add multiple images to a Style. All of the images in a given style are displayed together in a column on the page or post.
There are eight steps involved in setting up a Style to magnify images, so this section is a bit long. I’ve numbered the steps so you can take your time and follow along.
1. Access Image Hover
In the left column navigation, mouse over the “Image Hover” link and click the “Image Hover” link.

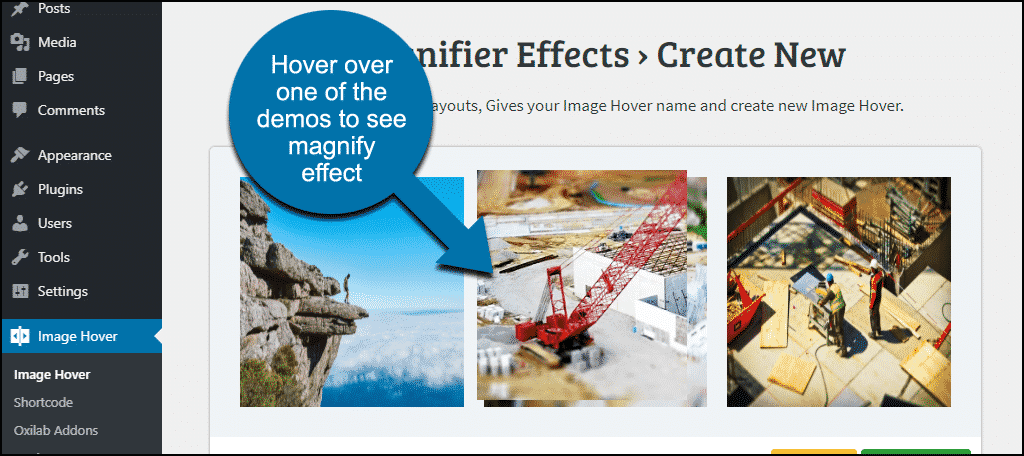
2. Use the Image Magnifier
Click the “Image Magnifier” tile.

You’ll see the three options to magnify images. One displays the magnified image to the right, another displays it to the left, and the other displays the magnified part of the image on top of the original image.
Hover over the demo images to choose which option you’d like to use.
3. Create the New Style
Click the “Create Style” button.
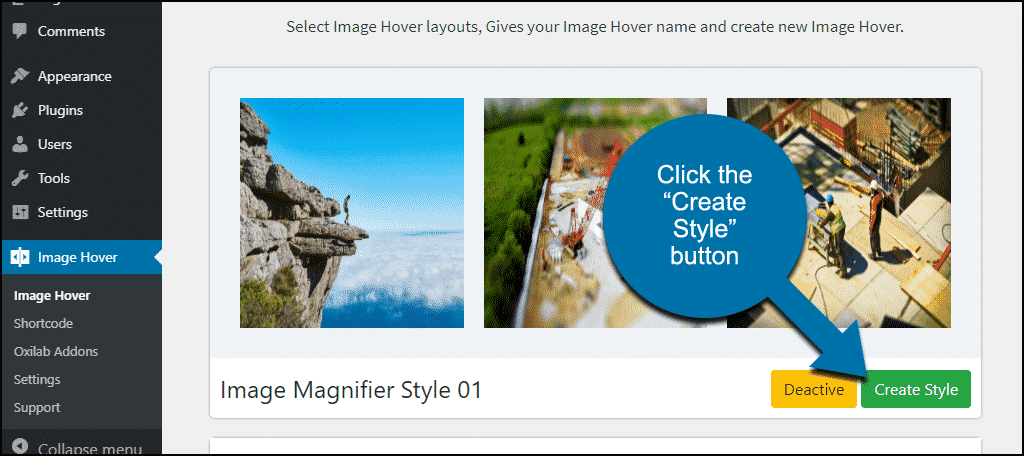
A “New Image Hover” popup will open.
4. Name and Save the Style
Give the style a name in the “Name” field.
Choose the magnification style you want from the “Layouts” buttons. (1st magnifies to the right, 2nd magnifies over the image, 3rd magnifies to the left.)
Click the “Save” button.

A configuration page will open.
5. Open a Form
Click the “Open Magnifier Form” tile.
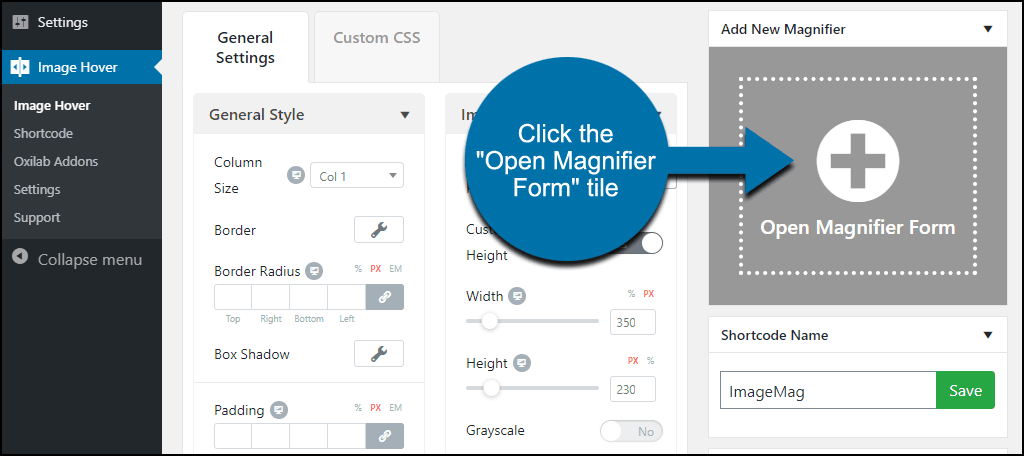
An “Image Hover Form” popup will open.
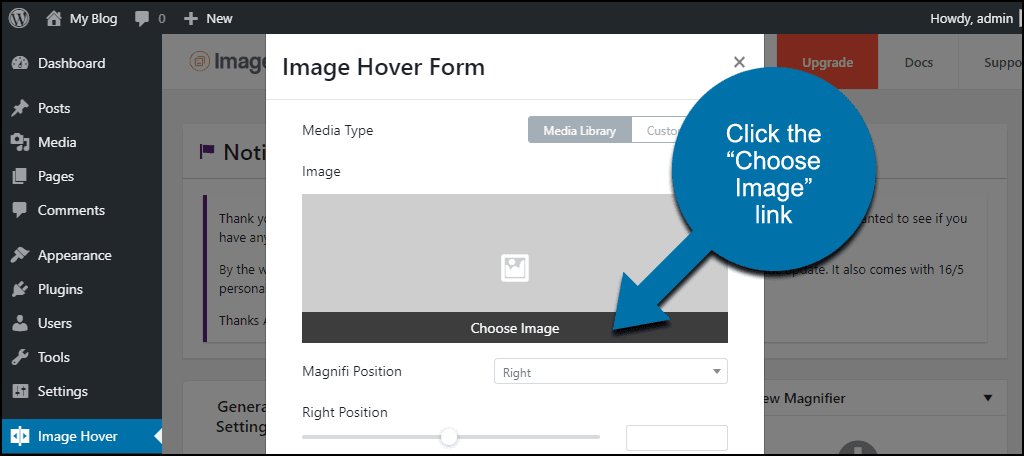
6. Open the Image Library
In the “Media Type” section, you have the option to choose an image from your Media Library or a URL. For this demonstration, we’re going to select an existing image from the Media Library.
In the “Image” section, mouse over the title and click the “Choose Image” link.
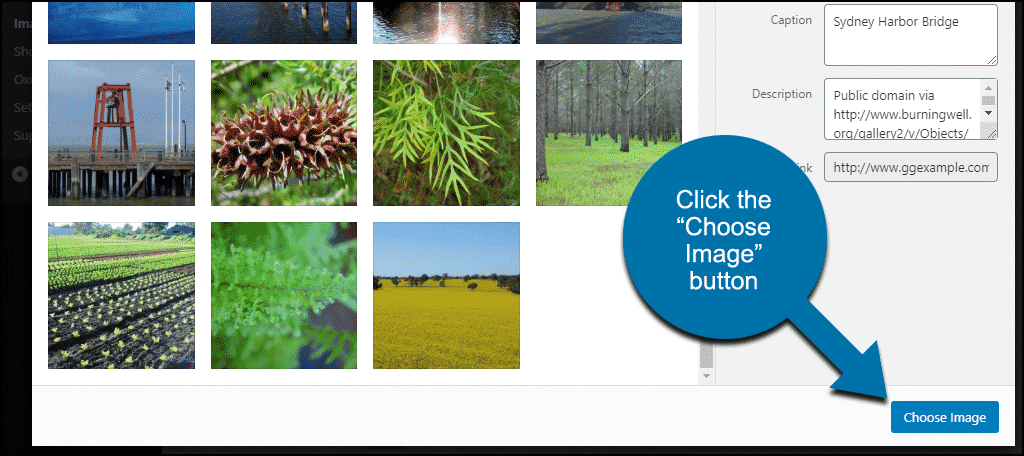
7. Choose Your Image
Your Media Library will open. Click the image you want to add magnification to and click the “Choose Image” button.
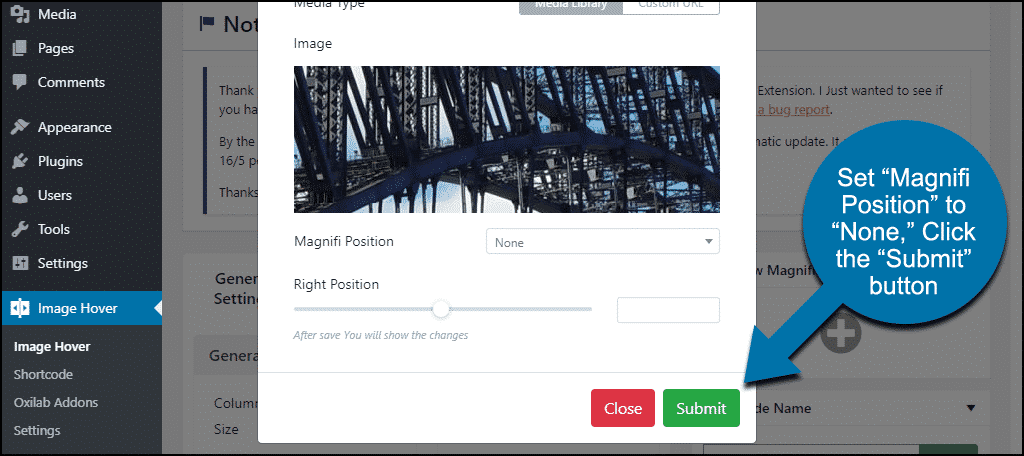
8. Fine Tune and Submit
Now we’re back at the “Image Hover Form” popup. You should see the image you selected from your Media Library in the preview pane.
I want the magnifier to lay on top of the image, so I’ll set the “Magnifi Position” to “None.” (I’m not sure why the setting is “None,” and not “Top,” but it is.)
We’ll leave the “Right Position” setting alone. That affects where the magnified image appears when the magnification is set to one side. Since we’re not going to magnify images to the side, that should stay at “0.”
Click the “Submit” button.
Adding the Magnified Image to a Page or Post
Okay, we’ve created a style and added an image. Now let’s insert the image on a page or post.
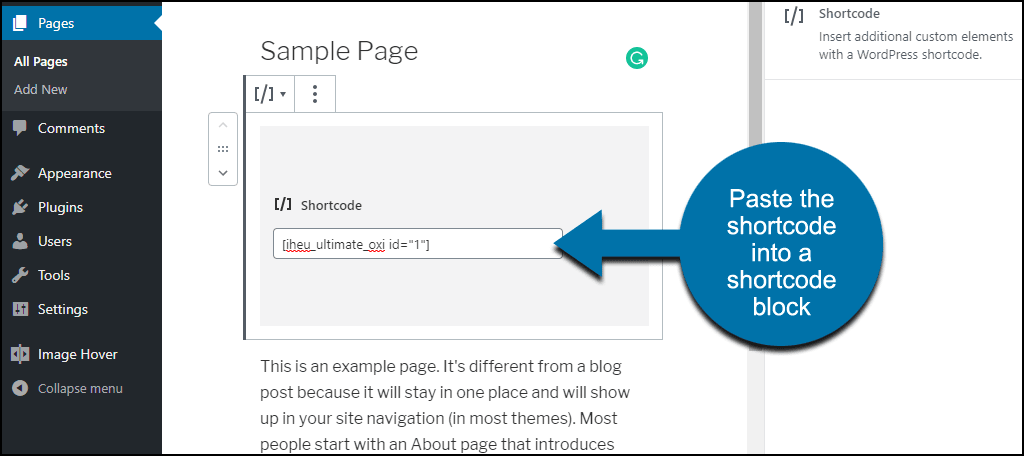
We’re still on the style editing page, and below the tile where we added the image, there’s a “Shortcode” section. In our example, the shortcode is [iheu_ultimate_oxi id=”1″].
Copy the shortcode.

Open a page or post and insert a shortcode block.
Paste the magnifier shortcode into the block. If you’re using the classic WordPress editor, just paste the shortcode into the page the way you’d paste any text.
Click the “Update” button to save the page.
Now when you view the page, your image is displayed where the shortcode was inserted. Hover over the image to see the magnification effect.
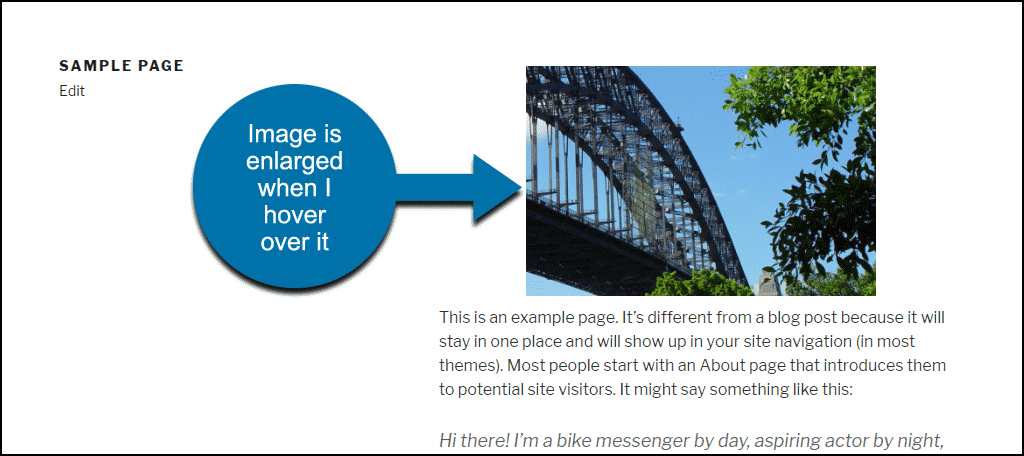
I can’t really demonstrate the magnify image on hover effect on a static image, but it’s working. 😉
Magnify Multiple Images by Adding Another Image to the Style
In the left column navigation, mouse over the “Image Hover” link and click the “Shortcode” link.

This page contains a list of your Styles.
In the “Name” column, you can see the name I gave the Style when we set it up, “ImageMag.” The shortcode can also be copied from this page. There’s PHP code as well to give advanced users the ability to insert Styles into templates.
Click the “Edit” button.

Now we’re back on the familiar editing page.
To add a second image, hover over the plus sign (+) icon in the “Add New Magnifier” section. Repeat steps 5 through 8 above to add an image.

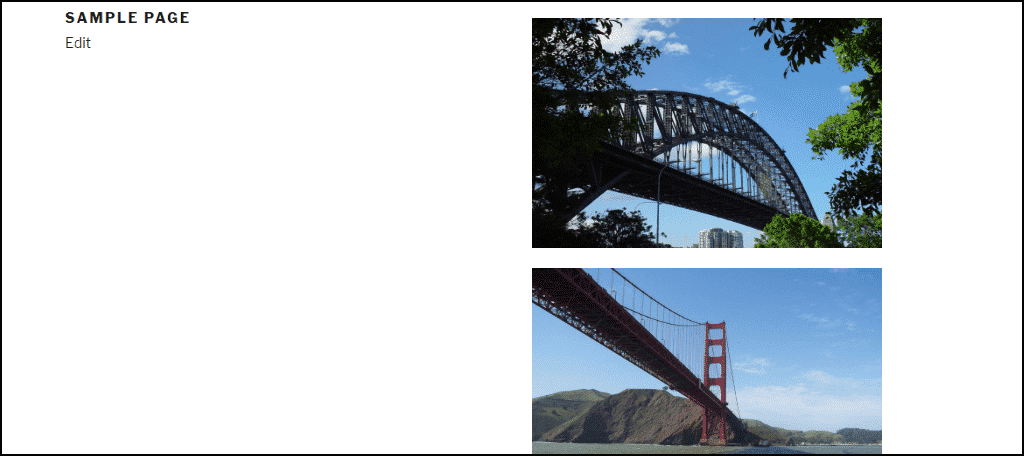
When the second image is added, scroll down to the “Preview” section. You’ll see the second image below the first image we added when we created the Style.

Then if you go to the page where we added the shortcode, you’ll see both images.
The Plugin Does More Than Magnify Images in WordPress
As you may have noticed in the “Image-Effects” section of the plugin, it does more than just zoom or magnify.
There are a ton of image mouse over tools, most of them involving captions. There are button animations, and my favorite, the “Image Comparison” function. Do yourself a favor and take a look at what else the plugin can do.
What Happens if You Uninstall the Image Hover Effects Ultimate Plugin
If you uninstall the plugin, pages and posts that used the plugin will be affected.
- The Styles that you created will be deleted.
- The plugin shortcodes will stop working, so the shortcodes themselves will be displayed anywhere they were used.
Theme Compatibility
I should tell you that I ran into theme compatibility issues with this plugin. Which is odd considering it was updated a month ago.
For each tutorial I do, I start with a fresh installation of the most recent version of WordPress. That includes the most recent default WordPress theme (which in this case was Twenty Twenty).
The magnification effect didn’t work in Twenty Twenty. Or the previous default theme, Twenty Nineteen. I had to go back to the Twenty Seventeen theme to get it to work (there was no Twenty Eighteen theme).
That doesn’t mean it won’t work in your theme.
But when I’m testing plugins, I limit myself to the themes that come with the WordPress installation. So I’m letting you know how it performed in those themes.
They Say the Eyes Are the Windows to the Soul
I don’t know whether that’s true, but I do know that we are visual creatures. We’ve been using images on the web since the first version of the Mosaic browser (ask your grandparents about that).
Anything we can do to enhance the presentation of images helps us retain visitors. So as many of your visitors transition to smaller screens, letting them see image detail more easily is a plus. The image magnifier that we’ve talked about here today does that and more.
Have you used older, manual versions of image magnifiers on your website? Do you think a WordPress plugin like this one would encourage you to use image magnification more often? Let me know in the comments.