The health of your WordPress site is extremely important. Keeping up-to-date with WordPress core updates, the latest PHP versions, and plugins all go a long way to keeping your site efficient. So, how can you run a WordPress health check?
There are a couple of different ways you can go about running a WordPress health check on your website. You can go through things individually and manually, or you can use a plugin that will track everything for you. The plugin way is most ideal, as you get an easy-to-read and understand list of what is wrong and how to fix it.
Remember, a WordPress health check is different than a security check. We actually want to see what s wrong on the site, if anything. Securing your WordPress website has different steps and functions involved.
Let’s take a look at how to easily run a WordPress health check.
WP Health
We are going to use a solid plugin called WP Health to make sure that our WordPress website is healthy, and running smoothly.
The plugin is lightweight, clean, smooth, and effective. Once it is installed it will add a WP Health page to the Tools menu. It will also add a heart icon to your WordPress admin bar if something needs attention after you have run a test.
It performs checks on everything, including running a WordPress plugin check to make sure that all your plugins are working how they should. Other things that the WP Health plugin will check on your website include:
- WordPress Version
- PHP Version
- Plugin Updates
- Inactive Plugins
- Admin Username
- Looks for Plugins That Are No Longer Supported
- Plugins With Known Vulnerabilities
- Checks For Theme Updates
- Looks at SSL
- File Editor
- Spam Comments
- Optional Rest API
Basically, you are covered with this plugin. Let’s look at how to install and use the WP Health plugin so it can fix any problems with WordPress you are having.
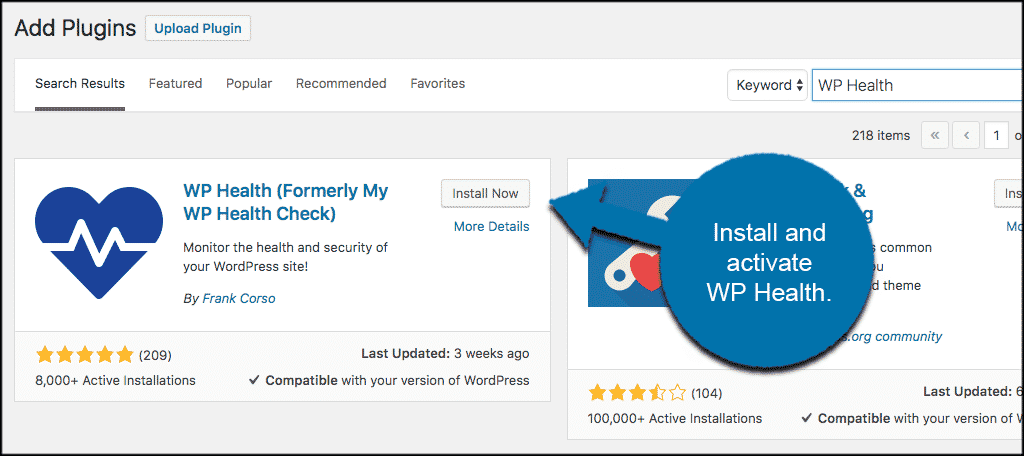
Install and Activate WP Health
In order to run a WordPress health check, you need to install and activate the WP Health plugin. You can do this from the plugins page in your WordPress admin dashboard.
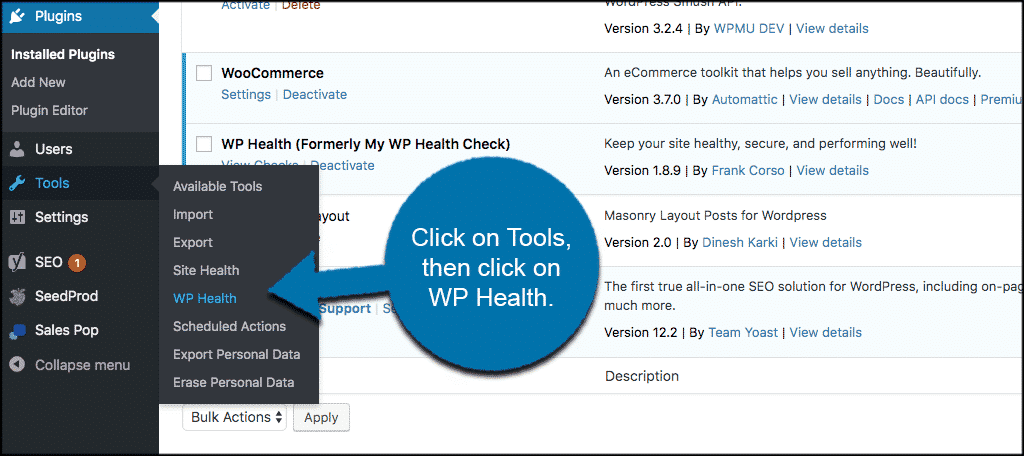
Once the plugin has been installed and activated, click on Tools > WP Health. This will take you to the WP Health “Check and Settings” page.
From here we can take a look at the two tabs you will see:
- Checks
- Settings
As I said, the plugin is very straightforward and easy to use.
Run a WordPress Health Check
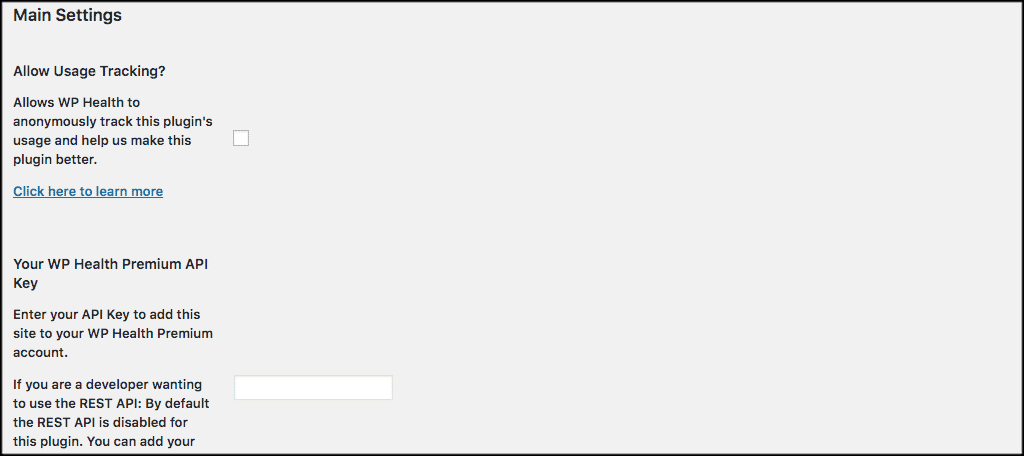
Now that you are on the setting’s page of WP Health, click on the “Settings” tab and configure the tool how you want.
You will see there are only a couple of options available. So, check the boxes if you feel they are appropriate for your website.
Now go ahead and click on the “Checks” tab. You will see that once the plugin was installed, it automatically ran its first WordPress health check for you.
WP Health breaks its health check down into four main areas:
- Server Checks
- WordPress Checks
- Plugin Checks
- Premium Checks
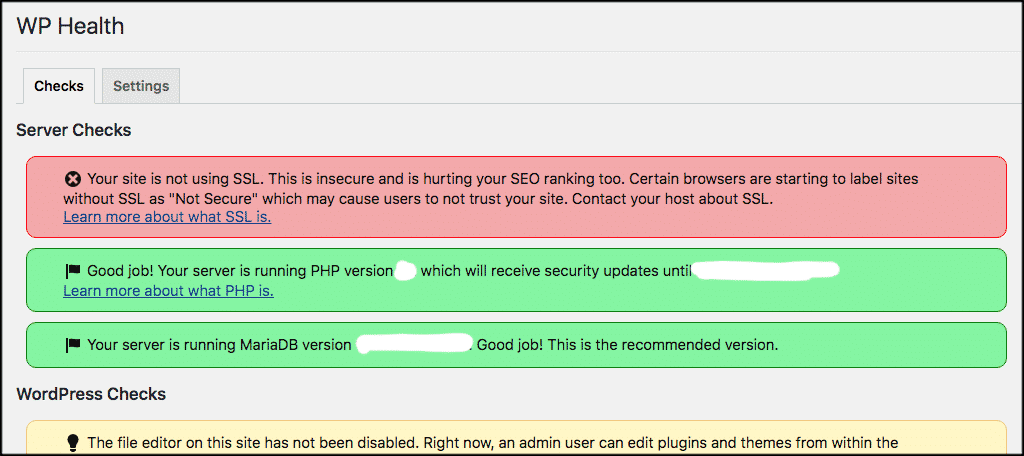
For this tutorial, I have left the results open for you to see how the setup looks. I wanted to make sure you saw all three conditions the plugin provides (green, yellow, red).
Server Checks
These checks make sure your server is using a recent version of database software. And then it breaks other things down from there.
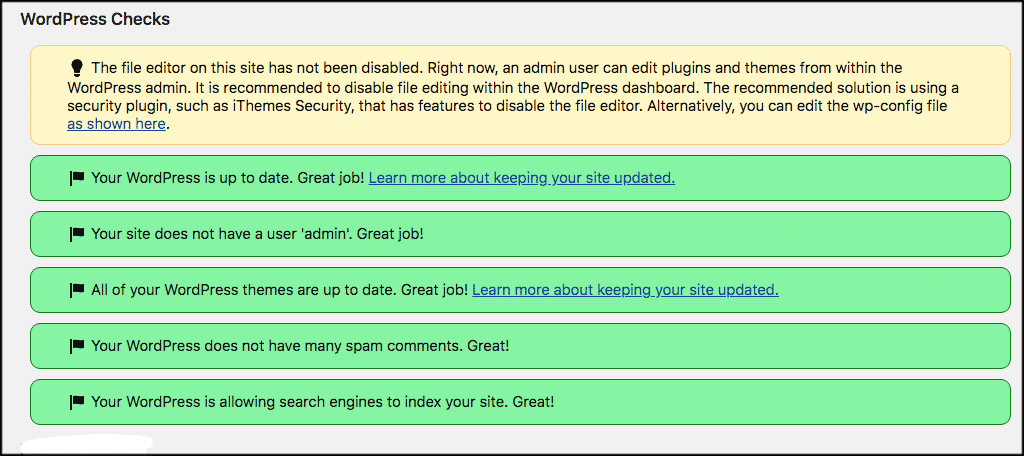
WordPress Checks
In this check, the system looks for the latest version of WordPress and other category information. The tool will look for things like “admin” users, spam and whether search engines are allowed to crawl your site.
Plugin Checks
These checks look for updates, inactive, non-supported and plugin vulnerabilities.

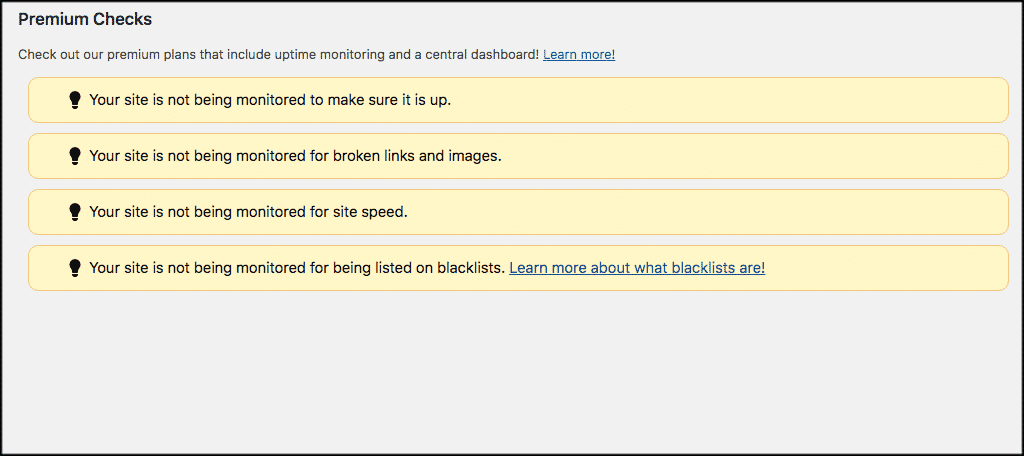
Premium Checks
If you have the premium version of WP Health, then it will also check for things like broken links and images, as well as site speed and other important website issues.
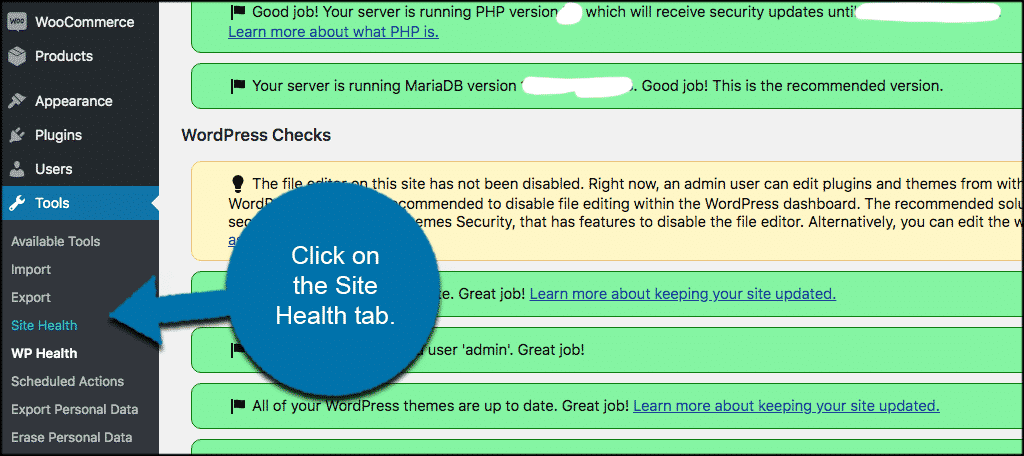
Website Health Status and Info
When you are ready to view the site health status, info, and recommendations, click on the “Site Health” tab and you will be able to see all of it.
You will see two clickable links: status and info.
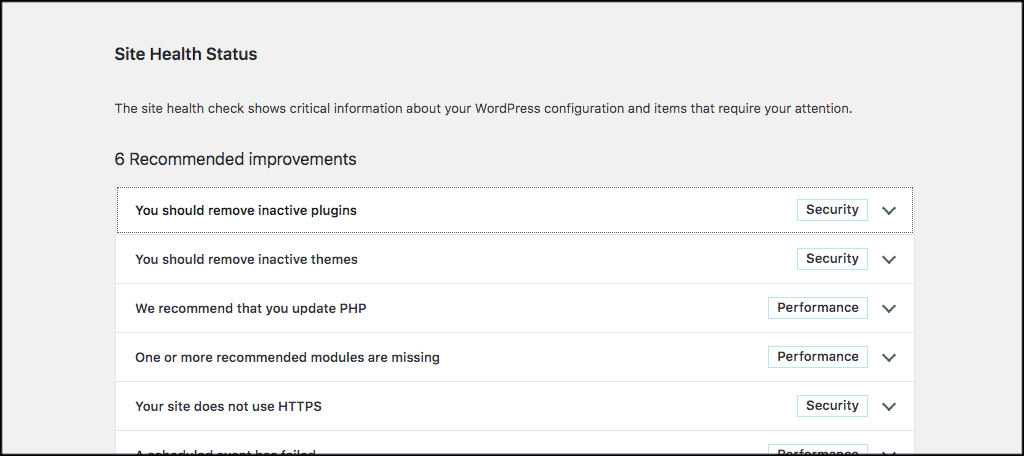
Status shows you the site health score and recommendations for improvement. Just click on any of the recommended improvement tabs to view the dropdown box of recommendations.
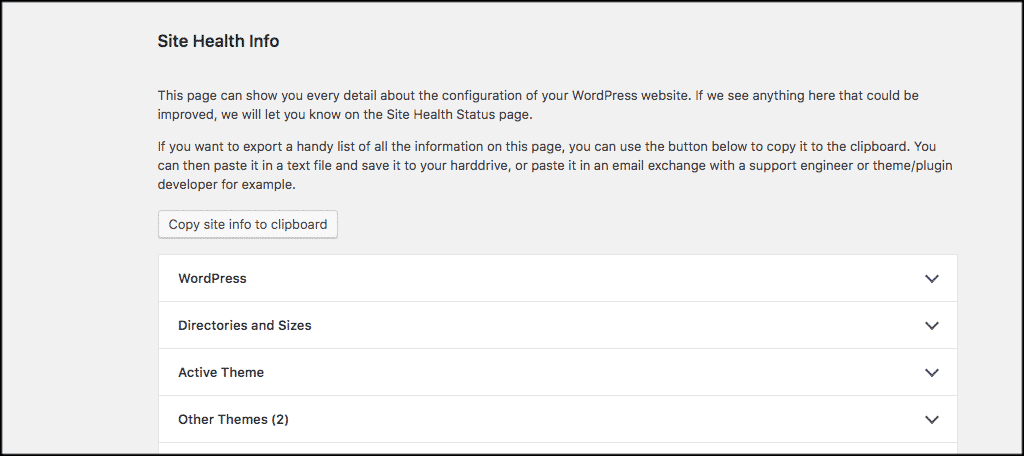
You can also view the “Info” link and get a full rundown of every detail and configuration that is on your WordPress website. Again, click on any box for info.
That’s it! You are now successfully running WordPress health checks in the background. You can view data at recommendations at any time.
Final Thoughts
Keeping your WordPress website healthy and running smoothly used to be a very long and arduous task. Now, with WP Health you can easily run a WordPress health check whenever you want. Furthermore, the information you are provided with for fixes, updates and recommendations should allow you to keep your website healthy at all times.
Have you ever used the WP Health plugin? Do you have a different preferred method of running WordPress health checks on your site?