
Have you encountered the request entity too large or 413 error message? The 413 error message is one of the many common WordPress errors you will encounter on the platform. The error message will generally occur when you upload a file that is larger than your WordPress upload limit.
Most web hosts have a large enough upload limit to support large media files like images.
However, it is quite common to upload a custom theme or plugin files directly, and the file size can far exceed the largest of images. This is the most common cause of the 413 error message in WordPress, but it is very easy to fix.
Today, I will demonstrate how to resolve the 413 error message in WordPress.
What Causes the “Request Entity Too large” Error?
The “entity too large” error or 413 error message in WordPress is caused by the maximum file upload limit being exceeded. The limit is generally set up by web hosts but should be big enough for most media files.
The issue is when you try to upload a plugin or theme file directly to your website. These files are much larger than image files, but it is still possible for an extra-large image or video to cause the error.
The best defense against the error is to understand your maximum file upload limit. If you are fully aware that you will exceed it, increase your maximum upload limit in WordPress, which is one of the methods I will demonstrate.
You may even consider increasing the upload limit just to make sure you never encounter the error.
When increasing any resource limits on your website, always increase them in necessary or reasonable increments. For example, you don’t want to set an upload limit that’s artificially high just to potentially prevent an error. Increase limits to meet your needs if you experience an error.
If you set a limit too high and a user decides to upload several gigabyte files, it can have a negative effect on your site performance. Remember that the limits are usually in place to ensure the proper operation of your site and other sites that share the server.
How to Resolve the “Request Entity Too Large” Error Message
The 413 request entity too large errors cause is straightforward to understand, and it is also very easy to prevent and fix the error from happening.
You will need access to your website’s cPanel before you begin. The login information is provided to you by your web host when you create an account with them. You should also create a backup of your website.
That will ensure that you can revert to a version that worked before you edited any files in case a mistake is made.
Step 1: Find and Edit Your Theme’s Functions.php File
While this method is effective, it requires that you make changes to WordPress theme files. Any time you do that, we recommend using a child theme. That ensures that upgrades to your theme won’t overwrite your changes.
If you’re unable to create or use a child theme, you might consider skipping to the next method and editing the .htaccess file to increase the upload limit.
We’ll start this method by logging into the cPanel and clicking on the File Manager option. The File Manager will allow you to access all of the files related to your website.
You need to locate your theme’s functions.php file. Click on the public_html directory, then click on the wp-content folder. Inside this folder, you will find all of the content related to your website.
Click on the themes folder and enter the folder of the theme you are currently using. Finally, right-click on the functions.php file and select the Edit option.
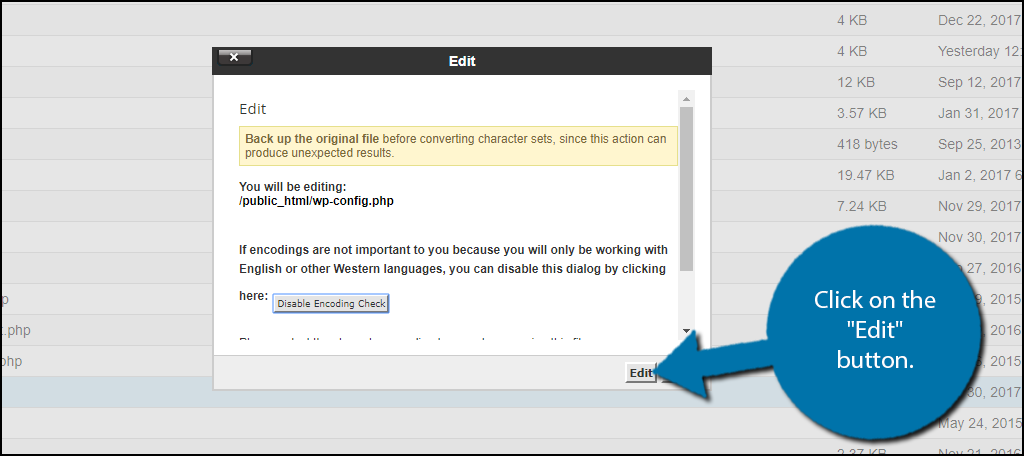
A pop-up window will show up. The box will warn you to create a backup of your files before editing anything. That will ensure that you can revert your website back to when it was working if something goes wrong.
Click on the “Edit” button. A new tab will open containing all of the code from the file.
Step 2: Increase the Maximum Upload Limit
To resolve the request too large 413 in WordPress, we need to increase the upload limit, which we are about to do. Just keep in mind that the reason the upload limit is small is to protect your website. If it was very big, then hackers could easily upload harmful files.
Increasing the maximum upload limit can be done with just three lines of code. Copy and paste the following lines into your themes functions.php file:
@ini_set( 'upload_max_size' , '64M' );
@ini_set( 'post_max_size', '64M');
@ini_set( 'max_execution_time', '300' );
This code will increase your upload limit to 64M and will allow 300 seconds (5 minutes) for the file to upload.
You may want to change the execution time if you feel that it is not enough time and increase the upload limit if it is not enough. You may also need to consult with your web host about your maximum upload limit.
Once you have inserted the code into the functions.php file, click on the “Save Changes” button to finish.
The WordPress 413 request entity too large error should now be resolved because the file should be within the upload limit you set.
The only problems with this method are, as mentioned earlier, that you’re editing a theme file, so using a child theme is recommended. In addition to that, you may not have the necessary permissions to access the functions.php file.
But don’t worry, there is another way to do it.
Step 3: .htaccess File Method
This method is very similar to the last, but instead of your functions.php file, you will add code to the .htaccess file. The file will be in your public_html directory. If you do not see the file here, it could be located somewhere else, or it could simply not be visible. If this is the case, please read this article on how to find the .htaccess file.
In some cases, your site may not have a default .htaccess file. You can create the file in any text editor and upload it to your site. Just be sure there isn’t an existing .htacces file, or you’ll overwrite it with the new file.
Copy and paste the following lines of code into the .htaccess file:
php_value upload_max_filesize 64M
php_value post_max_size 64M
php_value max_execution_time 300
php_value max_input_time 300
Once you have inserted the code into the .htaccess file, click on the “Save Changes” button to finish.
Congratulations, using either of these methods should resolve the 413 error message. If, for some reason, you cannot increase your upload limit, contact your web host. If you don’t like their answer, it may be time to switch to a new host.
Be Aware of Your Website’s Limits
Understanding what your website can and cannot do is essential as a web developer. It can save you from a lot of error message problems in WordPress.
Not only should you understand your website’s limits, but also your own as a web developer. Some web developers simply do not have enough experience editing code to do advanced coding techniques. That may be disappointing to hear, but it is better to avoid attempting something that is above your skill level.
The methods I’ve outlined here should be within reach of most of us. Just follow along with the steps and make sure to take the precautions that I’ve mentioned and you’ll be fixing the 413 error yourself in no time.
How large did you make your upload limit? Did you need to make the execution time longer than 300 seconds?