Did you know there use to be WordPress dashboard columns? In update 3.8, WordPress changed the way the dashboard appears. This was to embrace a more responsive approach that you can see today, which is quite popular.
However, for those who liked to customize the appearance of their dashboard, this change was a big step back. Luckily, like everything in WordPress, there is a plugin that can add columns to your WordPress dashboard.
Today, I will demonstrate how to do this with the Dashboard Columns plugin.
Why Dashboard Columns Are Great
The premise about switching to a more responsive dashboard was to help mobile users and to be perfectly clear, it is great for those developers. However, if you are like me, you probably do all of your work from a laptop or desktop.
This means having control over how your dashboard looks is a much more useful feature to have.
Dashboard columns allow you to decide where every item is placed and it will always be in that location. This is extremely handy if you have a lot of stat tracking tools on your dashboard.
For example, let’s say you like to take quick glances at these stats. If they are in a set location, you know exactly what they are and can quickly move on. However, if they move around, like in a responsive design, you are going to need to locate it first.
While this won’t take very long, it can be annoying.
Installing Dashboard Columns
The Dashboard Columns plugin was created for this exact purpose. It will add columns to your WordPress dashboard and there are no additional settings to change. It works upon activation and is intuitive to use, so let’s get right into it.
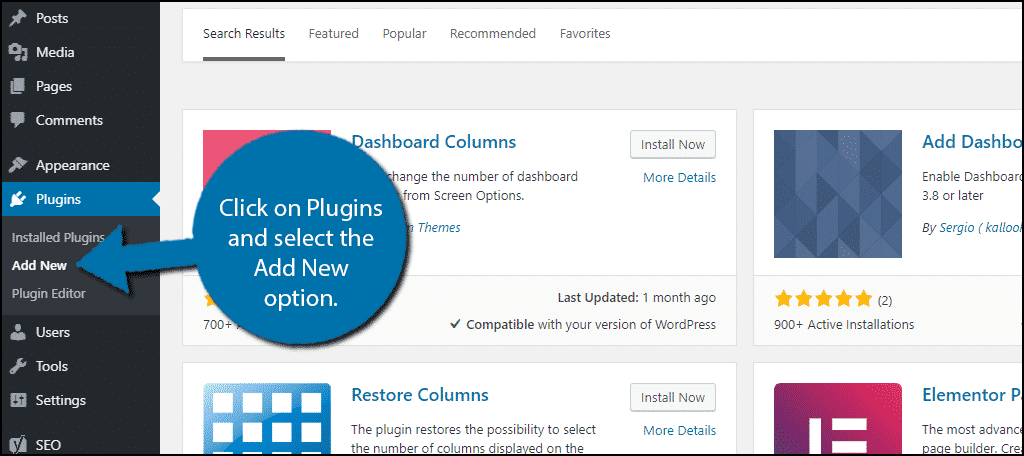
Click on Plugins and select the Add New option on the left-hand admin panel.
Search for Dashboard Columns in the available search box. This will pull up additional plugins that you may find helpful.

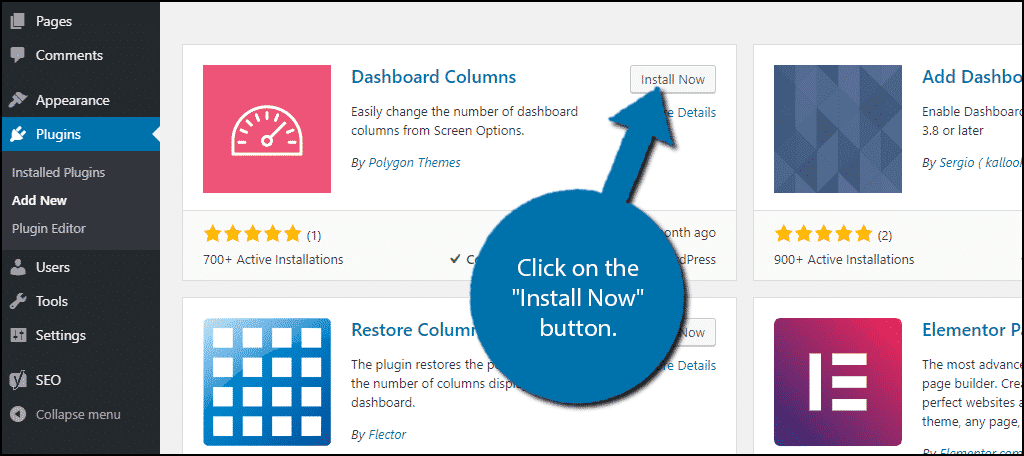
Scroll down until you find the Dashboard Columns plugin and click on the “Install Now” button and activate the plugin for use.
Using Dashboard Columns
Upon activation, the plugin is fully active. Visit the Dashboard area of WordPress.
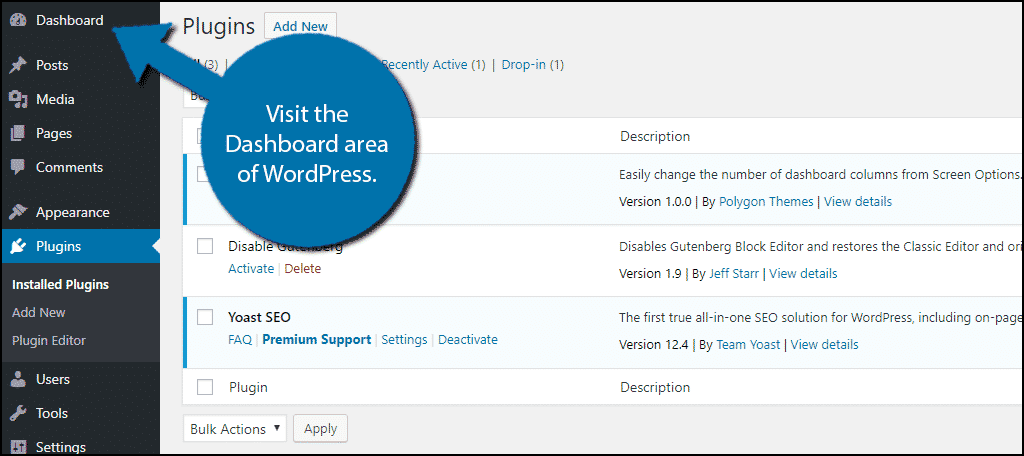
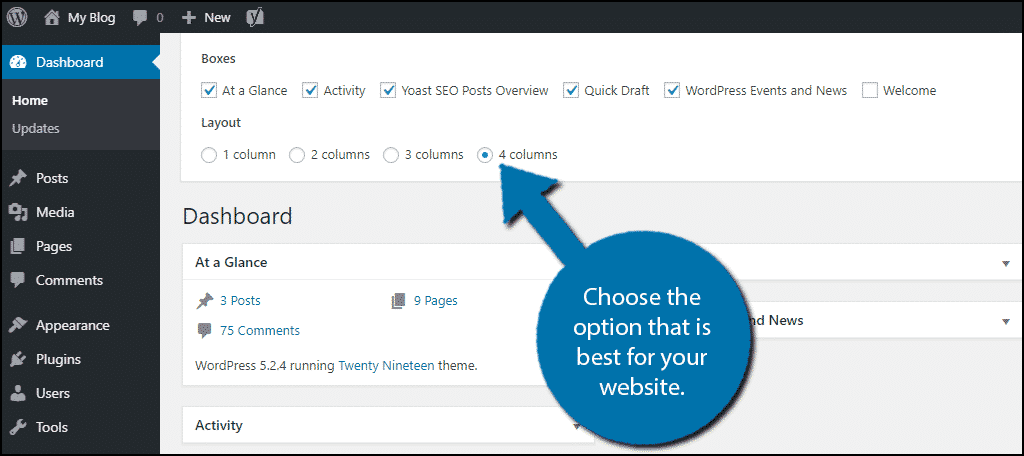
There are no settings to configure or change for this plugin, the only choice you need to make is what layout to select.
Click on Screen Options.
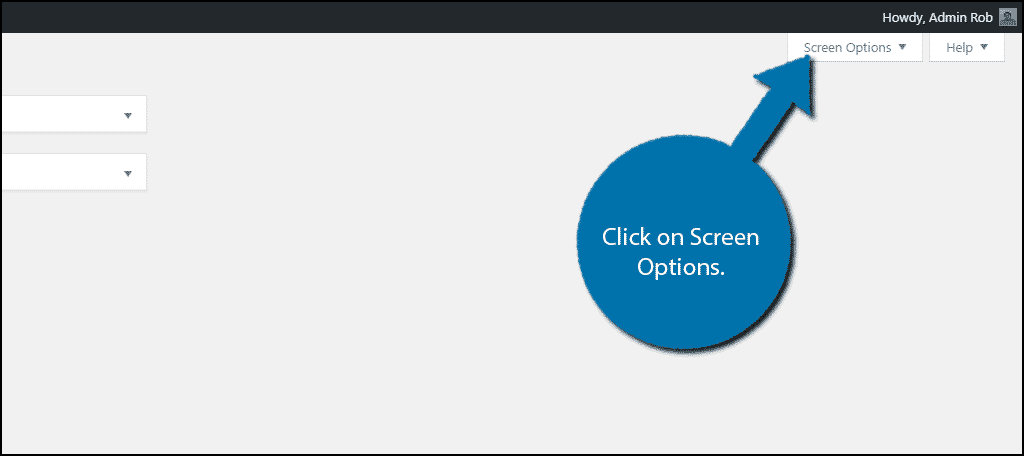
Without the plugin installed, you would only see the Boxes section. This lets you pick what appears on your dashboard. However, with the plugin, you will notice the layout section.
You have four choices 1, 2, 3, or 4 columns. The columns will resize automatically depending on your selection. You can change it any time, thus I recommend testing how each one looks. Simply pick the one that best suits your needs.
To move where a dashboard widget is, simply hover your mouse over it. You should see your cursor change into a cross shape. Simply drag it to the appropriate spot.
Congratulations, you have successfully installed and used the Dashboard Columns plugin.
Make The Most Of Your Dashboard
Your dashboard is intended to help you stay informed of your website’s activity. Thus, you should be in control of how it looks. While there isn’t anything wrong with the default dashboard, adding columns grants you more customization options.
Although it is worth mentioning that doing so may not look good from a mobile device. Remember, the entire point of the responsive design is to improve mobile visibility. But if you don’t check your website admin dashboard on a mobile device, there really isn’t a drawback.
Do you prefer using a column dashboard layout in WordPress? Do you think WordPress should have this as a built-in option?