Does your website use a lot of time-sensitive post content that needs to be deleted later on? Many websites create posts that are only relevant for a short amount of time. These may be posts about specific deals or holidays, but you don’t want them on your website after a certain day.
Unfortunately, WordPress does not have any built-in features that deal with deleting time-sensitive content. Thankfully, WordPress is a platform with thousands of plugins to choose from. Each plugin can add a unique feature not found on WordPress. Today, I will demonstrate how to set an expiration date on post content in WordPress using the Post Expirator plugin.
Couldn’t I Just Manually Delete Them
Of course, but this takes time, very specific times. For example, let’s say you are running a deal on a product that lasts until 2 am. If you want to remove that deal, you would need to be awake at these hours. For large websites that have 24-hour staff, this isn’t an issue, but for smaller websites, it is. For this very reason, many websites will also use an automatic scheduling plugin to publish their content on time.
Now take a second to think about how accurate and quick employees typically are. You do not want this deal removed at 1:58 am or 2:01 am because it says exactly 2 am. Having a timer to automatically remove it with no need for human input is necessary for this kind of accuracy.
How to Set an Expiration Date on Post Content in WordPress
Today, I will demonstrate how to set an expiration date on post content in WordPress using the Post Expirator plugin. This plugin has over 80,000 active installs and makes the deletion process simple and accurate. This plugin will allow you to set an expiration date for any post content, past or future.
You may be wondering if the post should actually be deleted or not. The answer is this is your choice. You can choose between actually deleting the post and unpublishing it. The second option will allow you to use it again if you need it.
Installing The Post Expirator Plugin
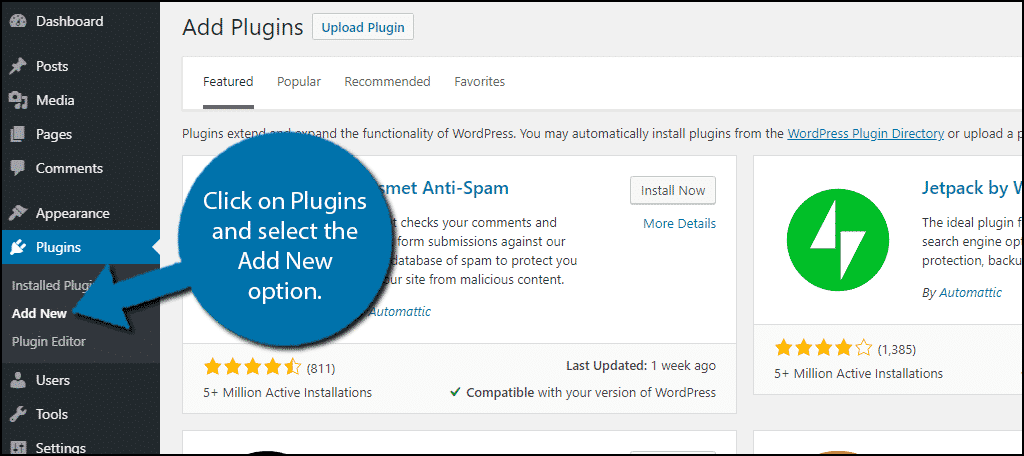
Let’s start by clicking on Plugins and selecting the Add New option on the left-hand admin panel.
Search for Post Expirator in the available search box. This will pull up additional plugins that you may find helpful.

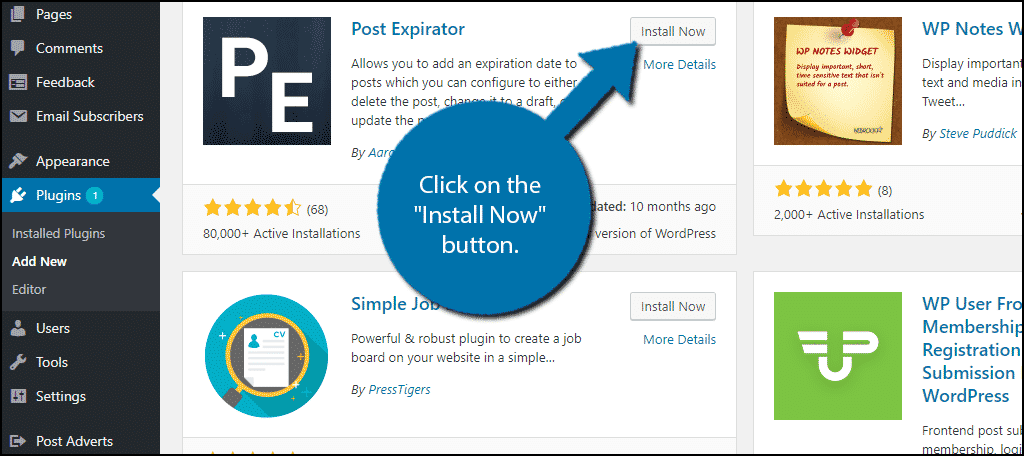
Scroll down until you find the Post Expirator plugin and click on the “Install Now” button and activate the plugin for use.
On the left-hand admin panel click on Settings and select the Post Expirator option. This will pull up the main settings page.

Setting An Expiration Date on Post Content
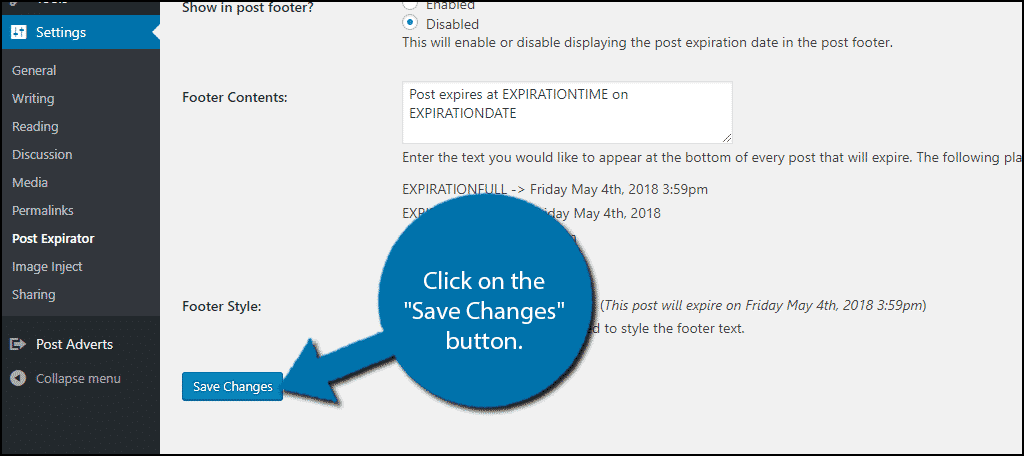
The main settings page has a lot of customization options. These include things like date formats, time formats, category expiration, email notifications, and footer messages. It is very important to select the date and time formats that you use around your website. Using different ones could lead to confusion around your website. Go through each setting and change it to meet your website’s needs. The default settings will be satisfactory for most websites. Click on the “Save Changes” button to save your work.
Go to any existing post or create a new one. On the right-hand side, locate the Post Expirator box. By default, it is disabled. Check the Enable Post Expiration checkbox.
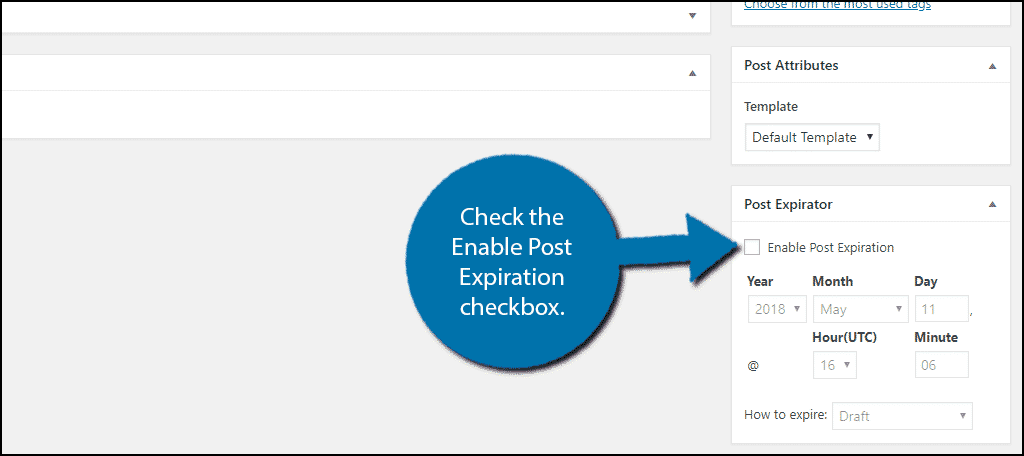
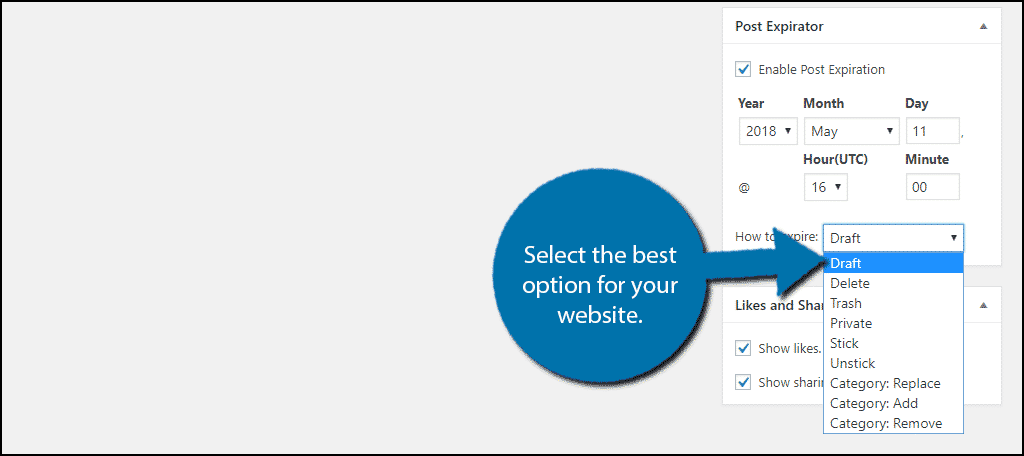
Once this box is checked, you can start setting up an expiration date for your post. First, you need to set up the date and time.

Now you need to choose what will happen on the expiration date and time. The default option is to turn the post into a draft and this is my personal recommendation. In most cases, time-sensitive content will be used again or modified for other content. Deleting it is a waste, but the plugin offers nine options. There are a lot of options that you can choose from. Choose the option that best suits your website.
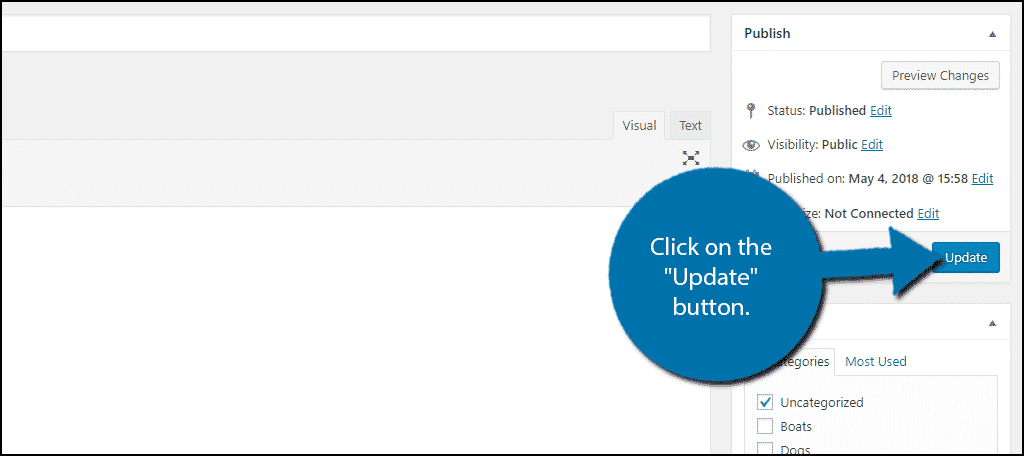
Now click on the “Update” or “Publish” button to save your work.
Congratulations, your post will now expire on the date and time you chose. What that post does is up to you, but I recommend making it a draft. This will ensure you can use it again or modify it for a different use at a later time.
Ensure Time-Sensitive Content is Accurate
There is nothing worse for shoppers to see a deal advertised and go to a store or website and see the deal has expired. It causes frustration and disappointment for those shoppers. People are much more likely to leave negative feedback when something goes wrong than they are to leave positive feedback when something goes right.
A bad experience can scare customers away and you do not want that to happen. The best solution is to always make sure everything on your website is accurate. Not only does this avoid potentially bad situations, it also builds shopper confidence.
How easy have you found the plugin to use? What have you chosen to do with the content when the expiration date passes?