As you probably know, there is duplicate content all over the Internet. Sometimes it is for informational purposes, sometimes it is approved through sharing. And sometimes it is news-related content that all platforms publish. However, oftentimes, there are people simply trying to steal your content. Here is how you can copyright a blog.
There is no specific type of blog or website that is immune from copyright infringement. There is also a lot of misconception (whether intentional or unintentional) that things produced on the Internet are not copyright protected.
It is always a good idea to add a blog copyright statement on your website. Whether it be on every page, post, somewhere else visible, or in your terms page, the choice is yours.
Today, I will go over a plugin with you that will help protect your content on a WordPress website. You have a few different ways of doing this, depending on the type of content you want to protect.
Let’s dive in some and talk about Internet copyright laws and talk about how to copyright a blog.
Copyright Blog Infringement Online
As I stated above, it is a common misconception that when something is online it is not covered by copyright, and thus can be used freely. This is actually not true at all.
Copyright law applies to online content, just as it does to offline content. It should be noted that the prerequisites for copyright protection do have to be met in order for the law to apply.
If these are met, and you use someone else’s work, then you could be liable for what is called “copyright infringement.” Basically, copyright infringement exists if you exercise one or more of the exclusive rights held by a copyright owner.
A copyright owner has the following exclusive rights:
- Ability to reproduce the work in copies
- Prepare derivative works based upon the work
- Distribute copies of the work to the public
- Perform the work
- Display the copyrighted work
Note: In the case of any sound recordings, performing the work publicly means digital audio transmission.
So you can see, even without getting into any further details, copying online work can get you in trouble, and owners do have the right to protect their copyrighted material on the Internet.
So how do you copyright a blog? Well, in this case, we are going to use a plugin that will help you display everything you need to display proper WordPress copyright on your site.
The process isn’t difficult, you just need to take a few minutes to set it up. Let’s take a look at the plugin we will install and run together today.
Copyright Proof
Copyright Proof is a powerful plugin that will help you prove ownership and protect your copyright. Provided by Digiprove, they help you obtain a digitally signed and time-stamped certificate of content for all your WordPress posts and pages. This is for proof of copyright.
There is a lot of functionality that the plugin offers. Some of the best ones include:
- Ability to insert combined certification, copyright, licensing, and attribution notice at end of post
- Show your post URL on the Digiprove website
- Anti-theft feature to copy-protect your content
- Record IP addresses of people trying to take your content
- Supports multiple users
- Compatible with Gutenberg block editor
Basically, Copyright Proof gives you all the tools you need to protect your content online and copyright a blog.
Let’s take a look at how to get the plugin installed and activated.
Install and Activate Plugin to Copyright Blog
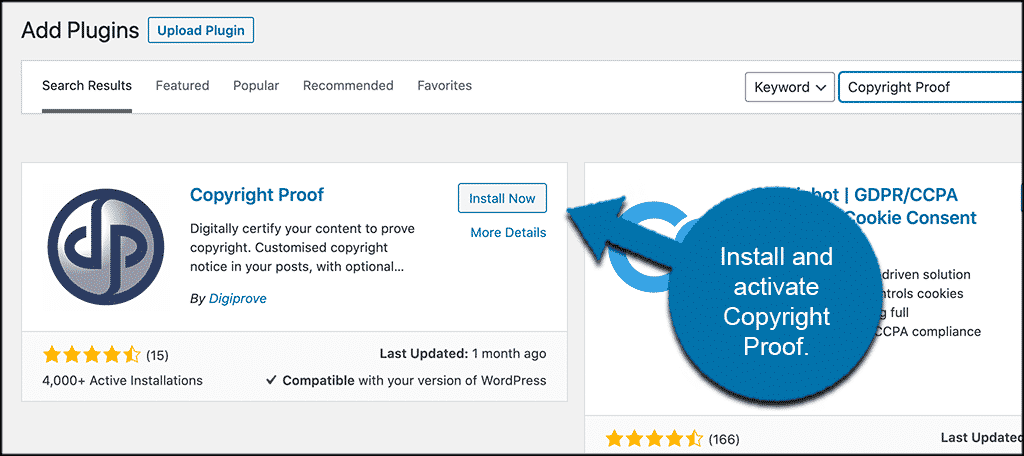
In order to copyright a blog properly, you first need to install and activate the Copyright Proof plugin. You can do this by going to the Plugins page inside the WordPress admin dashboard of your website.
Simply search for the plugin by name and install it right from there.
Once the plugin has been installed and activated, you need to access the main configuration and settings page. To do this, click on Settings > Copyright Proof.
You will see this in the left menu area after you have activated the plugin.
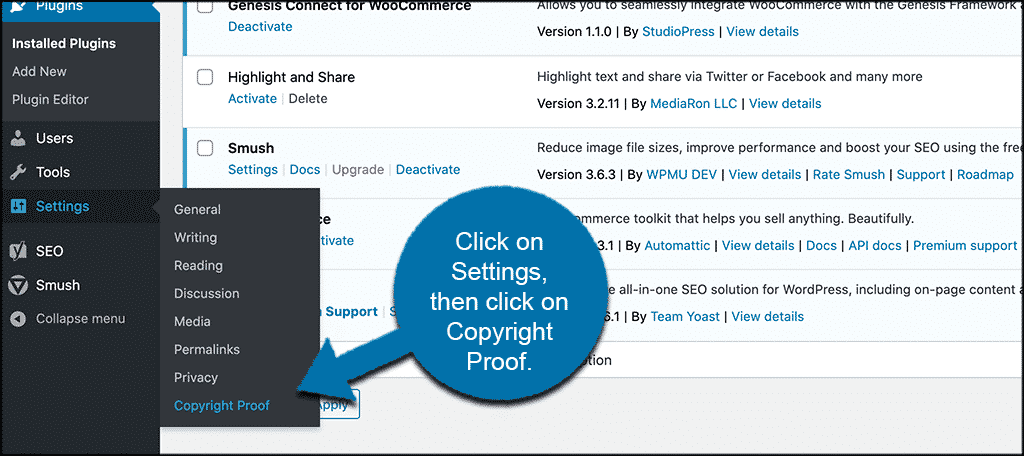
This will take you to the main setup area where you can get it all up and running. Let’s go over that together.
Setup Copyright Protection
At this point, you are on the main configuration page for the plugin. You will see 7 colorful tabs on display. These include:
- Basic
- Advanced
- Digiprove Certificate
- Certifying Content
- License
- Copy Protect
- History
Let’s go over these together and complete setup so that you can properly copyright your blog.
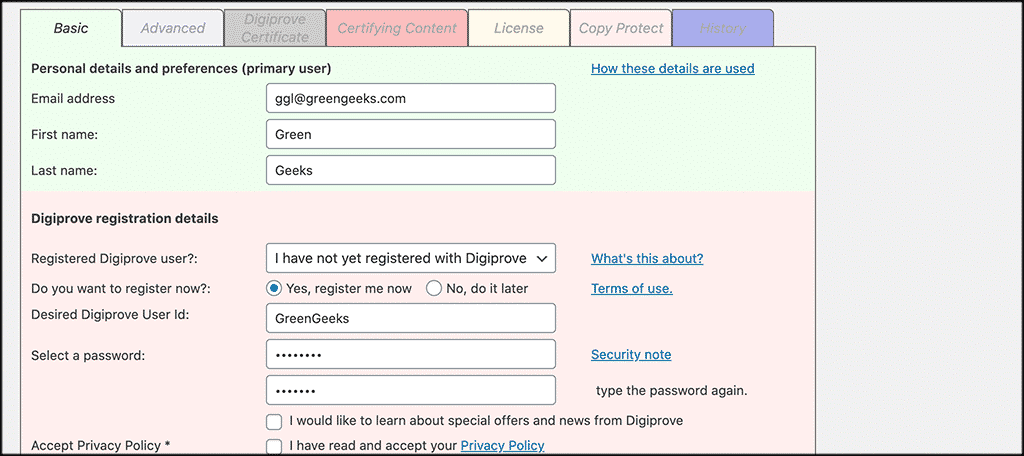
Basic
Under the basic tab, you need to set up some essential info. That being said, you also need to go register at Digiprove so that you can get everything you need out of the plugin.
You won’t be able to click through any of the other tabs until you register. Fill this content out under the basic tab and register an account on Digiprove real quick.
All you do is fill the info out right there, verify your account via email, and you are all set.
Once you click on the “Update Settings and Register” button, you will receive this message:
*Digiprove Settings Updated. Digiprove user registration was successful, check your email for the activation link
Activate the link in the email and you are done.
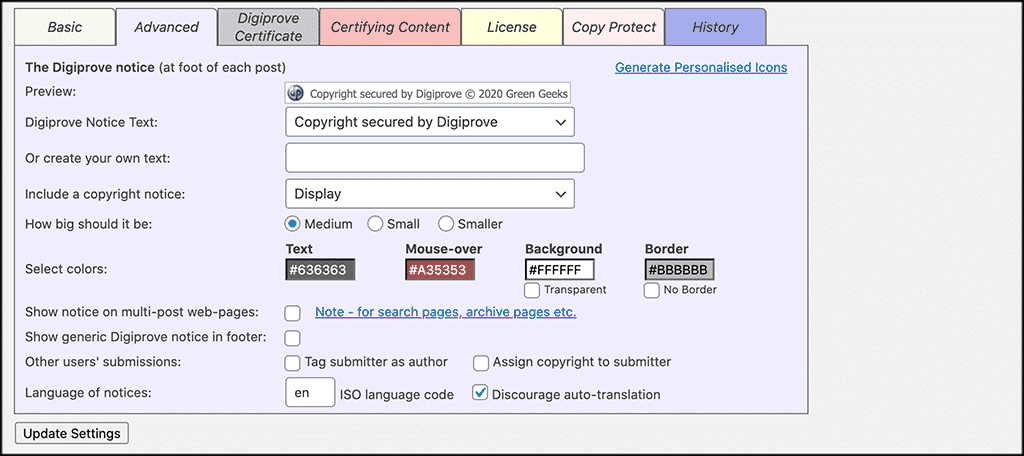
Advanced
Now that you are registered and activated, you can move on through the tabs. The advanced tab is where you can set your notice text, colors, and a few other configuration options.
Set this up according to what you want displayed on your site.
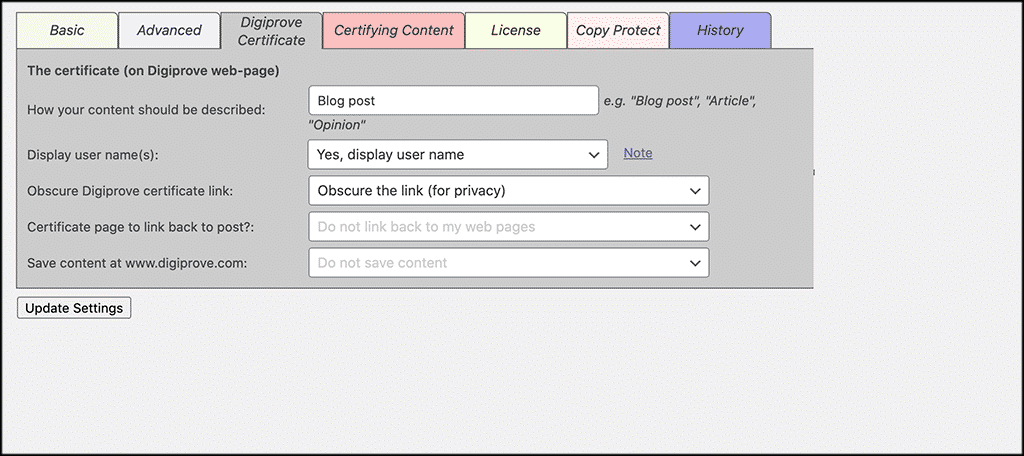
Digiprove Certificate
Set your Digiprove certificate to display how you want. You will also be able to set certain links and posts.
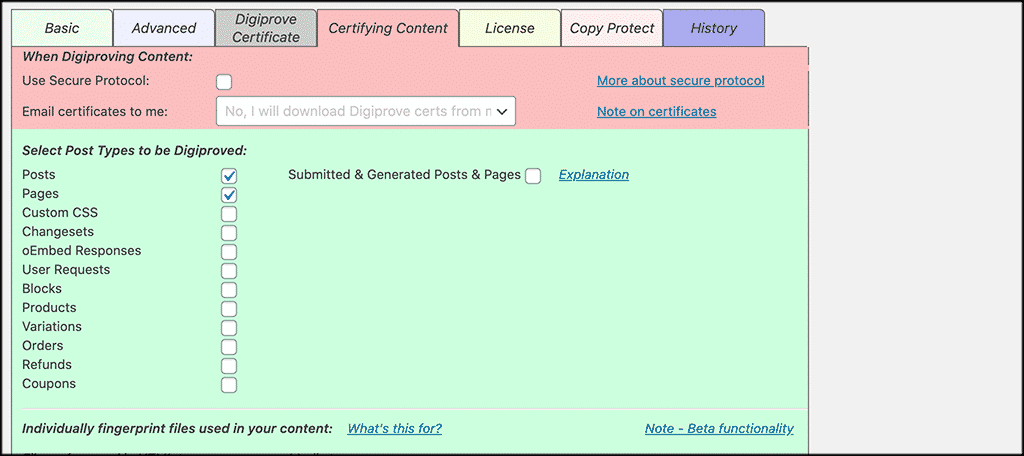
Certifying Content
Set up and configure how you want all the content to be certified. This is just another section that helps you copyright a blog.
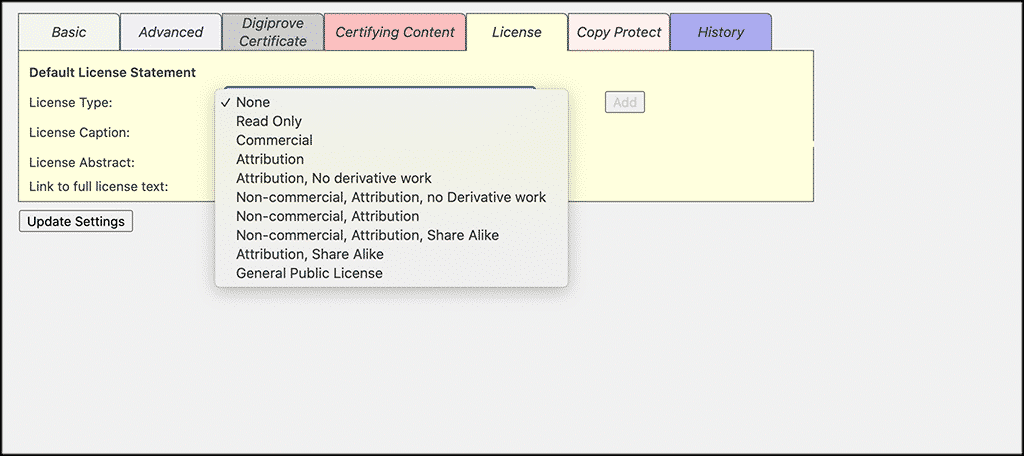
License
Set your license type, along with captions and other options under this tab.
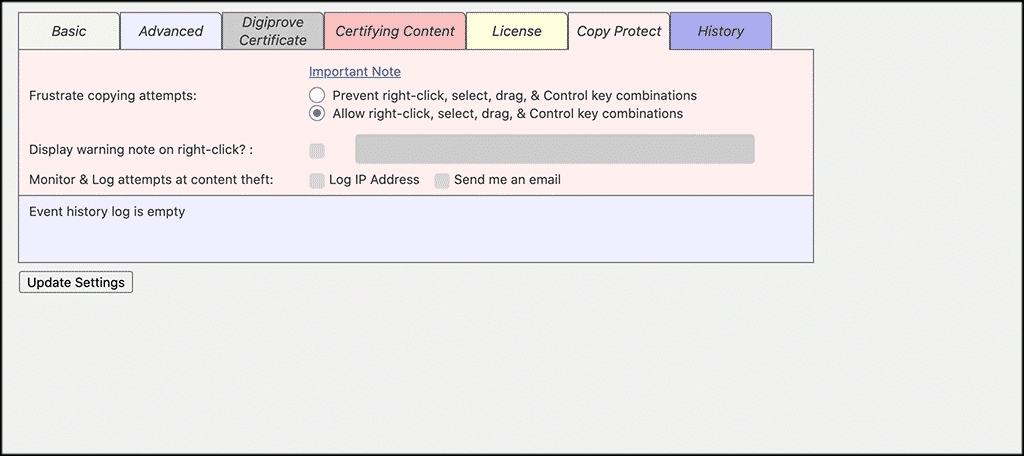
Copy Protect
This is where you can copy protect content. Set this up any way you want. You can frustrate copying attempts and some other things as well.
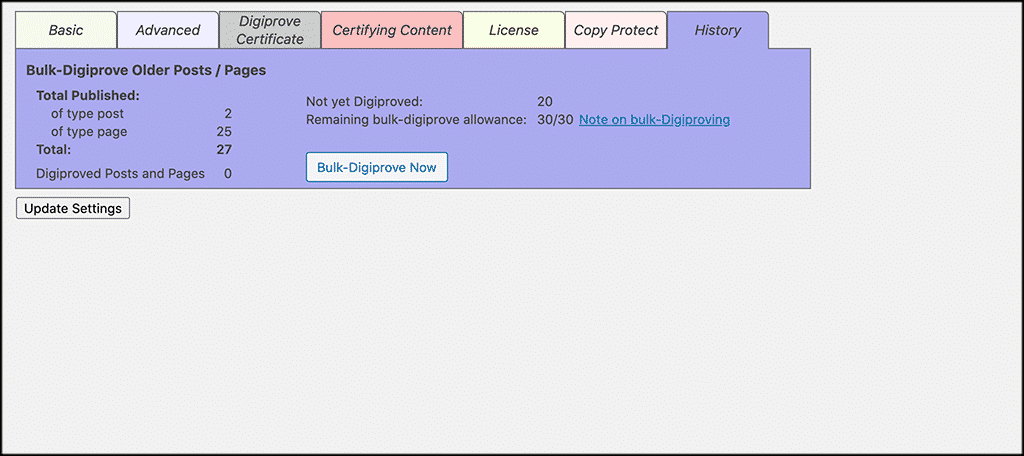
History
This tab collects your full history using the plugin. You can see all your stats by going here.
That’s it! You are all done with configuration and have now put something in place to copyright your blog. Congrats!
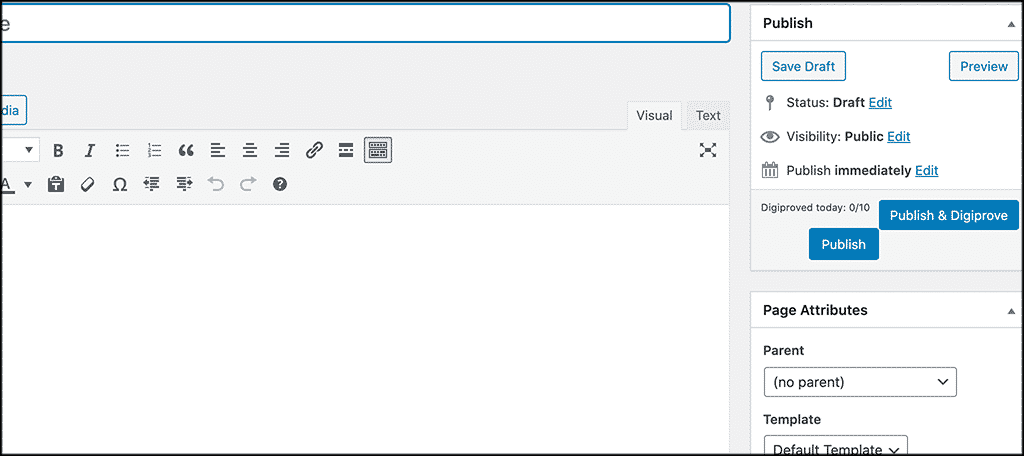
On any new post or page, you will now see the option to either publish content, or “Publish and Digiprove” content.
Final Thoughts
When you put a blog copyright in a footer, that doesn’t always do the trick. Plus, it doesn’t give relevant notices and provide you with the protection you really need on your blog. Making sure your website is protected is always important.
Remember, everyone is subject to copyright laws, whether content is published online or not. You just need to get the right tools in place to properly copyright your blog.
Using the plugin above will provide your blog with the proper content protection it needs. Now that you have this tool at your disposal, you should feel much more comfortable when you share and display your unique content.
I hope this tutorial was able to show you how easy it is to properly copyright a blog.
Have you had content stolen online in the past? What steps did you take to protecting your material?