Do you want to archive some of your older content without deleting it? As websites age and your content evolves, older content that you have created can sometimes seem out of place. This is partly due to your website’s quality control increasing over the years, how websites are ranked on search engines, SEO, how it has changed over the years and how it directly affects how content is created.
Of course, just because content is old does not make it unreadable. You can simply remove it from your website by archiving it. This will not delete content. It will be stored and can be viewed later. Today, I will demonstrate how to archive a post while not deleting it in WordPress.
Why Hide Older Content Instead of Deleting It
So you may be asking yourself, why not just delete the content instead? There is no “right” way to handle older content. You can certainly delete it, but many web developers can agree that their first pieces of content are special and deserve to be preserved. They may not be the pinnacle of quality or meet current SEO’s standards, but they are the pieces of content that got your website started.
Older content is also a great way to look at how far your website has come. Of course, if the content does impact your website’s SEO, then something needs to be done. Archiving it without deleting it will hide it from the front end of your website. This will help keep your visitors on your newer content as well. If you are not attached to your original content, deleting it is a very simple and viable approach.
How to Archive a Post While Not Deleting it in WordPress
Today, I will demonstrate how to archive a post while not deleting it in WordPress using the Archived Post Status plugin. Archiving is the process of taking content that is no longer used or needed and storing it. This content will not be shown to visitors but can be viewed by administrators or other accounts with the proper permissions. Preserving content is important to make sure that past mistakes are not repeated.
Installing Archived Post Status
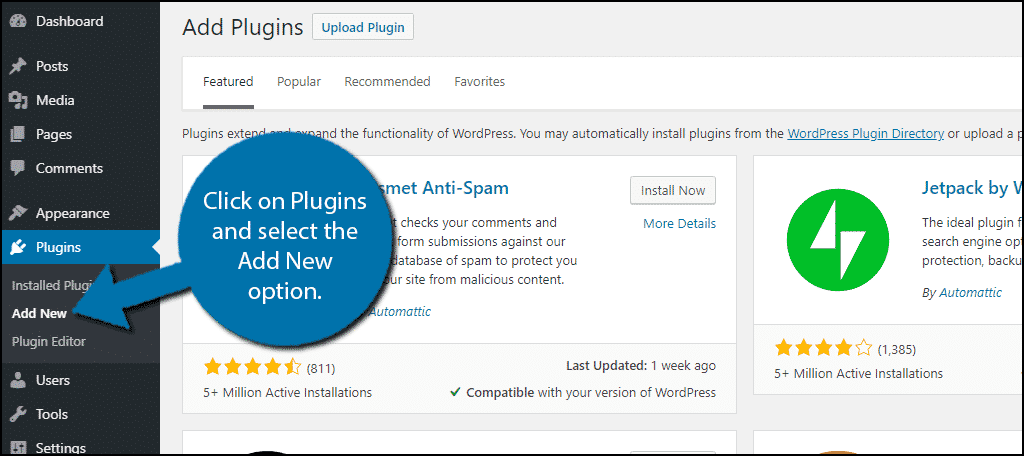
Let’s begin by clicking on Plugins and selecting the Add New option on the left-hand admin panel.
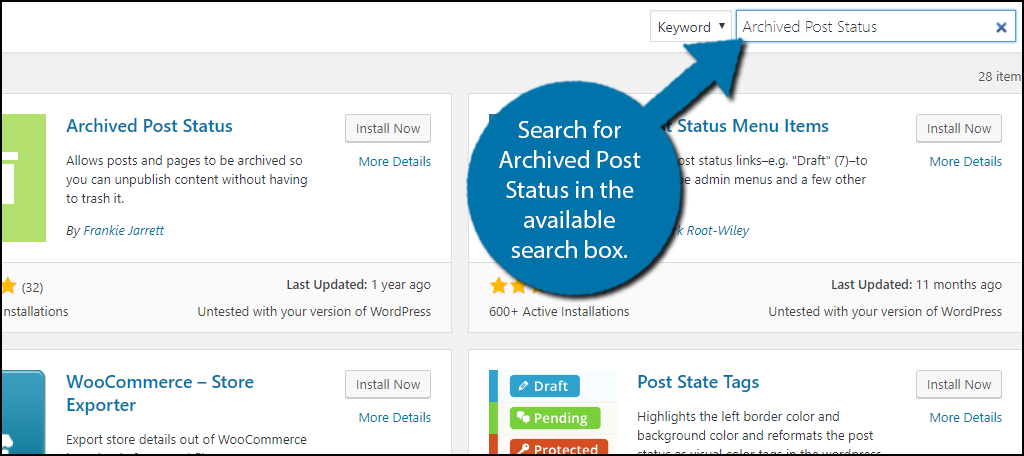
Search for Archived Post Status in the available search box. This will pull up additional plugins that you may find helpful.
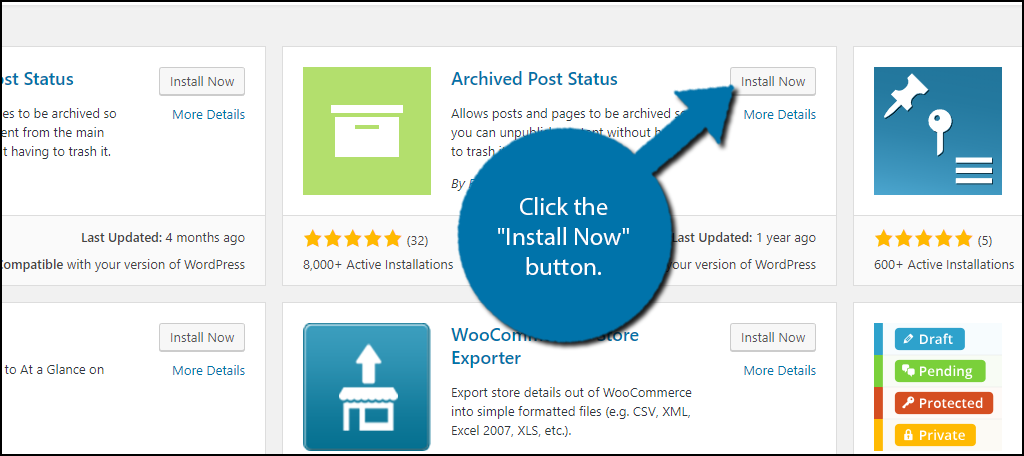
Scroll down until you find the Archived Post Status plugin and click the “Install Now” button and activate the plugin for use.
Unlike other plugins, Archived Post Status does not have a settings page. It works immediately after activation.
Using Archived Post Status For a Single Post
To begin archiving your content with this plugin, go to the desired piece of content you wish to archive. On the right-hand side of the page, there will be a Publish box. Inside this box, you will find useful buttons like the Publish and Preview button. You will also see the current status of the content. Click on the Edit option next to it.

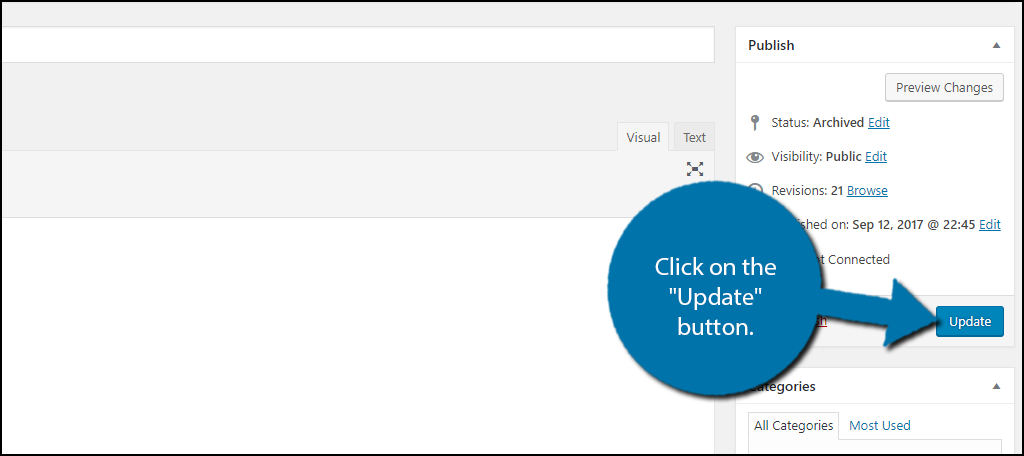
Clicking on it will reveal a drop-down box. You can select four options, which include Published, Pending Review, Draft, and what we are after, Archived. Select the Archived option.

Click on the “OK” button to confirm the change. You should now see Archived as the current status of the content. Click on the “Update” button to apply the changes.
The content will now be archived and you can repeat the steps for each piece of content. If you have a lot of content to archive, then this approach is not right for you. Instead, you should use the bulk archive approach.
Bulk Approach
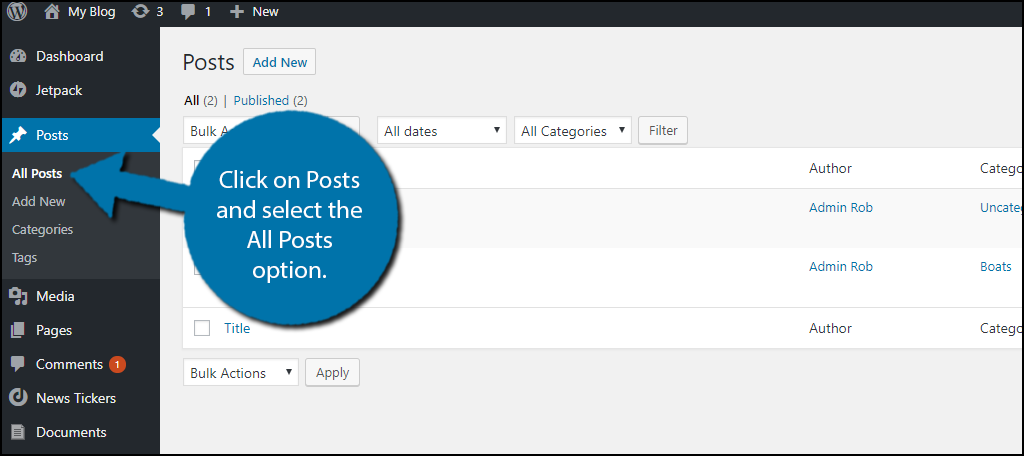
Odds are if you have one piece of content you want to archive, there are probably more. The plugin supports bulk actions. On the left-hand admin panel, click on Posts and select the All Posts option.
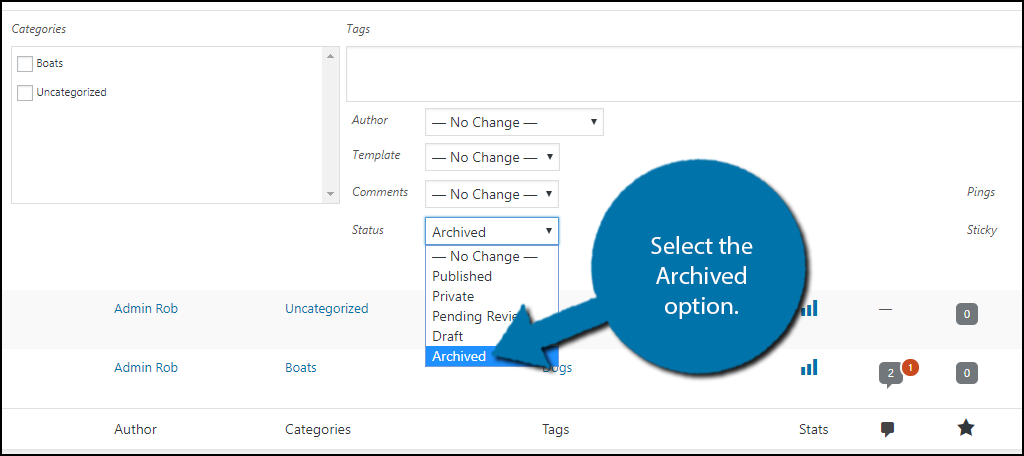
Go through all of your posts and select the ones you would like to be archived by checking the box next to them. On the Bulk Actions drop-down box, select the Edit option. Click on the Apply button next to it.

You will now be able to edit all of the selected posts. On the Status drop-down box, select the Archived option. Click on the Update button to apply the changes.
Congratulations, you have successfully archived all of your selected posts. They will not be visible on the front end of your website anymore. You can still view them at any time on the back end.
Efficiency Over Nostalgia
Getting rid of older content may not be everyone’s favorite thing to do, but it is important to make sure your website is practical and efficient. Older content may not meet current quality standards on your website or be formatted the same way. You can always revise the content, but you can also archive or delete it. The latter options are much more time efficient.
Running a website is a full-time job and sometimes saving older outdated content is not worth the effort. However, deleting content is permanent while archiving is temporary. You can easily archive the content and choose to revise it at a later date.
Why have you chosen to archive content on your website? Do you think you will publish archived content in the future?