In most cases, blogs and websites experience an influx of traffic at certain times of the day. This is when the target audience is most active. And releasing content during those peak times can improve click-through rates and visitor retention.
This is why many webmasters will publish scheduled posts in WordPress. It’s helpful if you want an even flow of published work instead of pushing articles all at once.
In this tutorial, I’ll show you a couple of methods to publish scheduled posts in WordPress.
Why Use WordPress Scheduled Content?
Scheduling posts is useful in a variety of situations. For instance, you can:
- Write all of your content in one day and publish each piece throughout the week. This gives the site a sense of current activity.
- Create bulk amounts of content to free yourself up for other tasks. It can easily become part of a time management strategy.
- Schedule certain types of content that are more likely to be seen thanks to trends. For instance, you can write holiday-themed content months in advance.
- Have a constant cycle of publishing even while you’re on vacation.
These are just a few reasons webmasters will use a WordPress content scheduler.
Using the Built-In Method
WordPress comes with a built-in method to publish future content. It’s a bit basic and doesn’t have a lot of options to customize. However, it works in a myriad of situations.
Create a new post or page in WordPress.
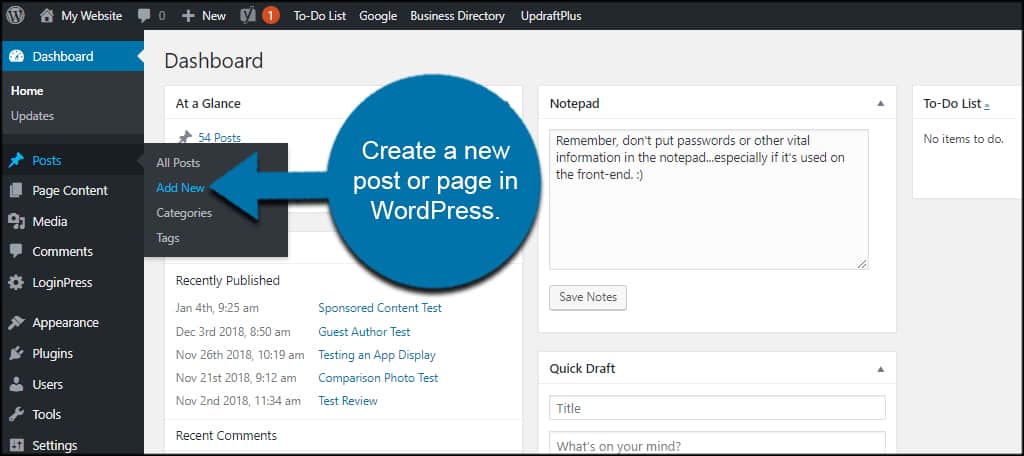
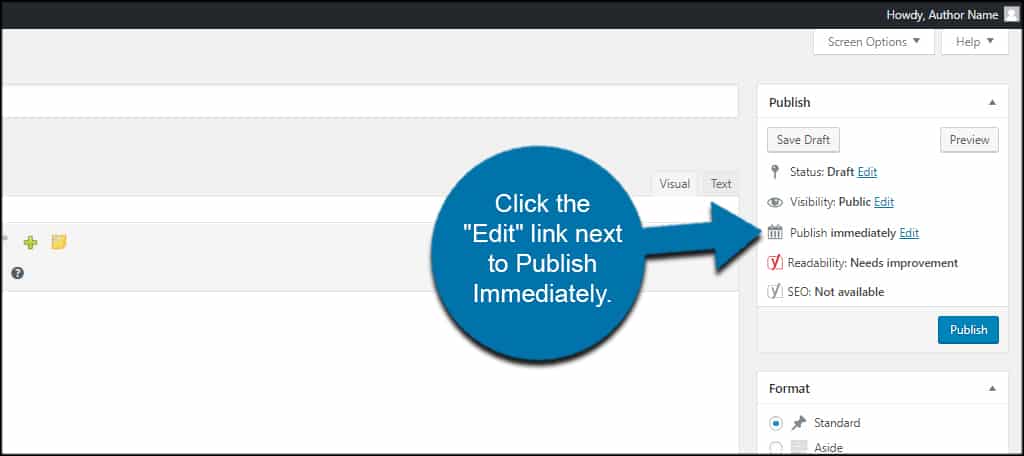
Under the Publish box, you’ll see a few options. Click the “Edit” link next to Publish Immediately.
Set the date when you want the post to automatically publish.
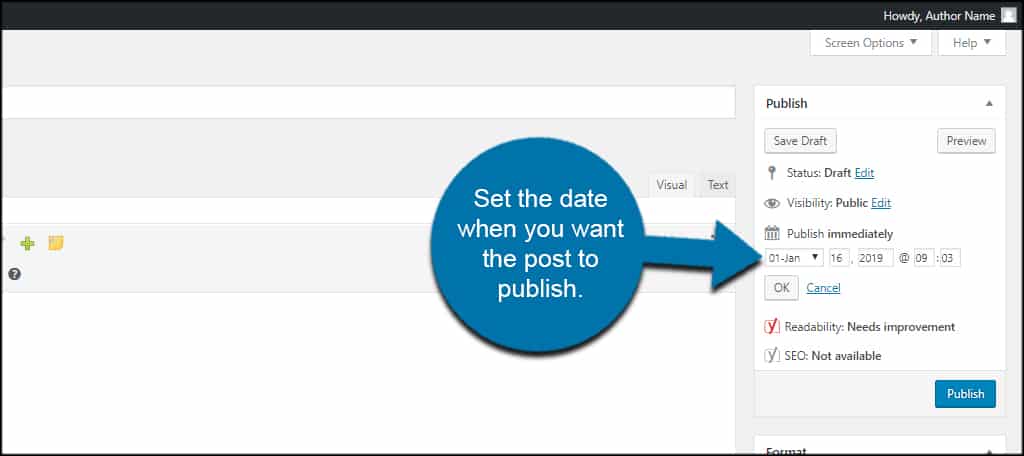
You can set any month, day and year as well as the precise time to publish scheduled posts in WordPress. This is based on your site’s data and time settings.
Click the “OK” button.

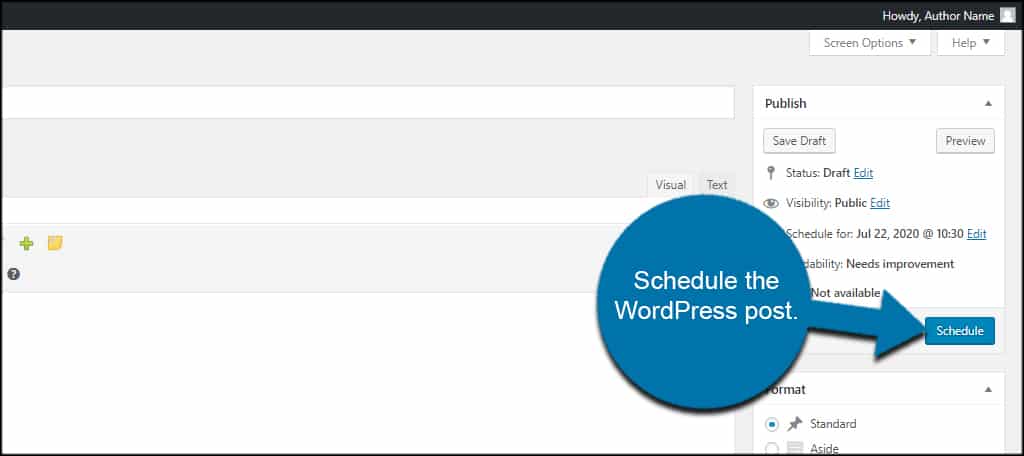
You’ll see the Publish button changes to “Schedule.”
At this point, you can save the draft or schedule the WordPress post for future publication.
You can even take this a step further and show scheduled posts in a sidebar widget. This gives visitors an idea of what content is coming soon. It may pique their interest enough to follow the site for the long-term.
Using Publish to Schedule
What if you want more options for scheduling? That’s when you would want to use something like Publish to Schedule. This is perhaps one of the best WordPress post schedulers as it’s easy to use and automatically pushes content.
You can automatically schedule new posts to publish according to day of the week and lapsed time in between each.
Install and activate, “Publish to Schedule.”

Go to Settings and click, “Publish to Schedule.”

From this screen, you can set a few different options to better fit your needs. Let’s take a look at the more important features.
Scheduling Days
Put a number next to the days when you want content published. For example, you can put a “1” in Monday and a “2” in Friday. This means WordPress will automatically set a new article to publish on Mondays and two to publish on Fridays.
Of course, you want to set options that are the most ideal for the amount of content you create. If you produce more than five articles a week, you might want to adjust which days get more publishes than others.

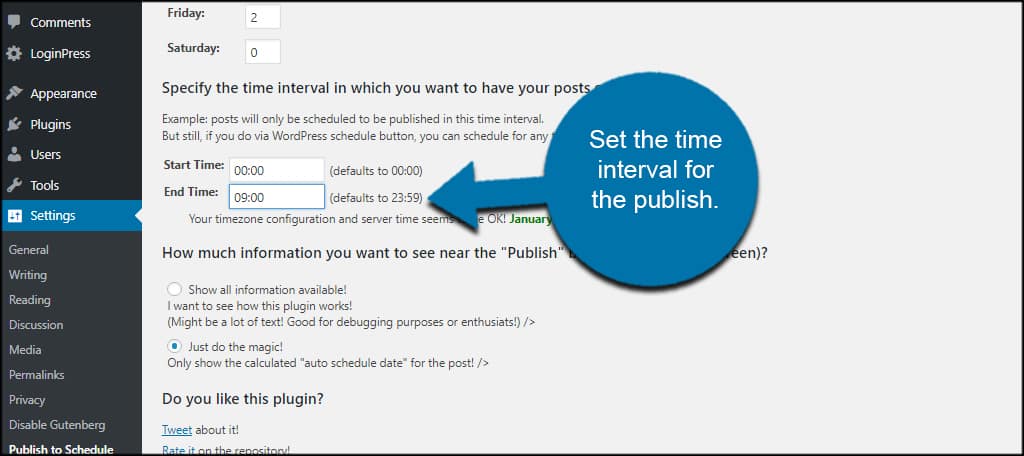
Specify the Time
Set the time interval for the publish. This lets WordPress schedule a post publish according to the amount of time lapsed from publishing. For example, you can set each post to appear at 9-hour intervals, or “9:00.”
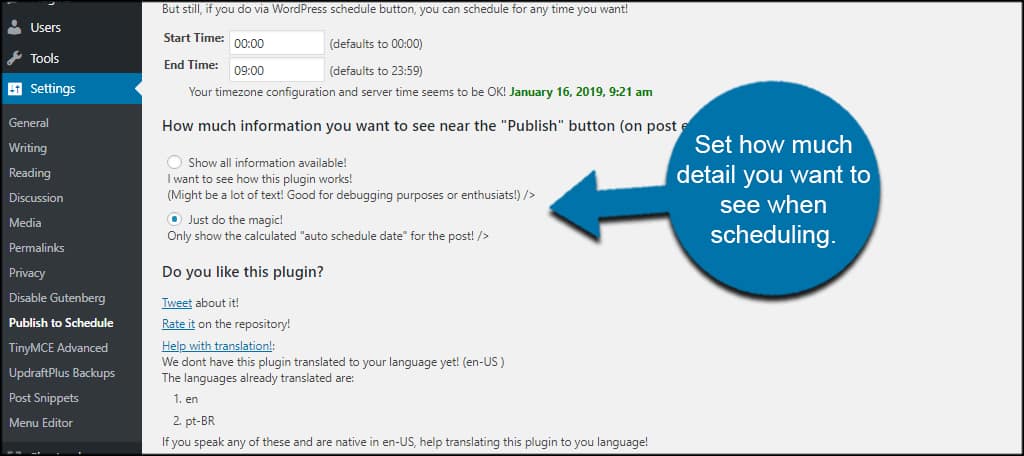
Set In-post Options
This plugin has information available from the post screen in WordPress. This option lets you set how much detail you want to see when scheduling.
Site Statistics Sharing
And lastly, you can choose to share site statistics with the developer or not. This is optional, and the data is used to help update the plugin for functionality.
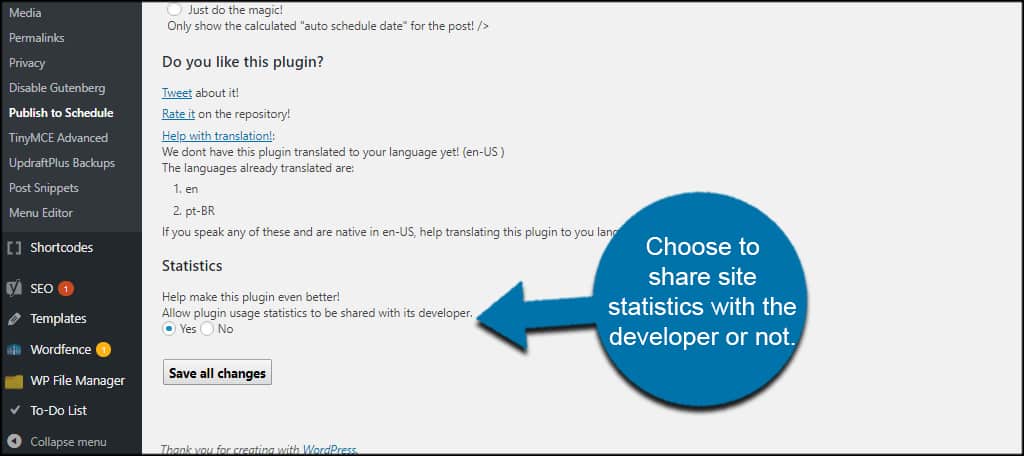
Once you’re done making adjustments, click the “Save all changes” button on the bottom.

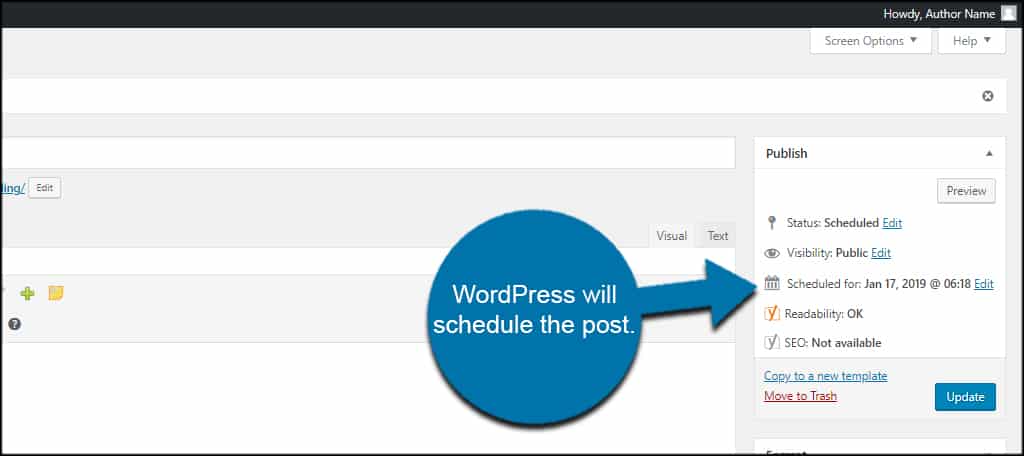
In Post Publish Stats
When creating a new WordPress scheduled post, you’ll see a block of information when you scroll down the editor page.
In my case, it was under the Featured Image section.
Because I selected the option to show all information available, this will show details regarding the schedule of the post.

Once you click “Publish” on the post, WordPress will schedule the post automatically.
Keep the Site Active
Using publish-scheduled posts in WordPress has a lot of benefits, especially for busy developers. Instead of trying to write a new post every day at a certain time, you can do them all at once and publish them when they are the most effective.
Keep your site active and release content that is more likely to get the attention it deserves.
How often do you create content for your website? What time and day is the most active for your content?