Links to the “next” and “previous” post in WordPress is a fundamental bit of navigation that’s there by default at the bottom of individual articles. But what if you want floating next and previous post links that are always visible? As it turns out, that’s pretty easy to achieve.
Allow me to introduce you to a great plugin called Floating Links – Fancy Next Previous Post Links – Pagination.
The Floating Links plugin introduces navigation links to the left and right side of the page. The links and pagination are configurable, so the appearance and functionality can match the needs of any site. Not only that, the plugin has the option to paginate within a specific category.
This allows for custom pagination that usually isn’t possible in WordPress.
Using Floating Links couldn’t be easier, so let’s get started.
Installing the Floating Links Pagination Plugin
Log in to your WordPress admin panel.
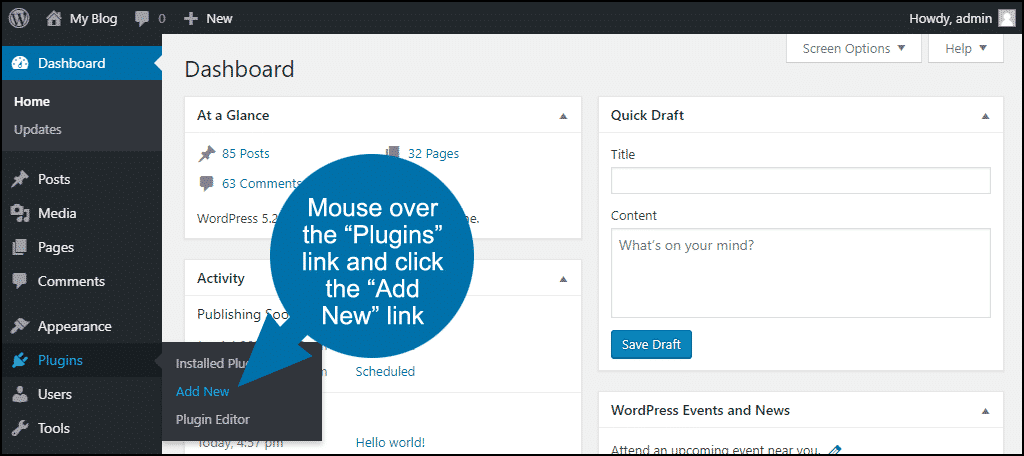
In the left column navigation, mouse over the “Plugins” link and click the “Add New” link.
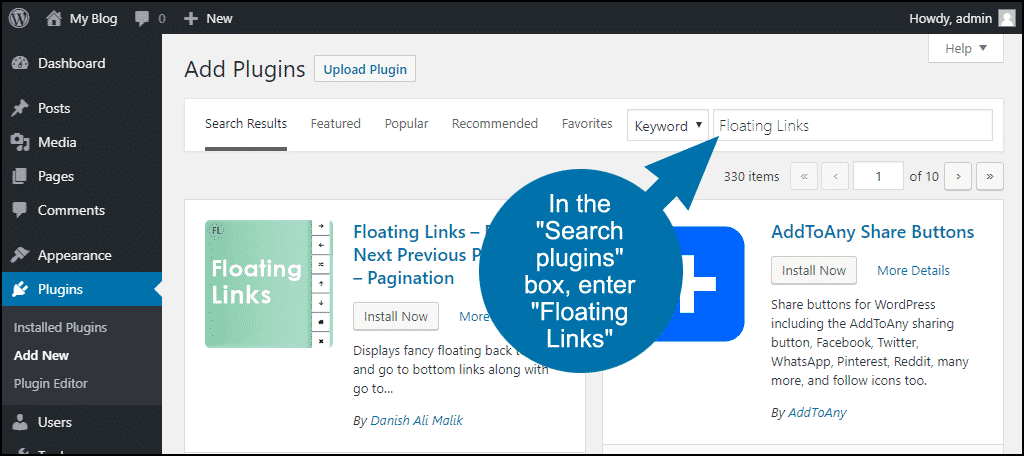
In the “Search plugins…” box, enter “Floating Links.”
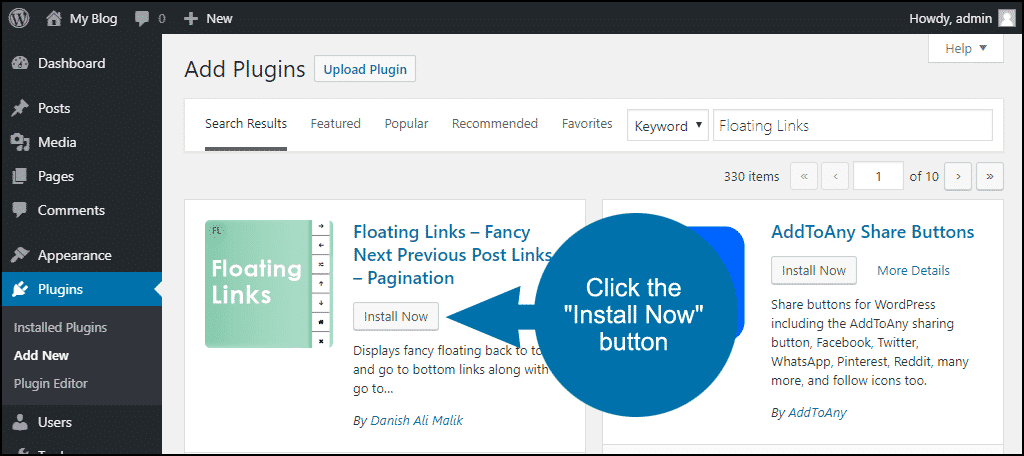
Once you have located the plugin, click the “Install Now” button.
When the plugin has been installed, click the “Activate” button.

Using the Floating Links Plugin
You don’t have to do anything to activate the plugin. It’s already working.
By default, on your homepage, it will provide top of page/bottom of page options and a home link.
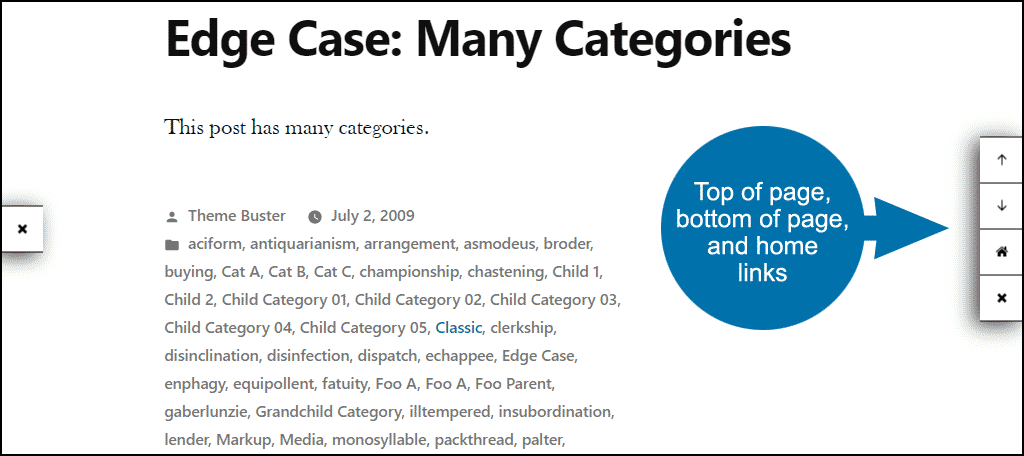
The “X” icons are minimizers. You can remove those in the settings if you don’t want visitors to have the option of minimizing the links.
When you go to a post or page, more links are available.

Mousing over a link displays a preview of the post that the link leads to.
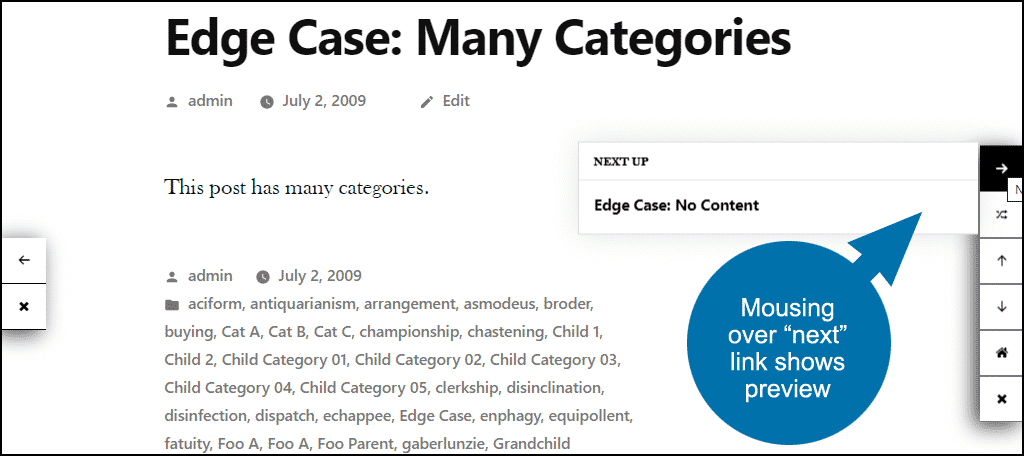
The preview can be turned off in Display Settings > Enable post data.
Configuring Floating Links
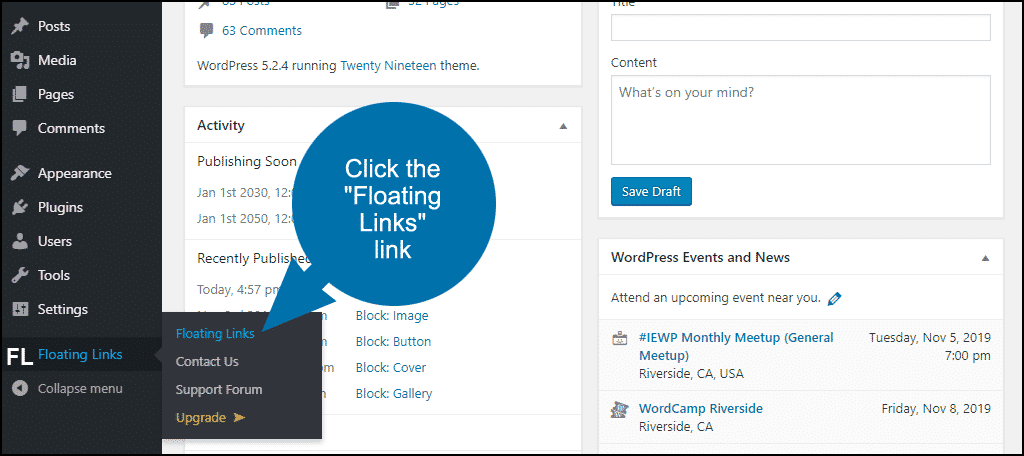
In the left column navigation, mouse over the “Floating Links” link and click the “Floating Links” link.
There are two main sections you’ll work with: Primary Bar, and Secondary Bar.
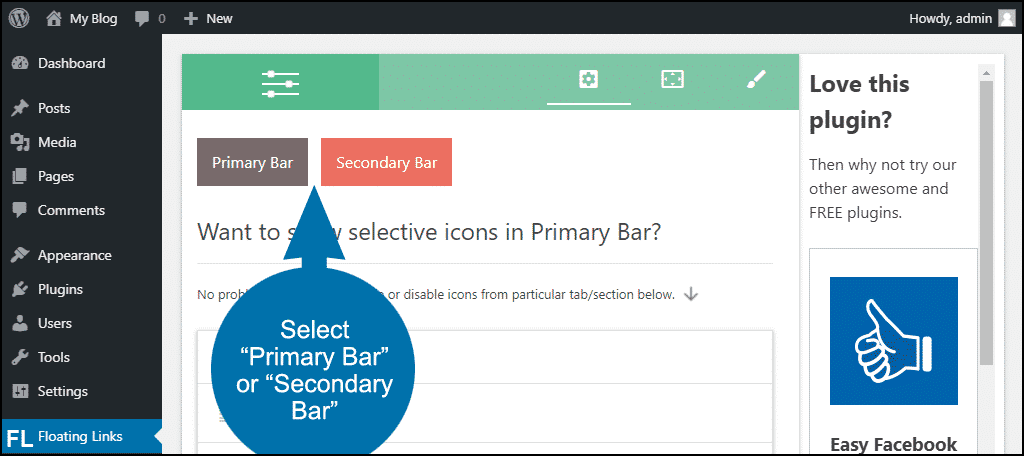
Primary Bar controls the links on the right side of the page. Secondary Bar controls the links on the left side of the page.
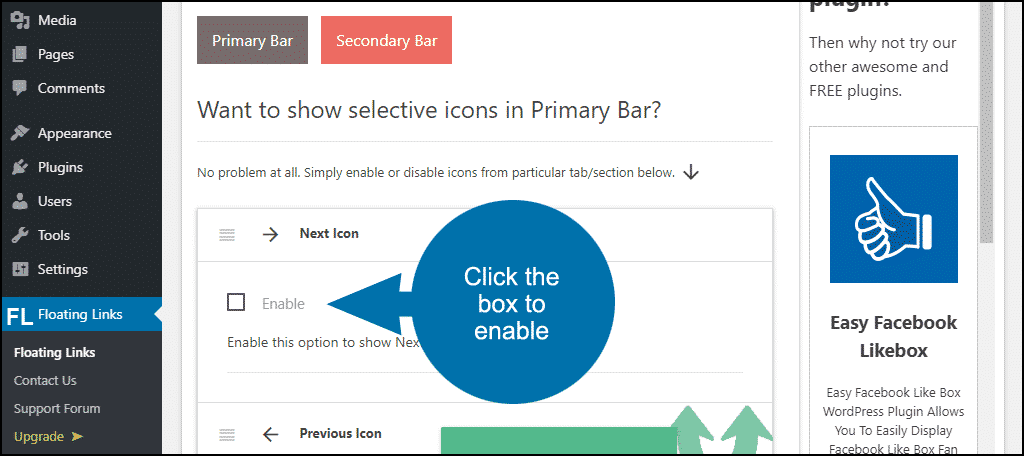
To add or remove a link from one of the bars, click the name or icon you want to add or remove.
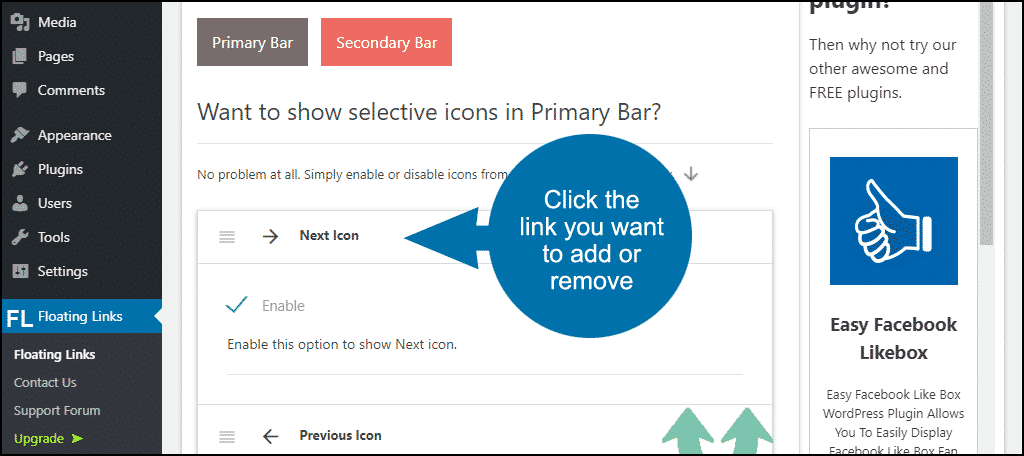
If the link is enabled, click the green checkmark to disable it.

If the link is not enabled, click the box to enable it.
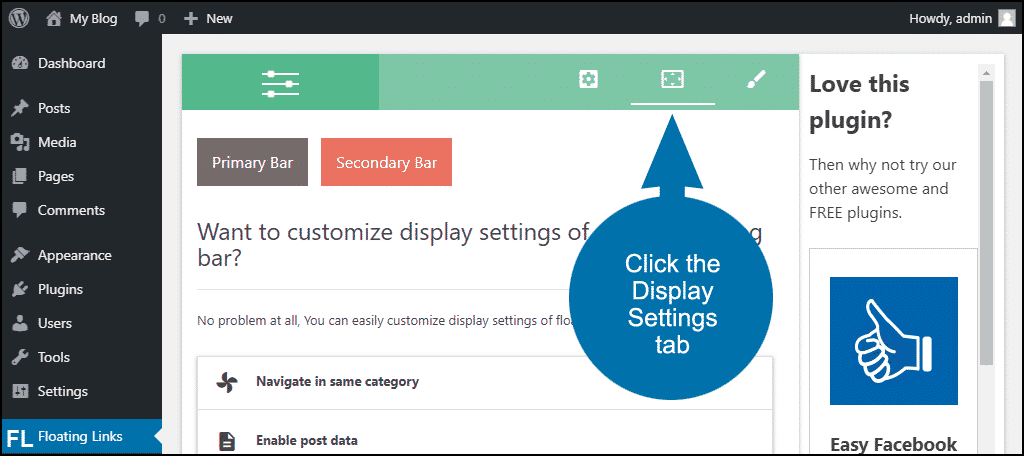
Display Settings
Access the Display Settings by clicking its tab from the top navigation bar.
- Navigate in same category
Enabling this restricts the next and previous arrows to articles in the same category rather than paginating through all posts. The option is disabled by default. - Enable post data
This controls whether previews are shown when you mouse over the next and previous links. It’s enabled by default. You can also enable “Featured Image” to add the featured image to the preview, and “Post Date” to add the post date to the preview. Both of those options are disabled by default. - Hide on Load
Minimizes the links on page load. Premium feature, not available in the free version. - Show on % scroll from top
Displays links after the specified percentage of the page is scrolled down. Premium feature, not available in the free version. - Show on specific pages
Display the links only on one specific page. Premium feature, not available in the free version. - Show on specific posts
Display the links only on one specific post. Premium feature, not available in the free version.
Design Settings
Access the Design settings by clicking the Design tab.
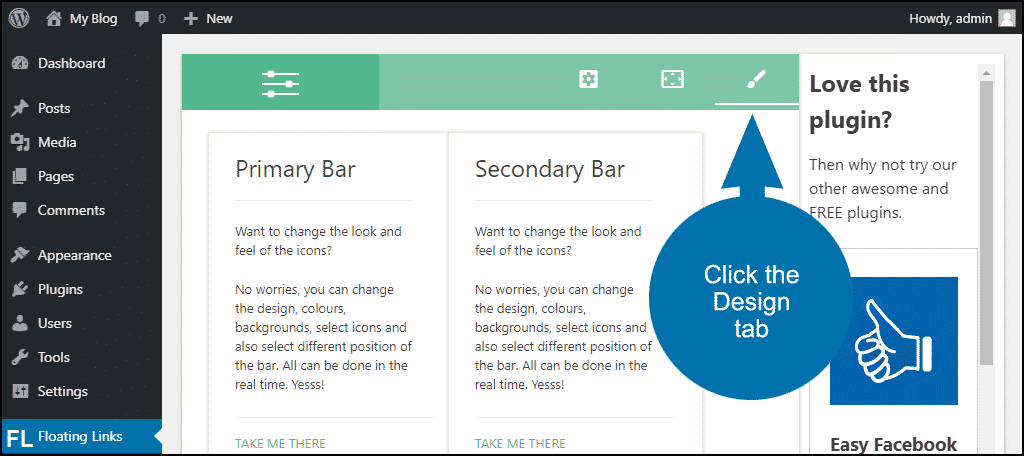
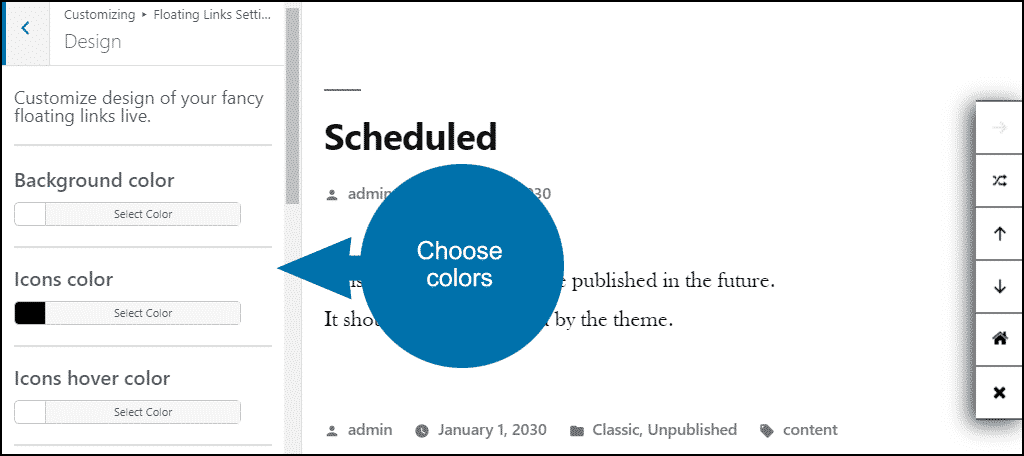
In the Design tab, you can change the colors of the links, the icons used, and the position of the link bar.
![]()

Great Navigation Is in the Eyes of the Beholder
Floating navigation (especially smart floating navigation) is a beautiful, modern thing. But which navigation is beautiful and which is intrusive and unwelcome varies from person to person. There are places visitors expect to find navigation, and the side of the screen isn’t always one of those places.
That being said, “previous” and “next” links are handy, and they have been around since the dawn of the web. So you really can’t go wrong providing them to your visitors. And the ability to navigate within a specific category in WordPress is undoubtedly a valuable tool.
As I mentioned at the outset, the “next post” link in WordPress is a fundamental tool. But it’s great to have the level of control over the page navigation and pagination that the Floating Links plugin provides.
Do you incorporate any kind of non-standard navigation on your site? Have you worked with any other plugins that allow pagination within categories? Let me know in the comments.