Adding events and times to a WordPress site does not have to be difficult. There are dozens of different event plugins to choose from. Today, I am going to show you how to easily add an event timetable in WordPress.
Why Add a Timetable and Event Schedule?
There are a number of reasons you may want to add a timetable and event schedule to your WordPress website. If you are running an event website, of course, this would be the main reason.
However, maybe you operate a church site or a community center that has rotating events and you want to post those online. The WordPress timetable plugin we are going to use today is perfect for that.
Another way to use the timetable schedule is to show the progress of a project or business. For instance, what if you wanted to show a road map for developing a game? You could also use it to show visitors what you plan on doing to a website, such as adding live chat or webinars.
In reality, there is a lot you can do with a timetable in WordPress to further engage your audience and get them involved.
Let’s take a look at how to easily add a timetable WordPress schedule on your site. This way your site visitors will always know what is going on.
Timetable and Event Schedule

The Timetable and Event Schedule plugin from MotoPress is a very easy to use, responsive, online organizer that allows you to create and manage schedules for both single and multiple events.
This WordPress timetable plugin comes with a ton of functionality packed into a very lightweight plugin. Some of these include:
- Responsive Design
- Toolkit and Shortcode Settings
- Event Filtering
- Color Controls
- Visual Timeframes
- Flexibility
This timetable WordPress schedule can be used for displaying and timetabling all sorts of different events. The backend management is simple to use and the front end displays a clean and easy-to-read timetable and event schedule for your website users.
Let’s take a look at how to install and configure the plugin for use.
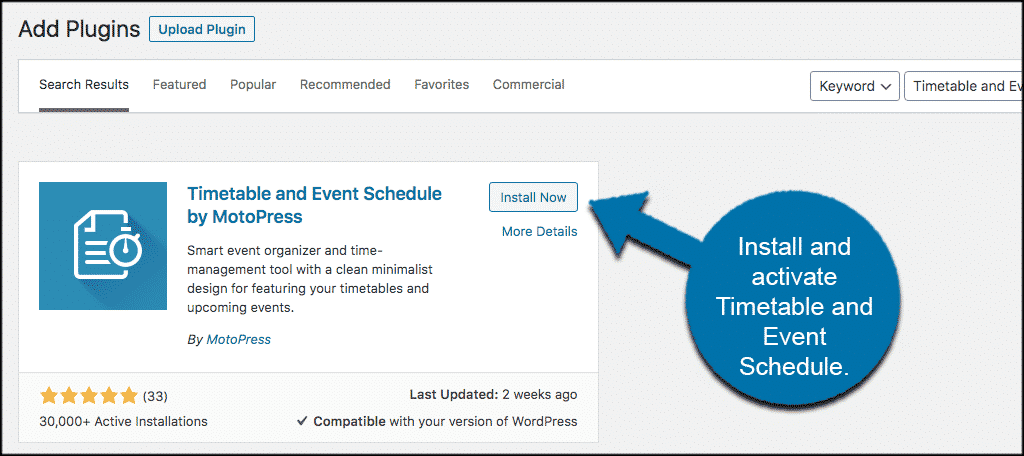
Install and Activate Timetable WordPress Plugin
In order to create a timetable in WordPress, you first have to install and activate the Timetable and Event Schedule plugin. You can do this from the plugins page of your WordPress admin dashboard.
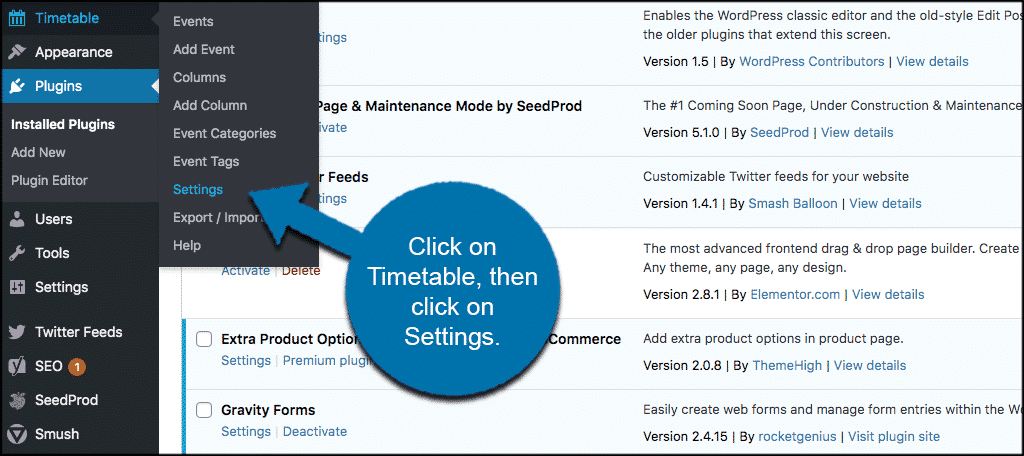
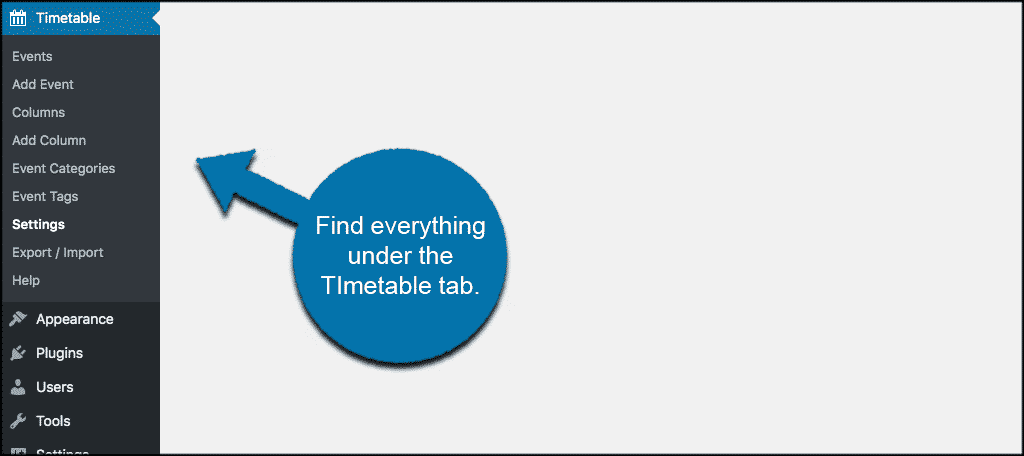
Once the plugin has been installed and activated, you will see a new “Timetable” menu tab located on the left side menu of your dashboard. Click on Timetable > Settings. This will take you to the settings portion of the plugin.
Once you are on the general setting’s page, you will notice that there are only a couple of decisions you need to make. See, everything is pretty much ready for you to go ahead and add events.
Go ahead and choose the template mode you want: Theme or Developer. I recommend Theme mode simply because this will automatically display your timetable WordPress event schedule based on the styles of your theme.
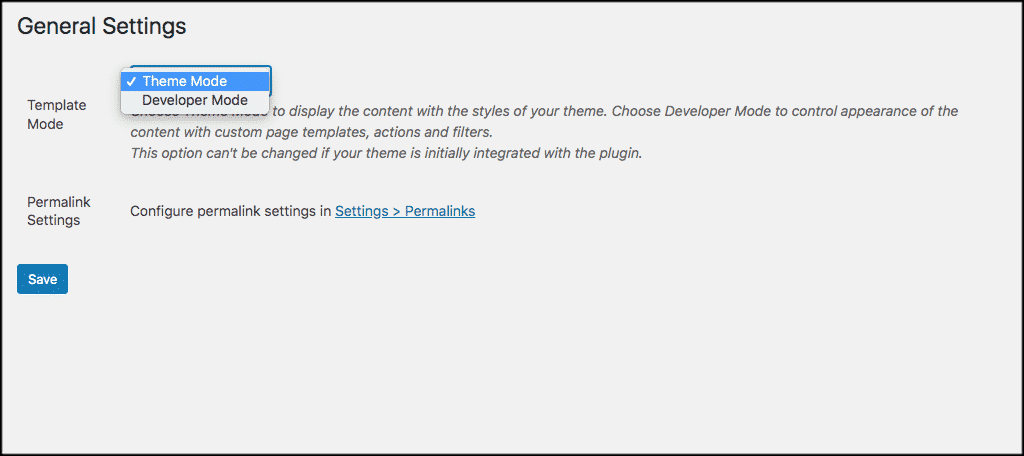
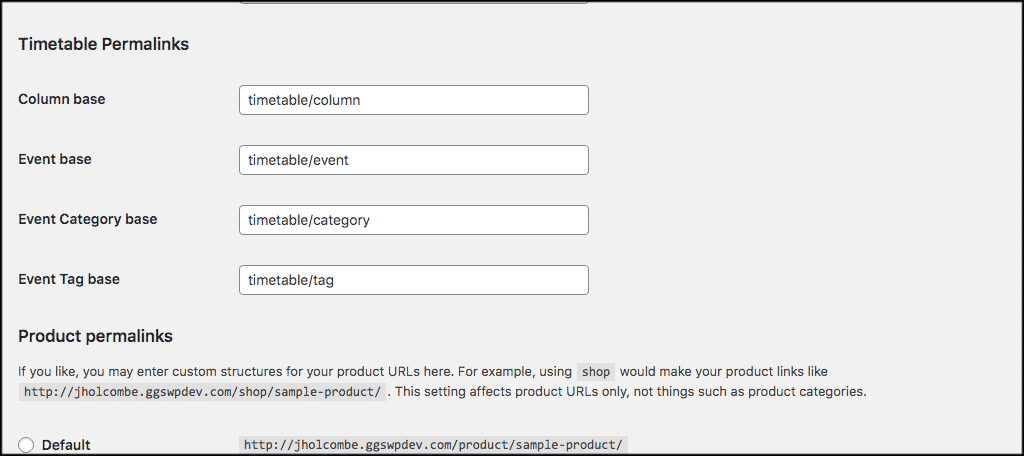
You will also notice that there is a link to fix your permalinks however you see fit. Go ahead and click on that link. You will be taken to the page settings where you can fill in the permalinks for the timetable and event schedule how you would like them to show.
At this point you are ready to add events.
Before adding events, go ahead and create your event categories, tags, and columns how you want. You will find all of this under the “Timetable” menu tab.
Now, let’s look at how to add events and then display them.
Add Event Timetable in WordPress
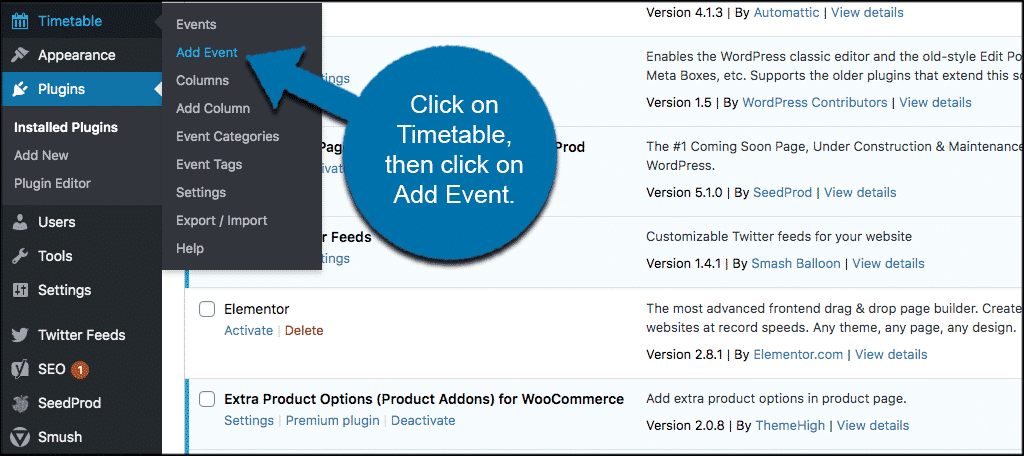
In order to add an event, you simply click on Timetable > Add Event.
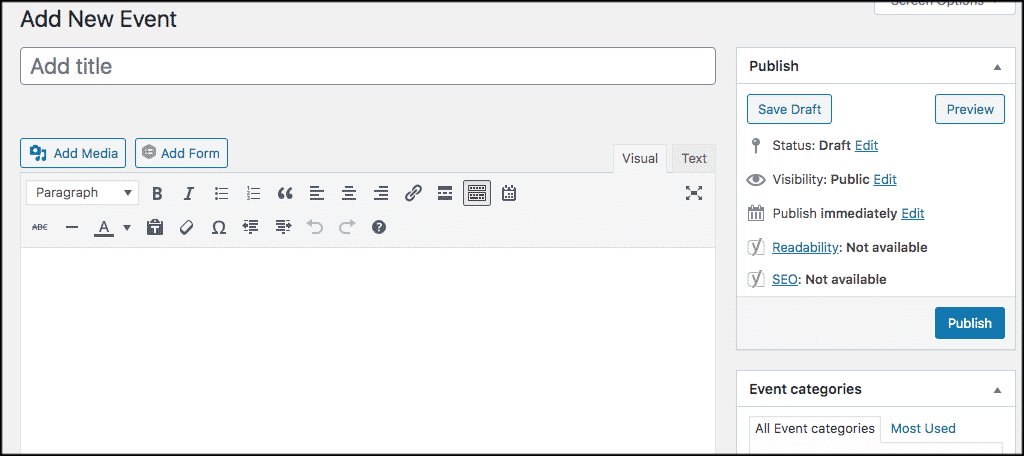
Once you are on a new “Add Event” page, go ahead and enter your event title, followed by the relevant event information and pictures.
You can also add your event category and tags before scrolling down.
Scroll down the event page until you see the “Timeslots” section. Enter the relevant info here according to your event.

Finally, scroll down a little more to the “Settings” section and fill out all the relevant settings for this particular event. This will include things like colors and custom URLs should you want to use something different.

Once you are all done, click on the “Publish” button and your event timetable in WordPress is now live. You can continue adding as many events as you want.
Add Event Timetable to a Page
When you have all your events in place and everything set up the way you want, it is time to add your timetable and event schedule to a page.
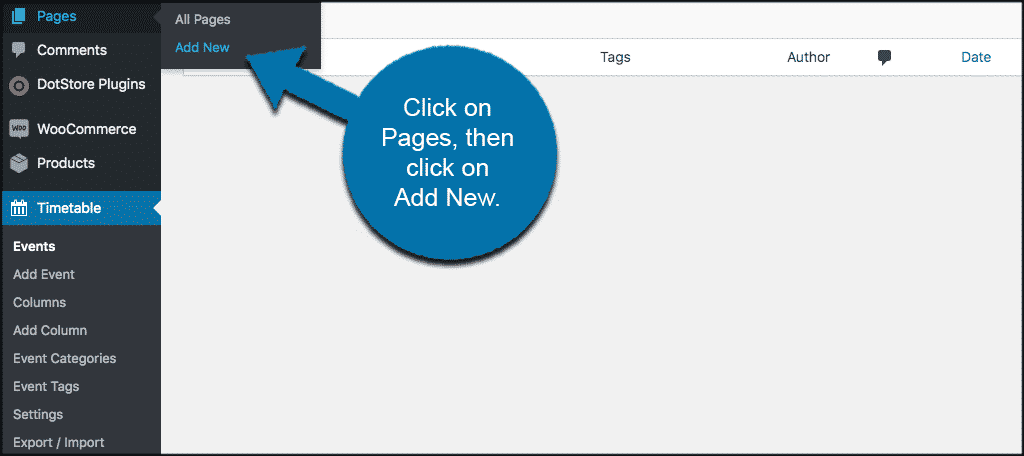
To do this, simply go to Pages > Add New.
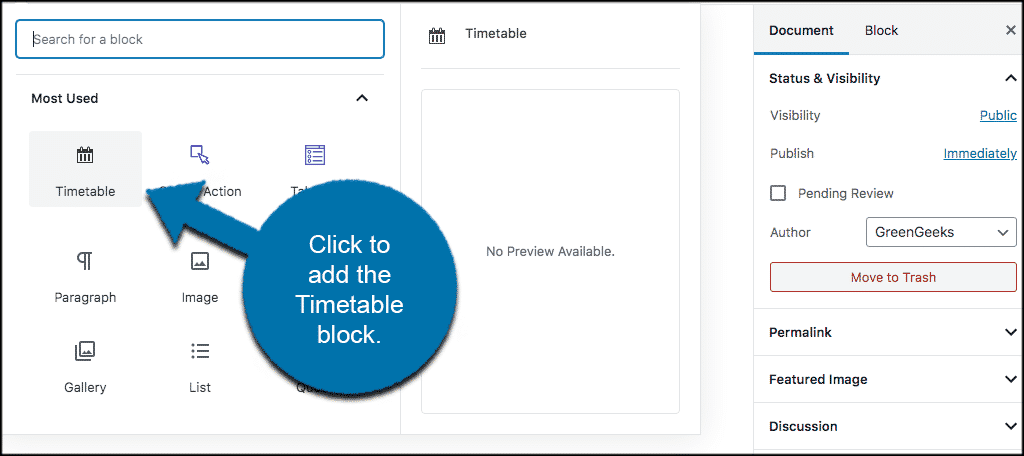
The Timetable and Event Schedule plugin automatically adds a block into the Gutenberg editor when it is activated. In order to add your timetable in a WordPress page, click on the “Add Block” icon on the top left.
![]()
In the dropdown menu that appears, find the “Timetable” block and add it to your page.
Your timetable and event schedule will automatically be added to this page based on the settings and layout you have chosen.
Click the “Publish” button and that’s it! Your timetable in WordPress has now been added to this page.
Timetable Widget
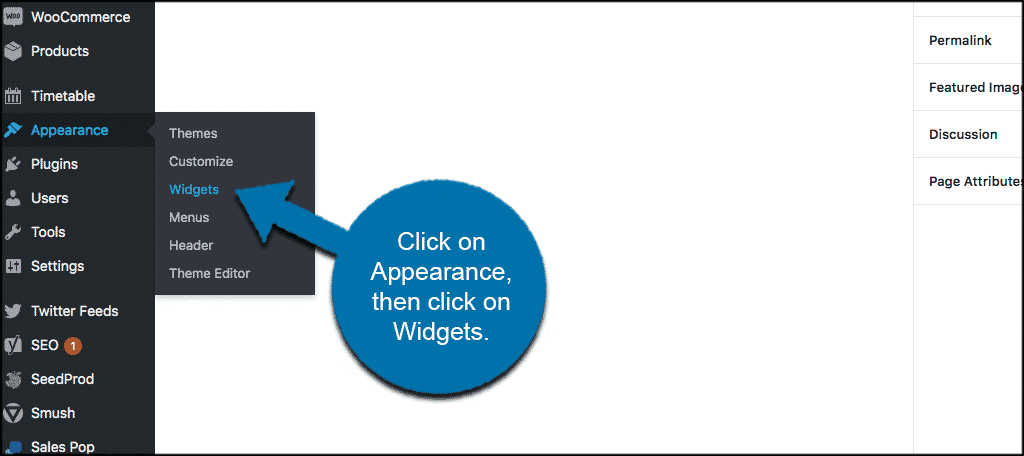
This WordPress timetable plugin also comes with a timetable widget that is automatically added to those available upon activation. To access the widget, click on Appearance > Widgets.
Scroll down until you see the “Timetable Events” widget. Drag that widget in any section where you want it to display. Fill in the settings how you see fit and save.
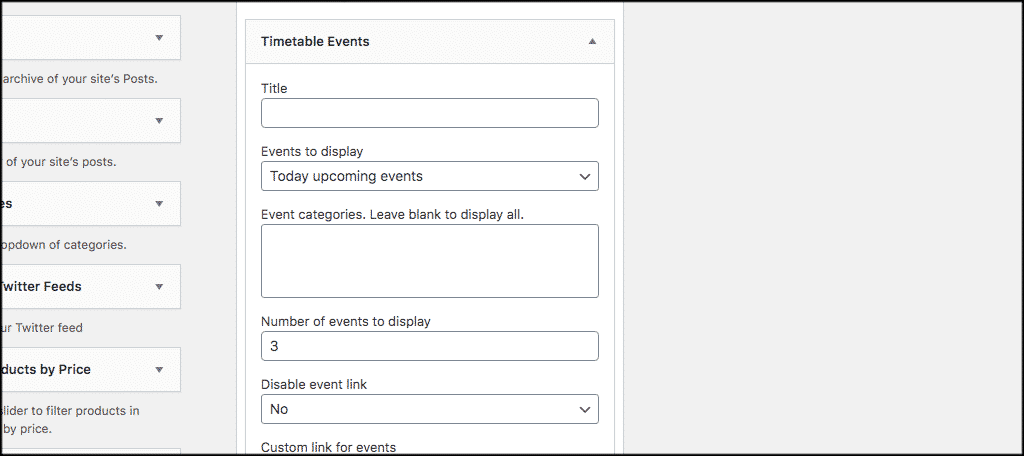
Now your timetable widget is displaying according to the settings you chose.
Final Thoughts
Create your timetable in WordPress quickly and easily by using this timetable and event schedule plugin. Your site users will be able to keep up with events and times, and you will be able to handle the backend of the plugin without much fuss.
Have you tried a different timetable and event plugin? Was this plugin as easy to use as the Timetable and Event Schedule plugin?