Are you interested in allowing users to register their own profiles on your website? WordPress user registration is quite easy to set up and has a variety of uses. It’s one way to offer an engaging experience and keep visitors coming back for more.
User registration is best suited for websites that offer incentives. Things like comments, special access to widgets and other additions may prompt people to register and become a “member” of your website. As a result, you could inspire people to return often.
In this tutorial, we’re going to show you how to turn on WordPress user registration and what it can do for yourself and the visitors.
Why You Would Allow Users to Register On Your Website
Allowing people to register on the site provides a method to personalize the experience as well as boost various marketing campaigns. It makes people feel like they are members of an exclusive club. This is especially true if you offer access to a members-only area. Some parts of WordPress can be set to only allow registered users, and this includes content.
Some developers will require subscribing to emails or newsletters as part of the registration process. This can quickly build a mailing list of people who already demonstrate an interest in the niche or content. Because of this, email marketing campaigns are often more fruitful when engaging readers.
Forcing visitors to register on the site can help keep the spam content down in comments. As most spam left behind on sites and blogs originate from automated programs called, “bots,” the amount of junk messages you receive in the comment section is reduced. This is helpful when trying to keep a clean site.
Website owners will often allow a community to contribute content on their own. Although this process takes a bit more time to monitor and approve content, it will help build the material of the site in a relatively short amount of time. The use of roles can limit what these users can do, such as making “Contributors” the default registration type.
It is not a bad idea to take a closer look at user roles and how to use them in WordPress.
Using Profile Builder
The User registration & user profile – Profile Builder plugin is a great way to offer a simple yet useful form for visitors to register. It comes with an easy-to-use and customize interface for developing the form. You also have access to shortcodes allowing you to create specific pages for user registration and profile changes.
To use Profile Builder:
Go to the settings area in WordPress.

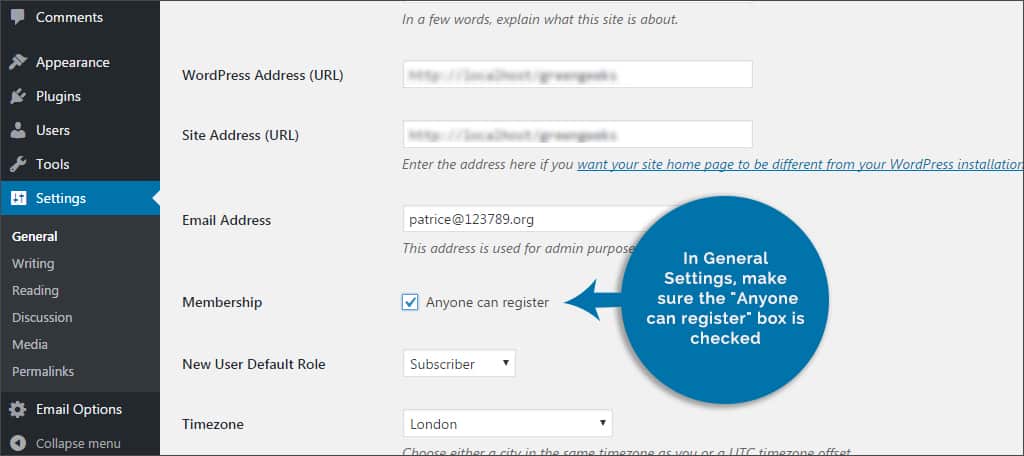
In General Settings, make sure the “Anyone can register” box is checked. If not, check the box and save the settings.
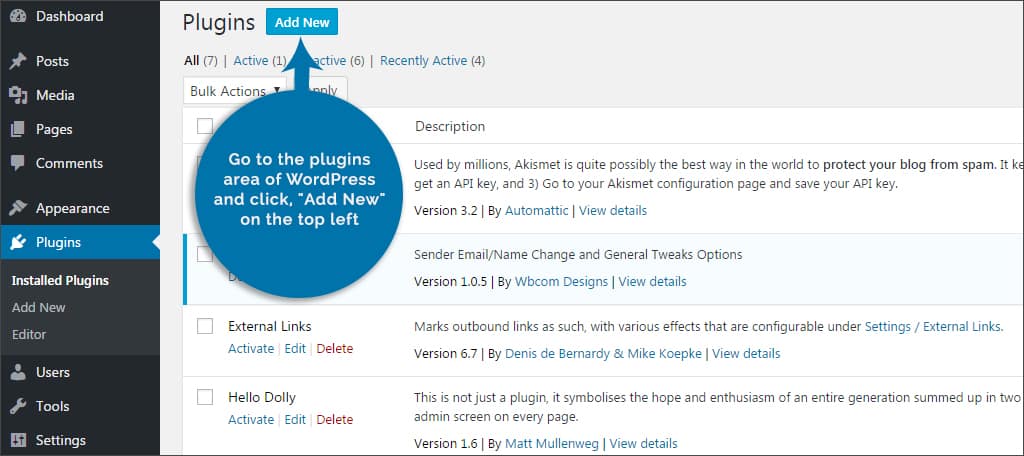
Go to the plugins area of WordPress and click, “Add New” on the top left.
Search for “Profile Builder” in the text box of the Add Plugins screen.

Install and activate the “User registration & user profile – Profile Builder” plugin.

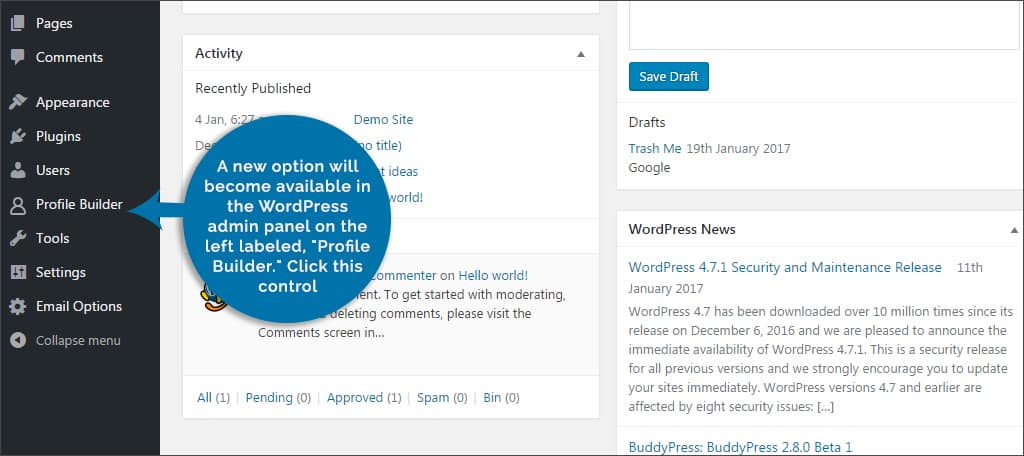
A new option will become available in the WordPress admin panel on the left labeled, “Profile Builder.” Click this control.
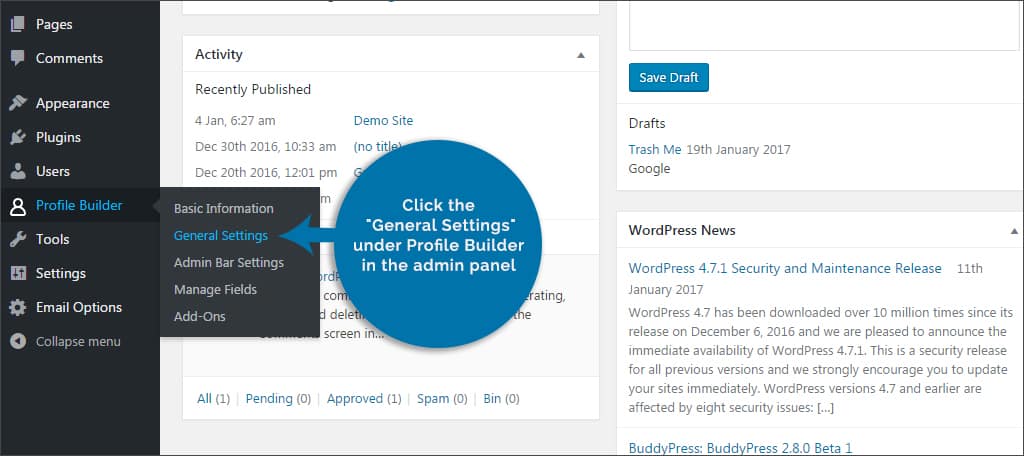
You will see the basic information of the plugin. Click the “General Settings” under Profile Builder in the admin panel.
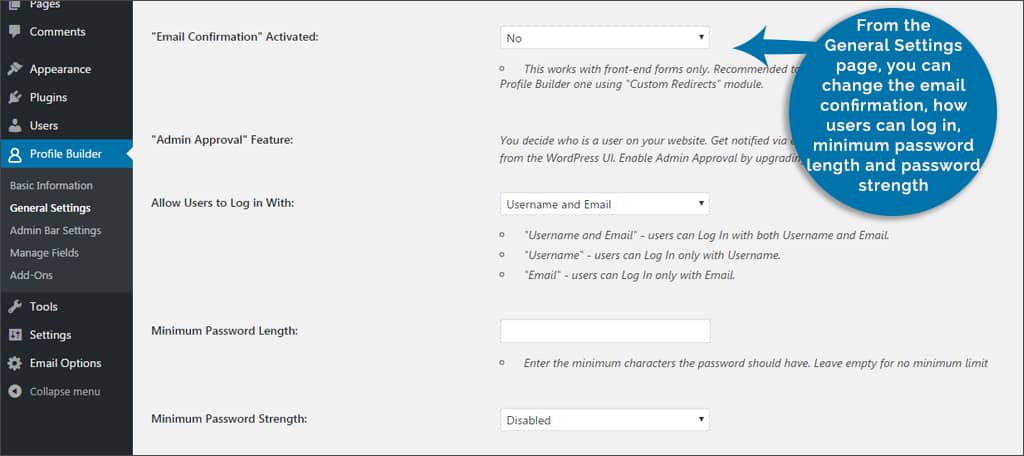
From the General Settings page, you can change the email confirmation, how users can log in, minimum password length and password strength. Click the “Save Changes” button when you’ve made your selections.
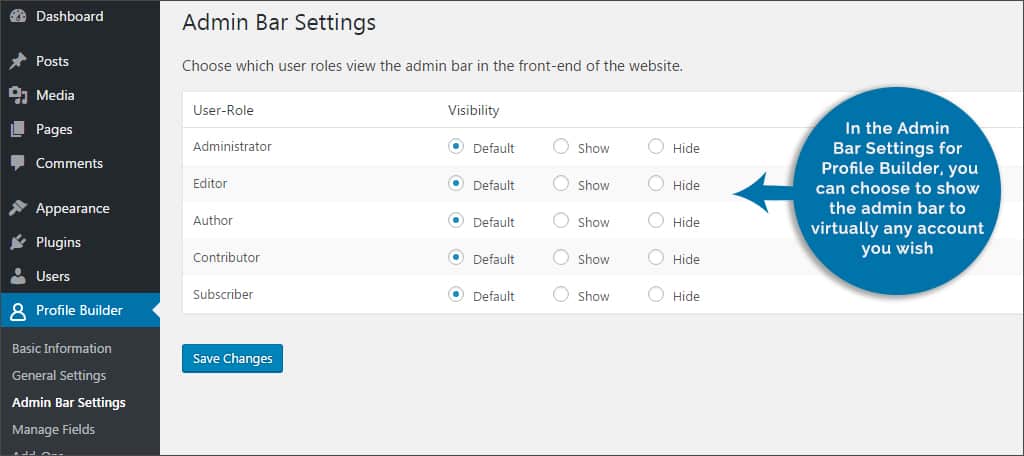
In the Admin Bar Settings for Profile Builder, you can choose to show the admin bar to virtually any account you wish. However, it’s advisable to keep these settings as default.
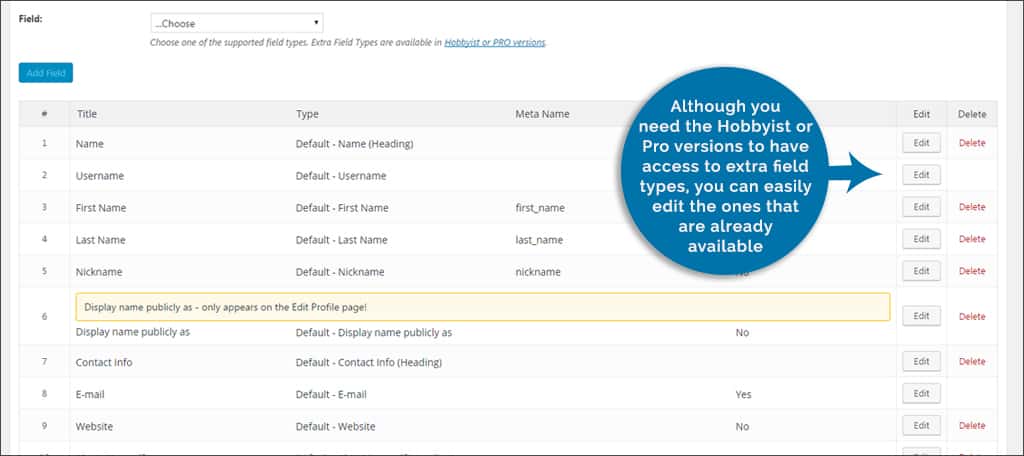
The Manage Fields area in Profile Builder allows you to make adjustments to the profile settings of a new user. Although you need the Hobbyist or Pro versions to have access to extra field types, you can easily edit the ones that are already available.
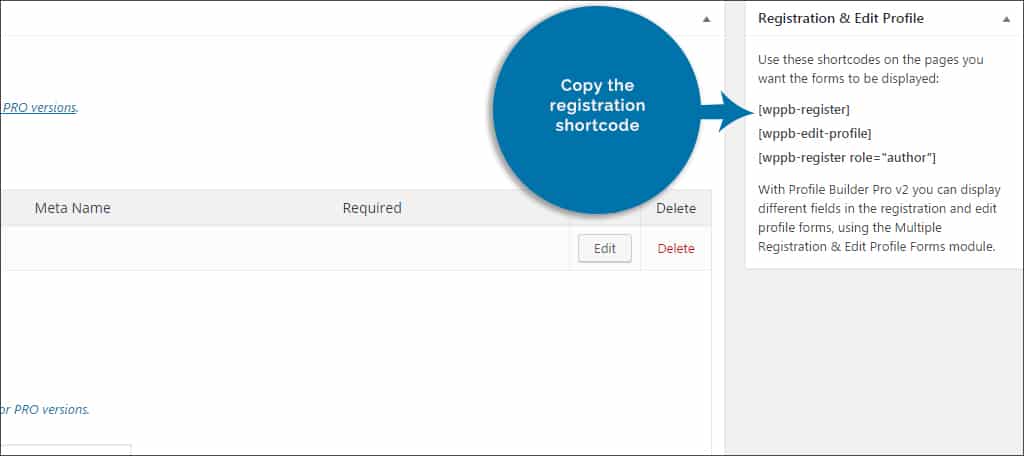
Copy the registration shortcode. It will read, “[wppb-register]” and located in the “Registration & Edit Profile” window on this screen. Make sure your select the brackets as well as the text.
Profile Builder also comes with add-ons you can install. Some of them have cross-compatibility with other plugins such as bbPress or WooCommerce. This is done from the “Add-Ons” control from Profile Builder.

Go to “Pages” in WordPress and create a new one called, “Registration.”

Paste the shortcode you copied in step 9 on this new page and click publish.

Go to the appearance area of WordPress and into Widgets.

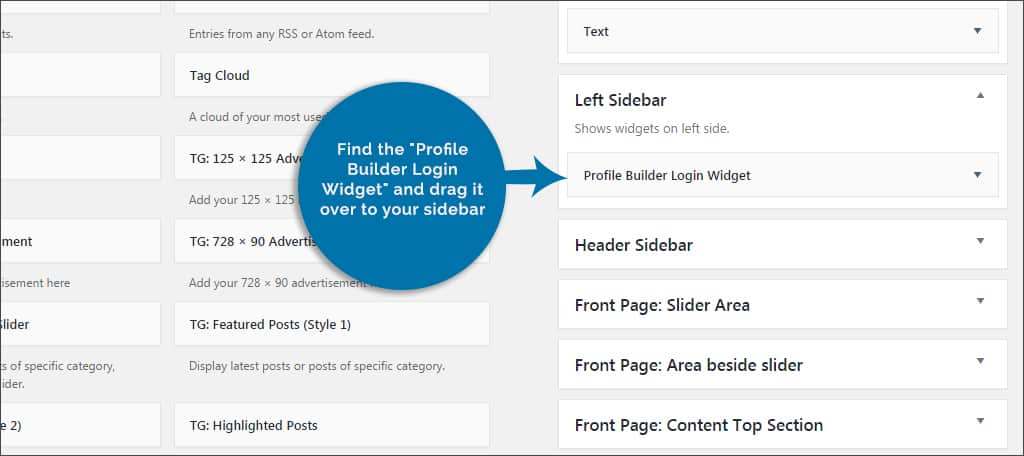
Find the “Profile Builder Login Widget” and drag it over to your sidebar.
Expand this widget.

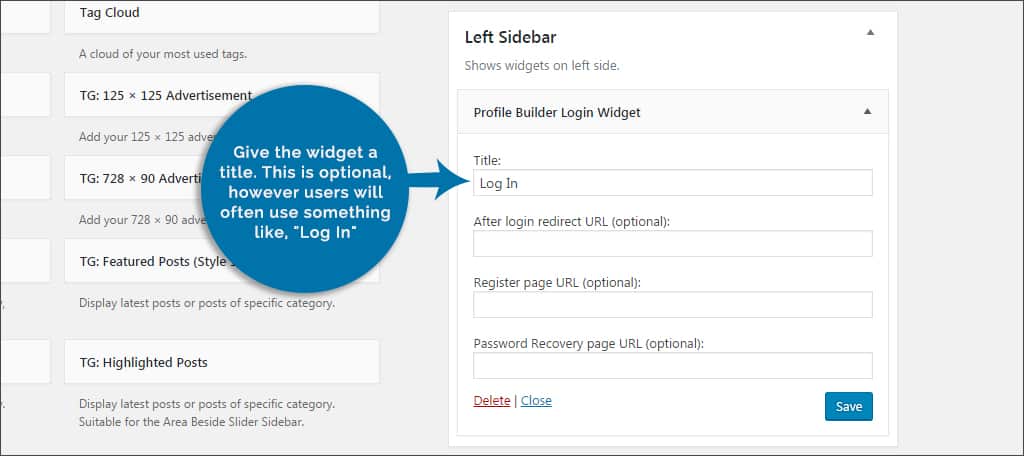
Title: Give the widget a title. This is optional, however users will often use something like, “Log In.”
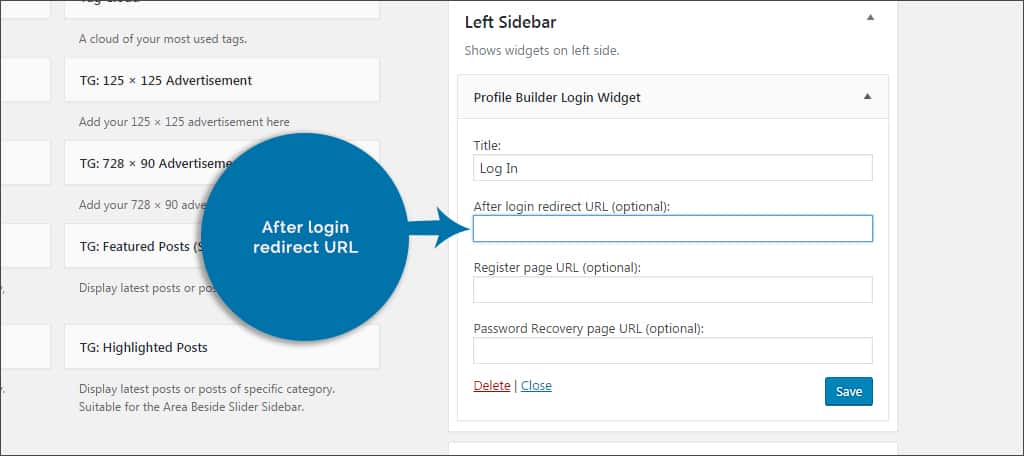
After login redirect URL: This optional field lets you set the URL of the page or post to send users to once they log in.
Register page URL: Paste the address of the Registration page you made in step 10.

Password Recovery page URL: If you set up a page specifically to recover lost passwords, this optional field is where you would put the address.

Click the “Save” button on the bottom right of the widget.

Other shortcodes that come with this plugin that will be helpful when making static pages include:
- [wppb-login]: Inputs a login page.
- [wppb-logout]: Allows users to log out of the website.
- [wppb-edit-profile]: Profile editing page for users.
- [wppb-recover-password]: Lets you create a password recovery page in the event someone lost their credentials.
If you create pages for the profile screen, login and/or registration, it is a good idea to add the pages to the menu bar. This is done by going to “Appearance” and then clicking into “Menus.”
Using WordPress Meta Widget in the Sidebar
WordPress comes built with the ability to allow users to simply register on the site. Using this method is quick, but it also comes with a price. Using this method allows anyone to register, including bots. This means the site is ripe for spamming. Luckily there are a number of ways to block spam bots in WordPress.
To let WordPress manage users:
Click on “Settings” from the WordPress admin panel on the left.

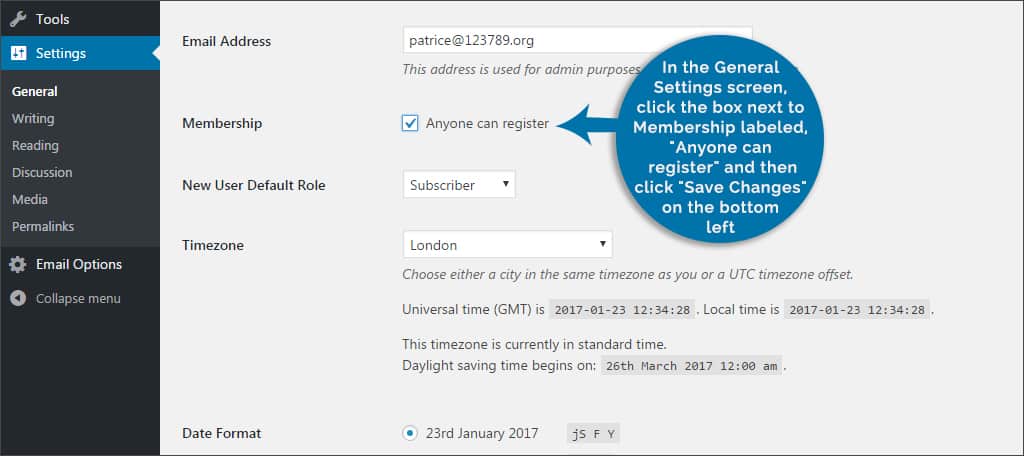
In the General Settings screen, click the box next to Membership labeled, “Anyone can register” and then click “Save Changes” on the bottom left.
Go to the users area in the WordPress admin panel.

Click the “Add New” button on the top left of the screen.

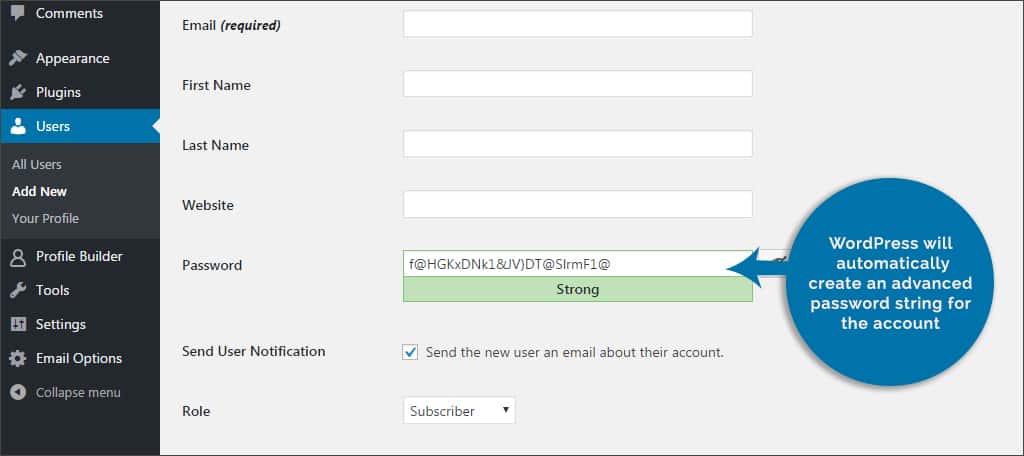
Input the user’s information. A username and email address are required. However, the rest of the information is optional.

WordPress will automatically create an advanced password string for the account.
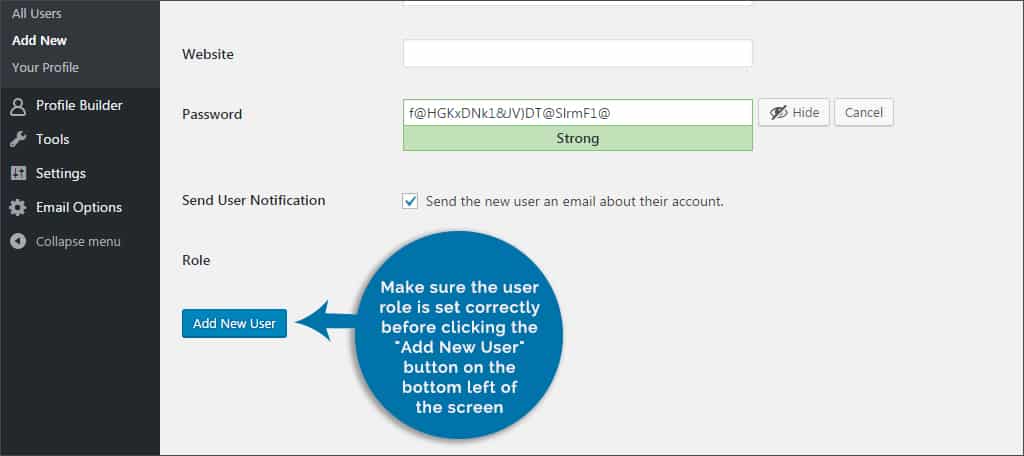
Make sure the user role is set correctly before clicking the “Add New User” button on the bottom left of the screen.
Go to the appearance area of WordPress and click on the link for, “Widgets.”

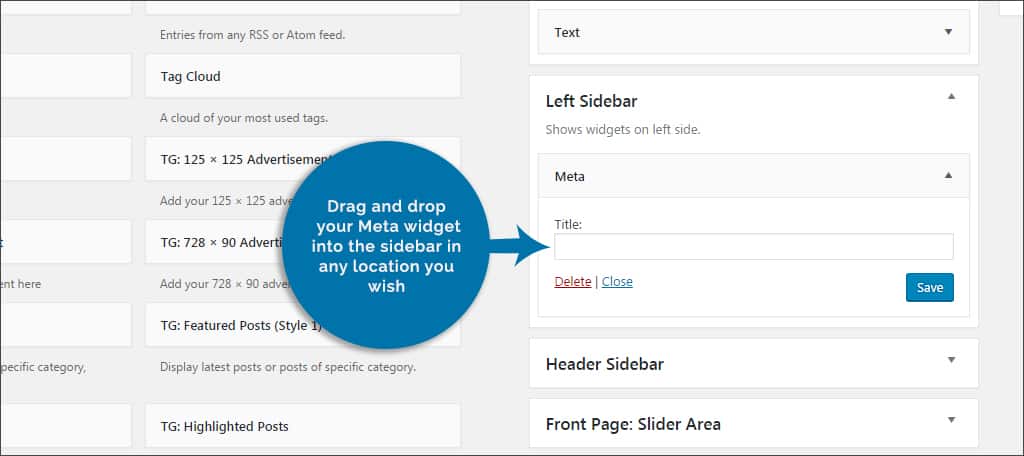
Drag and drop your Meta widget into the sidebar in any location you wish. In many installations of WordPress, this widget is already available. However, you can move it to any sidebar that is available in your theme.
A lot of developers don’t like using this method because of the obvious problems it creates. However, there are plugins you can add to reduce the influx of spam such as Captcha by BestWebSoft and other security measures.
This is only a couple of ways that you can implement WordPress user registration on the site. Whether you want to deliver a members-only experience or simply want to grow a mailing list, allowing people to register can be beneficial depending on your content. Offer an experience to remember and see how you can build something that can engage and entice those who visit.
What kind of additions do you provide for your users? How would you use a members area to enhance your website?
Great post. Profile Builder looks very good. Can I have a rule on the website to require the user registration after two clicks?