Do you know what every popular blog has at least one post about? The pros and cons of a product, service, action, activity, or just about anything at all. While you can use headers to create a pros and cons list in WordPress, it’s much easier with a plugin.
Luckily, I have found the perfect plugin for the job, i2 Pros & Cons. This plugin provides multiple templates for a pros and cons list that you can access directly in the Gutenberg editor in WordPress. It’s very simple and requires no coding whatsoever.
Today, I will demonstrate how to build the best pros and cons list in WordPress.
What Is a Pros and Cons List?
True to its name, a pros and cons list shows all of the pros and cons of a specific item or action taken. Of course, the name can be in a variety of other forms like advantages and disadvantages, or positives and negatives.
And yes, you can change the name of the list from Pros and Cons in the plugin.
Let’s face it, nothing in this world is perfect. The truth is that we are just switching one set of problems for another that is more favorable. And the point of a list like this is to display exactly what makes this product, ideology, activity, desirable in the first place.
The main usage these lists see is when you are trying to sell a product or service. Want to get someone excited about new goods? Compare it to the old one to help make it seem more appealing.
This also works great when you want to compare your brand to another to make it look better,
How to Build A Pros and Cons List In WordPress with A Plugin
Step 1: Install i2 Pros & Cons
The i2 Pros & Cons plugin excels and creates a Pros and Cons directly in the Gutenberg editor. Everything is accessible within the editor, so you can create the list alongside the rest of your content.
It’s really that simple.
The plugin offers a variety of design choices to choose from. You can even customize all of the items to have a specific icon next to them. For instance, you can have all of the items under Pros to have checkmarks, or red X’s for the cons.
As a result, it fits any site design.
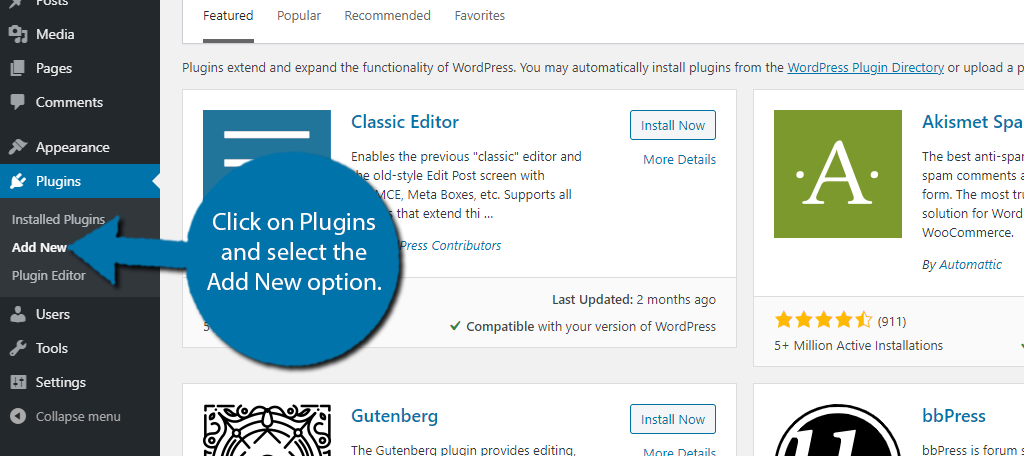
Begin by clicking on Plugins and selecting the Add New option on the left-hand admin panel.
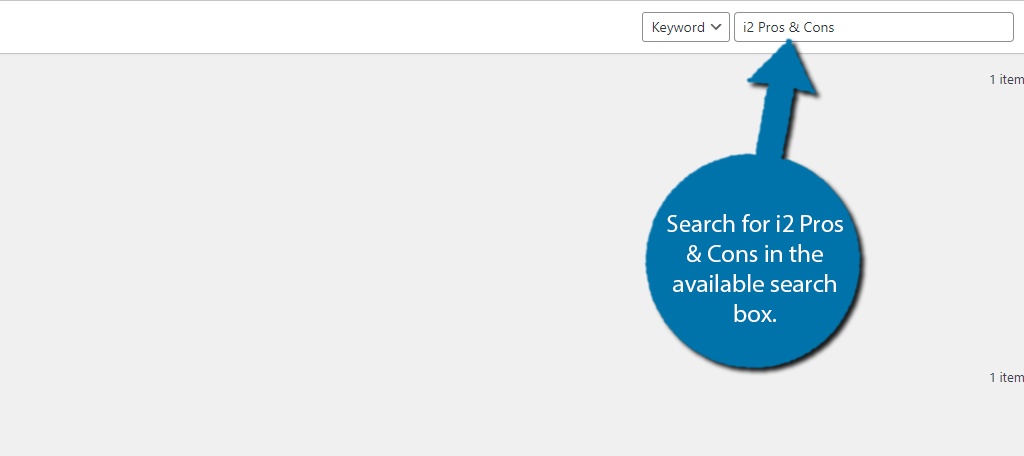
Search for i2 Pros & Cons in the available search box.
Scroll down until you find the i2 Pros & Cons plugin and click on the “Install Now” button and activate the plugin for use.

Step 2: Add the I2 Pros & Cons Block
Now you could start off by going to the settings to change the way everything looks, but since you can’t actually preview any of those changes, I strongly recommend checking out the default view inside of the Gutenberg editor.
This will give you a better idea of what to change.
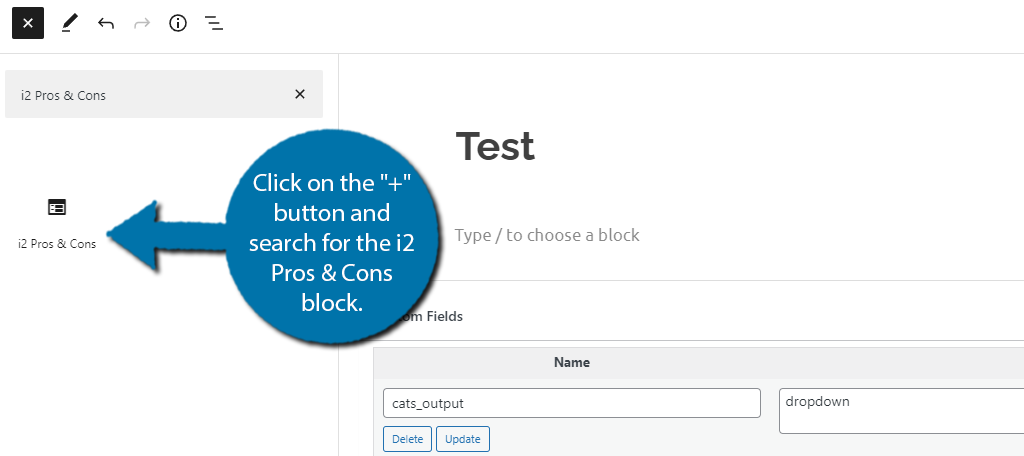
Go to any post or page on your website. Click on the “+” button and search for the i2 Pros & Cons block.
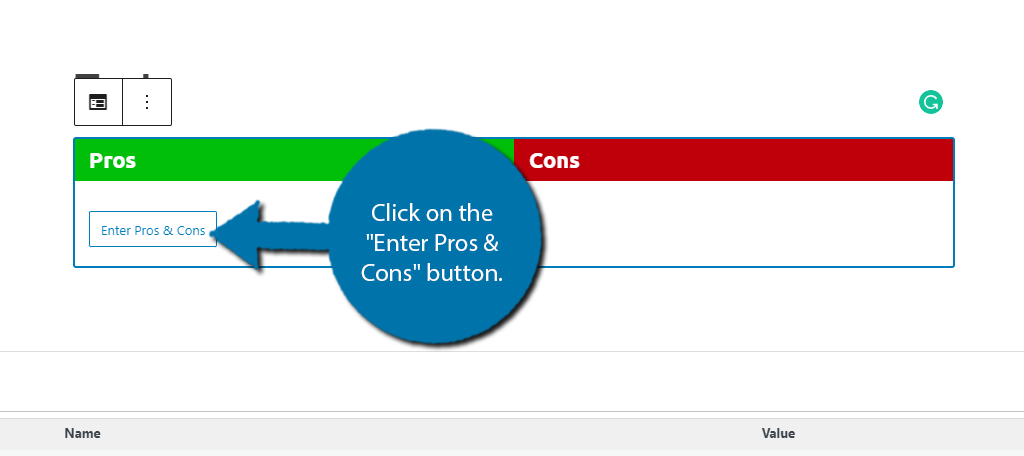
The default version is quite basic, but it still looks good enough to use. Click on the “Enter Pros & Cons” button.
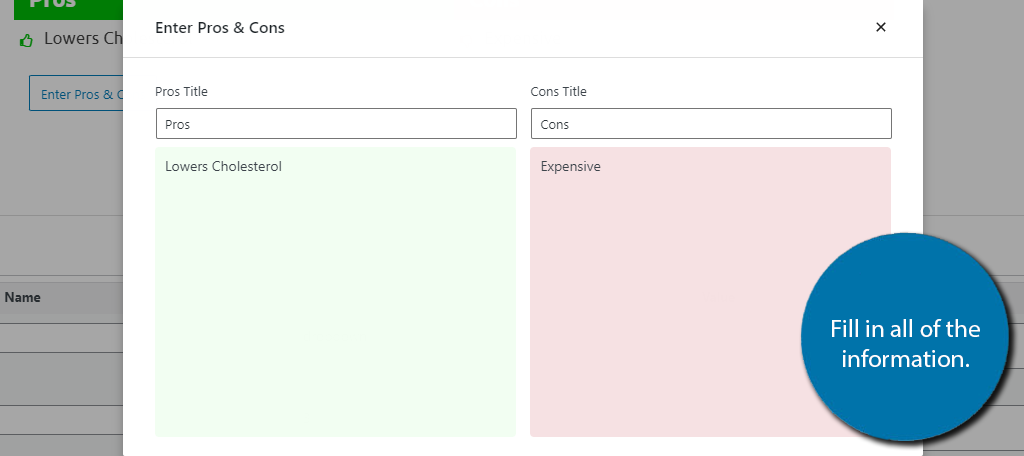
This will open up a small pop-up in which you can enter information into both columns. Firstly, you can change the column names from Pros and Cons. Next, you can enter individual points into each column.
Note: Take notice when you close the window. The Pros have little thumbs-ups next to them, while the Cons have thumbs-downs next to them.
By clicking on the block, you should notice several options you can configure on the right-hand side. One option to take note of is the “Show Main Title” slider.
By clicking the slider, you will add a main title to the table. This can be very useful when you have multiple comparisons.
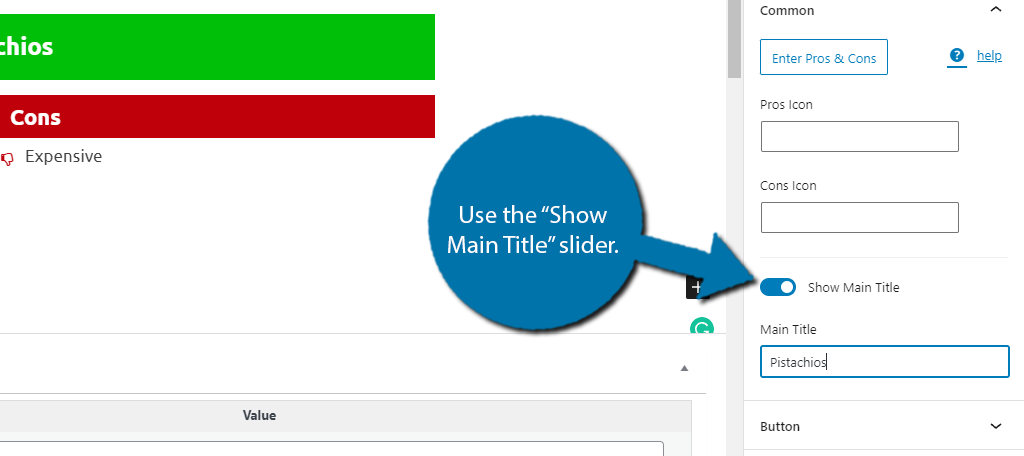
You can also add a button with the “Show Button” slider. By default, it says “Buy on Amazon,” but you can configure that in the next step if you want to use one. You can also add heading icons and custom CSS to better match your theme.
Be sure to save the changes you make. If you want to further customize the plugin, check out the next step. If you’re happy with the default options, congratulations, you’re done.
Step 3: Customization
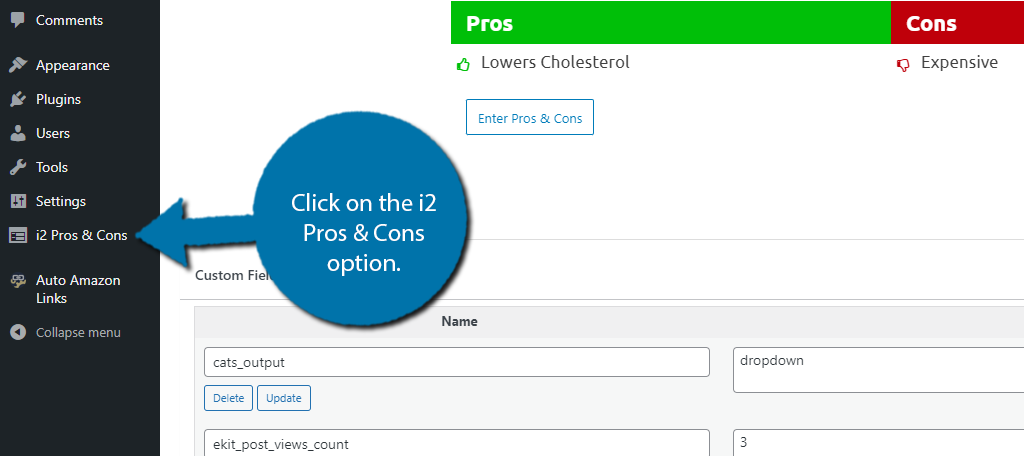
This pros and cons plugin for WordPress is full of customization options. You can change all of the colors, icons, borders, buttons, and more in the settings. Most of these consist of boxes that you can enter your own value or choose from a drop-down menu.
It’s very easy and takes no time at all to master. To find them, click on the i2 Pros & Cons option.
The settings are broken up into six tabs that include Global, Heading, Section, Box Shadow, Icons, and Button. Each one contains a series of options that you can configure.
Obviously, the choices you make are up to you, but odds are you are going to want to customize the colors and icons to match your site. You can find these in the Heading tab.
The icons can be found under Pro Icons and Con Icons respectively. Just be careful when choosing one as the good and bad icons are mixed together.
You can adjust all of the colors by clicking on their respective color option. Unfortunately, there is no preview display. One way around this is to open a new tab and create a post with a pros and cons list.
You can also choose a color for an icon, but I recommend matching it with the other colors you choose.
Remember to click on the “Save Changes” button at the bottom. Congratulations, you have successfully set up this Pros and Cons plugin for WordPress.
Improve Your Marketing With A Pros and Cons List
Many companies and websites utilize a pros and cons list to market their product. After all, sometimes the best marketing strategies are to demonstrate why your product is better than the competition.
Although sometimes a comparison table is more appropriate.
In fact, that’s exactly what you see on most sales pages. Generally speaking, most services or products will try to make themselves look better than the big name brand in their industry.
Granted sometimes they leave out certain details, but that’s really what marketing is all about. And if companies worth billions of dollars do it, it probably works wonders.
Show Off Your Pros and Cons List in WordPress Today
A pros and cons list is a powerful weapon in a blogger’s arsenal, and the i2 Pros & Cons list can help you create the perfect one for your website. Not only does it help you get the design just right, but it also has a sales button.
It fits in perfectly on both online shops and blog posts. And with its wide selection of customization options, it can aesthetically fit on any website.
Why did you add a pros and cons list to your website? Do you think WordPress should have a default block to handle this?
