Are you a musician looking to start a beat selling website? Many content creators and businesses need to purchase new beats to help their content or product shine. Thus, there’s some serious money to be made.
However, building a website can be a daunting task, but I’m here to help. Let’s cover how to build a beat selling website.
What Is A Beat Selling Website?
A beat selling website is one that sells beats (music) to customers. Customers can then use the beats in any content they choose. This is much cheaper than buying the rights to licensed music, thus there is a lot of business available.
However, there is a lot of competition in this industry between hobbyists and actual musicians. As a result, the prices of what you sell vary considerably and typically the price is determined by the experience of the beat creator.
Nevertheless, this isn’t always the case.
While you might expect a trained musician to produce a superior product, music isn’t cut and dried. A simple beat from an amateur can end up competing with the best of them, which means you have your work cut out for you.
How to Build A Site to Sell Beats
Step 0: Consider Your Options & Make Some Beats
Building a beat selling website is an awesome idea, but it’s not for everyone. You see, there are a lot of websites that you can use to sell your beats. And these are a much better starting ground for beginners both with and without experience.
Building your own website is for beatmakers that have made a name for themselves, or at the very least are trying to.
You also need to have some beats to sell. It would be kind of ridiculous to start building a beat selling website, but not have any beats to sell. And this can take some time to build a full catalog of beats. So you don’t want to rush building a website.
Just creating the music isn’t enough, you also need to protect it with copyright, otherwise, selling your music won’t work.
Only once you have all of this, can you start building a website.
Step 1: Pick A Web Hosting Company and Choose A Domain Name
Once you are ready to build a website, the first thing you need is to choose a web hosting company.
A web hosting company will rent you a web server to store your website on. It is also responsible for maintaining the webserver 24/7, thus I’m sure you can imagine that choosing the right web hosting company is important.
This choice will have a direct impact on the performance of your website, luckily you have a lot of choices.
Since every website needs a web host, the industry has grown considerably in size over the years. Not only has this resulted in better services, but also lower prices. Thus as a customer, you can reap the benefits. Yet, not all hosts are equal.
That’s why here at GreenGeeks, we strive to deliver the best experience possible while also trying to continuously improve what we offer. Thanks to this outlook, we have become one of the top web hosts in the industry.
And even more importantly, we did it without negatively impacting the environment. For every website we host, we calculate how much energy they use and purchase three times that in clean energy, and we plant a tree for each new customer.
You will also need to pick a domain name. In simple terms, this is the URL of your website. Make sure it is short, easy to remember, and reflects what your site is about.
Step 2: Choose A CMS (WordPress)
You need to choose a CMS that can easily handle audio files and sell products. There are quite a few that can do this, but WordPress is my recommendation.
WordPress is the most popular CMS on the market because it can do everything and does it well. Most importantly, it is beginner-friendly. You do not need any coding knowledge to create a website on WordPress.
Instead, all of the heavy lifting is done by the theme and plugins you install.
A plugin is a small software package that adds a specific feature to your website. They are essentially the equivalent of apps on your smartphone. You install the one that adds the feature you want and delete it when you don’t need it anymore.
Whereas a theme is a collection of stylesheets and templates that determines the appearance of your website. Each theme is customizable so you can add your own touch to your website’s design, and with over 4,000 to choose from, there’s something for everyone.
Step 3: Choose A Theme and Install Plugins
Once you have WordPress installed and have logged in, it’s time to begin creating your website.
The first thing you want to do is pick out a theme. In this case, you want to find something that matches your brand’s design or something that is musically oriented. The good news is that WordPress has a lot of options to choose from.
The bad news is that WordPress has a lot of options to choose from. You could easily spend hours surfing through the theme directory before you find one you like, thus I’ll leave that to you.
Now plugins, are a different story. You just need to think about the feature you need on your website. In this case, you are selling a product (your beats), so you need a plugin that can sell products and support audio files.
Here are a few plugins that can help you put your site together:
WooCommerce
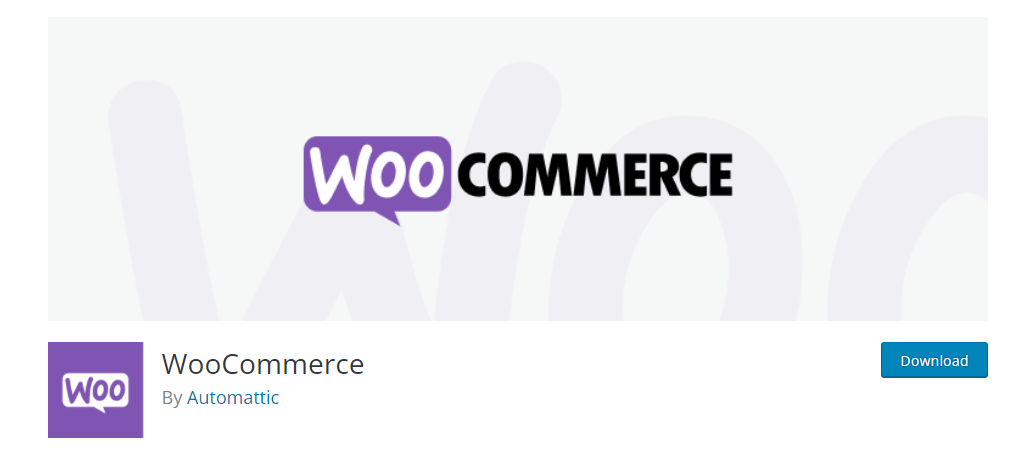
WooCommerce is the biggest eCommerce tool in WordPress. In fact, you can consider it WordPress’s secret weapon. While most think of it for traditional eCommerce, it can also be used to sell audio products from e-books to beats.
It supports any type of audio format, but you probably want to stick to the main ones like MP3 or WAV for simplicity. And with the preview function, visitors can listen to a small portion before they buy.
It’s the perfect tool to build the best place to sell beats online.
Compact WP Audio Player
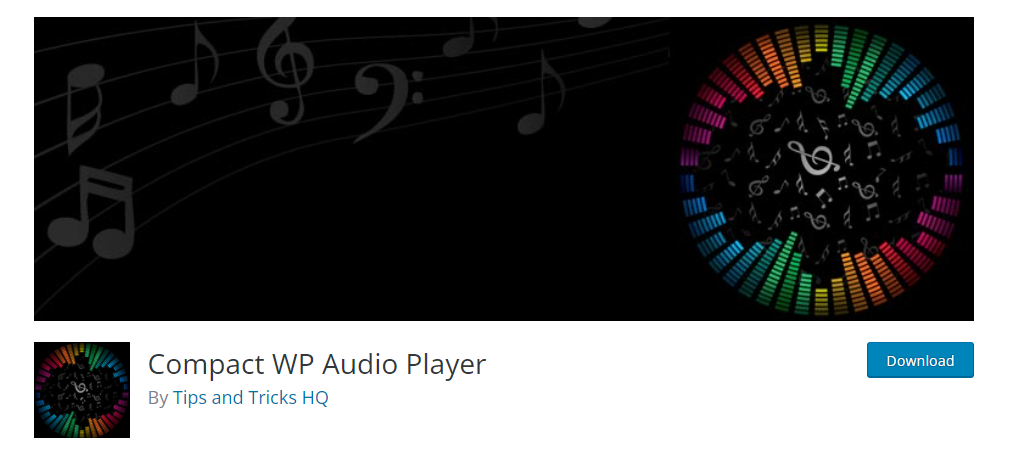
Now if you set up WooCommerce, you might notice that it uses the default WordPress audio player. It will get the job done, but it’s too basic for a site dedicated to selling beats. Instead, try installing the Compact WP Audio Player.
It’s much smaller than the default audio player, which ultimately looks better on a sales page. It’s pretty easy to use since it is shortcode-based, so you just need to add the audio where you want it to be displayed.
Step 4: Get the Word Out
With your website set up, all that’s really left is to spread the word, and there’s no easy way to go about this.
One of the main avenues new artists can reach their audience is through social media. Let’s face it, you knew you needed to have a social media presence, and this is where it begins. Try to build your presence on platforms like Facebook, Twitter, or even TikTok.
All of these support audio sharing, so it’s a great way to share demos of your work.
My real recommendation is that while you create a beat selling website, you should also create a YouTube account. YouTube is the best platform you can use to share your work. Use it as a marketing tool and add links to your store.
Another way to go about it is to create a blog. This will enable you to boost your website’s SEO and get more organic traffic. It also makes you look like an expert on the subject, which helps add credibility to your skills.
Regardless, this is the hardest part of building a website, so don’t get discouraged if it takes several months before traffic starts to pick up.
Create a Website to Sell Beats Today
In reality, this isn’t that different from building a regular online shop. But the main difference is that you need to create the beats that you are selling, which makes it feel more complicated. With WordPress, the process is easy and quick.
Just keep in mind, the hard part is finding customers as competition is fierce.
