There’s some false information out there that says email is dead, but it’s not. And since it’s not, any website worth its salt needs to be producing a quality newsletter to send to its followers. The good news is that it’s pretty easy to do with the Newsletter plugin by Tribulant.
This plugin allows you to create stylish newsletters that you can easily customize for free. That’s right; a free email marketing tool is at your disposal. It’s a great way to update your subscribers with new content or products on your website.
Today, I will demonstrate how to use this plugin to create a newsletter in WordPress.
What Is A Newsletter?
Well, if you are like me, you probably get about a dozen of them a day alerting you about new posts or products from different websites.
However, if you’ve somehow avoided this, a newsletter is essentially an email that tells subscribers what’s new on your website. This can be in terms of content or products and services. Many try to include discount codes or highlight sales.
It’s a great way to get people to check out your website, and by providing incentives like discount codes or exclusive deals to customers, it makes the email have a certain value. Or in other words, it doesn’t feel like a waste of time to check.
While a newsletter can be a powerful asset, it can also work as a double-edged sword if it is mishandled.
For example, no one wants to receive multiple emails from the same site each day. The high frequency will lead them to unsubscribe, or even worse, they may get put into the spam section. And sometimes, it’s not even the subscriber that will put them there.
Google Mail actually can move emails it deems as spam automatically. It may even put it in the promotional tab, which is a death sentence.
Thus, your newsletter needs to be of a certain quality and have the right frequency.
How to Create Newsletters with Tribulant
Step 1: Install Newsletters By Tribulant
Newsletters by Tribulant is a comprehensive plugin for email marketing that is compatible with several large plugins like WooCommerce and Contact Form 7. It offers users full control over the emails they send in both style and behavior.
Creating emails is easy as the plugin offers several templates you can use as a starting point. It’s a great tool for experts and beginners alike.
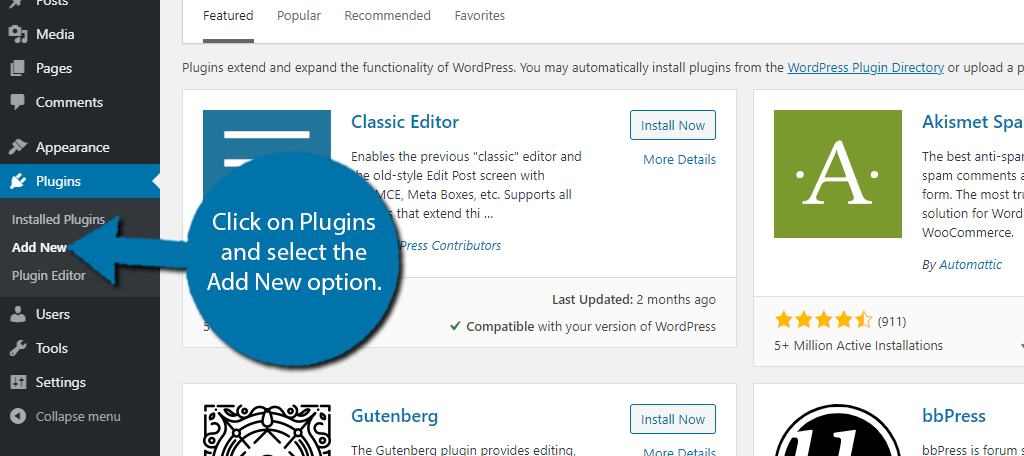
Let’s start by clicking on Plugins and selecting the Add New option on the left-hand admin panel.
Search for Newsletters in the available search box. This will pull up additional plugins that you may find helpful.
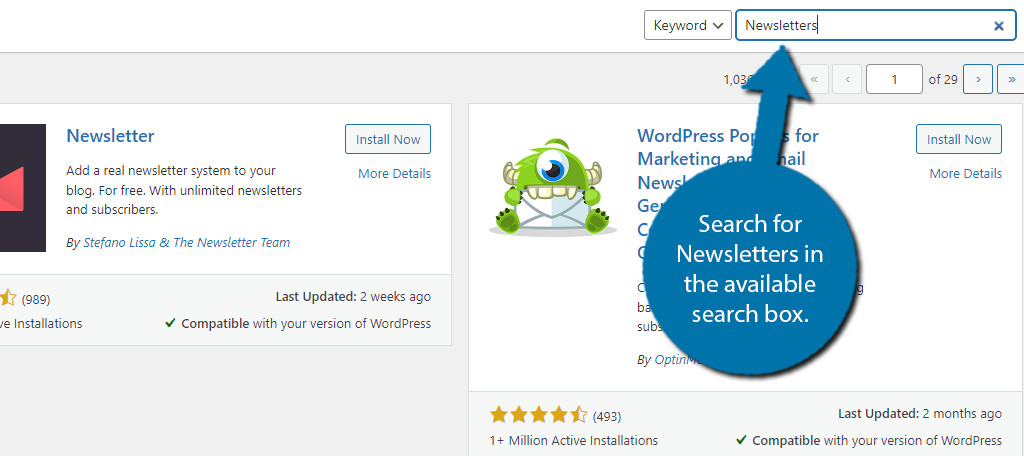
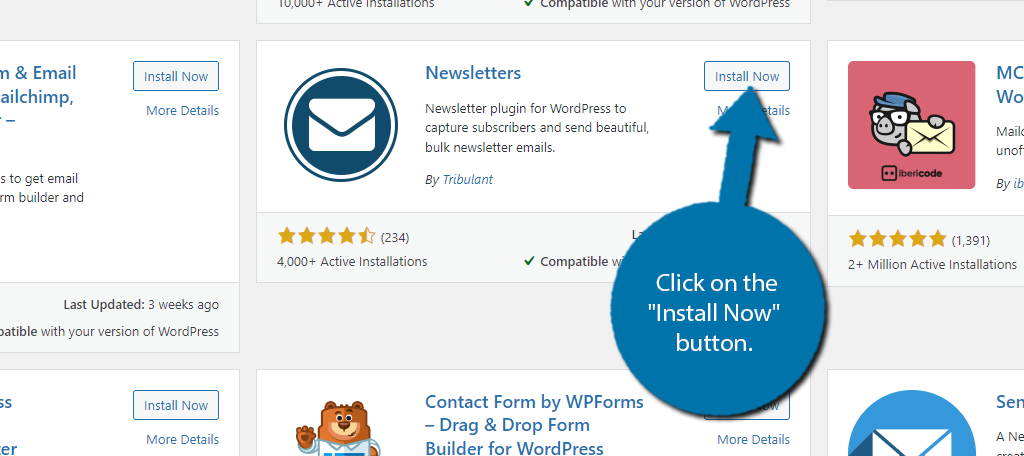
Due to the more generic name, you will need to scroll down until you find the Newsletters plugin. Look for the plugin that is by Tribulant.
Click on the “Install Now” button and activate the plugin for use.
Note: This plugin can also help you create subscriber forms, or you can use dedicated contact form plugins to do it. Both will get similar results.
Step 2: Customize the Temnplate
The first step you should take is to customize the free templates, assuming you are using them. If not, feel free to skip to the next step, but it is recommended.
By default, the plugin provides 11 unique templates that you can use. Each one has a unique format and color scheme, but rest assured that everything is customizable.
Even if you plan to use them as-is, which is fine, you do need to replace some of the placeholder info.
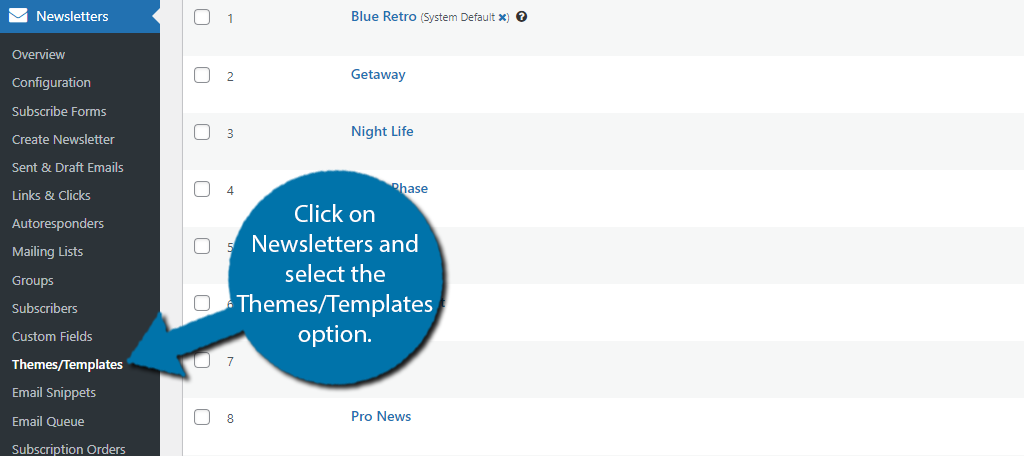
To do so, click on Newsletters and select the Themes/Templates option.
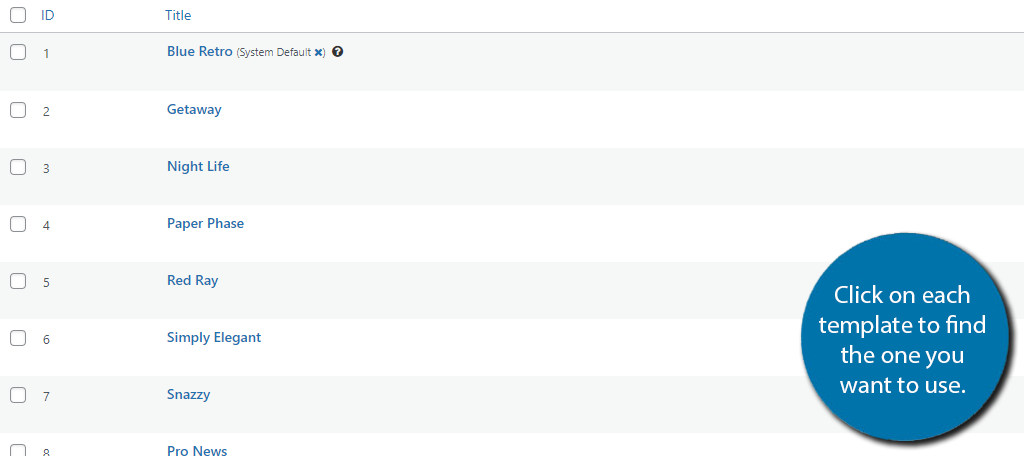
Here, you will see the full list of templates. Each one is made up of HTML. Those with the know-how can create their own custom template, but I will not be covering that.
Instead, click on each and find the one you like the most.
Within the template, you are free to customize any element. However, before you do so, take notice of all of the shortcodes (denoted by the [brackets]). All of this information will auto-fill in so no need to change it, but you can move it around.
And yes, as you have already noticed, this is not the Gutenberg editor. This is a custom HTML editor for the plugin. When you first enter it, you are viewing the visual editor. To switch to HTML, click on the Source button.
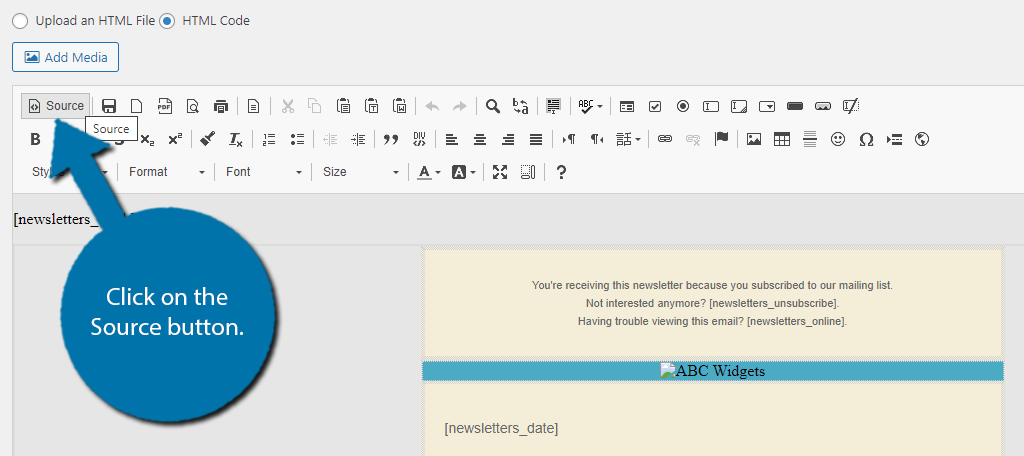
For those who are familiar with HTML, this is where you can customize the code. That said, the visual editor is completely fine if you are not comfortable. Simply use the toolbar to make any changes.
Save the changes when you are done.
Step 3: Create A Newsletter
Now that you have a template customized, it’s time to actually create a Tribulant newsletter. This is also a good time to think about the frequency that you will send them. Depending on the size of your website, perhaps once a week is best.
This is important because you need to decide how much info you need to include. A once a week update will be longer than a daily newsletter, but the choice is yours.
Regardless, click on Newsletters and select the Create Newsletter option.
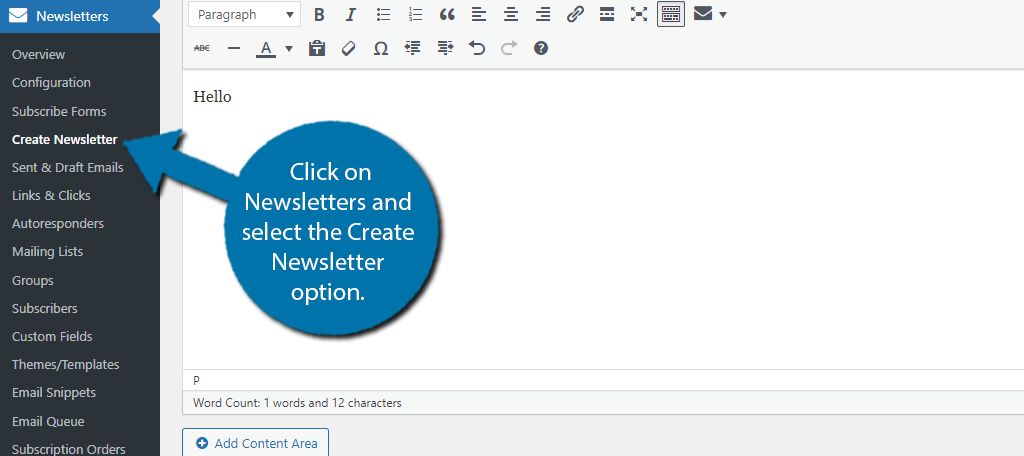
This is the standard classic editor. The content you are entering is what will appear within the newsletter template.
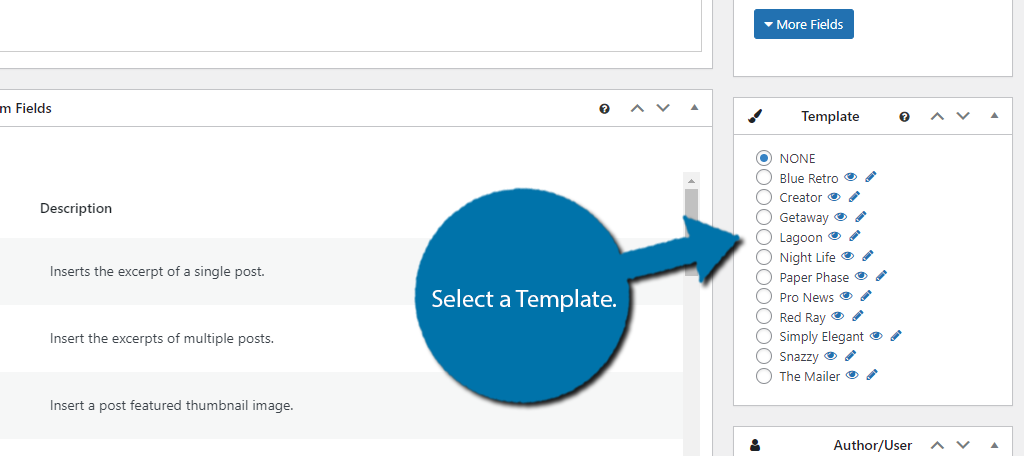
First, select the template you are using. To do so, look on the right-hand side and locate the template box. Select the one you want to use.
There is a live preview section. To update it, click on the “Update Preview” button.
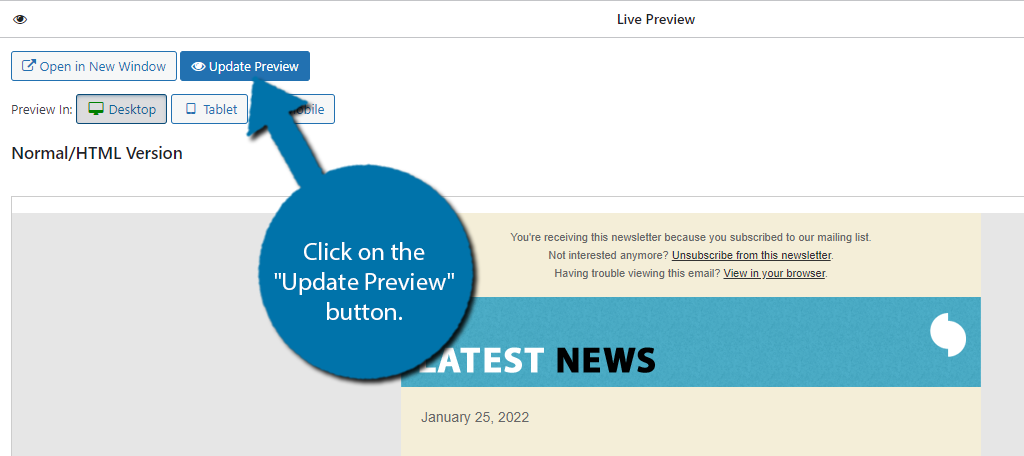
Also note that in the preview, all of those shortcodes will be filled in, so this is the best way to view what the template will look like. You can also select what device to preview it on.
This is a great way to ensure the email is mobile-friendly.
Next, you also need to select which subscribers will see the email. The Subscribers box on the right allows you to select who receives them.
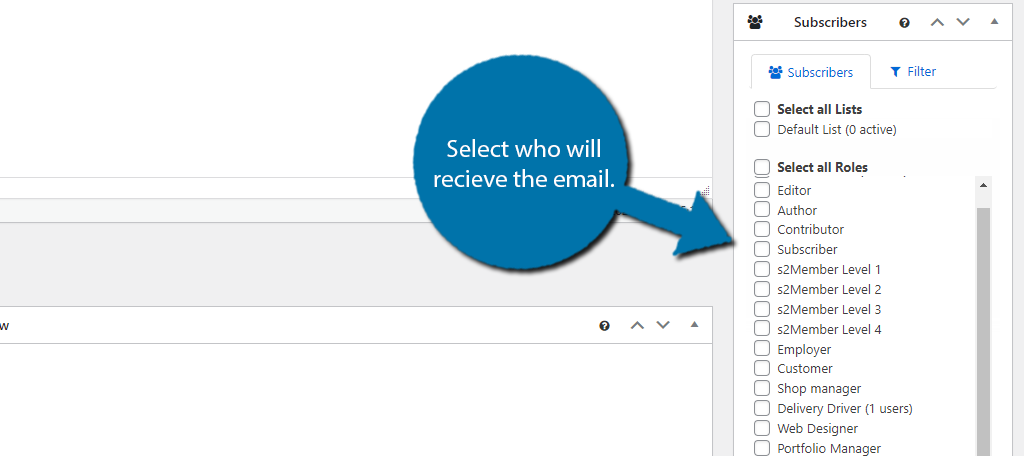
Note: You can actually send this to employees, so you could also use the plugin to send out work-related news for staff.
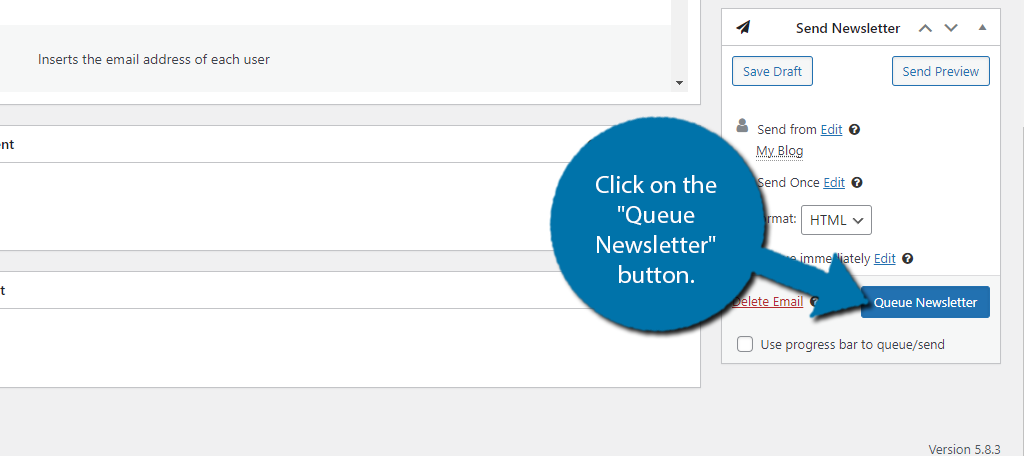
Now you just need to enter the meat of the newsletter. This can include text, images, and video content. Use the “Update Preview” button to view what it looks like and don’t forget to save the changes.
With all of the information entered and the subscribers chosen, you can click on the “Queue Newsletter” button to send it out.
Congratulations on learning how to send Tribulant Newsletters in WordPress! The only thing left is to start building up your email list to reach more customers or visitors.
Don’t Send Spam to Visitors
Sending low-quality emails that can be mistaken for spam is a surefire way for this entire marketing strategy to fail. Nobody likes spam. Customers and visitors feel like it is a waste of their time, and you don’t want to end up on their block list.
If you can avoid this, your marketing strategy through email can be very successful and help drive traffic to your website. And more traffic means more money.
How often do you send newsletters to your audience? Do you include any discount codes to entice customers?
