Do you need help scheduling and planning your content release schedule? If so, you should check out the SchedulePress plugin. It has everything you need to take control of your content for free.
Not only does this tool help you manage your new posts in WordPress, but it also helps you off the platform. Or to be more specific, you can use it to share new posts on your favorite social media sites.
Most importantly, it’s incredibly easy to use. It supports a calendar view that utilizes a drag-and-drop interface. Thus, it is usable at any skill level.
Today, I will demonstrate how to use the SchedulePress plugin to take control of your post releases.
Why Do Schedules Matter?
Many beginners underestimate the importance of a consistent release schedule in WordPress.
First, let’s start with the Google algorithm. In no uncertain terms, Google (and other search engines) like consistency. They are perfectly aware when you release content and if you follow a pattern, it can result in quicker indexing.
After all, they are expecting you to release content. However, that doesn’t mean you should release low-quality work to meet a schedule.
While it may be hard to understand the algorithm, what is not difficult is to understand actual visitors. You see, they also like it when content comes out at regular intervals.
In fact, you might notice a lot of bigger sites follow a specific release schedule.
If visitors know that a piece of content will release at a specific time, they will often make plans around that content. This can be the difference between a post getting several thousand views in the first hour of release, or just getting a handful.
Generally speaking, if you do not release content regularly, visitors will look elsewhere for similar content that does follow a schedule.
TL;DR: Both visitors and search engines want consistent content schedules.
How to Take Control of Your Content Schedule With SchedulePress
Step 1: Install SchedulePress
SchedulePressis an all-in-oned schedule tool that can help you manage post schedules in WordPress. It even goes beyond this by making it easy to share scheduled posts on Facebook and other social media platforms.
Not to mention, it solves one of the more annoying errors in WordPress, which is when scheduled posts are not released on time or at all. Instead of leaving it up to WordPress, the plugin will post them for you.
And the good news is that this is all pretty easy to do. Let’s start by installing SchedulePress.
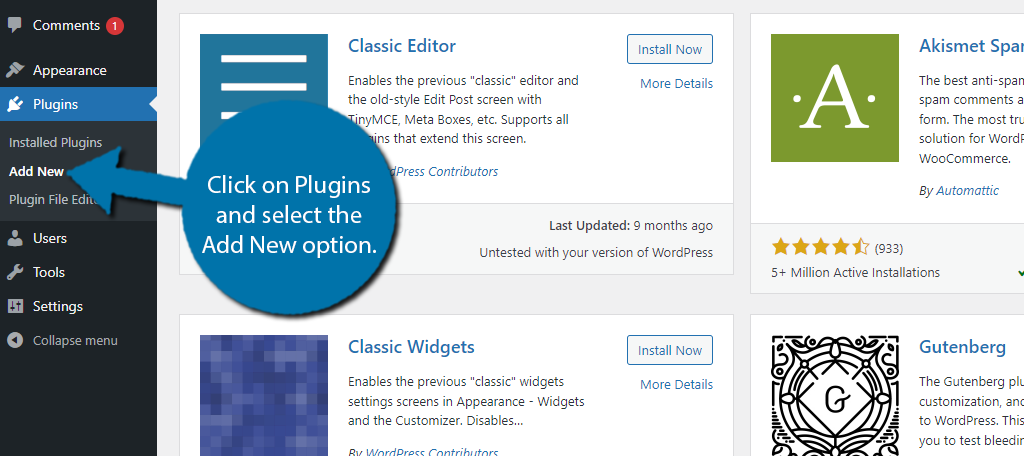
Let’s start by clicking on Plugins and selecting the Add New option on the left-hand admin panel.
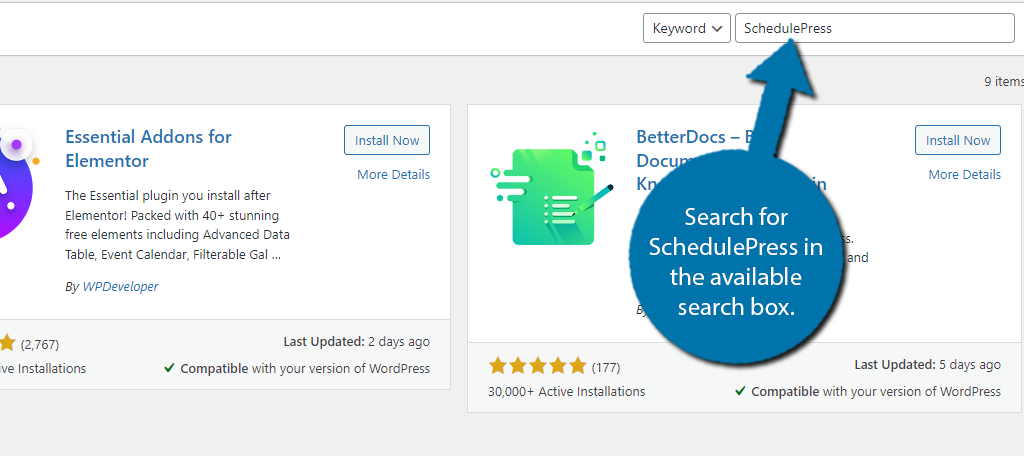
Search for SchedulePress in the available search box. This will pull up additional plugins that you may find helpful.
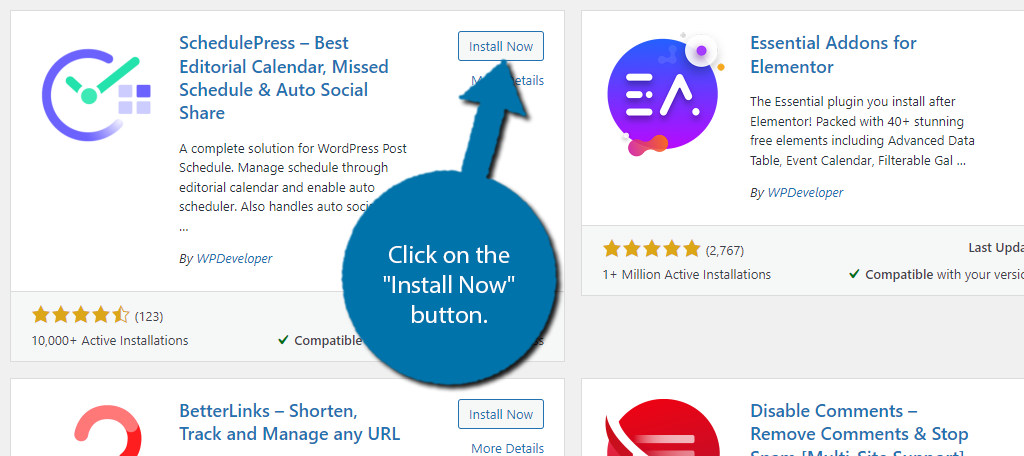
Scroll down until you find the SchedulePress plugin and click on the “Install Now” button and activate the plugin for use.
Step 2: Settings
This plugin can do a lot, so you can expect a large settings section to accompany it. With that said, nothing is complicated.
Depending on what parts of the plugin you use, the setup time will vary but expect to spend a few minutes if you want everything.
Note: Many features are locked behind the Pro version.
On the left-hand admin panel, click on SchedulePress and select the Settings option.
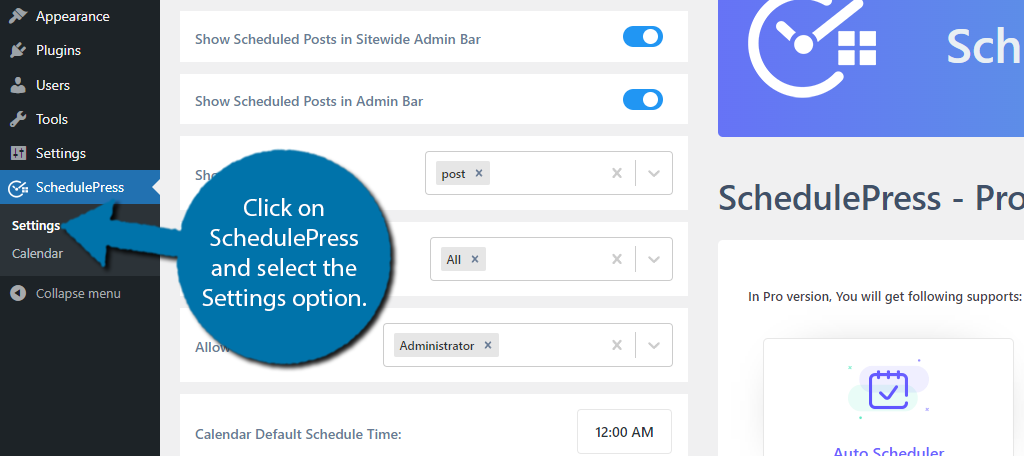
The settings are broken into four tabs that include General, Email Notify, Social Profile, and Social Templates. You can also see some Pro options under each section, so not everything is accessible.
General Settings
In the General settings section, you’ll find some basic visibility and notification settings that you can toggle on or off, followed by choosing what content the plugin will use and what user roles can interact with the plugin.
You’ll also find some plugin documentation at the bottom. For the most part, nothing needs to be changed here, but you can if needed.
Email Notify
If you click on the Email Notify tab, you will simply find a series of switches that you can toggle on or off. They will send authors email notifications when various conditions are met.

Social Profile
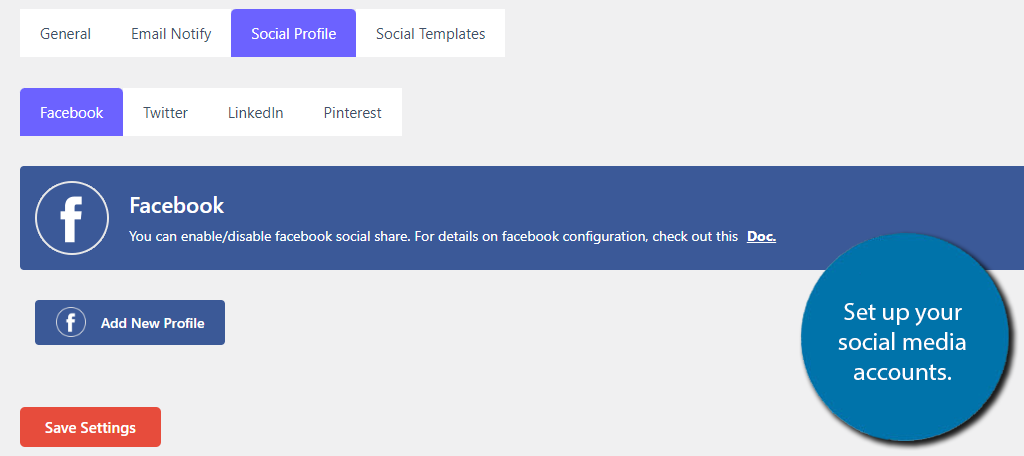
The Social Profile Tab is probably the most important. This is where you can set up various automatic post-sharing on specific social media platforms. In total, you can use Facebook, Twitter, LinkedIn, and Pinterest.
Each one requires the platform’s API keys. Simply toggle the switch to enable them and add your profile by inserting the necessary information.
Social Templates
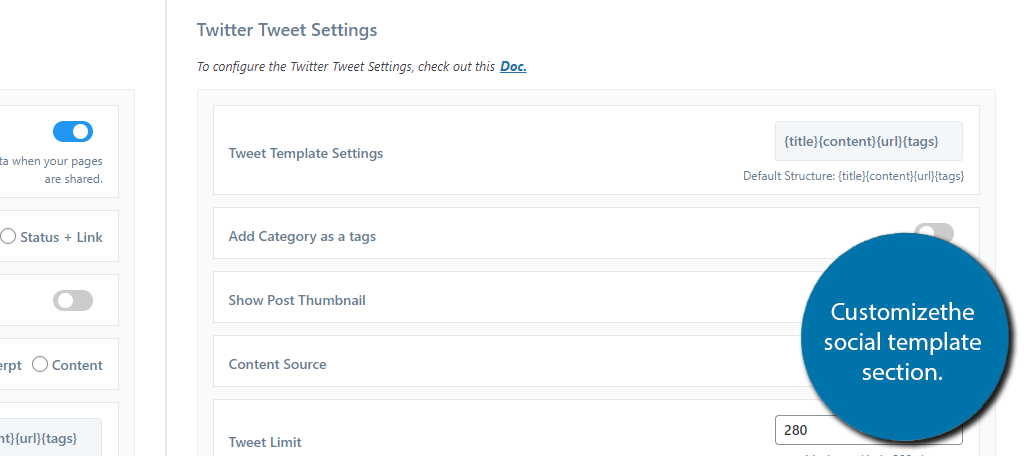
Finally, the social templates will allow you to customize how the information is displayed on each social platform. This is just a series of settings that you can customize, with each one being specific to the platform.
For instance, if you share scheduled posts on Twitter, you can customize the length of the Tweet. You can also decide if you want to show the post thumbnail, if categories will be used as tags, and more.
Step 3: Schedule Posts with SchedulePress
At this point, all that’s left is to actually start scheduling your post content. Begin by clicking on the calendar option.
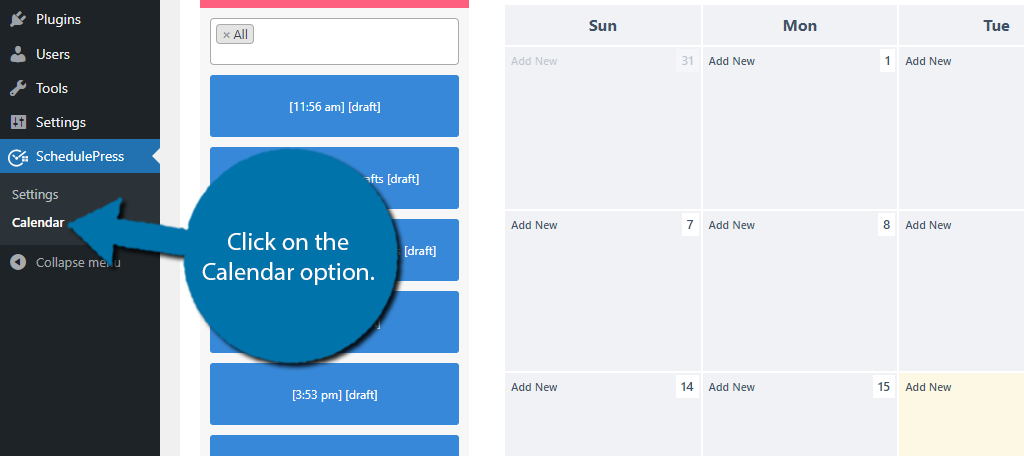
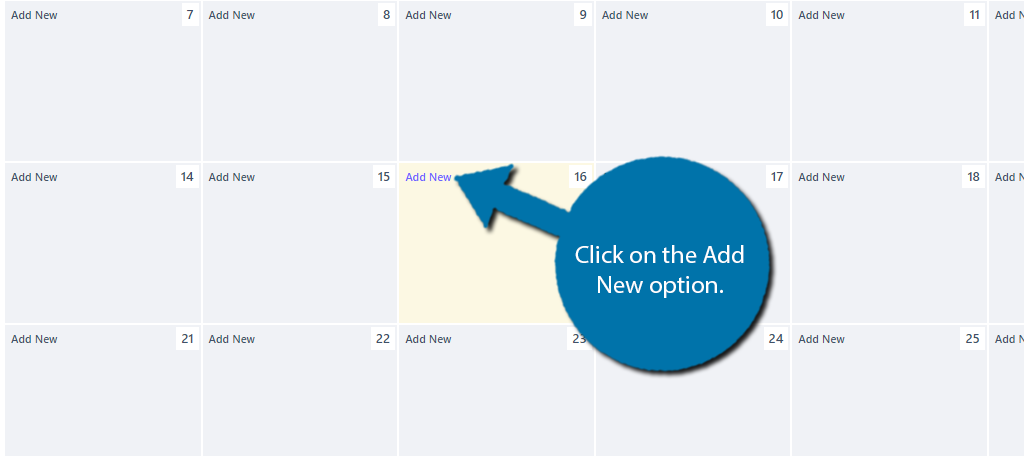
So, this is a calendar view that you can place post schedules on any date at any time. To do so, find the date you want to create a task and click on the Add New option.
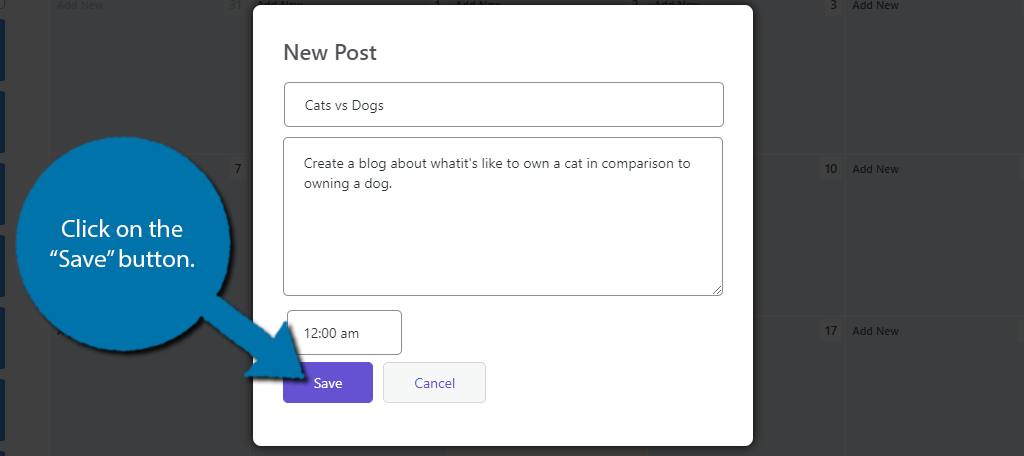
A small pop-up will appear and ask you to enter a title, a description of the content, and select a time. When you enter this, click on the “Save” button to add it to the Calendar.
You will now see that task appear on the calendar. You can assign multiple tasks to a single day and plan months in advance with the free version. However, what you cannot do is automatically post scheduled posts for free.
This and many other features are locked behind the paid version. However, the free tool is a great option for those looking to improve their organizational skills.
If you set the settings up correctly, every time a post goes live, it will automatically post on your social media profiles as well.
Create a Content Schedule You Can Follow
One of the biggest mistakes beginners can make when they try to create a schedule, is that they make an unrealistic one.
The more high-quality content you pump out, the more traffic you will bring in. However, you will find it incredibly hard to create a new post every single day if you are the only writer.
Instead, that’s why many successful blogs may only post three times a week, or even just once a week. Ensuring the content they release meets certain quality standards is more important than just pumping out content.
Thus, you need to analyze your content output speed and how important content releases are in your field.
For example, if you cover news stories, no one wants to read about something that happened a week ago. That kind of content needs to happen on the same day. Whereas, a blog about cats can release on any day and still be relevant.
In any case, figure out a release schedule with SchedulePress that you and your staff can follow.
How easy did you find SchedulePress to use? How often do you plan to release content in WordPress?
