So you have set up WooCommerce and you are ready to sell products. The thing is, you want to be able to sell multiple products from several different vendors (sellers). This is where a multivendor WordPress marketplace setup comes in.
What is a Multivendor Marketplace in WordPress?
Have you ever wanted to have a website like Amazon? Or something like eBay of Flipkart? Well, if you combine your WooCommerce setup with a multivendor plugin, then you can have exactly that.
A Multivendor WordPress plugin will allow you to host different vendors on your WooCommerce website. The plugin acts as an add on to WooCommerce, and expands what you are able to do.
This way, you can sell as many different items as you want, from as many different vendors as you would like.
Let’s take a look at how you can get a multivendor WordPress setup and sell different products on your WooCommerce online store.
WC Marketplace

In order to sell multiple products from multiple vendors in your WooCommerce online store, you need to have a multivendor WordPress plugin. The WC Marketplace plugin is the best multivendor WordPress plugin around.
Best of all, it is free.
This plugin allows you to set up your online store in a way that allows for multiple merchants, vendors, traders or sellers to sell goods or services to customers in no time.
They all use your store setup, and you are able to reach a number of different customers this way. Plus, this is a great way for vendors without their own online stores to sell their goods and services.
The WC Marketplace plugin is packed full of features. These features support both your customers and vendors. Perhaps the best thing about this plugin is that it comes with an automatic setup wizard that will have you up and running in no time at all.
Let’s take a quick look at how to easily set up this multivendor WordPress plugin.
Install and Activate
The first thing you want to do is install and activate the plugin. You can do this by going to the plugins page located in your WordPress admin dashboard.

Once the plugin has been installed and activated, you will automatically be bounced to the setup wizard.
You can choose to bypass this and set up the plugin later or without using the wizard. However, I recommend using the wizard, as this is the easiest method for setting up the platform.
Let’s run through the setup wizard for this WordPress multivendor plugin.
Setup Multivendor WordPress Plugin
At this point, you should have automatically been bounced to the setup wizard page. Go ahead and click on the “Let’s Go” button and we can begin.
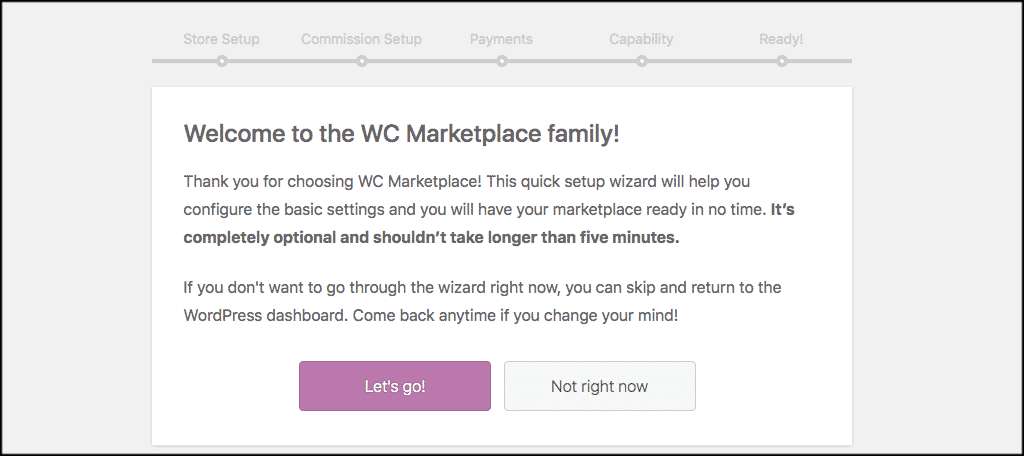
Note: Remember, you can go back and fill in more detailed settings in each area later. You will also be able to create multiple vendor URLs. This gets you going quickly in the right direction.
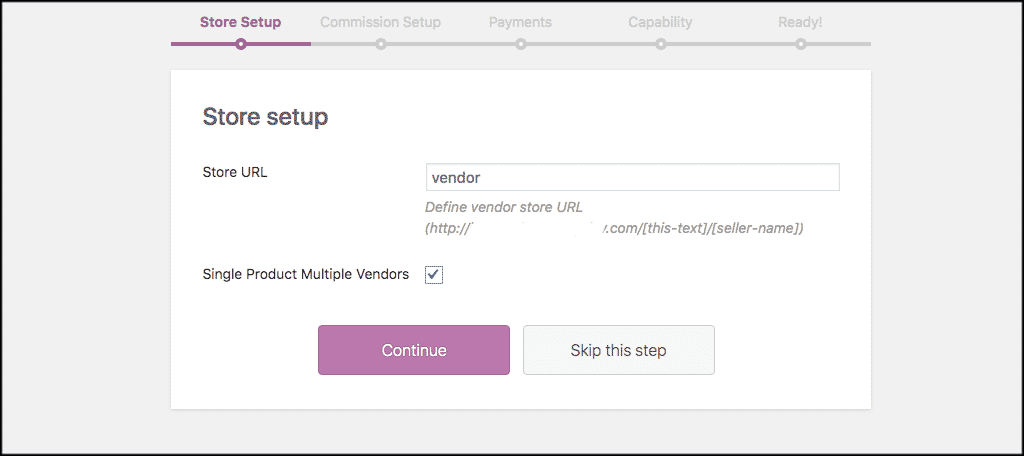
Store Setup
The first box is the “Store setup.” Go ahead and select what you want your store URL to be, as well as fill out anything else you want in this area. When you are done click on “Continue.”
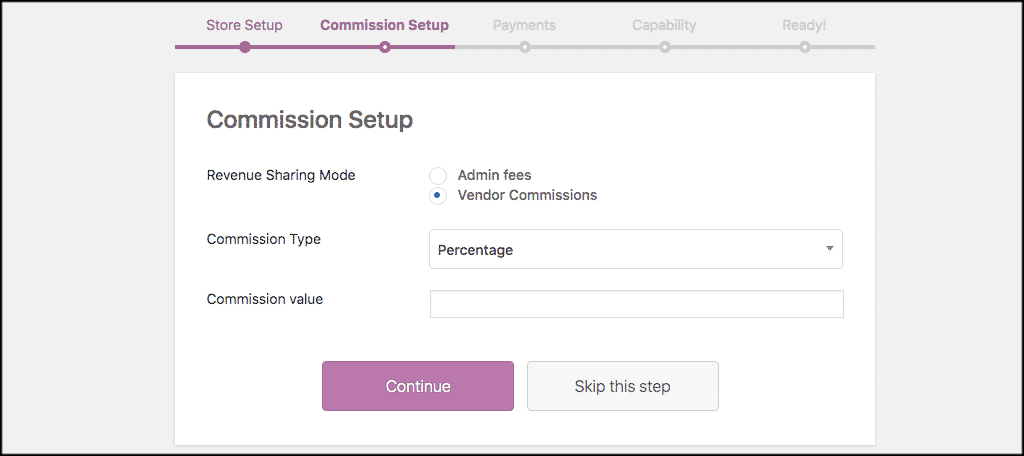
Commission Setup
This is where you will define the commissions for the particular vendor you are setting up. You can set up a revenue-sharing model as well as a commission type and value.
Payments
Go ahead and set up your payment info here. You have several options including PayPal, Direct Transfer to bank, and of course, Stripe. You can also put your vendors on a disbursal schedule, or allow them to make withdrawal requests at any time.

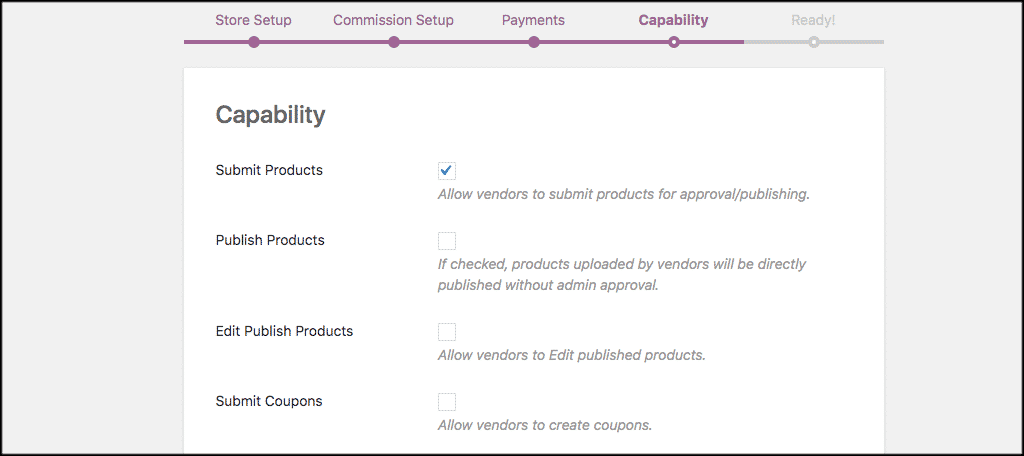
Capability
This is where you set the rules for what you allow and don’t allow your vendors to do. You can give them direct capability to publish their products without approval and much more.
Set this up the way that makes you most comfortable.
All Done!
After you fill out capability, you will get the following screen letting you know that you are all done.
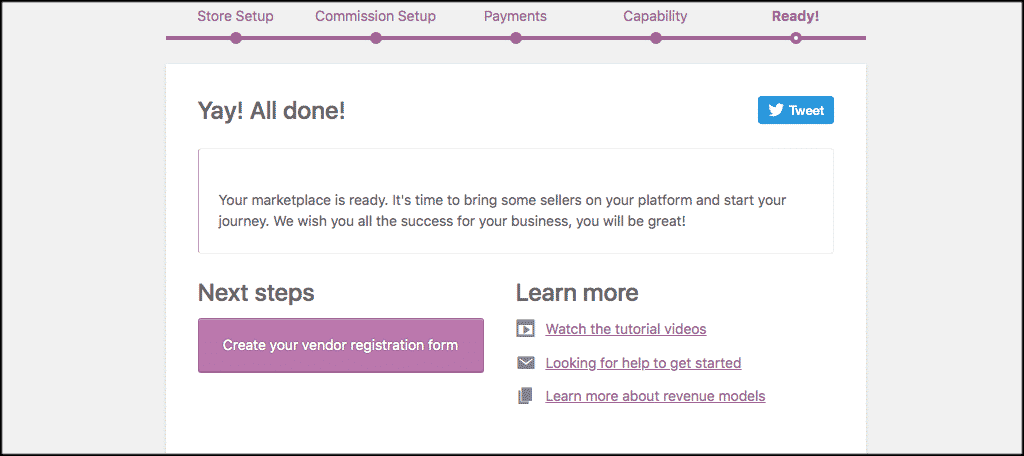
You have a few options from here. You can watch some more built-in tutorial videos, view the help section, and even view revenue models. However, for this next step, let’s take a look at the vendor registration form setup.
Go ahead and click on the “Create your vendor registration form” button.
Create a Vendor Registration Form
When you click on that button, it will take you to the more detailed settings and configuration for the plugin. If you want to go back through what you just did and double-check everything, feel free.
However, right now you will be on the “Vendor” tab. Go ahead and create your vendor registration form how you see fit. This is the form you will use to sign up new vendors and gather all the needed information from them.
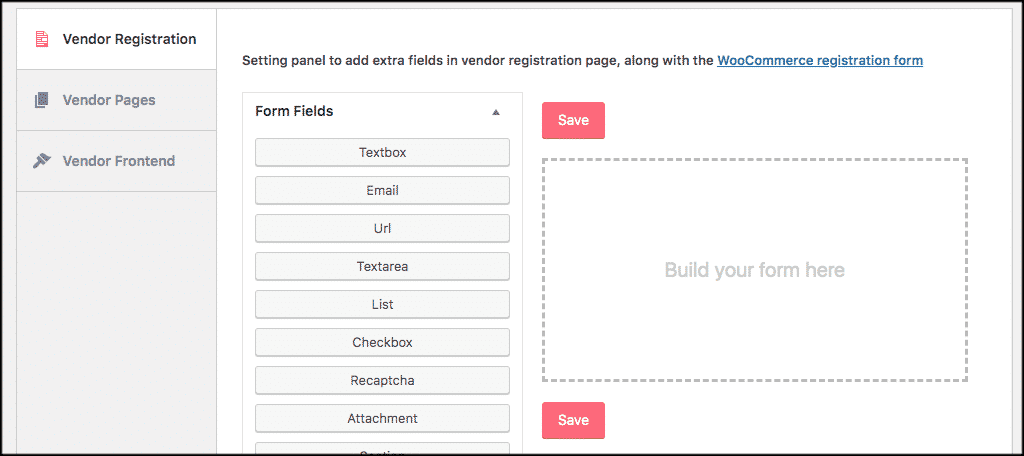
Simply click on the fields you want and configure them appropriately. When you are done click on the “Save” button and you are all set.
Other Options
At this point, you are pretty much ready to go. You have the vendor URL setup, payments, product options, and your vendor registration form.
If you want to go through and look at more settings or see reports for vendors, access the knowledge base, or fix commissions, all of this is located under the WCMp tab located in the left menu of your WordPress admin dashboard.

Final Thoughts
Getting the right multivendor WordPress plugin up and running will allow you to sell multiple products from many sellers from your WooCommerce online store. The WC marketplace plugin is perhaps one of the better tools for multivendors in WordPress available on the Internet.
Have you tried another plugin for selling multiple vendor products like this? Did you find setup and usage of the WC Marketplace plugin was fairly simple?