So, you have a pretty successful WordPress website or you have been running a solid online store using WooCommerce for some time now. The next logical step is to add a prompted WordPress newsletter plugin like AcyMailing so that you can reach customers on a more personal level.
What is a WordPress Newsletter Plugin?
A WordPress newsletter plugin is a tool you find in WordPress that will effectively help you create, manage, and track newsletters that are sent out to your mailing lists. Some of the best WordPress newsletter plugins include MailChimp and AcyMailing.
Today, I am going to show you how you can add and newsletter plugin to your WordPress site. Let’s take a look at the AcyMailing plugin and see all that it has to offer.
AcyMailing

AcyMailing is a top of the line WordPress Newsletter & Newsletter Subscription plugin that comes packed full of features and functionality. It is a fully functional newsletter automation tool that comes with a drag-and-drop builder and a stylish built-in dashboard that you can track analytics from.
There is just so much functionality in the plugin I don’t even know where to start. Some of the main highlights include 24/7 support from AcyMailing, the ability to send unlimited newsletters to unlimited emails, and full WooCommerce newsletter integration ability.
From there, the list gets even longer when it comes to features and functionality that the AcyMailing plugin gives users.
Some of the main highlights include:
- Drag and drop newsletter builder
- Social media sharing
- Fully responsive
- WooCommerce integration
- Gravity forms integration
- AB testing
- Tons of add-ons
- No HTML knowledge required
- CAN-SPAM compliant
- GDPR compliant
- Mass subscription filters
- Automatic inline-CSS conversion
- Marketing automation workflows
- Plug AcyMailing to an external delivery service such as Mandrill, SendGrid, ElasticEmail, Amazon SES
- Multilingual interfaces
And that’s just the tip of the iceberg if we are being totally honest. AcyMailing is a complete tool for newsletter creation, subscription, and management.
Note: AcyMailing does have several paid versions of the software. You are more than welcome to look at them and see if they are something you think may be useful to your setup. That being said, the free version is vast, and we are using it in the steps below.
Add AcyMailing Newsletter to Website
Now that you have a good understanding of all the things AcyMailing can offer, let’s take a look at all the steps need to get this particular newsletter plugin for WordPress installed, configured, and running.
Step 1: Install and Activate Plugin
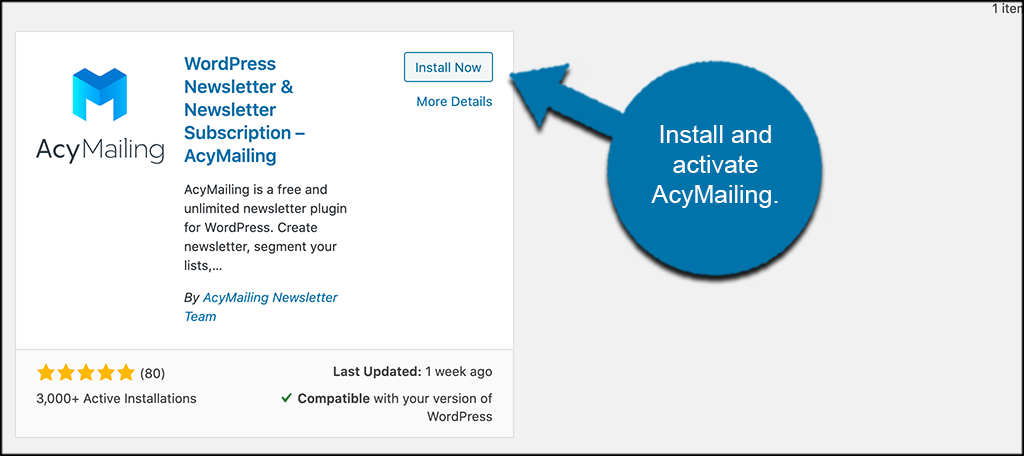
In order to start building a dynamic newsletter in WordPress and sending them out to everyone, you first need to install and activate the AcyMailing plugin. You can do this by going to the Plugins page within the WordPress admin dashboard of your website.
Simply search the plugin by name using the search field and install and activate it right from there.
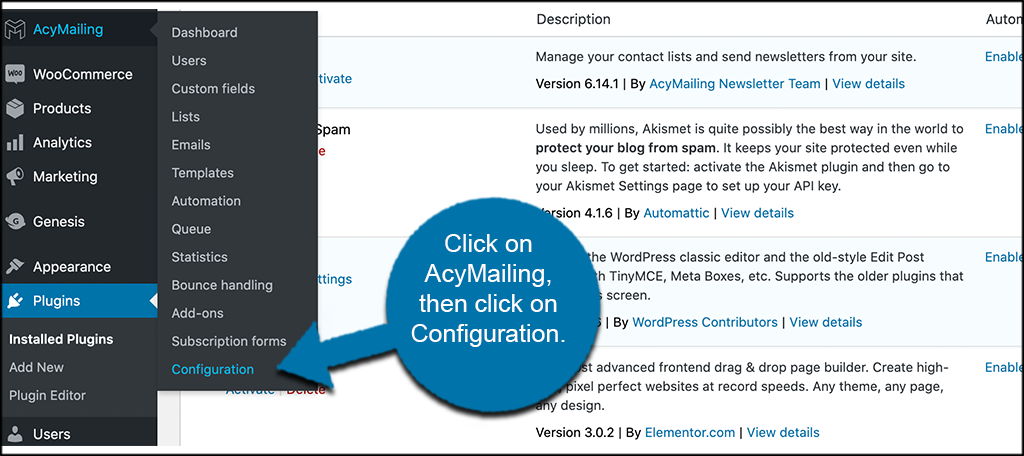
Once the plugin is installed and activated, you want to access the setup. To do this click on AcyMailing > Configuration.
You will see this is now an available option after you activated the plugin.
Step 2: Configure the Newsletter Plugin
The first thing to do is to configure the plugin how you want. Once you land on the configuration page, you will see that there are nine main tabs to go through and configure.
These include:
- Mail Settings
- Queue Process
- Subscription
- License
- Interfaces
- Bounce Handling
- Data Collection
- Security
- Languages
Let’s take a look at the tabs together.
Mail Settings
Go ahead and set all your mail settings under this tab. Set them up according to how you want everything to function in your particular setup.

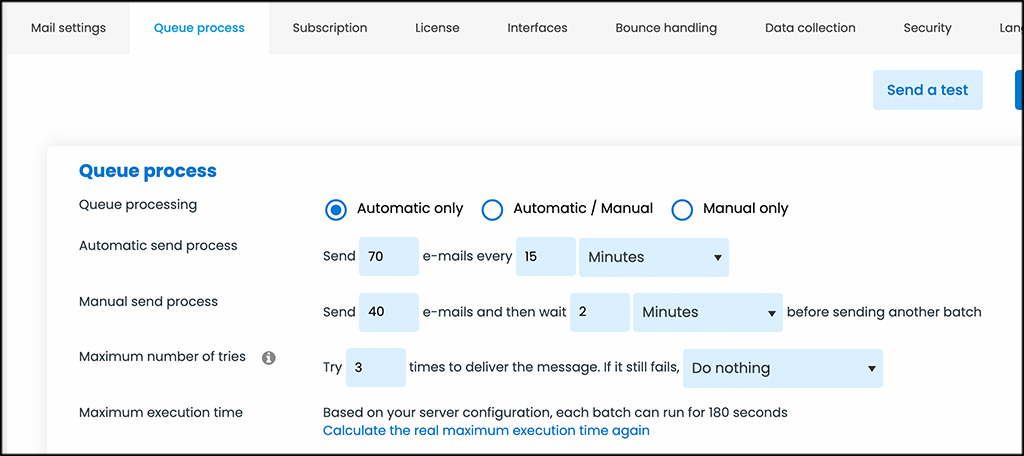
Queue Process
Simply set the Queue process how you see fit here.
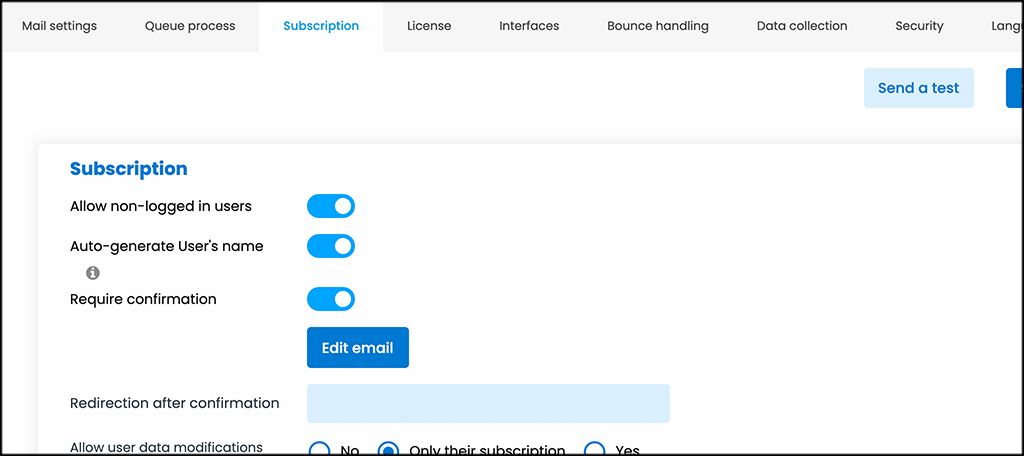
Subscription
Take care of subscription, notifications, and WordPress integrations under this tab.
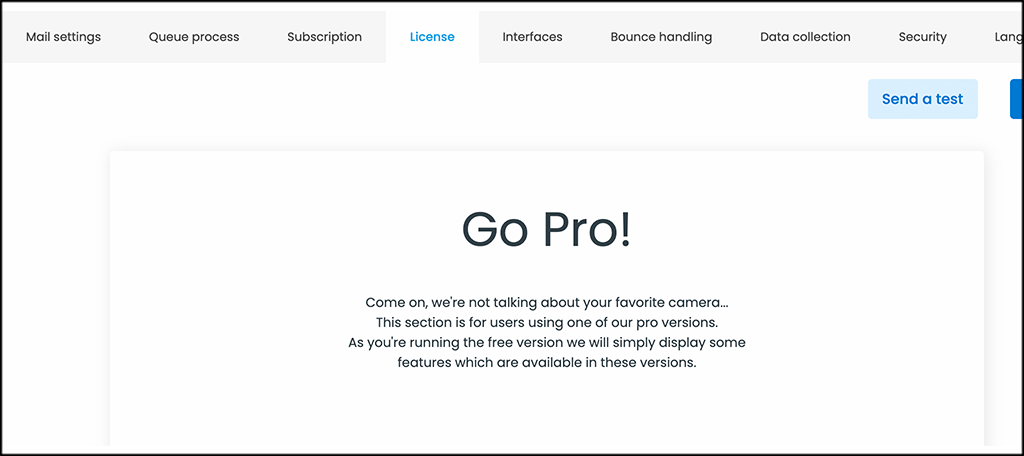
License
If you are interested in upgrading to the pro features, then this is where you can handle that process.
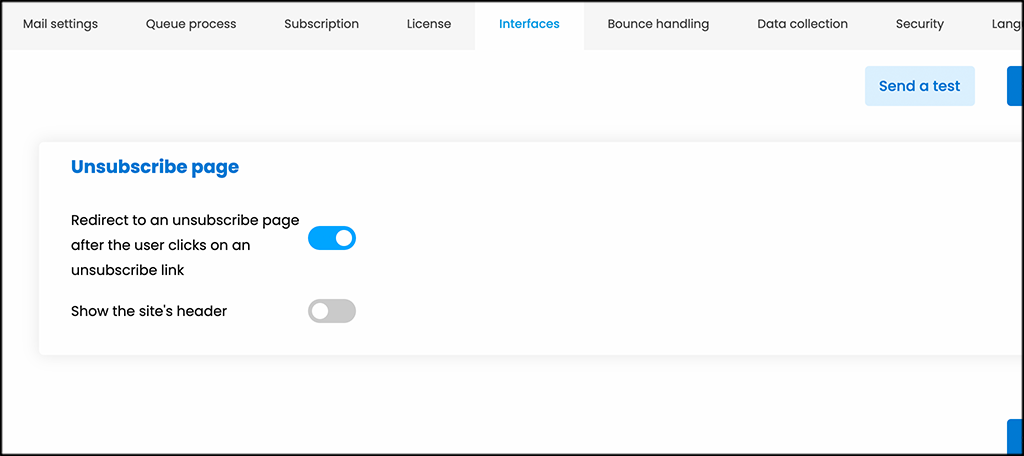
Interfaces
Set a couple of interface settings how you prefer under this tab.
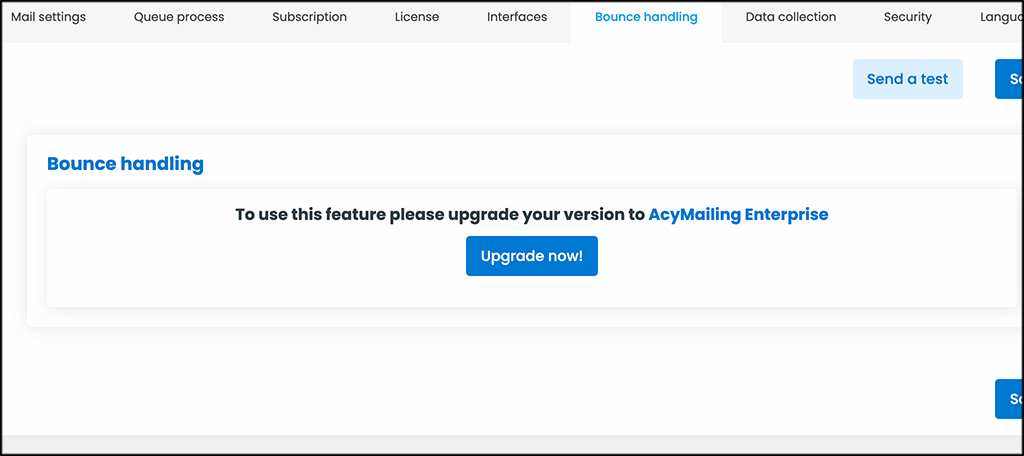
Bounce Handling
You will need the pro version of the plugin to make use of this setting.
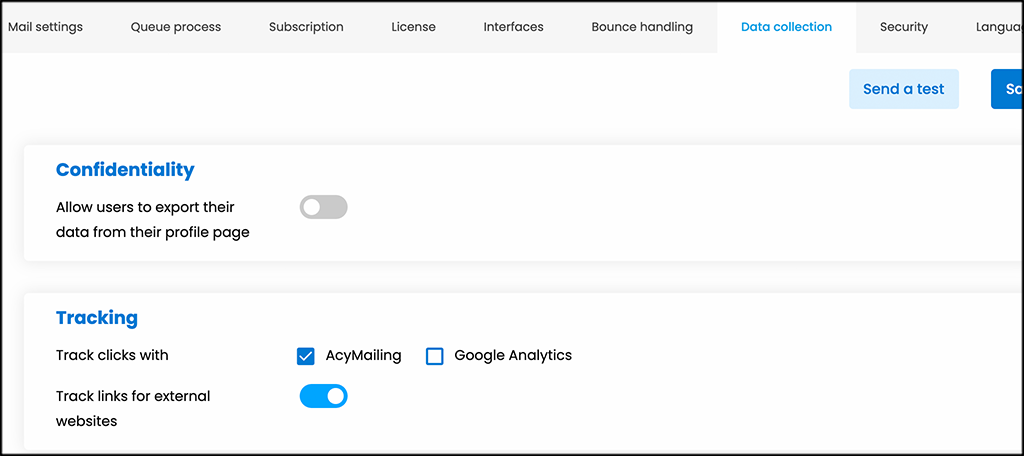
Data Collection
Set up how you want to handle all your data collection moving forward.
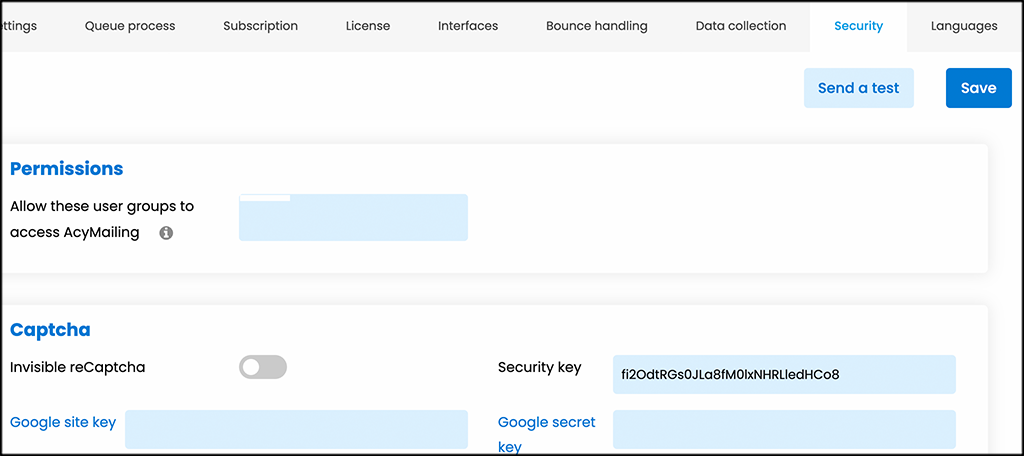
Security
Configure your preferred security settings under this tab.
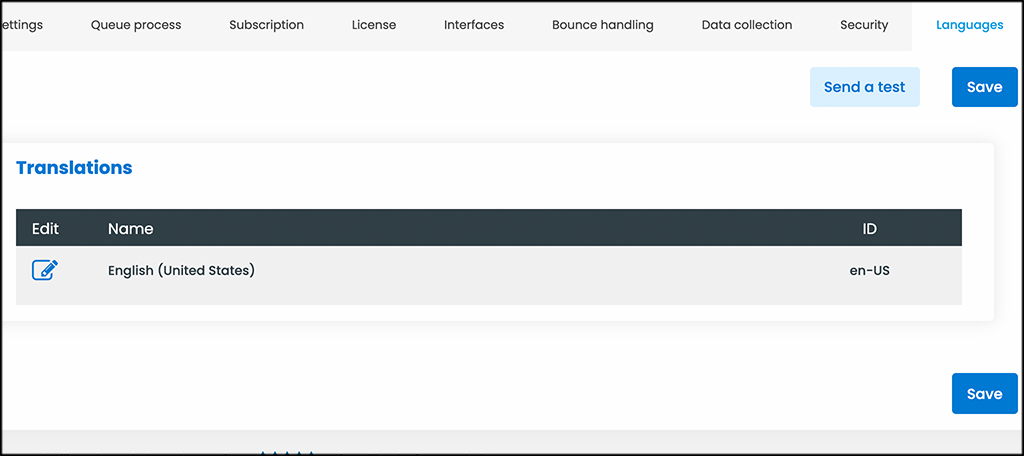
Language
Make language option selections from here.
That’s it! At this point, the plugin is configured and you are good to go. Let’s import your email list so you have subscribers to send newsletters to.
Step 3: Import Emails
Click on AcyMailing > Users. This takes you to the user page for the plugin. A list of all the current users will be here. You can import a list by clicking on the “Import” button.

You can see that AcyMailing gives you four options to import users. These include:
- Import from File
- Ability to Import from Text
- Import WordPress Users
- Import from Database
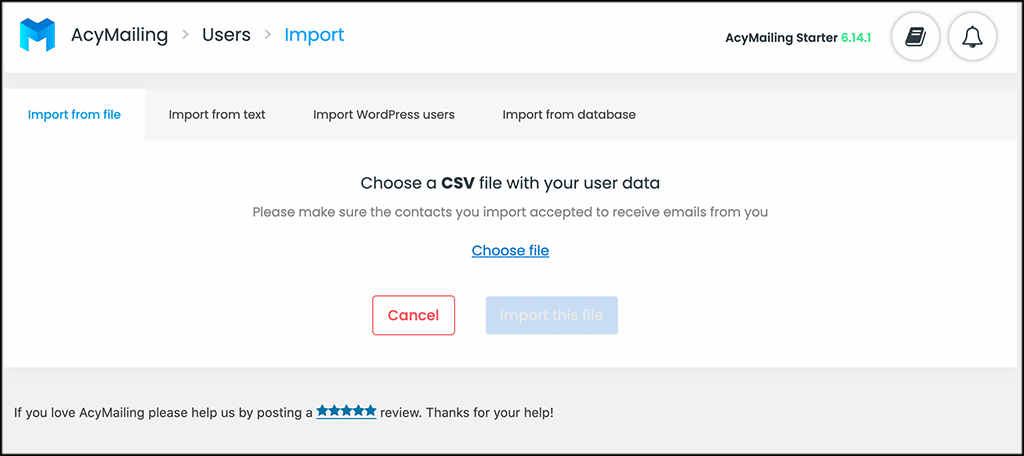
More often than not, you will probably use the “Import from File” option, as this will allow you to bring your mailing list in from outside vendors like MailChimp or Constant Contact.
Simply choose your file and import your list. Again, import the way you want. Once you have imported a list, you can go ahead and build your first email to send out.
Step 4: Create an Email
To create your first email, click on AcyMailing > Emails. This takes you to the main email page where you can build a selection of emails. These include:
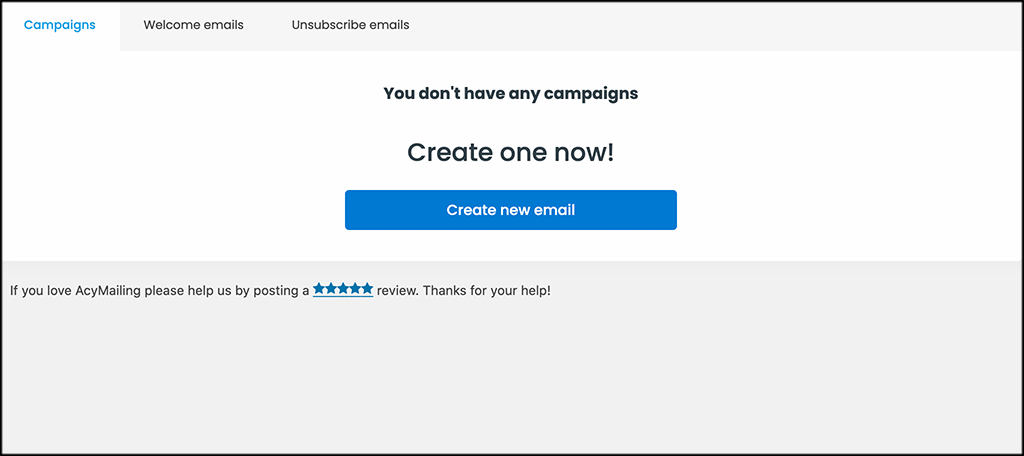
- Campaigns
- Welcome Emails
- Unsubscribe Emails
You can click on whichever one you want to build that type of email. For this quick demo, I am under the “Campaigns” tab and I am about to click in the “Create New Email” button.
From here, choose the type of email you want to create from the choices displayed.
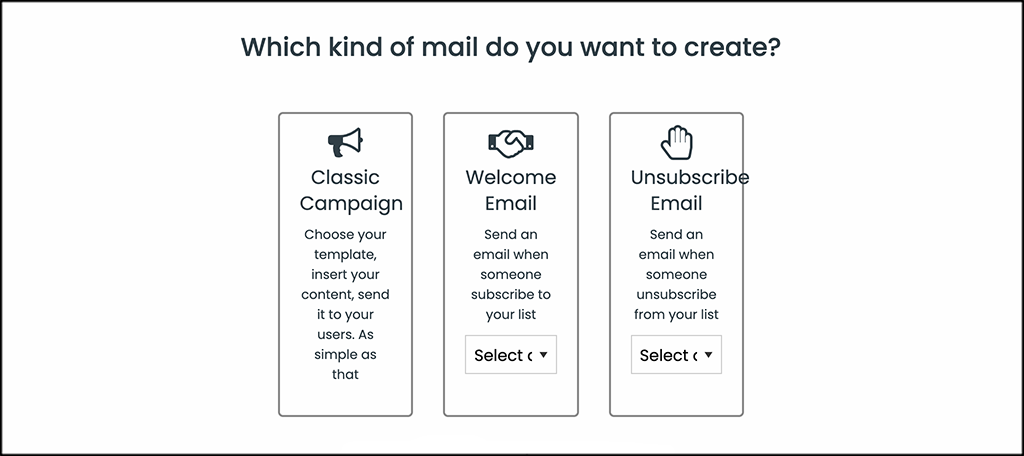
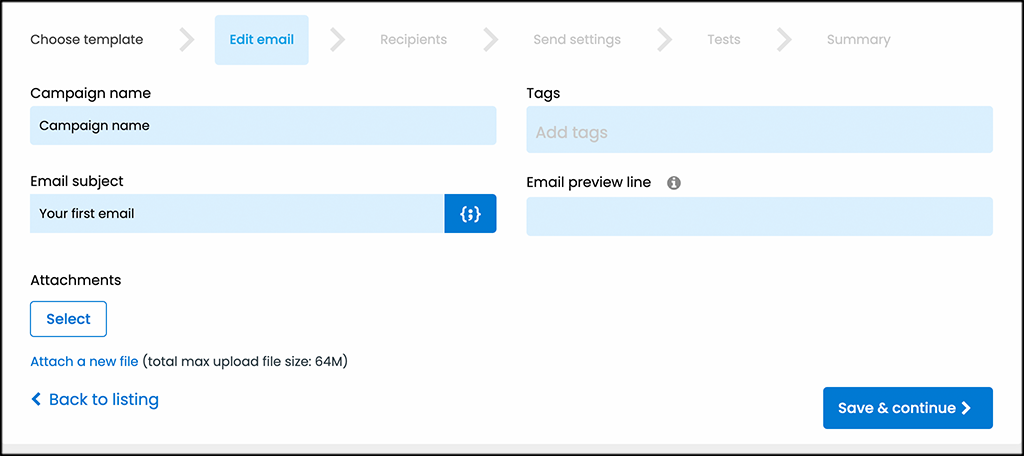
From here, you are bounced to the template choice you made. In this case, we chose a classic campaign. You see there are 6 steps to complete. These include:
- Choose Template
- Edit Email
- Recipients
- Send Settings
- Tests
- Summary
Choose Template
Choose from the selection of templates that are available, or go ahead and create your own from scratch.
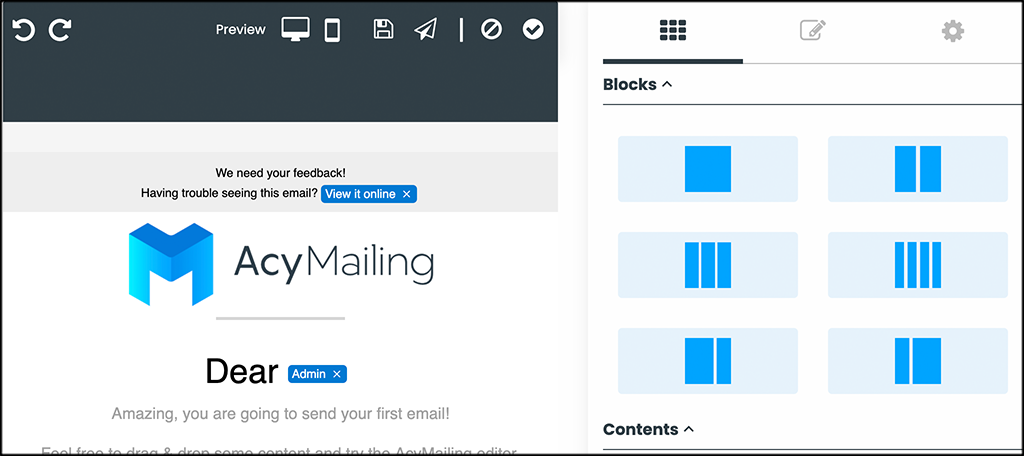
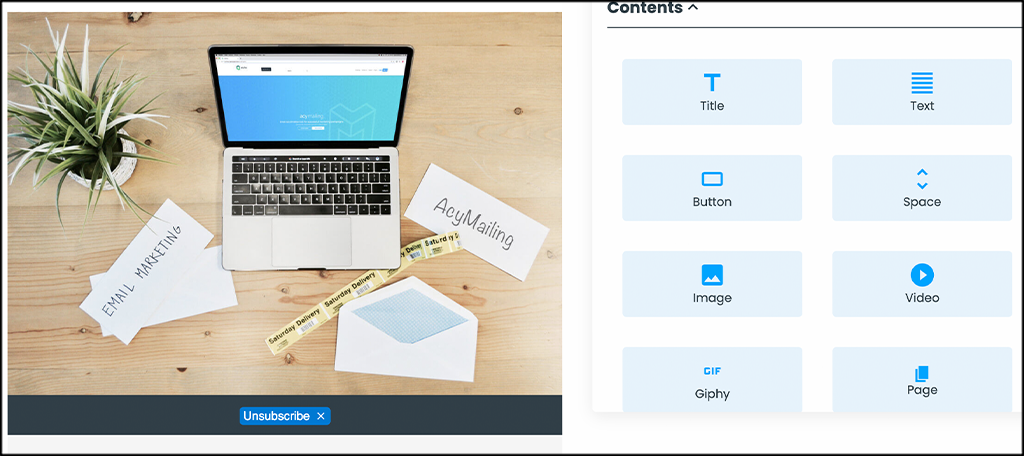
When you select a template, a popup screen will show that provides you with a fully functional drag-and-drop builder for you to create and design. Go ahead and create the newsletter layout and functionality you want using the editor.
Apply all your changes and you are then automatically bumped to the email tab.
Edit Email
From here, you can edit and build all your email settings for this particular campaign.
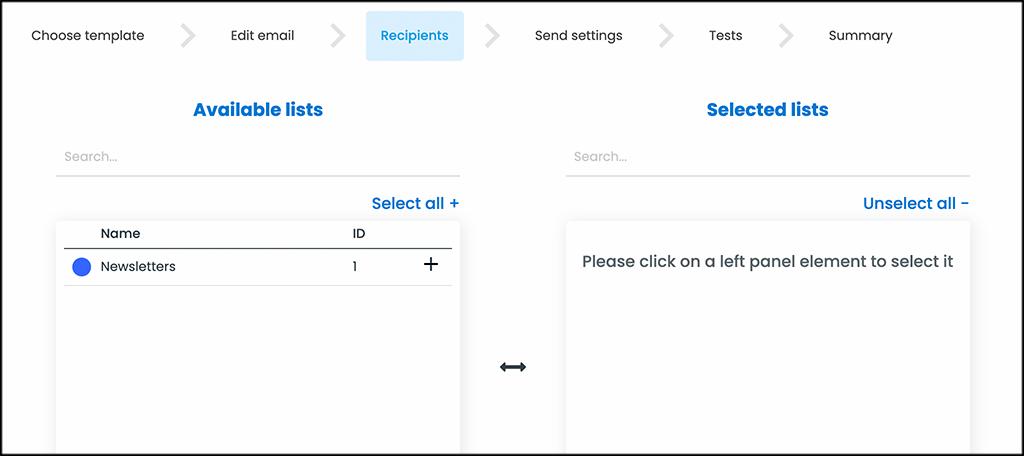
Recipients
You can select all the recipients you want to get this email. Since you have uploaded names and lists already, those will show here. Just choose the ones you want.
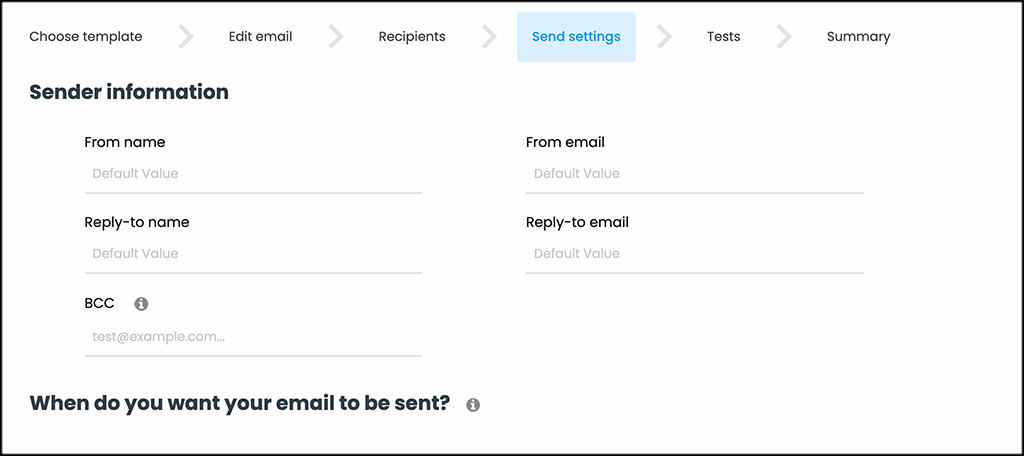
Send Settings
Under this selection, you can set up all the send settings you want applied to this email campaign.
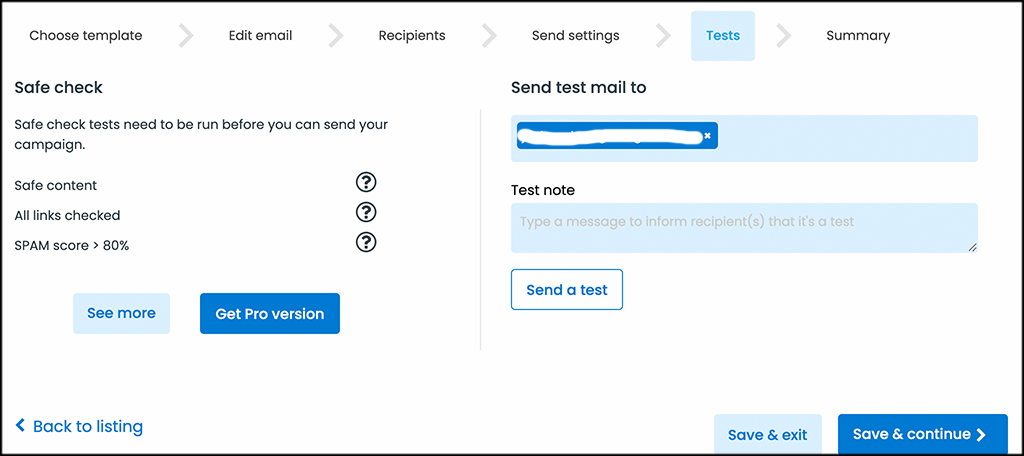
Tests
Safe check your emails and run tests on them from here. This will help you make sure everything is working properly before sending them out.
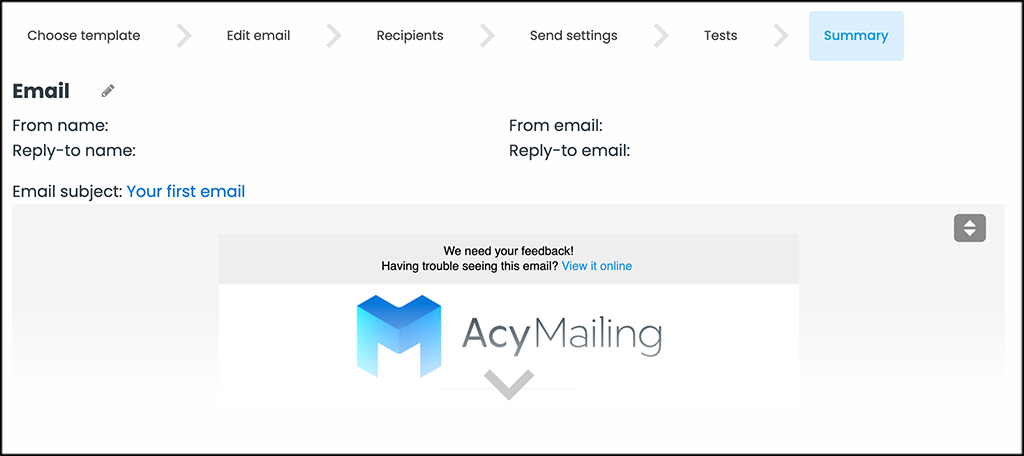
Summary
Finally, under the summary section, you will see the full summary of the campaign you just set up. If you need to edit or fix anything, then go back and do that.
If not, click on the “Add to the queue” button to add the campaign to your outgoing list of emails. It will automatically send out based on the settings you gave.
That’s it! You have successfully built your first email using AcyMailing.
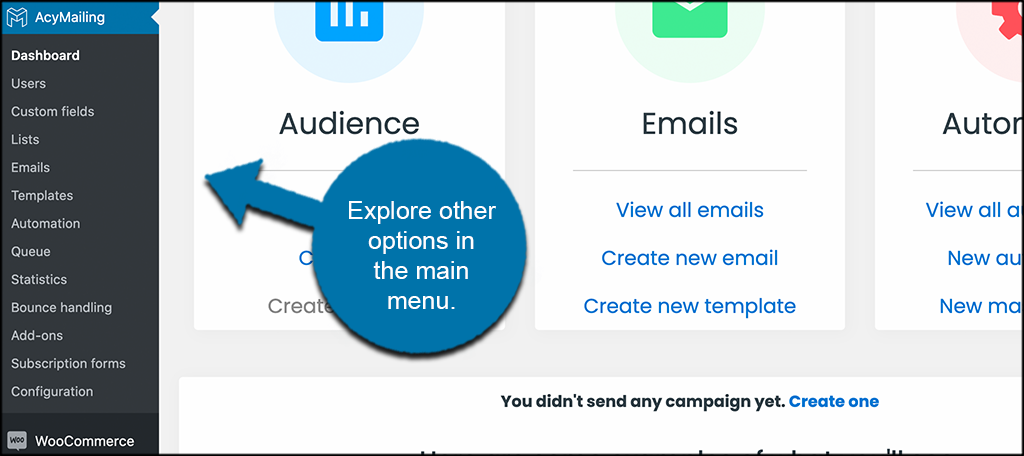
Step 5: Explore Other Plugin Options
At this point, you have done everything you can within the plugin. As time passes, some of the other tabs will become more relevant. Things like analytics and other tabs will start to feel more important.
However, feel free to go through the rest of the tab links and see all that AcyMailing has built-in. You can access any of the links under the main AcyMailing tab on the left side of your WordPress admin dashboard.
Final Thoughts
Newsletter mailing lists are a powerful and effective way to connect with your clients and customers. When you have the right tools in place, you can really drive traffic and information in a way that benefits your business the most.
Sure, there are a number of email list programs out there. However, AcyMailing integrates fully into your WordPress admin dashboard and allows you to simply import lists from other services. You can then build and tailor your newsletter campaigns exactly the way you want.
I hope this tutorial gave you a solid rundown of AcyMailing and all that it can do for you.
Have you been using a different newsletter plugin? Do you prefer to create all campaigns and manage your list from a third-party website?