GoDaddy has a good website builder, but it’s limited when compared to the power of WordPress. Because of the nature of WordPress, it’s far more flexible and easier to customize overall than many other platforms. This is one of the reasons why a lot of people move from GoDaddy to WordPress.
So, what can be done if you started a site on GoDaddy but want to benefit from the power of the number one content management system on the Internet?
In this tutorial, I’m going to demonstrate how to move from GoDaddy to WordPress without losing your data. Keep in mind this is often a lengthy process.
NOTE: This tutorial is for moving websites created with GoDaddy’s Website Builder application. If you want to move a WordPress site stored at GoDaddy, you will need to transfer your WordPress content from one site to another.
Moving from GoDaddy to WordPress
The first thing you’ll need is a WordPress hosting provider. You can install WordPress on virtually any web server on the Internet. However, some systems like ours makes the process so much easier.
Unfortunately, you won’t be able to use the “Import” function of WordPress when transferring data from Website Builder. This is partially why it will take a bit of time to move your site.
Luckily, it’s not impossible.
Back Up Your Website
Before you do any major changes to your website, create a backup. This is to protect you from losing data should something go wrong. Although the chances are slim, it’s better to be safe than sorry.
The last thing you want is to lose some of your website because of a transfer glitch somewhere. A backup will help you quickly recover from any such problems.
Many people trust FTP apps like FileZilla for creating backups. However, you can also use the free HTTrack tool which downloads entire sites onto your computer system.
I would suggest using FileZilla. It’s a bit more work to connect remotely to your website, but it gives you far more functionality. For one thing, you can easily upload your site back to the server should something go wrong with the transfer.

Also keep in mind that GoDaddy will store your website across different CDN servers. This means a complete copy of one might be missing images or content that is stored on another. It’ll take a bit of work, but you should be able to find all of your content.
Point to the New Domain
Here’s where it might get a bit confusing. The Domain Nameserver needs to point at your new host. If you’re simply moving the domain and website data from GoDaddy to a new host, then a simple domain transfer is all you need.
However, what happens if you keep GoDaddy as your registrar but move the website to a new host, like GreenGeeks?
Changing the DNS on GoDaddy
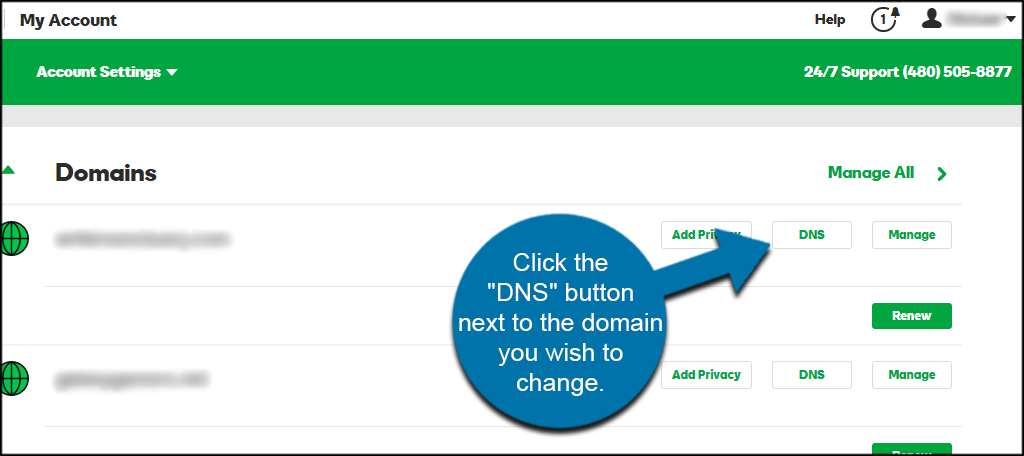
Log into GoDaddy. By default, you’ll see a list of your domains as soon as you log in. Click the “DNS” button above the domain you wish to change.
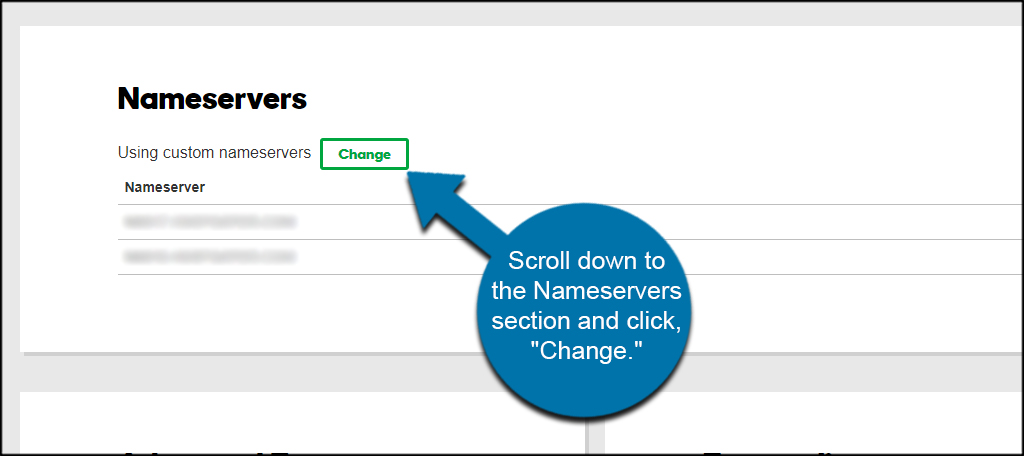
Scroll down to the Nameservers section and click, “Change.”
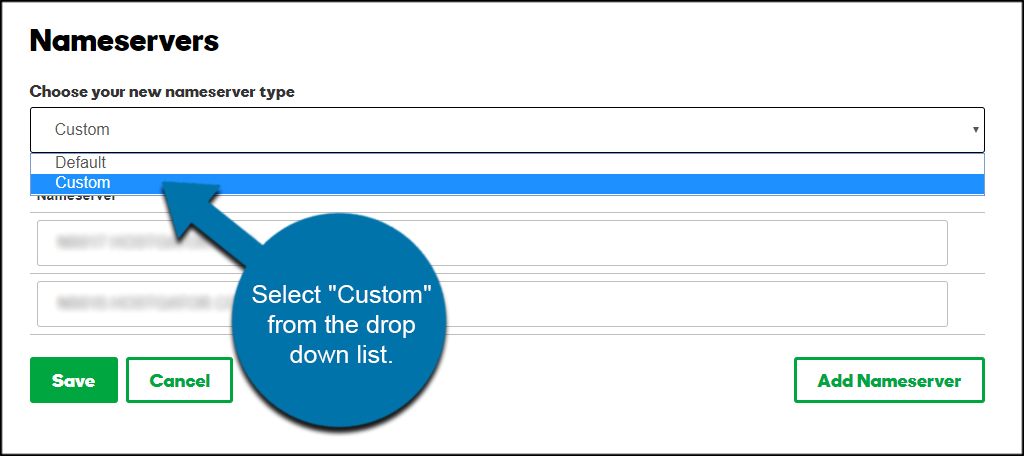
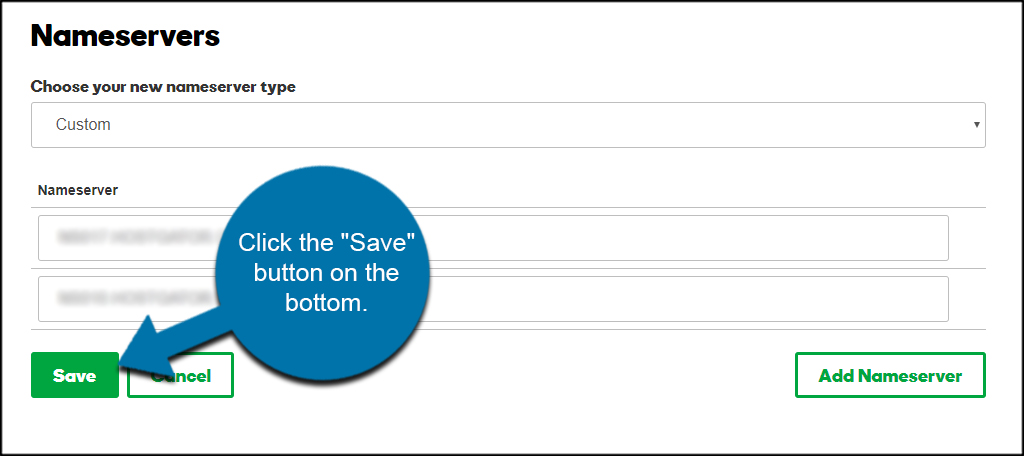
Select “Custom” from the drop down list.
Input your new nameservers from the new host. These will be provided to you once you sign up for a new account.
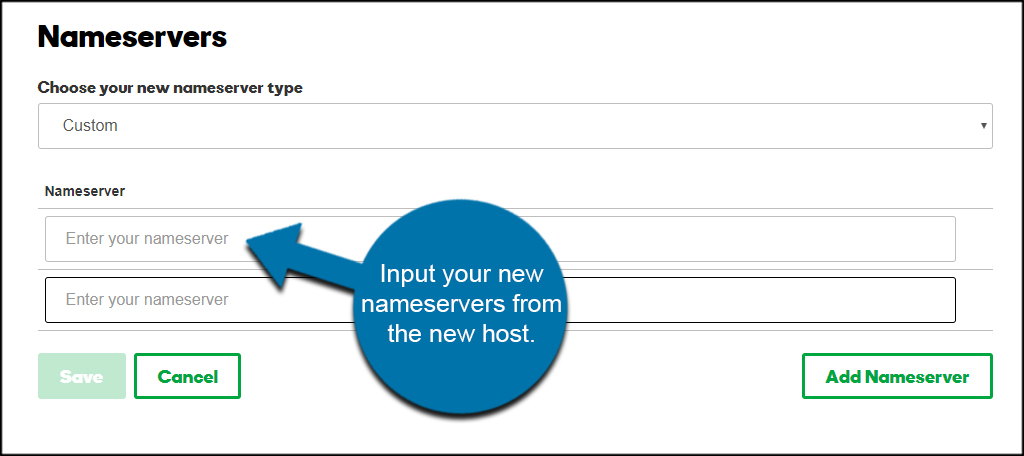
Click the “Save” button on the bottom.
Now, changing the nameserver can take up to 24 hours to complete. However, I don’t think I’ve ever seen it take longer than 10 minutes. Just be aware that you may not see any changes until the next day.
Install WordPress
The next thing you’ll need to worry about is installing WordPress. Out of all the steps in this tutorial, this is perhaps the easiest and fastest.
You have two different methods for installing WordPress: manually or automatically. This will depend on your web host provider and which you find to be the better method.
Installing WordPress with Apps
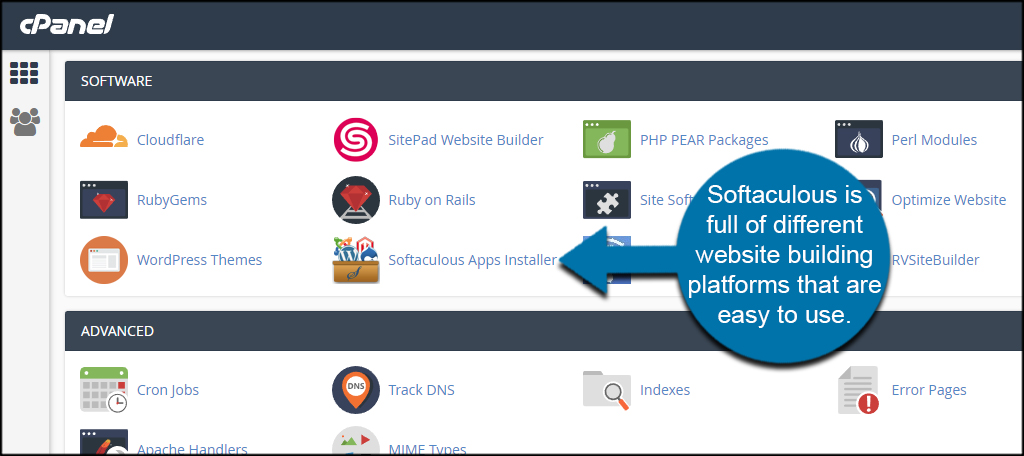
Most web hosting providers support automatic installers for various content management systems. For example, GreenGeeks uses Softaculous to install WordPress. This app is full of different website building platforms that are powerful and easy to use.
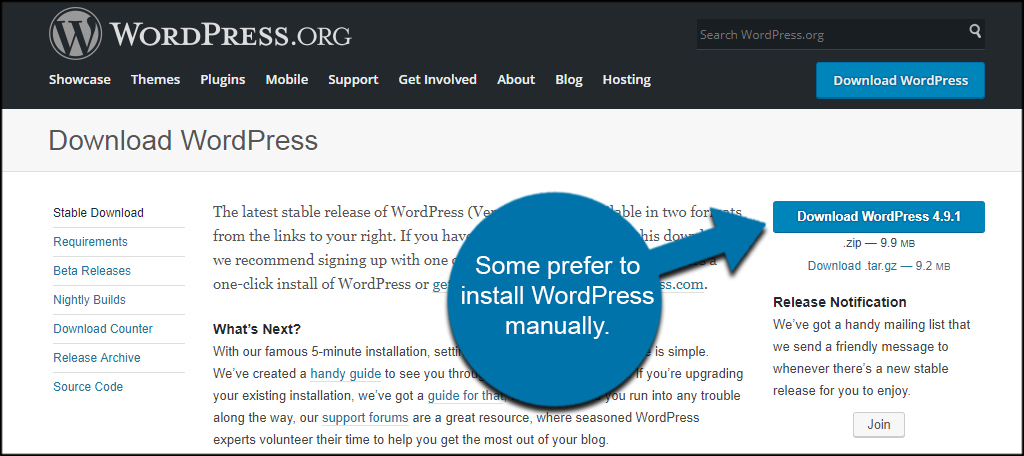
Installing WordPress Manually
Some developers prefer to install WordPress manually. This is actually a simple procedure, but it is a bit more time consuming than using an automatic method such as Softaculous.
Importing Content from Website Builder to WordPress
Here comes the most time exhaustive part of migrating from GoDaddy’s Website Builder to WordPress. Because there is no direct import ability to make this easier, you will need to copy and paste content from your current Website Builder site to WordPress posts and pages.
This process is actually very easy to do. It just takes a bit of time, especially if you have an exceptionally large website.
Essentially, you’ll copy content from your current website and paste it directly into a WordPress post or page. However, it’s a good idea to learn the difference between posts and pages as it will effect how your content is laid out.
Posts are most commonly used for regular content entries, such as blogs or articles.
Pages are geared for static content that doesn’t change, such as Contact Us and About webpages.
Using Redirect Links
If you have links within your old content, you’ll need to set up redirects. This is so people don’t get the dreaded 404 error when clicking on something within your website.
This is only for links that are internal. Your links to outside websites will work just as they did before.
Perhaps the best way to do this is to go through each page of your site while you copy content and write down all of your links. Personally, I would copy the links into Notepad to make it easier for this next step.
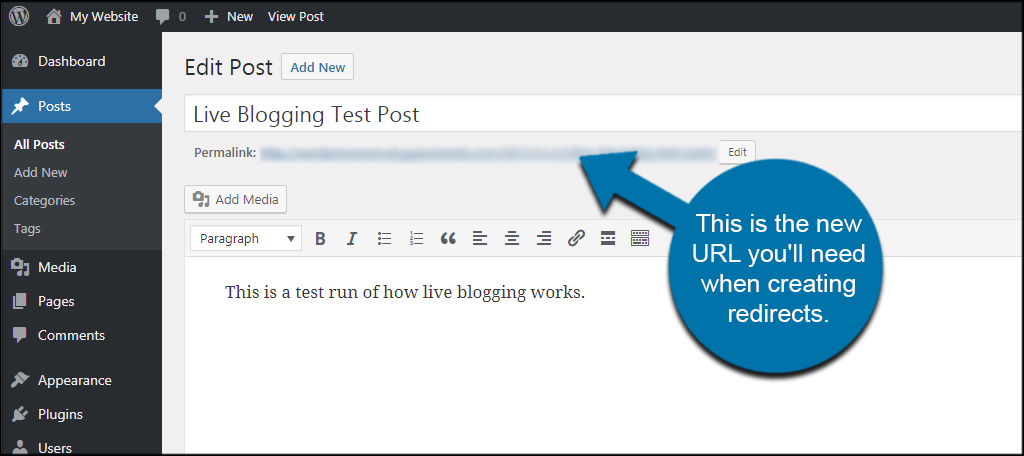
You will also need to know the new URL of your content. This is found in WordPress under the post or page’s title. This is the new URL you’ll need when creating redirects. It’s probably easier to click this link to open the post and copy the URL directly from your address bar.
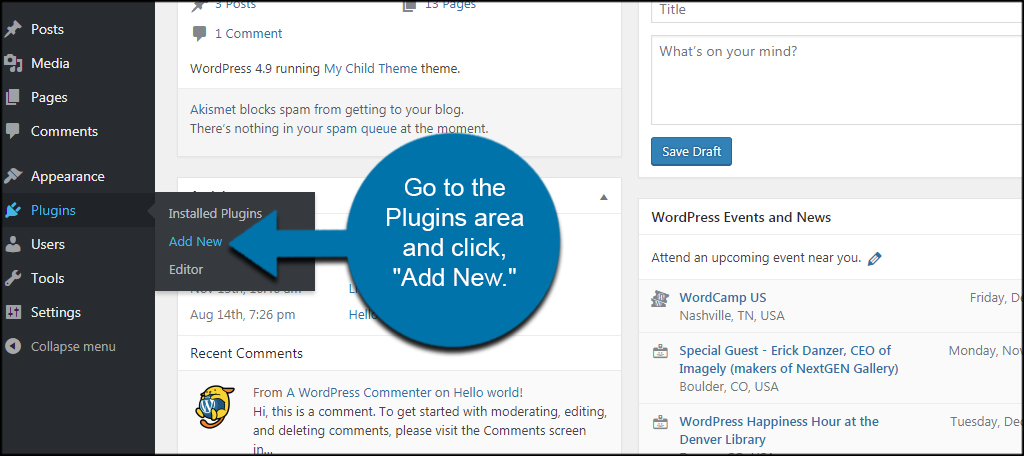
From the WordPress dashboard, go to the Plugins area and click, “Add New.”
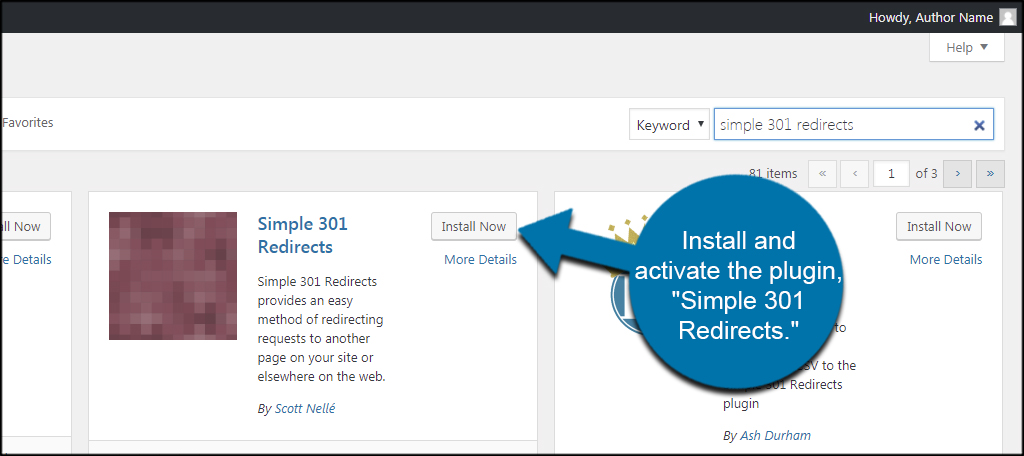
Install and activate the plugin, “Simple 301 Redirects.” Make sure you install the correct plugin. There will be quite a few with a similar name, and you might not be able to follow along with this tutorial if you install the wrong one.
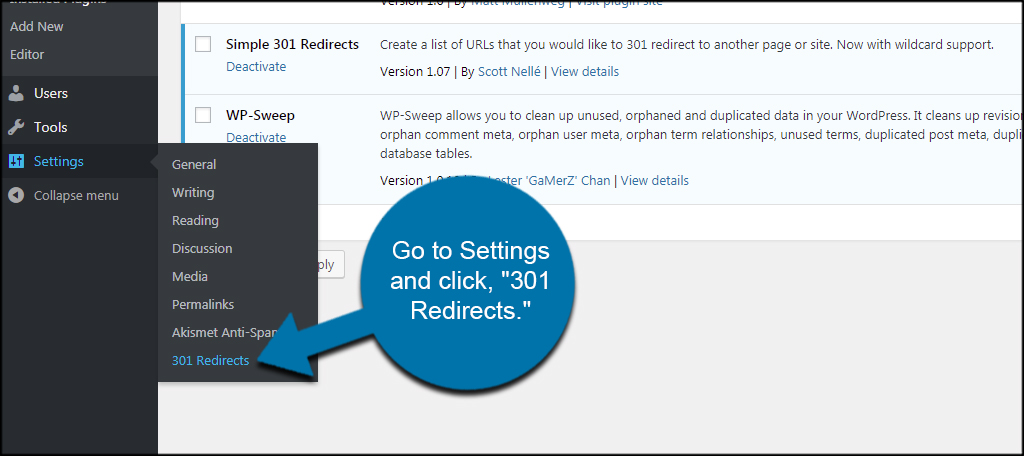
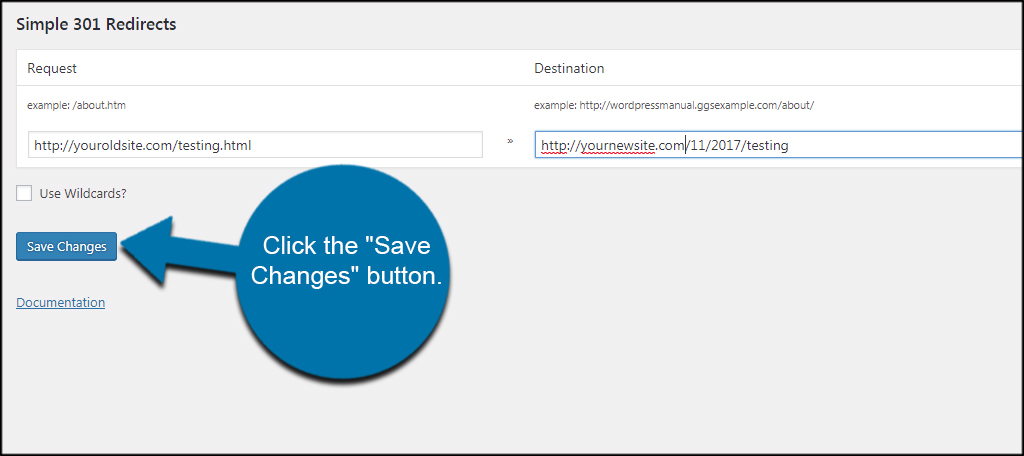
Go to Settings and click, “301 Redirects.”
Input your old URL under “Request” and new URL under “Destination.”
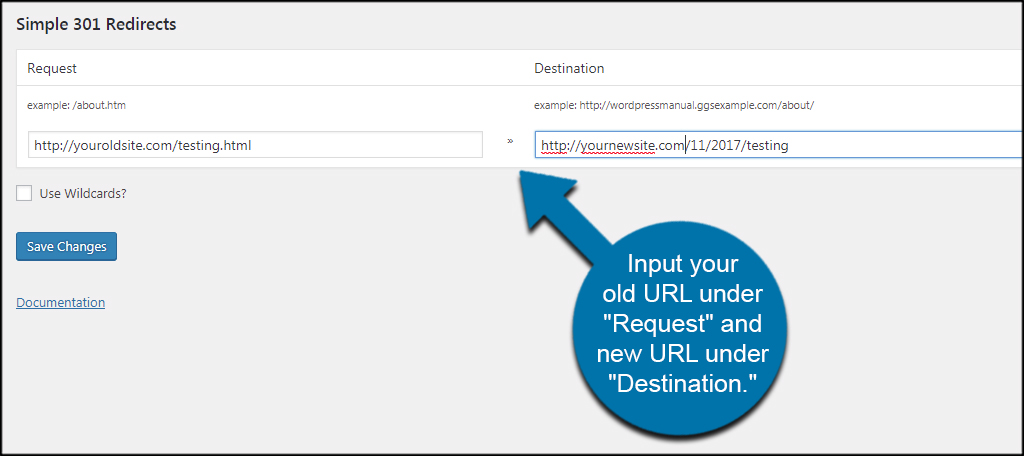
Click the “Save Changes” button and the redirect becomes live.
What About Images?
Text and links will copy over from the old site’s content to WordPress posts and pages easily. But what about images? These will need to be copied as well. An effective method of this is to right-click the image on your old site, or CMD-click on Macs, and “Save As” a file onto your computer. Then, simply upload images to your WordPress posts and pages to their correct location.
Make it Your Own
WordPress has access to a vast array of themes and plugins to give your site more functionality and visual appeal. In fact, there are more than 45,000 of these available for all sorts of purposes. Take some time and browse through the things you can add to your site and give it a customized look and feel.
What’s one of the major attractions of WordPress do you find the most engaging? What plugins do you find the most appealing?
Can you do this for me?
If you contact our tech support staff, they can help you migrate from GoDaddy to our servers.