Have you ever dreamed of creating the next social media juggernaut like Facebook, Twitter, or Instagram? If you have, then you may want to consider using the WordPress platform to build it on. WordPress has all of the necessary tools to create a great social media website, but your true challenge will be convincing visitors to use yours over existing ones.
Of course, like many other things in WordPress you will need to use a plugin. Luckily, BuddyPress is free and highly effective at what it does. It will provide you with everything to turn your website into a new social media giant. Today I will demonstrate how to use BuddyPress to create a WordPress social network.
Why is BuddyPress the Right Choice
BuddyPress is a very popular plugin with over 200,000 active installs that will give you all of the tools needed to create an engaging social media website. These tools include basic social media features like user registration, profile creation, the ability to follow updates on the site, creating groups, adding friends, and private messages. It also has very useful WordPress integrations features like its compatibility with any theme, the ability to be set up on any WordPress website and be fully enhanced by using addition plugins.
Most of the basic features should be very similar to what you see on other social media giants. As important as it is to be unique and have a new twist on the social media genre, it is also important to have those familiar features like friends and connecting with others because that truly is the essence of all social media platforms. One warning that should be made clear is if you are planning on switching to another platform it can be very difficult.
How to Install and Use BuddyPress to Create a Social Media Website
Today I will demonstrate how to use the BuddyPress plugin to create a WordPress social network. It’s a great plugin that is easy and free to use and can help you create a really great website. Remember to try and have a clear game plan when creating a social media website or it will just be another one in a thousand.
Let’s start by going to the plugins area of WordPress and click on the “Add New” button.

BuddyPress should actually be visible from this page since it is one of the most popular and well-respected plugins on WordPress. If it is not, search for BuddyPress in the available search box. This will pull up additional plugins that you may find helpful.

Scroll down until you find the BuddyPress plugin and click on the “Install Now” button and activate the plugin for use.

On the left-hand admin panel click on Settings and select the BuddyPress option.

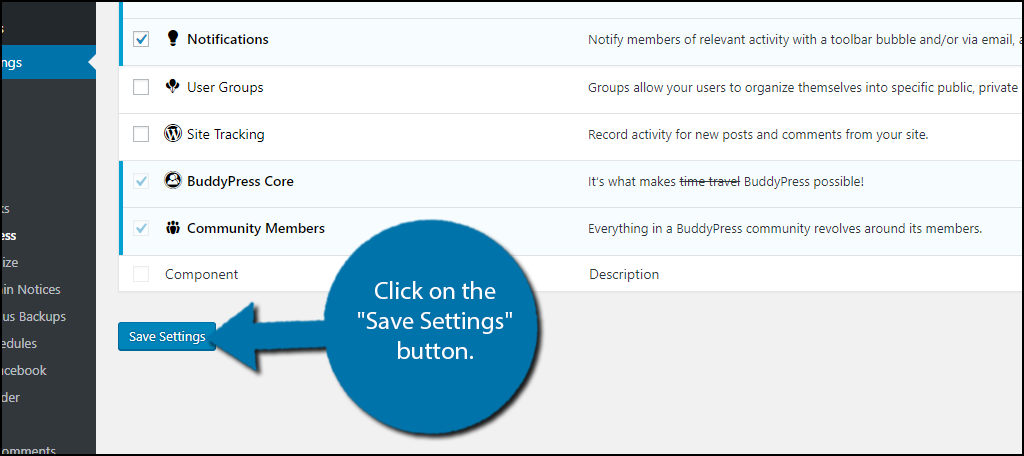
This is the main setting pages and can be accessed at any time a change is needed. The default options may be enough but go through all of the options and select which feature you want enabled and disabled. By default friend connections and private messaging are disabled and I would highly recommend turning them on. Fill out this section in a way that best suits the website you wish to create.

Once you have made your selection click on the “Save Settings” button.
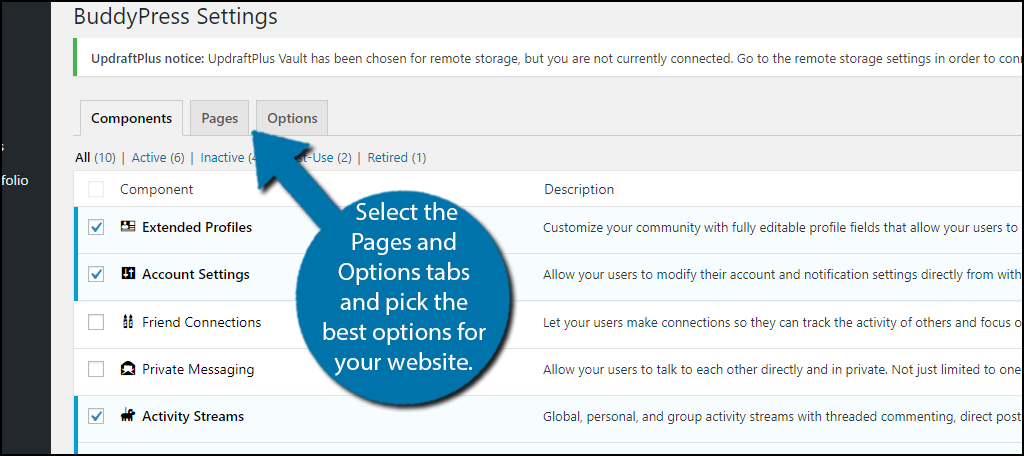
You will now want to go through the Pages and Options tabs and pick the best options for your website. It is important to note that you need to enable registration on your website. You will not be much of a social media website without visitors making accounts. Make sure to click on the “Save Settings” button after making any changes in either tab.
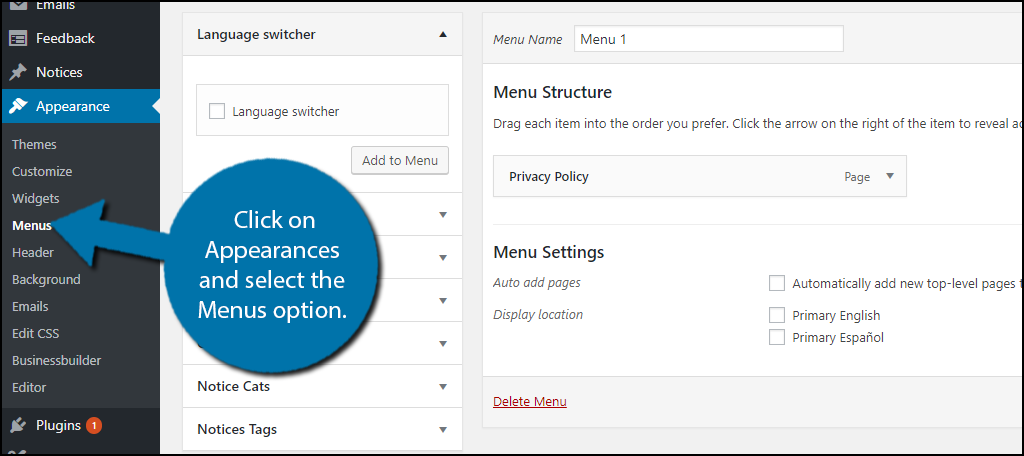
You may be wondering where all these changes are taking place. Though you have directly changed the settings, you have not actually selected to display anything on your website yet. On the left-hand admin panel click on Appearances and select the Menus option.
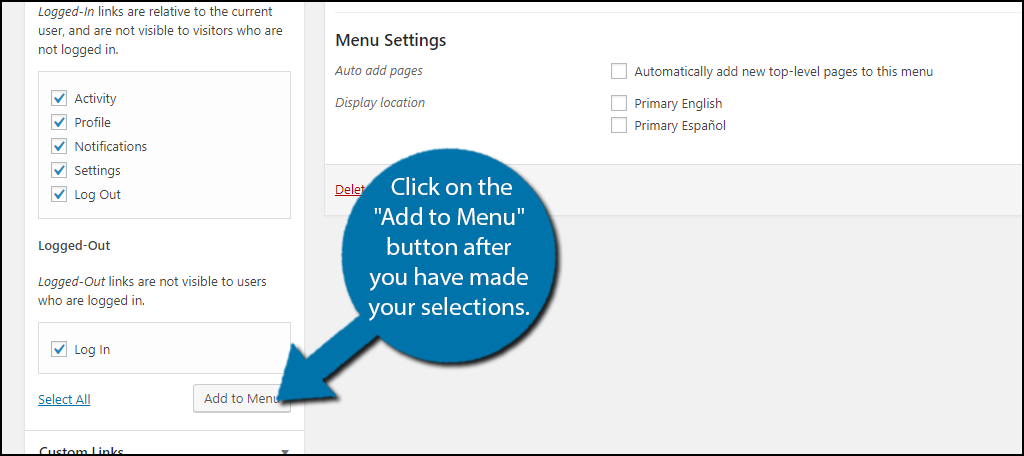
You should see a BuddyPress option. Click on it to reveal a drop down. Select the appropriate options for your website and click on the “Add to Menu” button.
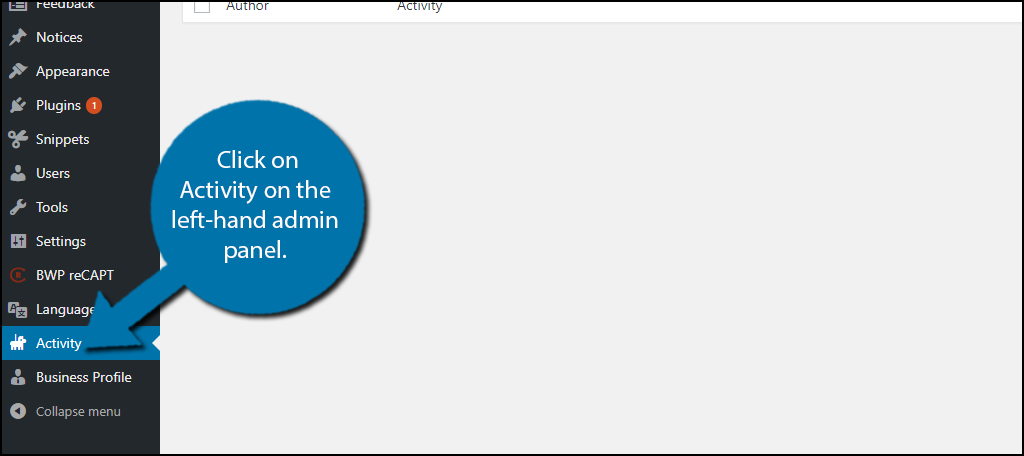
Now that your social media portion is up and running it’s time to manage it. Similar to comment sections you must guard your website against spam and bots. The most popular plugin is Akismet with over 5 million active installs. You can use Akismet to guard against spam on your website. Click on Activity on the left-hand admin panel.
Obviously, you will probably not see any immediate action on your website. This is the area you will go to manage your social media side. It will require a lot of work from your staff and if it grows enough you may even have to dedicate specific staff members to solely work on it.
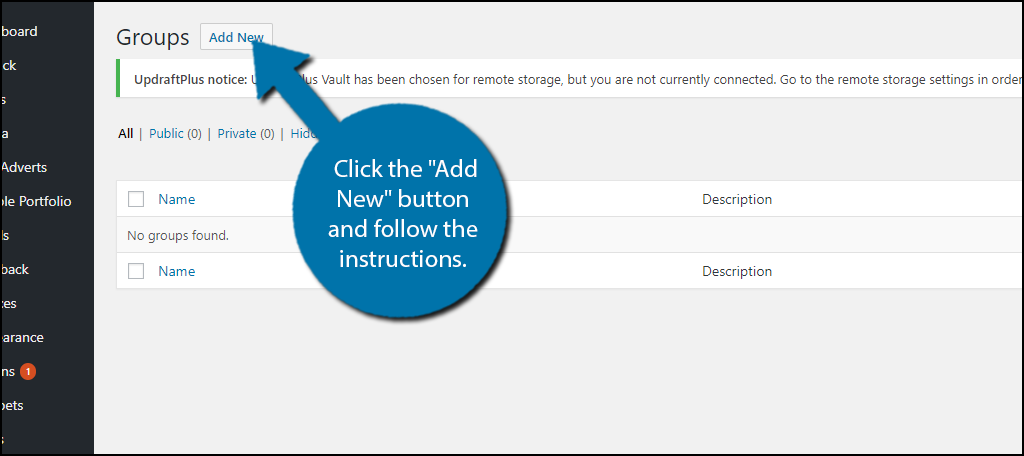
You know how to change settings, display your social media portion, and even manage it. There are other useful features that can be utilized to really make your website shine. You can create groups by clicking on Groups on the left-hand admin panel. If you do not see Groups then you did not activate groups on the main settings page.

On this page, you can create different types of groups. Depending on the nature and scope of your wish you may choose very specific types of groups. For example, if you’re going for a jack of all trades type of website, then it’s very important to make tons of groups for as many types of people and thoughts as possible. On the other hand, if you want your site to be centered around a specific theme like say politics, then you would want to have groups for each party and then maybe sub groups that can help get like minded people together. Simply click the “Add New” button and follow the instructions by creating a group name, description, and picture.
Congratulations, you’ve learned how to make a social network using WordPress. It will definitely be a challenge for you to gain attention over the other social media giants, but if you take advantage of the WordPress community you may be able to find growth.
Keep Your Network Growing and Engaging
The most important part of creating a social network is trying to stay unique and creative. You don’t want to be just another Facebook, Instagram, or Twitter clone. You may have some success at the start, but ultimately clones don’t grow or build a strong following. You need to think outside the box to be effective in this field and sometimes using feedback from visitors in a WordPress forum can really help.
Of course, having a creative system doesn’t necessarily mean you are worlds apart from the competition. For example, almost any major social media website has a way to make an account, create a custom profile to express themselves, add friends or follow others, join groups, etc. The key is to do it in a way that people feel is unique and creative while performing the same general roles visitors expect.
What steps has your website taken to spread the increased workload of managing the social media aspect of your website? How quickly do you try and adapt your website based on feedback from visitors?
It very good