Have you been thinking about creating a recipe website with WordPress? This is actually not as difficult as you may think. The WordPress platform is so popular because it allows you to easily create almost any type of website you want.
There are a certain number of things you need to have ready when creating a website with WordPress. Having the proper tools in place will allow you to easily create a recipe website or blog using WordPress. These include:
- Having a Domain Name
- Finding a Solid WordPress Hosting Platform
- Installing WordPress
- Finding a WordPress Theme
Once you have the above ready, it is time to find a WordPress recipe plugin and start the process of creating. Let’s take a look at how you can easily build a recipe website with WordPress.
Recipes Are Essential to Any Cooking/Food Blog
All popular cooking and food blogs have one thing in common, they all show off awesome new recipes.
However, a recipe can be lost due to bad formatting. Many times it can just be too difficult to read or not standout in a normal post/blog. This problem can be easily solved by using a special format or style when showcasing recipes.
As a result, you are going to want to take special care when adding a recipe to your blog.
The best way to do that is with the help of a plugin.
Create a Recipe Website
If you are having trouble finding a WordPress recipe theme, don’t worry. There are a few options below that can help get you started. That being said, now that you are ready to start creating recipes, it is time to find a good WordPress recipe plugin.
For this tutorial, I found Recipe Maker For Your Food Blog. Let’s take a look at how to use it.
Recipe Maker For Your Food Blog
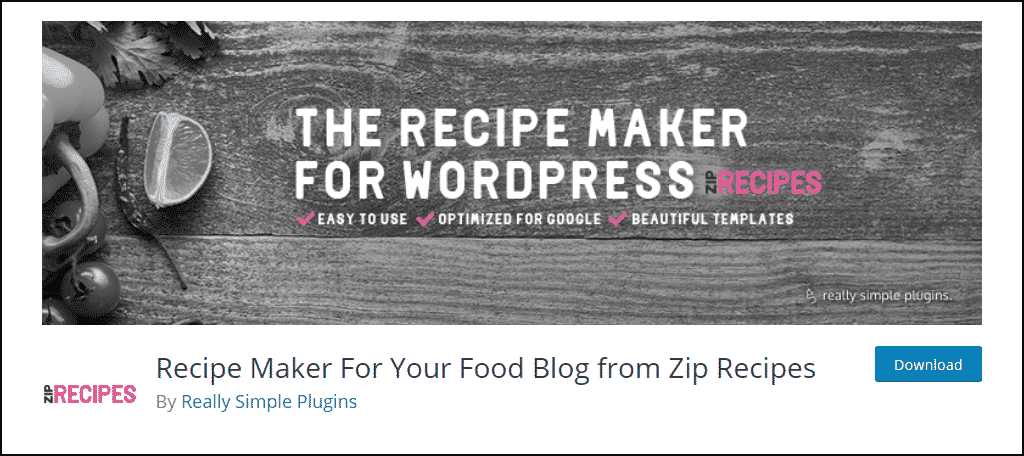
Recipe Maker For Your Food Blog is a WordPress recipe plugin that is lightweight and easy to use for anyone. This plugin allows you to easily copy and paste recipes from other sources including Microsoft Word and many other pieces of software.
It can also act as a cookbook plugin based on how you categorize your recipes and lay them out on your website. The plugin offers an easy workflow that allows you to add recipes to any post or page using JSON-LD metadata, which can give a boost to your SEO.
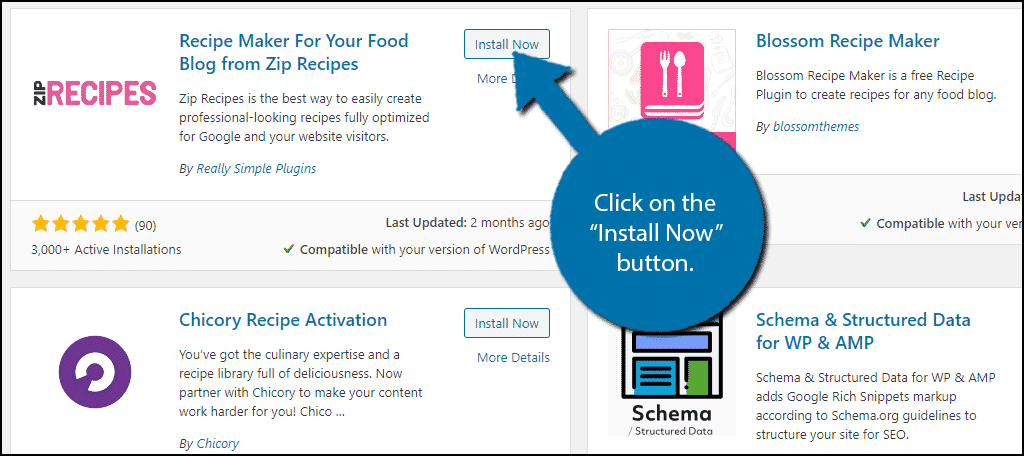
Install WordPress Recipe Plugin
In order to get up and running with your recipe website, you need to install and activate the Recipe Maker For Your Food Blog plugin. You can do this from your WordPress admin dashboard.
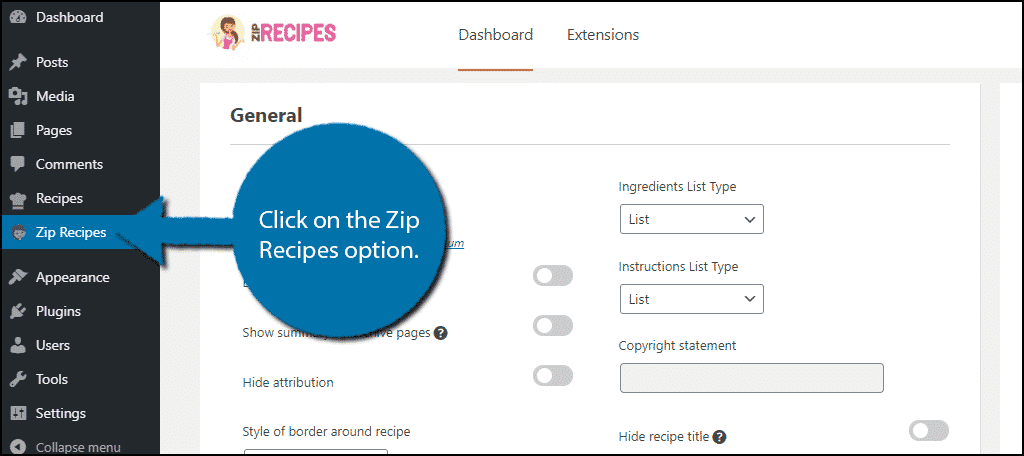
Once the WordPress recipe plugin has been installed and activated, you can start to look around. You should immediately notice two new options on the left-hand admin panel, Recipes and Zip Recipes.
Unfortunately, these options are similarly named and are quite different from each other.
The Recipes option is how you will actually add recipes into the plugin.
The Zip Recipes option is where you will find all of the settings for the plugin.
Setting Up
To begin, click on the Zip Recipes option.
You will see here that there are quite a few available options for the easy recipe plugin. You have a lot of options to choose from, and it may be a little overwhelming at first.
However, there are a lot of functions that are only available through the premium version of this particular tool. You can tell which settings these are by the toggle switch being highlighted pink or not adjustable.
All of the settings are divided up into individual sections to make it easier to navigate.
Note: All of the settings have their very own Save button. Make sure to click on it when you are done.
General
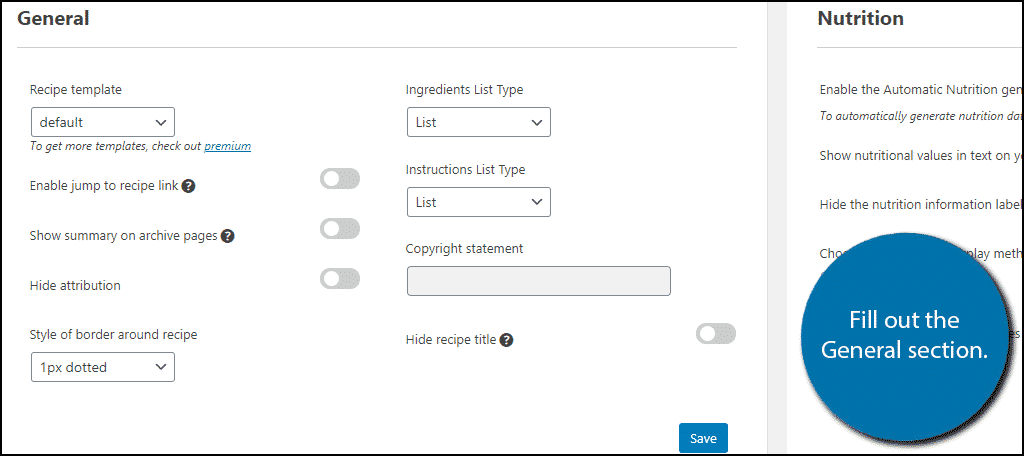
In the General section, you will find some basic settings you can choose from. This includes the template (there is only one choice for free), ingredient list type, instructions list type, border style, copyright statement, and various settings.
Unfortunately, you cannot see the changes or a preview of anything you are doing. However, there is an alternative.
If you open a new tab and add a new recipe, you will see what the recipe card looks like. You can save the settings and reload the recipe card to see the changes.
Nutrition

The Nutrition section allows you to add nutritional values to your recipes. There are only 5 options in this section. These include automatic nutrition generation (premium), show nutritional information, hide nutrition labels, how to display labels, import nutrition data for all recipes (premium).
Image
The Image section allows you to change some image settings. You can choose to hide the recipe image (this is a good choice when the image is being used as the featured image in the post), set the image width, and hide the image automatically when it is used inside of the post it is attached to.
Print Settings
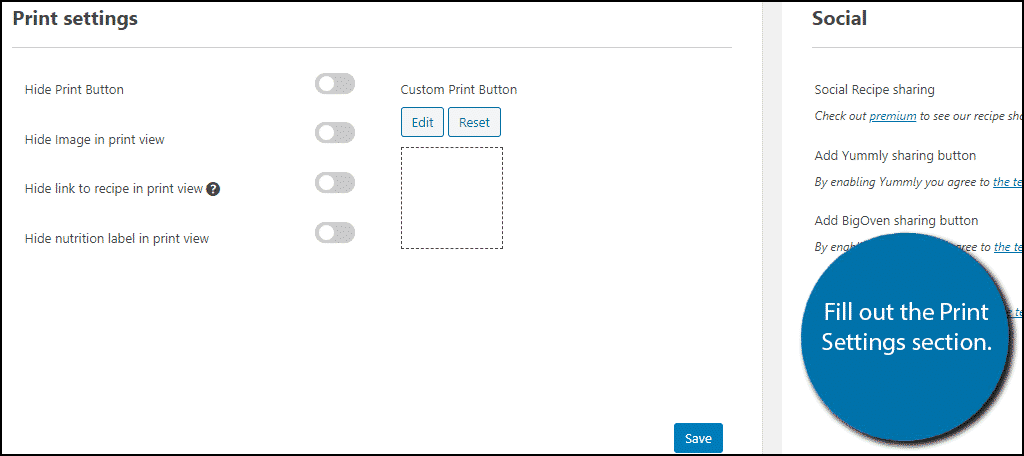
These settings allow you to manage everything related to the print option on your website. All of the settings are for hiding the print option from the visitor. If you do not want to hide it, simply leave them all off. You can also customize the print button if you want to encourage it instead.
Social & Authors
These settings are only available through the premium version. The Social section allows you to social media buttons to your recipes for Pinterest and other platforms. While the Authors section simply allows you to add an author for the recipe.
Hide Labels
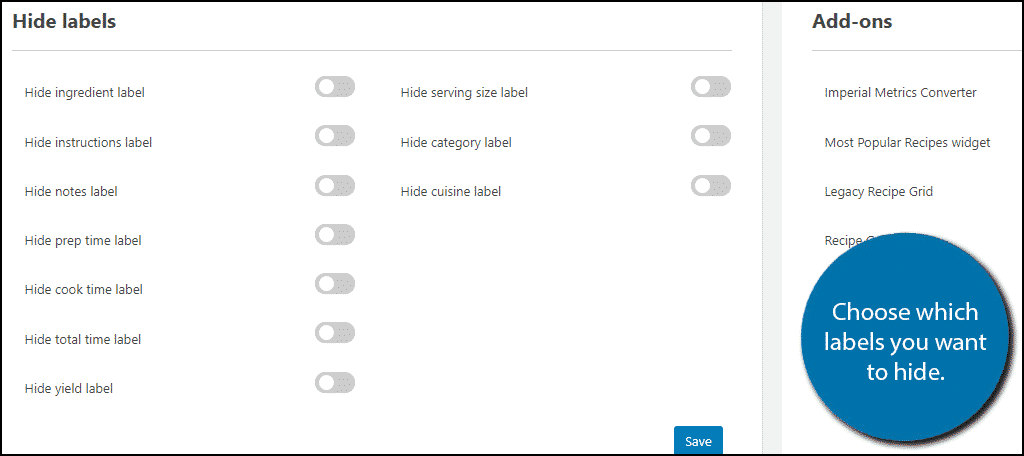
The Hide Labels section is exactly as the name implies, you can hide any labels on the recipe card here. By default, all of the labels are already hidden, so it is more like you are adding labels. Again, you really want to have what the recipe card looks like in front of you to see where each label appears.
Add-Ons
This provides a list of premium add-ons you can purchase to add more features. You can toggle them on or off at any time once you own them.
Adding a Recipe
With all of the settings configured, all that is left is to actually add some recipes to your website.
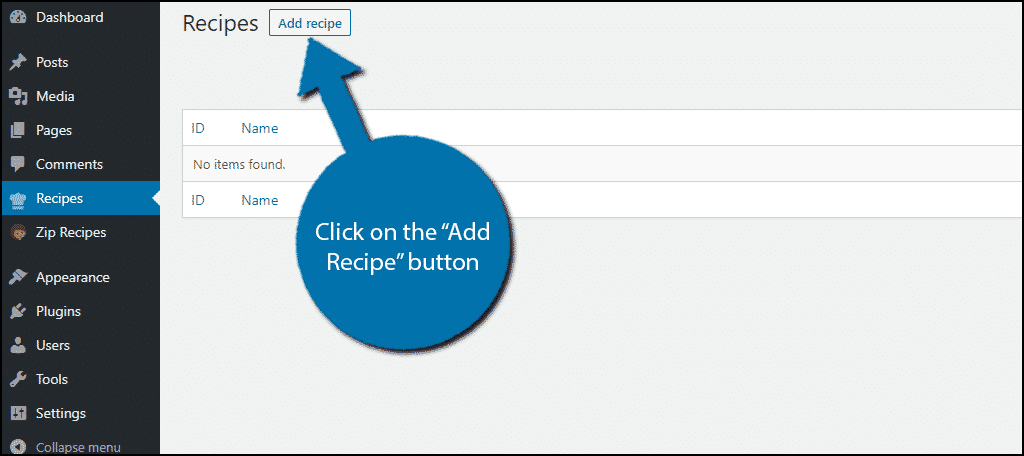
Adding a recipe to your website is very easy. Click on the “Recipes” option.

Click on the “Add Recipe” button.
Fill in the recipe information. This includes prep time, cook time, serving size, servings, ingredients, instructions, a video link (perfect for YouTube), and more. Simply insert all of the information and watch the card fill up in real-time.
When you are done, click on the “Save” button.

The recipe will be added to your recipe list. You can find a shortcode next to it. Copy and paste the shortcode into a post, page, or text widget.
Note: You can use either a shortcode or text block in the Gutenberg editor. Either one will have the same effect.
Once you have placed it, you can see the recipe on your website.
Now you just need a theme to match it.
Free WordPress Recipe Themes
Finding the right WordPress theme to start a food or recipe blog can be tough. WordPress offers a ton of amazing themes, but many of them are premium. Take a look at these 3 free WordPress recipe themes that you may want to consider to get you started.
Foodie World
Foodie World is a free Restaurant WordPress Theme that has been crafted specially to help you create your very own stylish and delicious-looking website in only a few minutes.
Crafted with minimal design to put your food first, the Foodie World theme is a clean and fresh-faced restaurant or recipe WordPress theme. It’s simple to install and easy to design.
Yummy
Yummy is a restaurant-oriented theme that is also perfect for creating a recipe website. It features several different layouts and is very easy to customize with your colors, logo, and look.
Give it a try to get you going.
Final Thoughts
Creating a recipe website in WordPress can be a fun experience. Now, you know where to start and what to look for. You can have a fantastic food website up and running in no time.
I hope this tutorial gave you a great place to start and everything you needed to create a recipe website quickly and easily.
What kind of recipes do you want to share with the world? Are you more into deserts or actual meals?